Sep
27

You might not know this, but I have a dairy kitchen and haven’t prepared meat for over 20 years. This is one of the reasons why I post so many salad recipes!! I truly do love eating salads and when I have guests over that don’t eat dairy or wheat….then it’s a great opportunity for me to try out new recipes!!  The menu included: tuna burgers (see previous post), kale salad, napa cabbage salad with lemon pistachio vinaigrette, sesame tofu, and dessert. A perfect combo of protein and vegetables.

Will be making this again!!

I have made napa cabbage salads before but  always with an asian vinaigrette. This recipe appealed to me as it WAS TOTALLY different. My only complaint was I had to shell the pistachios as I didn’t have time to find them unshelled. Not the end of the world.

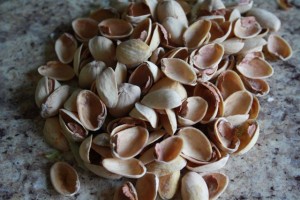
proof that I unshelled each and every pistachio for this recipe!

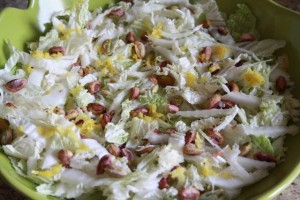
Napa Cabbage Salad with Lemon Pistachio Vinaigrette (taken from AllRecipes.com)


Ingredients

  • 1 teaspoon lemon zest
  • 1 tablespoon lemon juice
  • 1 tablespoon pistachio oil….I used good old olive oil as I was too lazy to buy another oil
  • 3 cups thinly sliced napa cabbage
  • 2 cups thinly sliced romaine lettuce leaves …oops forgot to mix in romaine lettuce even though I had some in the fridge
  • 1/4 cup chopped fresh Italian flat-leaf parsley….
  • 1 tablespoon finely sliced fresh basil
  • 1/8 teaspoon kosher salt
  • 1/8 teaspoon freshly ground black pepper
  • 2 tablespoons chopped pistachios (I used more)

Directions

  1. In a small bowl, whisk together lemon zest and lemon juice. Slowly drizzle in the pistachio oil, whisking constantly, until the dressing is mixed well.
  2. In a large bowl, toss together the sliced napa cabbage, sliced romaine lettuce, parsley and basil. Mix in the dressing, salt and pepper. Gently toss until dressing is distributed evenly. Top with chopped pistachios. Enjoy!

This recipe was super easy and super tasty. I can’t wait to make it again.

Happy Cooking!!

Share this:
Share this page via Email Share this page via Stumble Upon Share this page via Digg this Share this page via Facebook Share this page via Twitter

Sep
23

When I was growing up, my mom made salmon burgers. But I’m not crazy about the smell of canned salmon so I started to make tuna burgers. They are easy to make, nutritious (I think) and freeze beautifully. Here’s the recipe.

INGREDIENTS:

4 tins of tuna

4 eggs

2 cups of breadcrumbs (preferably real breadcrumbs. I always seem to have some in my freezer. I’m normal. I swear)

parsley

salt and pepper

a chunk of red onion

DIRECTIONS:

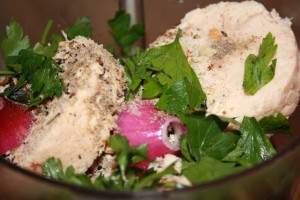
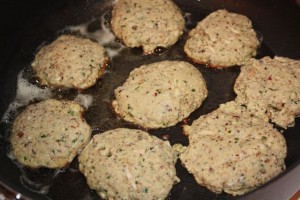
1. Take all the ingredients and whiz them up in a food processor.

Oh how I love my Cuisinart Food Processor

2. Shape into patties

3. Drop into a frying pan with a bit of oil.


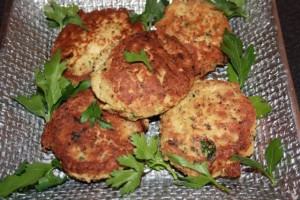
FINAL PRODUCT

Ta Da

I’m going to serve these yummy tuna burgers with an assortment of condiments: mango chutney, Maille mustard, jalepeno jelly, and more. I collect condiments. Did you know?

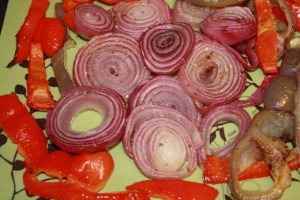
I will also be serving them along side some roasted organic veggies that were graciously delivered by Fresh City Farms. I was blown away with the flavor of these vegetables. What a difference it makes. Can’t wait to share these veggies with my guests:

Other items I will be serving include a kale salad with curry sesame seeds and a lemon pistachio napa cabbage salad. Promise to post those two recipes on Wednesday so make sure you come back to www.momwhoruns.com!!

Happy Cooking!!

Share this:
Share this page via Email Share this page via Stumble Upon Share this page via Digg this Share this page via Facebook Share this page via Twitter

Sep
20

Bye Bye TIFF 2012


Dear TIFF,

It’s been fun reading the MILLION tweets (ok not quite a million) from my twitter followers regarding what movie they were seeing, WHAT PARTY they were going to (you know who you are), what they were wearing to those parties, and what actor they bumped into.

Seriously, I don’t mind. It’s kind of fun knowing that Toronto hosts this amazing film festival.

Last year, I was invited to the Diet Cola Gala and one movie.

This year, I didn’t go to one movie.  SNIFF.

But it wasn’t a total loss. I did manage to go to the Tastemakers Lounge!! I had a sneak preview regarding where the “talent” went in between parties, interviews, movie screenings etc.

Inside the Tastemakers Lounge, I came across the following “tasty” participants:

Le Dolci: Who wouldn’t want to snack on one of their delicious cupcakes. If you haven’t been to their new location – you should. Not to mention to check out their website to find more about the variety of classes they offer.

cute!!

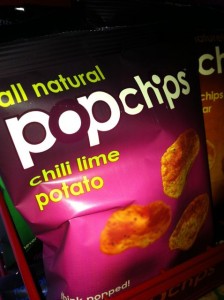
Pop Chips: After snacking on a delicious cupcake, these healthy snacks were very welcome! I also love their re-sealable clips. Brilliant marketing.

What a great flavor!!

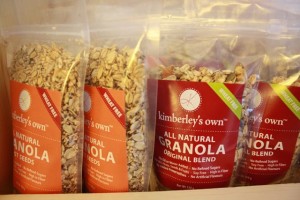
Kimberly’s Own: Had a lovely chat with Kimberly about her granola that is so pure, so organic and to boot it’s really really good for you.

Granola Goodness

Bobble Bottle: Not sure if you have ever seen these bottles, but it’s our household favorite bottle.

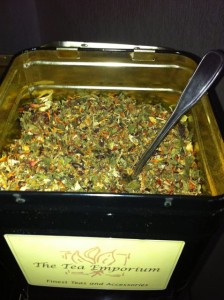
Tea Emporium: No question, that a cup of tea is the PERFECT way to relax and I’m sure the celebs truly appreciated their presence.

Now that I have been to a party, a movie, and a lounge…wonder what I might be introduced to at TIFF 2013? Stay tuned.


Share this:
Share this page via Email Share this page via Stumble Upon Share this page via Digg this Share this page via Facebook Share this page via Twitter

Sep
18

Finally Made a Pavlova.


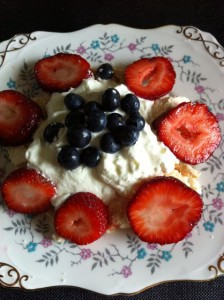
For some reason I’ve never made a pavlova before.  But my friend assured me, that it’s super easy to make so I tried it. I searched online (for a change) to find a recipe  (thanks AllRecipes.com) and before you know it my Kitchen Aid was on full blast whipping up egg whites. What I didn’t know, is that it takes A LOT OF  TIME TO BAKE. This is not at all like making cookies!! However it’s worth it.

Here’s the recipe: (taken from AllRecipes.com)

Ingredients

  • 3 egg whites
  • 1 pinch salt
  • 1 cup white sugar
  • 1 tablespoon cornstarch
  • 1 teaspoon lemon juice
  • 1 1/4 cups heavy whipping cream
  • 1/2 cup confectioners’ sugar
  • 1 pint fresh strawberries

Directions

  1. Preheat oven to 300 degrees F (150 degrees C). Line a sheet pan with parchment paper. Draw a 9 inch circle on the parchment. An easy way to do this is to draw around the outside of a 9 inch pan with a pencil. (I skipped this step)
  2. In a large bowl, beat egg whites on high speed until soft peaks form. (be patient, be patient) Add 3/4 cup of the sugar gradually, while continuing to whip. Make sure sugar is completely dissolved. Mix together the remaining 1/4 cup sugar with the cornstarch; lightly fold into meringue with lemon juice.
  3. Spread a layer of meringue to fit circle on parchment, approximately 1/4 inch thick. With remainder of mixture, pipe or spoon swirls around the edges to form a shallow bowl shape.
  4. Bake at 300 degrees F (150 degrees C) for 1 hour. Turn off oven, but leave meringue in oven for an additional 30 minutes. When cool, the meringue should be hard on the outside, and slightly moist on the inside.
  5. In a large bowl, combine the cream and half a cup of confectioners sugar, and whip until thickened. Decorate with fruit of your choice; strawberries are excellent.

I’m not kidding. A pavlova is a crowd pleaser. Can’t believe I’ve never made it before!!

Happy Baking.

Share this:
Share this page via Email Share this page via Stumble Upon Share this page via Digg this Share this page via Facebook Share this page via Twitter

Sep
16

It’s been a year since I moved into my apartment so I thought it would be an ideal time to celebrate that occasion. Here’s a list of key ingredients to hosting a great party.

1) The Invite List: I included some twitter friends and some “real friends”. A perfect mix. Just look how everyone is chatting away in this photo. There were 12 women in total and it was just the right amount given the size of my apartment!!

There were 12 women in total and it was a perfect mix.

2) CREWMEN & Co: I had a (gorgeous) bartender for the evening, courtesy of Crewmen & Co and let’s just say that my guests “loved” the eye candy and the fabulous cocktails that he created. I would hire this company again in a heart beat. Our bartender was engaging, professional and knew his way around the bar.  He was certainly a highlight of the evening!!
Um..hello…can I have a martini please?”

3) The Drinks: I had a great line up of Skyy Vodka, Great Lakes Beer (the Pumpkin Ale was just released, by the way) bottlegreen Sparkling Presses , 3 types of juices, wine, club soda, and tonic water, limes and lemons. Everyone was happy. I was thrilled to find out that Skyy Vodka has the fewest impurities among leading vodkas AND ZERO CARBS. This vodka was perfect for my #nocarb diet!!
Something for everyone!!
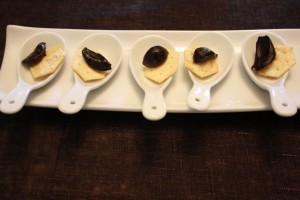
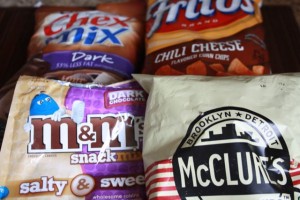
4) The Food: I served some amazing nosh that I had been “saving” (no I am not a hoarder) from my trips to Ottawa, Buffalo, Montreal and even Detroit. The black garlic was a hit…that’s for sure. Oh yeah – the Chocolate Chex got a lot of love too.

Black garlic that I bought in Montreal. Hope to find it here in Toronto one day soon


5) Good Music: I finally subscribed to Rdio but there was so much chatter that I’m not sure anyone heard the music.

6) Creating an atmosphere: This is my favorite part. I finally had an excuse to visit my favorite flower shops on Avenue Road and Davenport. Not to mention, I brought out  some pewter serving dishes that hadn’t been used in a while. Here’s what the table looked like:

Seriously….. throwing a party isn’t hard work and I can’t wait to throw another one. Nothing like surrounding yourself with new and old friends on a Saturday nite.

Try it!!

Share this:
Share this page via Email Share this page via Stumble Upon Share this page via Digg this Share this page via Facebook Share this page via Twitter

Sep
13

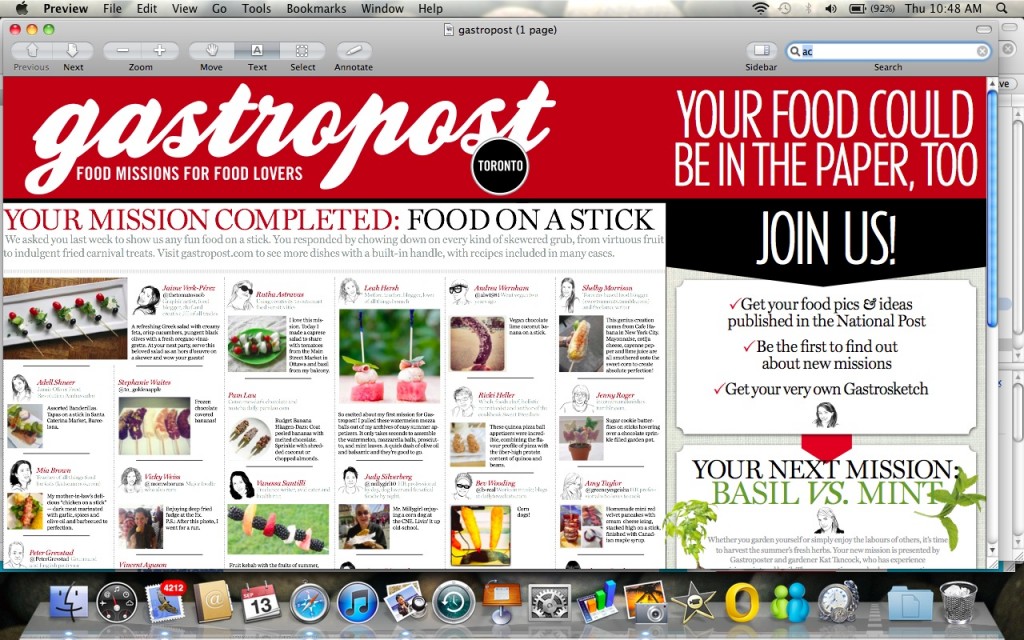
Once again, I discovered something fun on Twitter. It’s called Gastropost and it’s a brilliant concept for foodies like me. Every week they post a mission and every week I am addicted to accomplishing this mission (I know I know – I have too much spare time on my hands). One week, the mission was “basil vs mint”  and another week the mission was called “we love tomatoes” and guess who tries to complete most missions? moi.

In August,  I completed a mission that was called “food on a stick”. I was thrilled when I opened up the the National Post on a Saturday to discover that I was featured in the Gastropost column. (see bel0w….I’m the Gastroposter eating deep fried goodies at the CNE!!)

I love when companies embrace social media, and use it to create  a community. Gastropost is a classic example of this. I’m thrilled to be part of this and you can too. It’s just a click away …..so feel free to subscribe here.

Congratulations to the National Post for initiating this brilliant feature in your Saturday edition.

PS Not only do I think that Gastropost is fun but IT’S EASY TO USE. No downloading widgets, no uploading recipes, no linking …it’s so easy it’s not funny. Now go subscribe and complete a mission!!

Share this:
Share this page via Email Share this page via Stumble Upon Share this page via Digg this Share this page via Facebook Share this page via Twitter

Sep
11

Oh How I Love a Caesar Salad


Lately  I have been enjoying a lot of salads. One of my favorite salads is a Caesar salad as sometimes I’m just too tired to chop up a million vegetables. All I need is some romaine lettuce, and I’m good to go. Well not exactly, I need a fabulous caesar salad dressing too. My friend gave me one years ago, but decided to go on line to the Food Network to see if I could find test out another dressing. (or two)

DRESSING #1 courtesy of Trish Magwood, Party Dish

Ingredients

Roasted Garlic

  • 1 head roasted garlic (see below)
  • 1 tablespoon vegetable oil

Dressing

  • 2 cloves garlic
  • 2 anchovy fillet
  • 2 tablespoons capers, drained and rinsed
  • 1/2 teaspoon Dijon mustard
  • 1 tablespoon lemon juice
  • 1/4 teaspoon Worcestershire sauce
  • 1/4 cup  vegetable oil
  • 2 tablespoons low fat mayonnaise
  • 1/4 teaspoon freshly ground black pepper
  • 1 head romaine lettuce, chopped
  • 1/4 cup freshly grated or shaved parmesan

Directions

Roasted Garlic

  1. Preheat oven to 375 degrees F (190 C).
  2. Slice stem end off garlic. Place on a sheet of aluminum foil. Drizzle with the oil. Wrap garlic and place on a baking sheet. Bake for 35-45 minutes or until softened. This can be done ahead up to one day ahead. Let cool.

Dressing

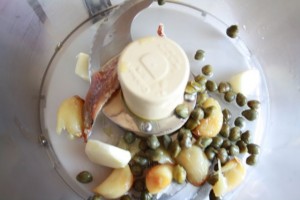
  1. In the bowl of a food processor, pulse roasted garlic, raw garlic, anchovies and capers.
  2. Process until finely minced. Add Dijon mustard, lemon juice and Worcestershire sauce. With motor running, slowly drizzle in vegetable oil and finish with mayonnaise to achieve a creamy consistency.

Whizzzzzzzzz

  1. Season with black pepper and salt if needed, to taste.
  2. In a large bowl, tear lettuce into bite size pieces, Add dressing, croutons, and cheese to the bowl, and toss well
  • 1/2 cup Miracle Whip
  • 2 tablespoons olive oil
  • 1/4 cup freshly grated Parmesan cheese (about 1 ounce/30 g)
  • 1 hard-cooked Omega-3 egg
  • 2 tablespoons freshly squeezed lemon juice
  • 1 tablespoon balsamic vinegar
  • 2 large garlic cloves, crushed and minced
  • 1 teaspoon honey or granulated sugar
  • 1/2 teaspoon Dijon mustard
  • 1/2 teaspoon Worcestershire sauce
  • 1/2 teaspoon anchovy paste (optional)
  • 1/8 teaspoon freshly ground black pepper

Directions:

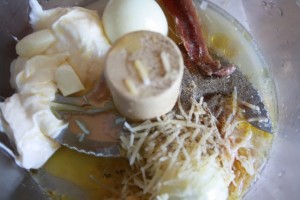
Whiz all ingredients in a food processor. (how easy could that get).

whizzz me up too please

FINAL RESULT:

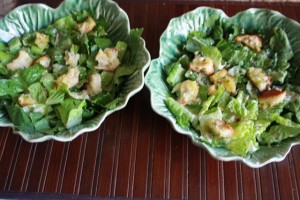
two awesome dressings…two awesome salads.

SUMMARY:

In my humble opinion, I liked the first recipe better. There was something about the texture of the egg in the second dressing that didn’t have the same appeal to me.

However to be honest, I really really prefer the recipe I have been using for years: (courtesy of my friend Sherry)

3 tablespoons olive oil, 1 tablespoon red wine, 1 garlic clove, 1 tablespoon parmesan, 1/4 tsp salt. 1/4 tsp pepper, 1/3 tsp dry mustard, 1 anchovy.

No need for a million ingredients!!

Enjoy your salad everyone!!

Share this:
Share this page via Email Share this page via Stumble Upon Share this page via Digg this Share this page via Facebook Share this page via Twitter

Sep
09

What I Bought in Montreal


I’ve decided to write two blog posts about Montreal. The first blog post was “What I ate in Montreal” and now this blog post will be dedicated to “What I Bought in Montreal”. It wasn’t hard for me to whip out my Visa every few minutes while walking thru Jean Talon Market saying “I want this – I want that”.

Here’s a list of what I brought back to Toronto:

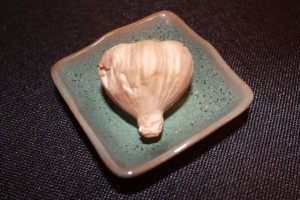
a) BLACK GARLIC: I’ve seen dried black garlic sold in packages in grocery stores but have never seen fresh black garlic. Have you? I will be roasting it this week and shmearing it on a toasted baguette. Will get back to what it tastes like. At $120/lb it better be freakin’ awesome. I think this ONE bulb cost a few dollars. P.S. I found the black garlic at Chez Louis, which is a well known fruit/veggie vendor at JTM. (Jean Talon Market)

Nothing beats finding something I have never tried before!!

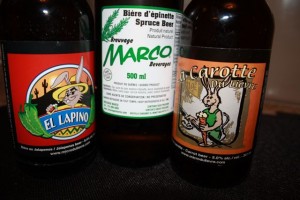
b) BEER: There’s quite a few beers that are brewed in Quebec that aren’t available at the LCBO. Sad but true. Seeing as I’m all about “flavor”, I selected a few unusual beers: El Lapino, which is a Jalapeno Beer (you can actually see the jalepeno floating around in the bottle), La Carotte Du Lievre which is a Carrot Beer, and Spruce Beer (which isn’t alcholic).

Not a bad line up:

My Taste Buds Will be Happy. (I think)

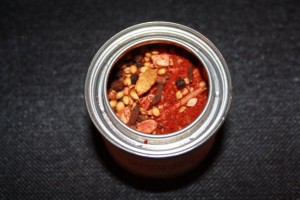
c) ETHIOPIAN BEBERE: Bought this spice at a popular store in JTM that called Olives & Epices. Not sure why I selected this spice but looks like I will be bringing out my mortar and pestle soon. All I know is that this 150 g pot is going to last me for years!! Infact there is an expiry date on it: 2016/08/07. HA.

This is going to bring my salmon to another level.

d) BEURRE DE PATRIMONIE: Discovered this butter a few years ago, and now I can’t seem to visit Montreal without buying a tub or two. Ingredients: cream and sea salt (with no preserving agents). This is as pure as it get. I hear all their products are awesome but sadly haven’t had a chance to try their yogurts or their milk. One day..One day.

As you can tell, my trip to Jean Talon Market was a success!!

Jean Talon Market, 7070 Avenue Henri Julien, Montreal, Quebec 514 247 1588 (opened 7 days a week)


Share this:
Share this page via Email Share this page via Stumble Upon Share this page via Digg this Share this page via Facebook Share this page via Twitter

Sep
06

Eating My Way Thru Montreal


My last visit to  Montreal was THREE  years which meant that I was long over due for a trip. Sadly I was only there for 24 hours but I certainly did use that time wisely!!

Naturally I connected with a Montreal Food Blogger (via twitter of course) called Will Travel For Food, who graciously sent me her list of favorites.

Here’s a few places that made my tummy happy:

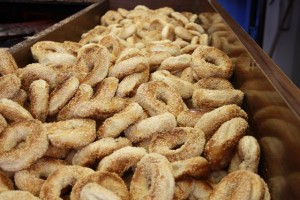
1. St. Viateur Bagels; Nothing beats breaking a no carb diet with a hot, fresh Montreal bagel. No need to explain, right? I inhaled one before I even had the chance to put my seatbelt on.

Worth the drive to Montreal

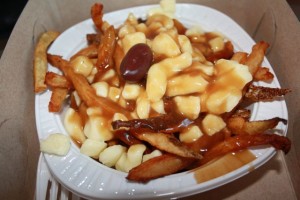
2. Patati Patata: Breaking a no carb diet with poutine was a great idea too!! I’m smart eh?

Not my favorite Poutine but I ate it all!!

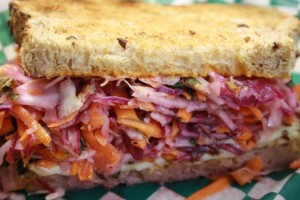
3. Depanneur Le Pick Up: This was my favorite discovery! What a gem of a place. It was perfect – the food, the vibe and the service.

Ordered the grilled haloumi sandwich. Perfect.

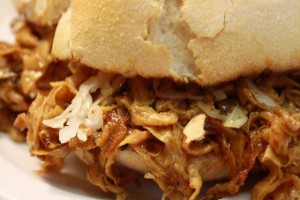
But they are really famous for this sandwich:

Pulled Pork

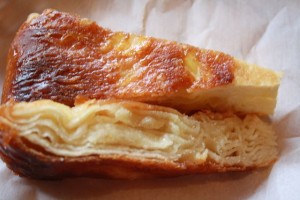
5. Patisserie Kouign Amann: The highlight of the weekend was my visit to this bakery. I actually met Will Eat For Food at this bakery and after chatting away over a coffee and a croissant, she suggested that I buy their Kougin Aman. I did (like a good food blogger). It was heaven. I asked her “what is it”…She replied “Pastry. Butter. Sugar. Repeat”. Wish I could find this in Toronto!! Please google “best croissant in Montreal” and guess what will pop up? Plus if you google Kouign Amann you will get a better definition of this pastry.

A Specialty in Brittany

Next blog post will be: What I Bought in Montreal. Stay tuned.

Kougin Aman: 322 Aveue Du Mont-Royal Est (514) 845 8813

Depanneur Le Pick Up: 7032 Waverly 514 271 8011 (I walked there from Jean Talon Market)

Patati Patata: 4177 Blvd Saint-Laurent 514 844 0216

St. Viateur Bagels: 263 Rue Saint Viateur 514 276 8044

Share this:
Share this page via Email Share this page via Stumble Upon Share this page via Digg this Share this page via Facebook Share this page via Twitter

Sep
03

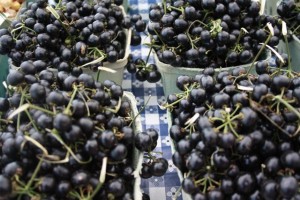
In the past, I’ve made crisps, crumbles and cobblers. Now I can add  “BUCKLE” to that list as I just made my very first Huckleberry Buckle. That’s right,…I used the huckleberries that I picked up at the Ottawa Farmers’ Market.

There is a probably a reason why you don’t see this fruit very often.

After a lot of research on the internet, I selected a recipe from AllRecipes.com.

I am not going to tell you that this recipe was a winner, infact the final result was HORRIFIC.!! I  actually spit out the huckleberry and so did others. Trust me…I like almost everything. It’s hard for me to remember the last time I spit out food. But this FRUIT is not very likeable. It’s not sour, i’ts not sweet., it’s just FOUL. The buckle was a hit though. I would certainly use this recipe again but would use raspberries or blueberries instead.

INGREDIENTS:

2 1/2 cups Hucklberries

1/4 cup sugar

1/2 cup boiling water

1 cup flour

1 tsp baking powder

1/4 tsp salt

1/4 cup of butter

3/4 cup of sugar

1/2 cup milk

1 tbsp butter

Method:

Preheat oven to 375 degrees

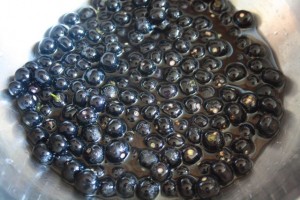
Place the huckleberries in a bowl and add the boiling water and sugar. (I then drained it after 10 minutes due to a readers comment on allrecipes).

Huckleberries, water, sugar…so far so good

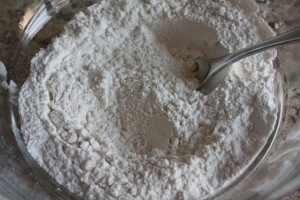
Grab another bowl, and mix the flour, baking powder and salt.

Flour, baking powder, salt….easy enough

Grab yet one more bowl and cream the butter and sugar.

Take the flour mixture and add it to the butter/sugar mixture. Then stir in the milk. The mixture will be thick and lumpy.

Spread the batter into a greased pan. (I used a pie plate) Pour the huckleberrie mixture ontop of the batter. Dot with remaining butter. (I dotted it with a bit of batter too for “visual appeal”)

Bake in a preheated oven for 45-50 minutes. I read another comment that suggested to place a pan underneath your pie plate in the event that it bubbles over. Great advice. Oh how I love comments that are posted on the internet.

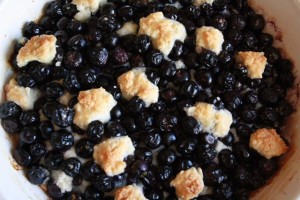
FINAL RESULT

Looks can be deceiving.

PS I had another 2.5 cups of huckleberries left and I threw them out. Won’t be buying this fruit anytime in the near future but will certainly be baking another buckle again with another type of berry!! Stay tuned

Share this:
Share this page via Email Share this page via Stumble Upon Share this page via Digg this Share this page via Facebook Share this page via Twitter