


I knew that there would be a snow storm on Wednesday and it would be the perfect reason to STAY HOME and cook/bake/clean and work!! It wasn’t hard to figure out what to bake, seeing as I received a recipe that peeked my interest in my inbox the other day. This is what happens when you subscribe to a food blog!! The recipe is from Sally’s Baking Addiction and it’s called ” Banana Chocolate Chip Crumb Cake”.
It’s easy to make, moist and a great way to use up those ripe bananas!!
Banana Chocolate Chip Crumb Cake – from Sally’s Baking Addiction
INGREDIENTS:
- 1 and 1/2 cups (190g) all-purpose flour
- 1/2 teaspoon ground cinnamon
- 3/4 teaspoon baking soda
- 3/4 teaspoon baking powder
- 1/4 teaspoon salt
- 5 Tablespoons (75g) unsalted butter, softened to room temperature
- 1/2 cup (100g) granulated sugar
- 1 large egg
- 1 teaspoon vanilla extract
- 1 and 1/2 cup mashed bananas, very ripe (about 3 large bananas)
- 1/4 cup (60g) yogurt – I used Greek yogurt but you can use any type of plain yogurt
STREUSEL
- 1 tablespoon ground cinnamon
- 1/4 cup (50g) light brown sugar (or dark brown sugar)
- 3/4 cup (135g) semi-sweet chocolate chips
- 1/2 cup (70g) chopped pecans or walnuts, optional (I did not use any nuts as I wanted to make this as a lunch box snack)
Directions
1.Preheat oven to 350F degrees. Spray an 8×8 or 9×9 baking pan with nonstick spray. p.s I don’t own an 8×8 baking pan (can u believe) but my oval CorningWare worked out just fine.
2. In a medium bowl, toss the flour, cinnamon, baking soda, baking powder, and salt together. Set aside.
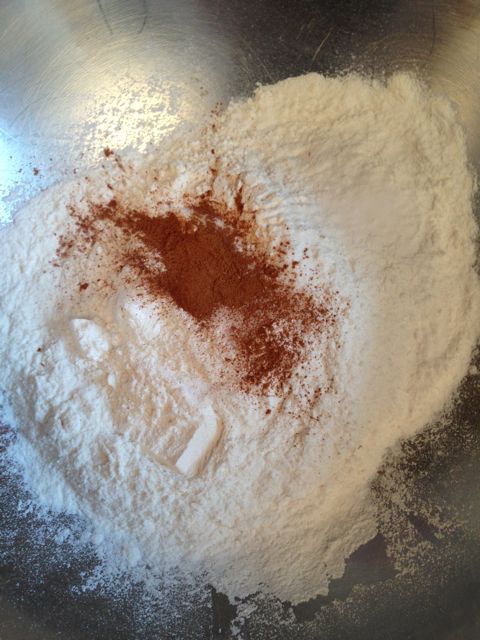
first step – easy enough
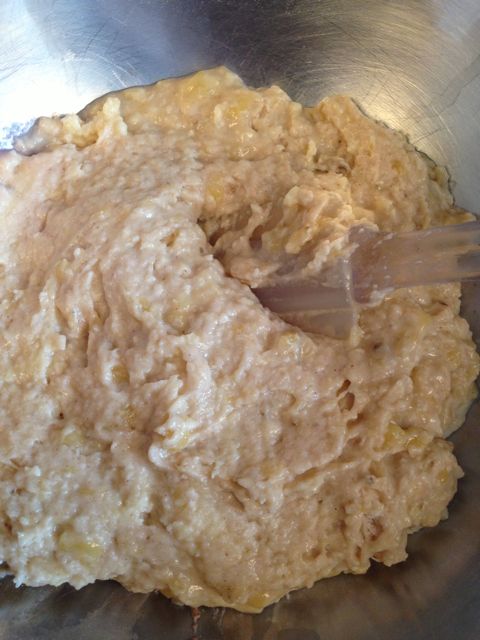
3. Using a handheld or stand mixer with a paddle attachment, beat the butter on high speed until creamy, about 1 minute. Switch the mixer to medium speed and beat in the sugar until combined. Beat in the egg and vanilla extract, scraping down the sides and bottom of the bowl as needed. Add the mashed banana and yogurt and turn the mixer on high and beat until creamy, about 1 minute.
4. Turn the mixer off and pour the dry ingredients into the wet ingredients. (repeat – put the DRY INGREDIENTS INTO THE WET INGREDIENTS) .Turn the mixer on low and slowly beat until combined. Do not overmix.
5. Make the streusel by combining all of the streusel ingredients into a small bowl.
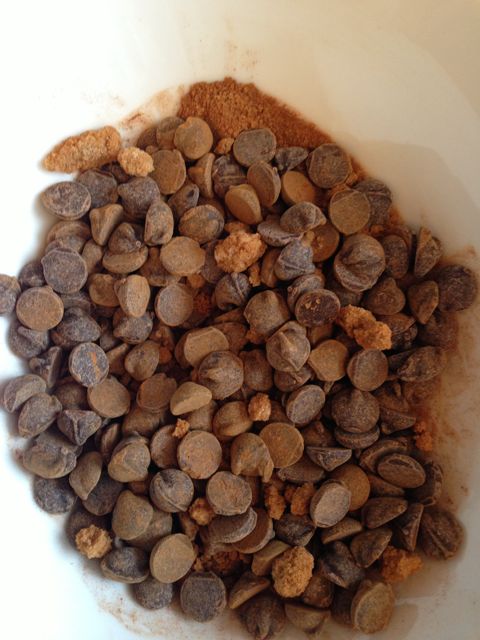
I made a “nut free” version
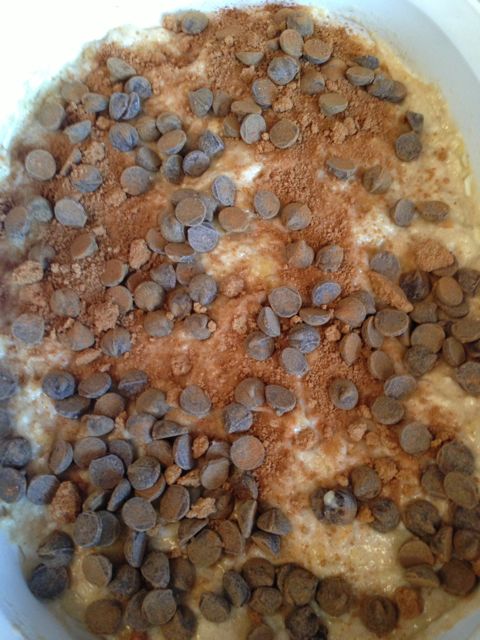
6. . Layer half of the batter into the prepared baking pan. Top with half of the streusel. Repeat with the rest of the batter and streusel.
7. Bake for 40 minutes, covering the cake with aluminum foil after 25 minutes to prevent the edges from browning too quickly. Bake until the center is baked through.
FINAL RESULT
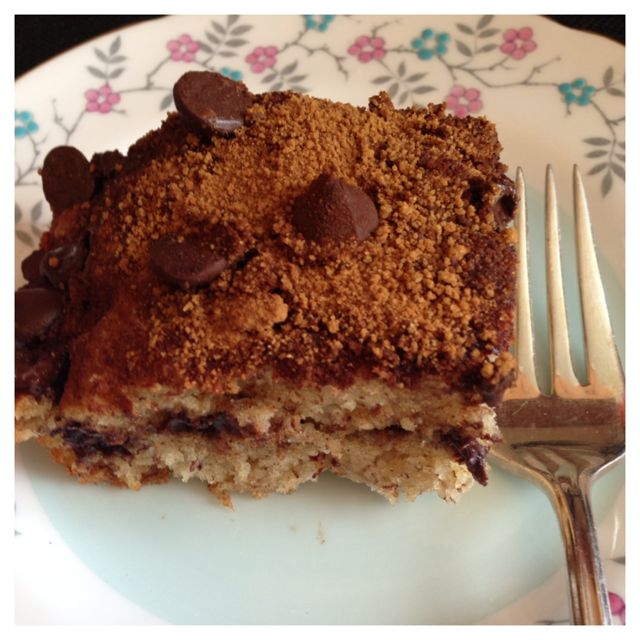
Allow to slightly cool for ten minutes before cutting and serving. Not that this cake stays fresh if you cover it tightly at room temperature for up to 4 days.
I also put half of it in the freezer as I’m sure it freezes well too. (time will tell).
This is the second time I’m baking a recipe from this blog however I’m sure it won’t be the last time!!
Happy Baking!!


Such a perfect way to spend a snowy day! Yum!
Thanks for leaving a comment on my blog, Beatrice. Hope all is well!
What a lovely way to spend a snow day, Vicky! I wish I had that option – I’d be up to my eyeballs in baked goods! LOL.
Plus, I LOVE this recipe – it would be so nice to snuggle up with a book, a cup of tea and slice of this on a cold winter evening.