Posts Tagged ‘Sallys Baking addiction’

Dec
20

Chanuka Ideas….


Chanukah is just around the corner and I’m ready. (I think). I found my Chanuka decor thanks to my beloved new Brother Label Maker, and my tummy is ready too.

chanuka-decorations

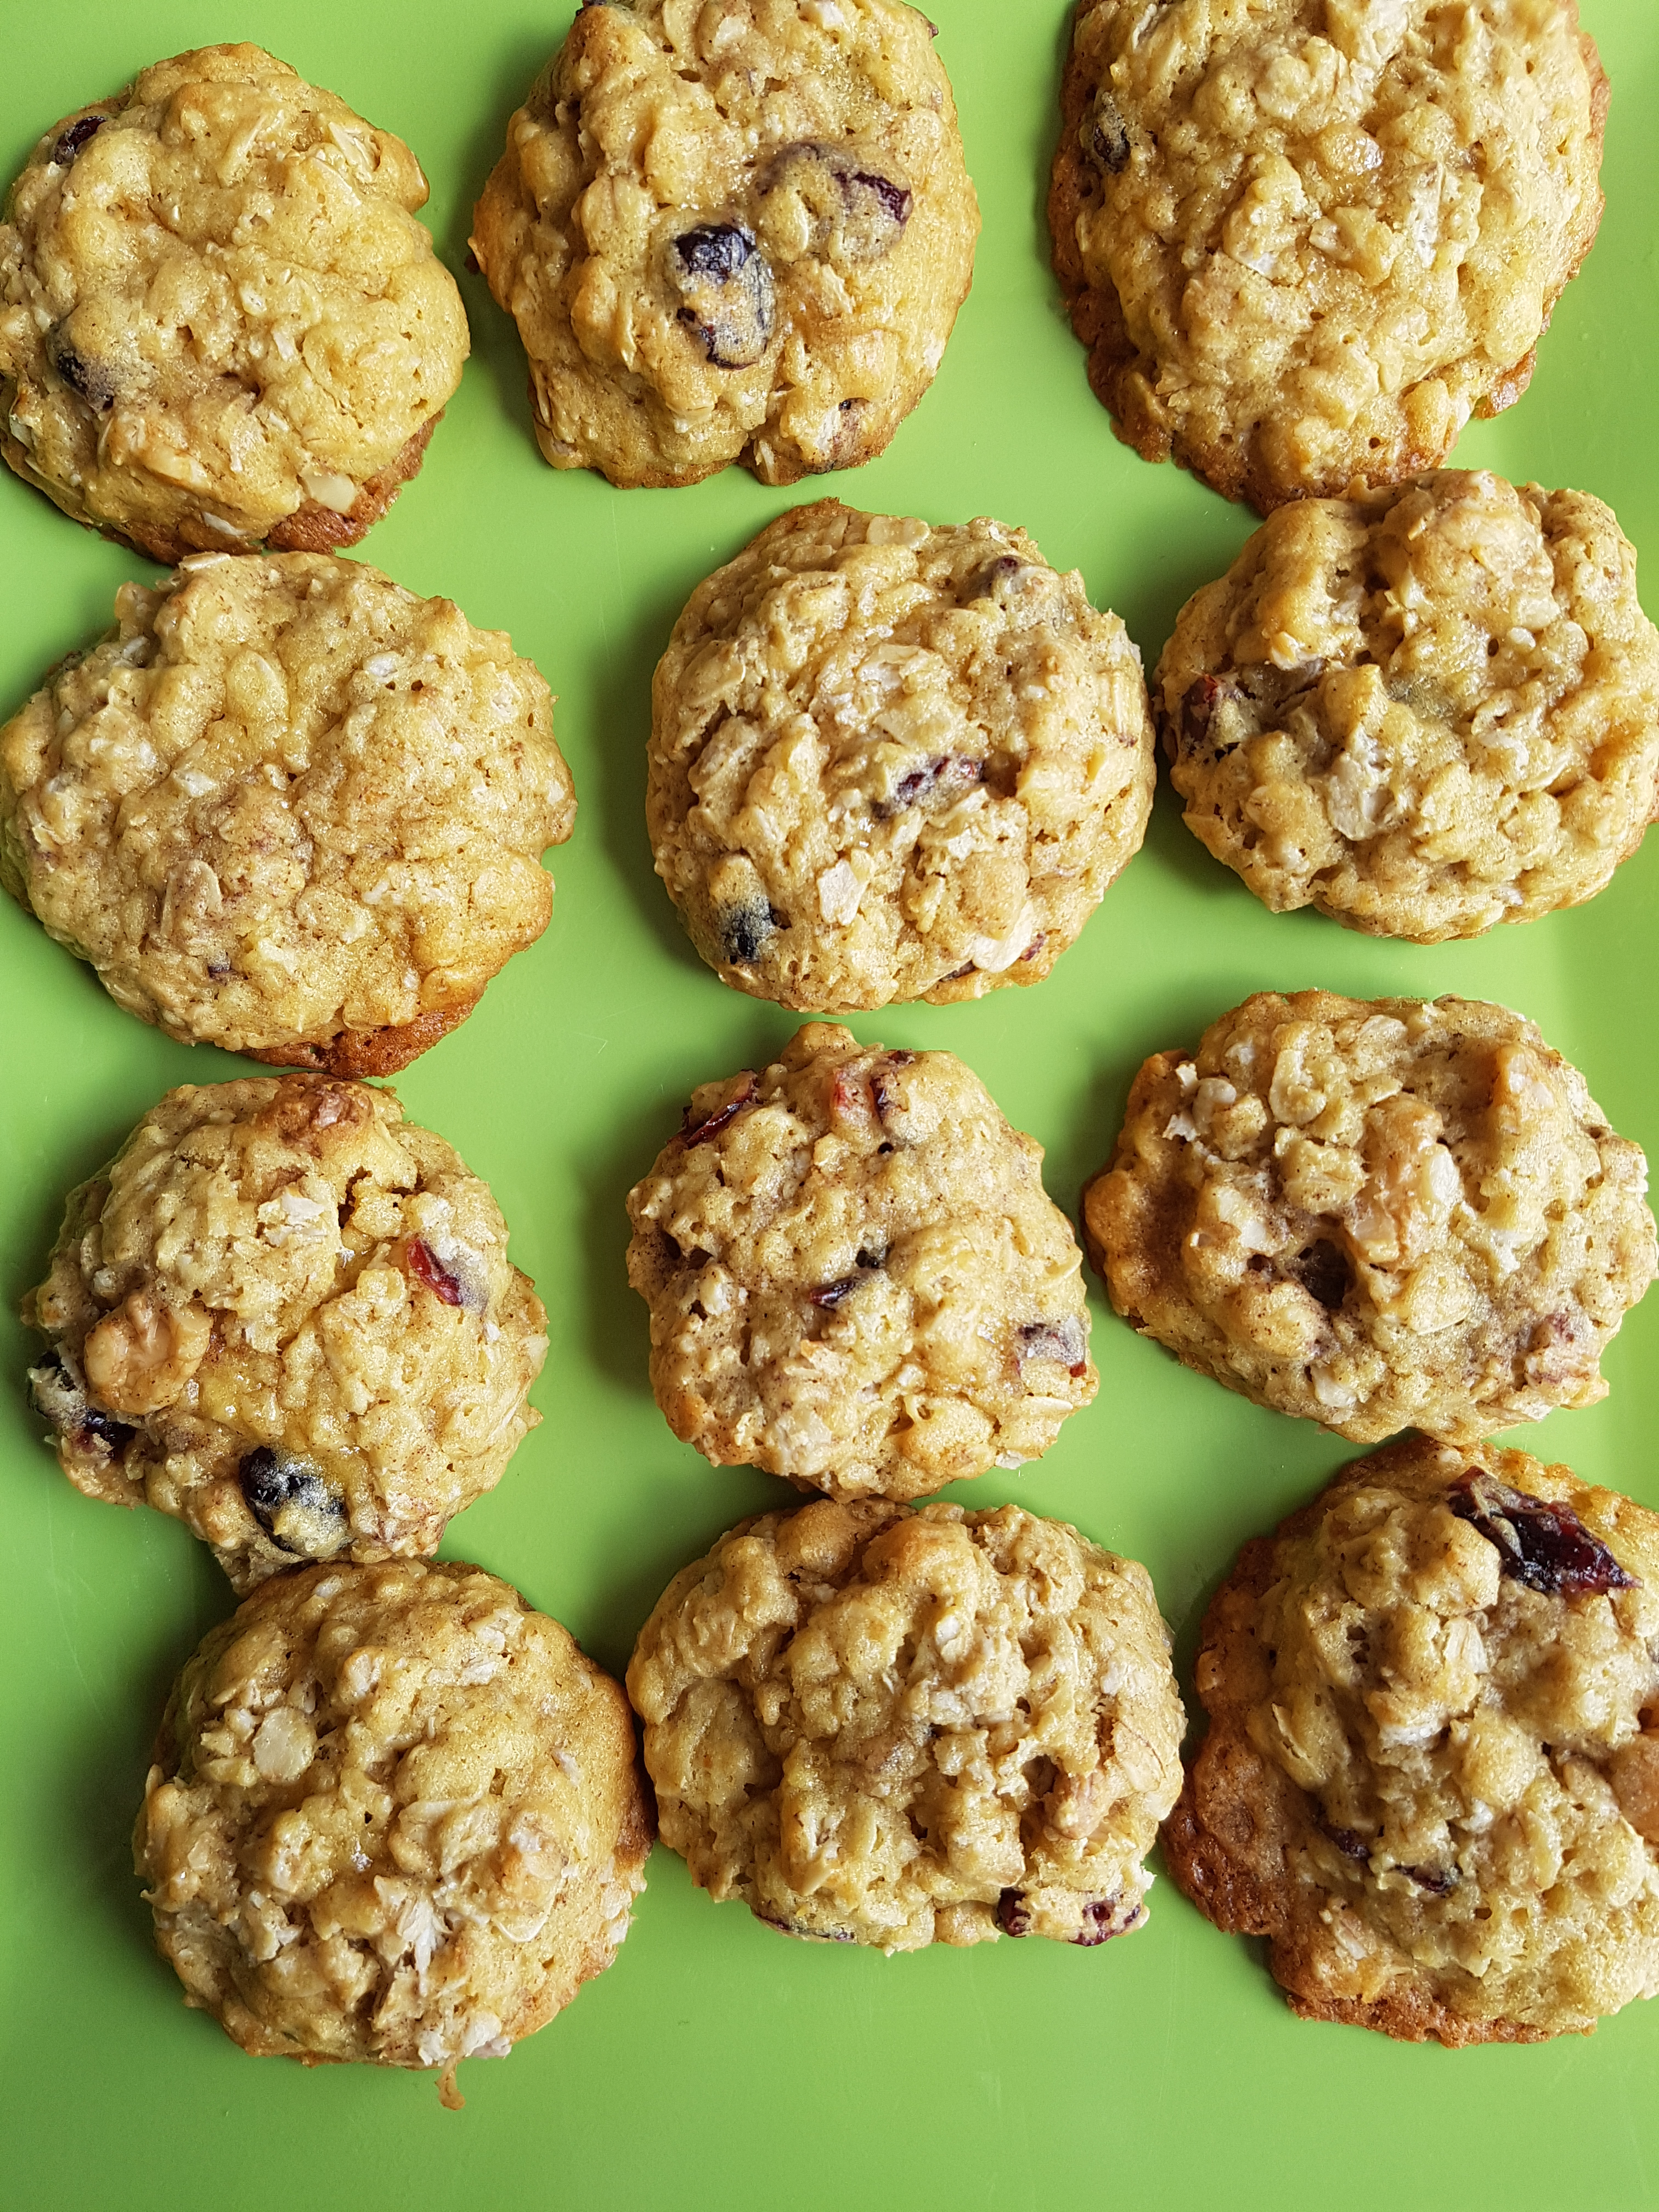
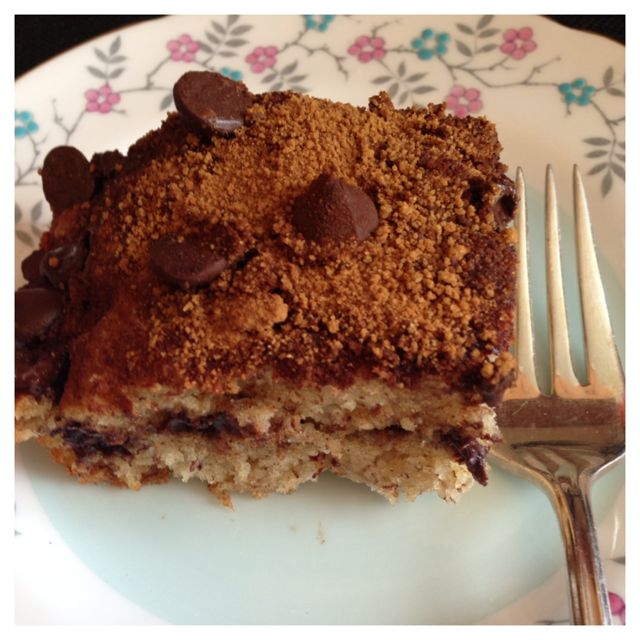
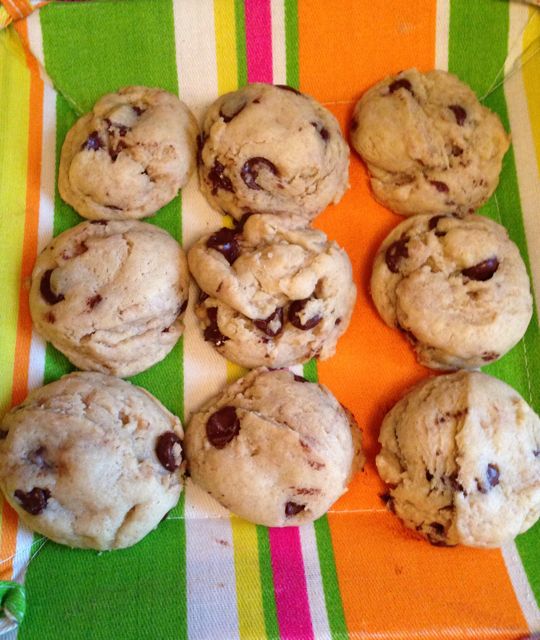
Of course I spent some time on Pinterest and found a few ideas to get me in the holiday spirit. In particular, I found this recipe for Chanuka Gelt Cookies!  The other day I made them and they were a HUGE hit. I’m sure I will be making another batch soon. It took only one bowl, a few ingredients and about 30 minutes to make (start to finish).

Chanukah Gelt Cookies (original recipe from www.bakingandmistaking.com)

Ingredients:

2/3 cup (150g) butter or margarine, softened (I used butter …of course)
3/4 cup (150g) sugar
1 egg
2 teaspoons vanilla
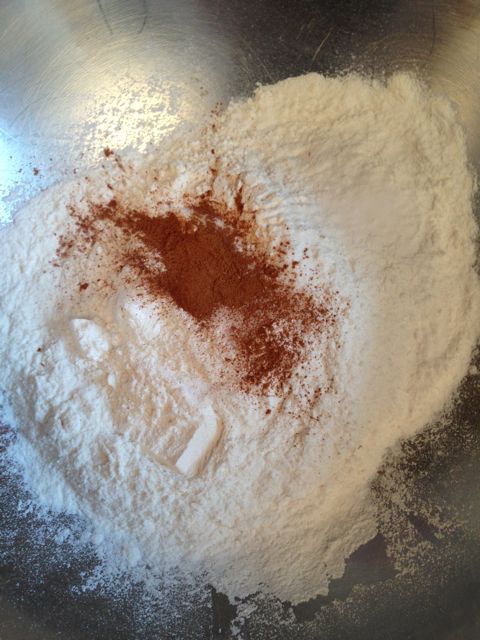
1 3/4 cups (220g) flour
1 teaspoon (5g) baking powder
1/2 teaspoon salt

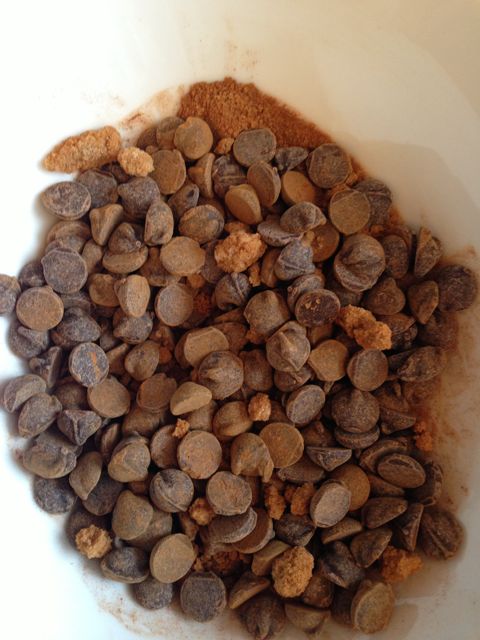
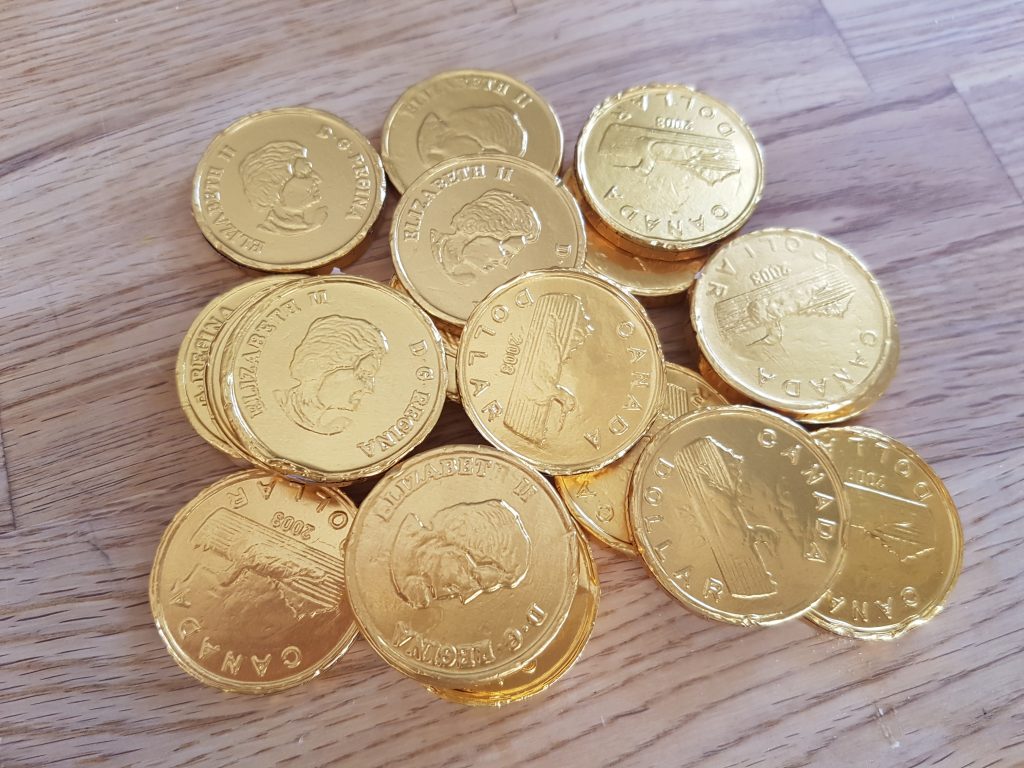
Unwrap the chocolate coins. (not as easy as it looks but easier than unwrapping candy canes!!)

gelt2

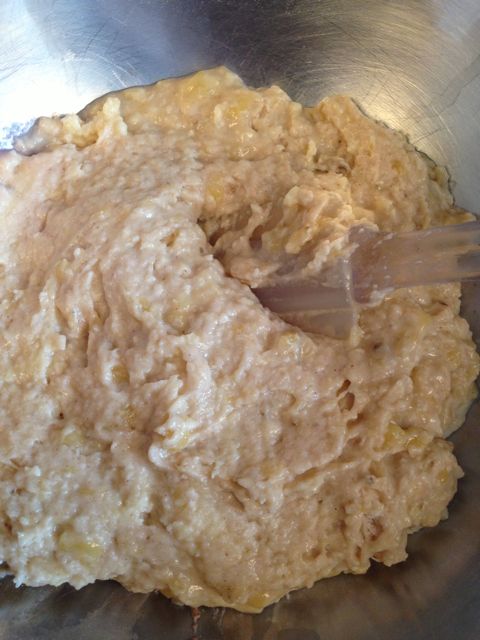
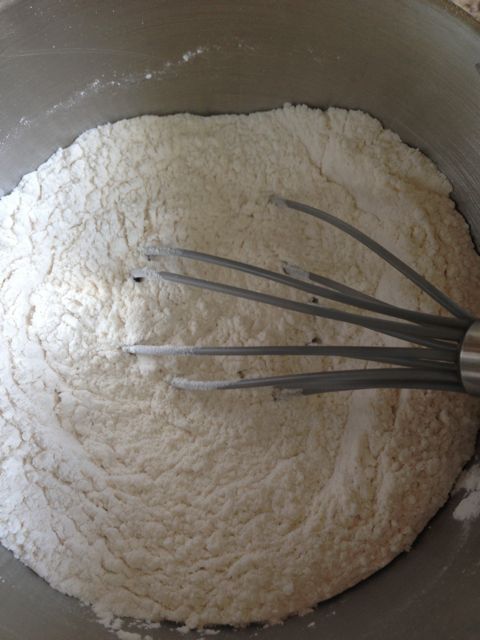
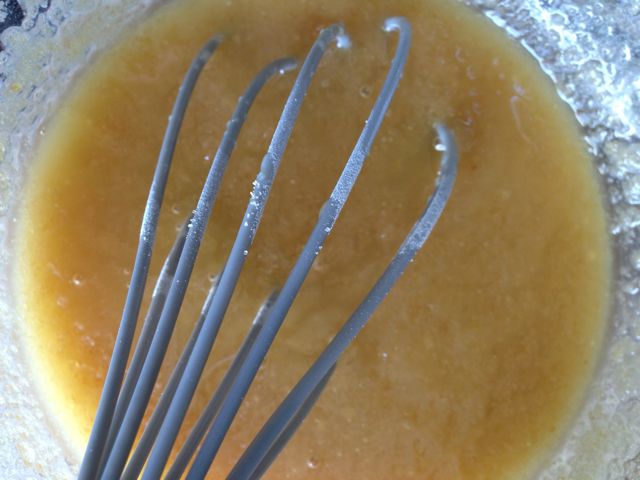
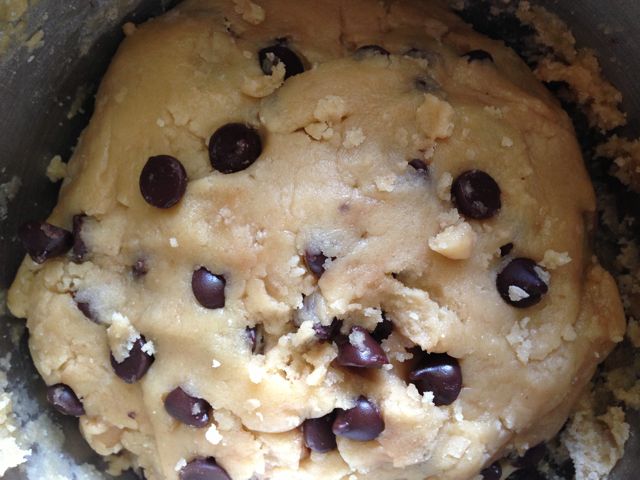
Beat together the butter and sugar until light and fluffy. Add in the egg and vanilla and mix until well incorporated. Add the flour, baking powder and salt and mix until the dough comes together. I then placed the dough into the fridge for an hour. (a tip I learned from Sally’s Baking Addiction)

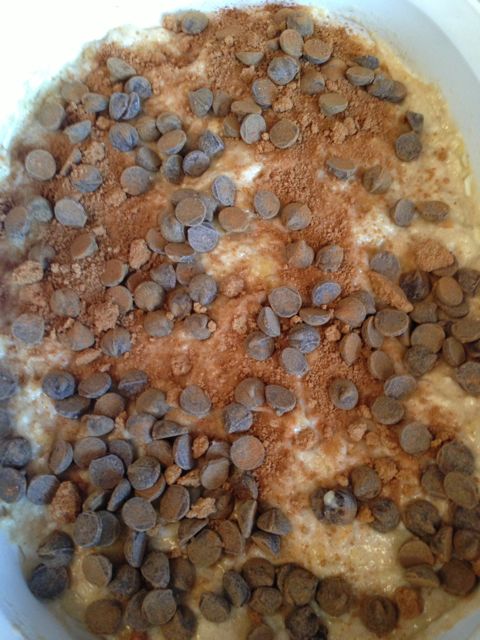
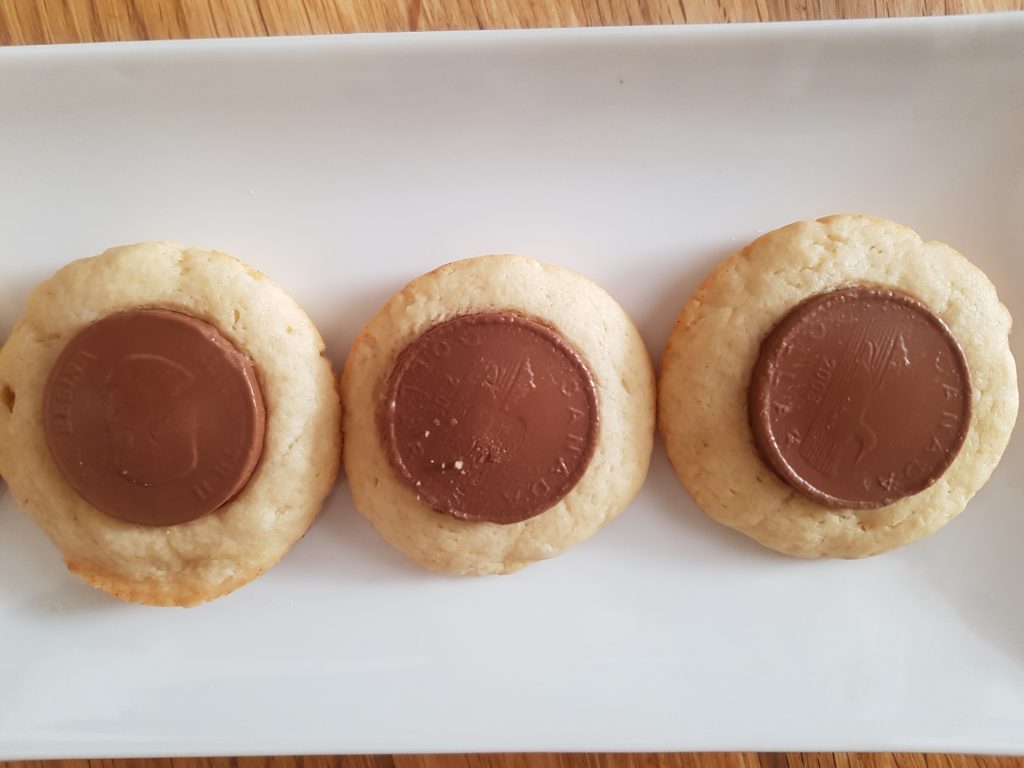
Roll the dough into a ball and flatten into a disc. Then place the disc, well spaced apart, on an ungreased baking sheet OR  put the dough into a muffin tin sprayed with Pam. This is a new kitchen hack that I learned that will prevent the dough from spreading too thin.muffin4
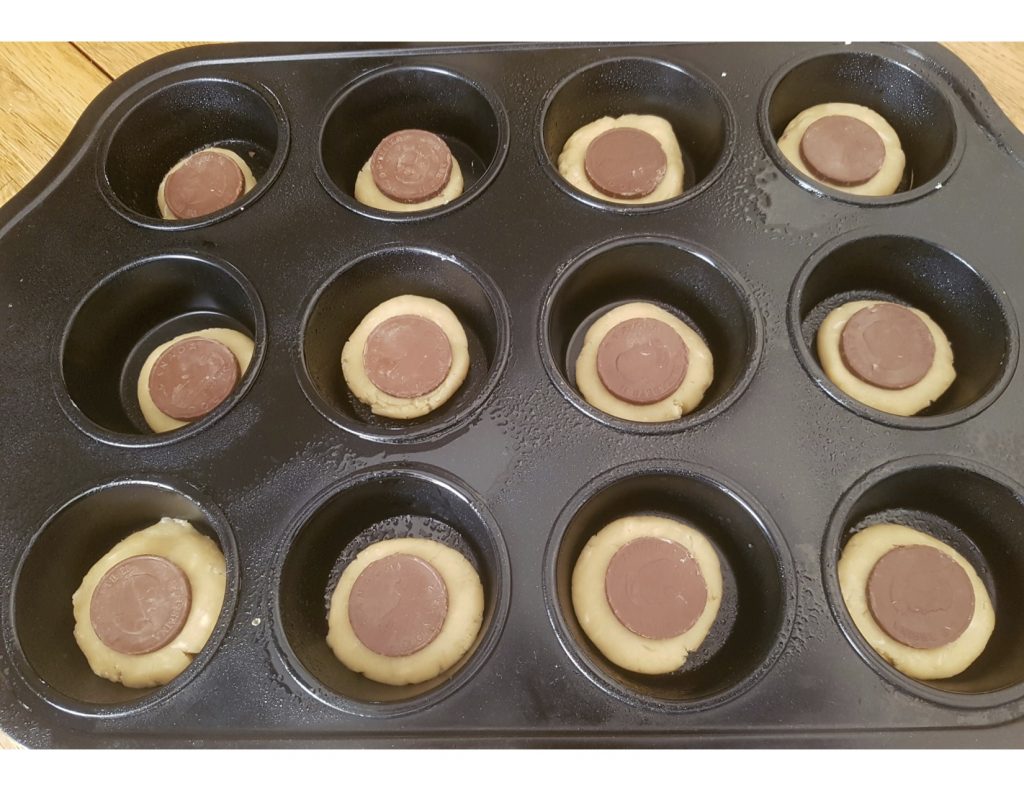
I then pressed the gelt (chocolate coin) into the centre of the cookie and placed it into the oven at 350 F for exactly 9 minutes. The edges were slightly brown but the centre was pale and puffy (and perfect)

Let them cool before removing them from the tin.

chanuka-gelt-2

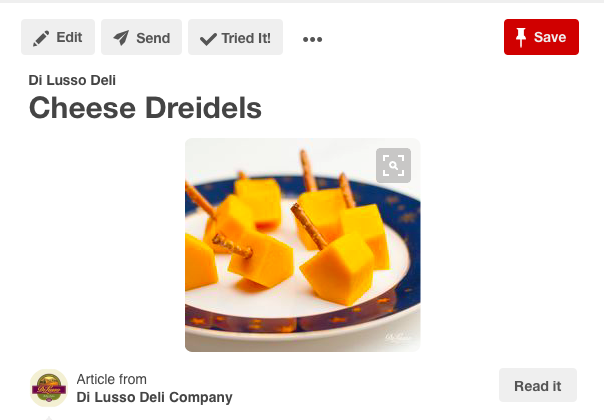
Other cool chanuka ideas (thanks Pinterest) that I’m going to attempt include these adorable Cheese Dreidels. How cute!! Loved this idea but something tells me I’m not going to be successful. Time will tell.

screen-shot-2016-12-12-at-9-25-03-pm


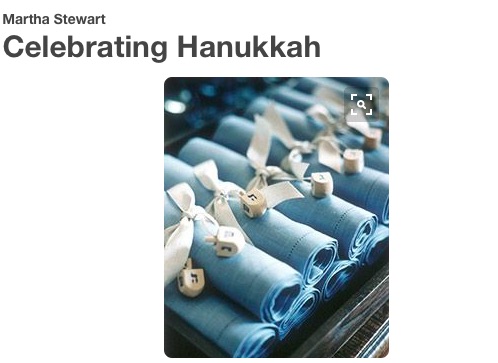
These cute napkin rings.

pinterst-chanuka

Wishing everyone who celebrates, a wonderful Chanuka. May light and peace fill these 8 days.

Share this:
Share this page via Email Share this page via Stumble Upon Share this page via Digg this Share this page via Facebook Share this page via Twitter

, , , , , ,

Dec
04

Need a Dessert?


I’m a big fan of making individual desserts. I truly believe if you serve a big cake to your guests everyone will say “I will pass”. But if you present them with their own dessert on a plate – they will accept it. Do you agree?

The dessert I served at a dinner party this past week was indeed “blog worthy” so here it is.

APPLE PIE BAKED APPLES (original recipe from Sally’s Baking Addiction can be found here)

Ingredients:

1/2 recipe homemade pie crust (ok I cheated and bought ready made pie crust)
1 teaspoon cornstarch
1 Tablespoon  warm water
8 firm apples  (Granny Smith, Honey Crisp, Gala) – 2 apples will be used for the apple filling)
1 teaspoon cinnamon
1/2 cup granulated sugar
1 teaspoon vanilla extract
1 large egg
1 teaspoon milk
homemade salted caramel sauce, for drizzling (optional)

Directions

Prepare the pie crust, including allowing it to chill for at least 2 hours. Or if you are short of time (story of my life) – take the pie crust out of the box and cut it into 1/4 inch wide strips.

Make the apple filling: In a very small bowl, mix the cornstarch and warm water together until smooth, creamy, and the cornstarch has disolved. Set aside. Peel and dice 1 apple. In a medium saucepan over medium heat, cook the apple pieces, cornstarch/water mixture, cinnamon, and sugar. Stir constantly for 5 minutes. Switch to low heat and allow to simmer for 5 minutes. Remove from heat, stir in the vanilla, and allow to cool off for 20 minutes.

apple-filling

TWO APPLES GO A LONG WAY!

Assemble: Slice off the tops of the 4 remaining apples. Using a spoon (or melon baller), dig out the core. This takes some effort but its worth it.

apples-core

Spoon the prepared apple filling into the cored-out apples.

apples-fill

Lay 3-4 strips of the pie dough on top of the apple. Then, working with one new strip at a time, alternate weaving it over and under the dough strips already in place. Repeat until the top of the apple has been covered in this lattice style crust. Using a sharp paring knife, trim excess pie crust around the edges. Repeat with remaining apples and pie dough strips.

apple-before-oven

Bake:
Place apples into an 8-inch or 9-inch square baking pan or pie dish– really any size baking pan works. In a small dish, whisk the egg and milk together. Lightly brush the tops with egg wash. I sprinkled a little bit of cinnamon on top of the egg wash before going into the oven.  Bake for 25-30 minutes in a 375 degree oven or until the crust is browned and the filling is bubbly.
If desired, drizzle each with salted caramel. Serve with ice cream!!

FINAL PRODUCT:

apples-final

Happy Baking!!

Share this:
Share this page via Email Share this page via Stumble Upon Share this page via Digg this Share this page via Facebook Share this page via Twitter

, , , ,

Mar
31


The other day, I was in the mood to do some baking. Therefore I took a look at what was in the pantry and decided that I was going to make Oatmeal Raisin Cookies. Then I sat on the computer and googled “Oatmeal Raisin Cookies”. Naturally a whole bunch of recipes came up but one recipe from Sally’s Baking Addiction caught my attention.

I’ve used recipes from this website before and I really trust Sally’s Baking Addictions’ knowledge and recipes.

She always seems to do something to the recipe that makes the end result “that much better”.

Once again – her recipe for Soft & Chewy Oatmeal Raisin Cookies will now become my “go-to” recipe when I’m craving this cookie.

Recipe: Soft & Chewy Oatmeal Raisin Cookie (from Sally’s Baking Addiction)

Ingredients

1 cup (230g) unsalted butter, softened to room temperature
1 cup (200g) packed light or dark brown sugar
1/4 cup (50g) granulated sugar
2 large eggs 1
1 Tablespoon vanilla extract (yes, Tablespoon!)
1 Tablespoon molasses….(Um I didn’t have this in my pantry and the recipe still came out)
1 and 1/2 cups (190g) all-purpose flour (spoon & leveled)
1 teaspoon baking soda
1 and 1/2 teaspoons ground cinnamon
1/2 teaspoon salt
3 cups (240g) old-fashioned rolled oats
1 cup (140g) raisins
1/2 cup (64g) chopped toasted walnuts (optional)

Directions:

Cream the softened butter and both sugars together on medium speed in your mixer, until smooth. (about 2 minutes).

Add the eggs and mix on high until combined (about 1 minute). Scrape down the sides of the bowl as needed. Add the vanilla and molasses and mix on high until combined. Set aside.

In a separate bowl, toss the flour, baking soda, cinnamon, and salt together. Add to the wet ingredients (this is important that you get this step right) and mix on low until combined.

Beat in the oats, raisins, and walnuts (if using) on low speed. Dough will be thick, yet very sticky. Chill the dough for 30-60 minutes in the refrigerator (do the full hour if you’re afraid that the cookies will spread too much) This is an important step!

Preheat oven to 350°F (177°C). Line two large baking sheets with parchment paper or silicone baking mats. (Always recommended for cookies.) Set aside.

Roll balls of dough (about 1.5 tablespoons of dough per cookie) and place 2 inches apart on the baking sheets. Bake for exactly 10 minutes until very lightly browned on the sides. The center will look very soft and undone but that’s OK.

Remove from the oven and let cool on baking sheet for 5 minutes before transferring to a wire rack to cool completely. The cookies will continue to “set” on the baking sheet during this time.

FINAL PRODUCT

oatmeal cookies

More tips from Sally’s Baking Addiction:

Room temperature eggs preferred. Good rule of thumb: always use room temperature eggs when using room temperature butter.
Soak your raisins in warm water for 10 minutes before using (blot very well to dry them) – this makes them nice and plump for your cookies. OR even try them with Raisinets!

Happy Baking!


Share this:
Share this page via Email Share this page via Stumble Upon Share this page via Digg this Share this page via Facebook Share this page via Twitter

, , , ,

Oct
20


T’is the season that pumpkins are everywhere!! I’m not complaining as I adore pumpkin pie but didn’t want to go thru the process of making crust. Know what I mean? So I went online (for a change) to see what other options are out there and naturally I was inspired.

I bought a can of Pure Pumpkin and made two recipes with it and still have some left!!

pumpkin pie can

Recipe #1…Pumpkin Pudding (for the original recipe please click on www.myrecipes.com). This recipe is super easy and only required 6 tablespoons of sugar. #loveit.

INGREDIENTS

6 tablespoons of sugar
2 tablespoons cornstarch
1 3/4 cups 1% low-fat milk
1 large egg
1/2 cup canned unsweetened pumpkin
1 teaspoon vanilla extract
1/2 teaspoon ground cinnamon
1/8 teaspoon salt
1/8 teaspoon ground nutmeg
Cooking spray
1/4 cup chopped walnuts (I left this out)
Dash of salt
1/4 cup heavy whipping cream
 DIRECTIONS
 1. Combine 6 tablespoons sugar and 2 tablespoons cornstarch in a medium saucepan over medium heat. Combine milk and egg, stirring well with a whisk. Gradually add milk mixture to sugar mixture, stirring constantly, and bring to a boil. Cook for 1 minute, stirring constantly. Remove from heat.

2. Combine pumpkin and the next 4 ingredients (through ground nutmeg) in a bowl, stirring well. Slowly add pumpkin mixture to milk mixture, whisking constantly. Place pan over low heat, and cook for 3 minutes or until thoroughly heated, stirring constantly (do not boil). Divide pudding evenly among 4 dessert bowls, and cover surface of pudding with plastic wrap. Chill.

4. Place cream in a bowl. Beat with a mixer at high speed until stiff peaks form. Top each serving with 2 tablespoons whipped cream and about 1 tablespoon nuts. (I omitted the nuts and simply sprinkled it with some whip cream).

FINAL RESULT pumpkin pudding

Recipe #2….Pumpkin Chocolate Chip Bread OR Muffins (taken from Sally’s Baking Addiction). I have used her recipes before and will continue to use her recipes! She always has some little tip that will make a difference ie. the addition of orange juice.

INGREDIENTS

  • 1 and 3/4 cups (220g) all-purpose flour
  • 1 teaspoon baking soda
  • 2 teaspoons ground cinnamon
  • 1/4 teaspoon ground nutmeg1
  • 1/4 teaspoon ground cloves1
  • 3/4 teaspoon salt
  • 2 large eggs
  • 3/4 cup (150g) granulated sugar
  • 1/2 cup (100g) packed light or dark brown sugar
  • 1 and 1/2 cups (340g) pumpkin puree (canned or fresh)
  • 1/2 cup (120ml) vegetable oil, canola oil, or melted coconut oil
  • 1/4 cup (60ml) orange juice
  • 2/3 cup (120g) semi-sweet chocolate chips2

DIRECTIONS:

  1. Adjust the oven rack to the lower third position and preheat the oven to 350F degrees. Lowering the oven rack prevents the top of your bread from browning too much too soon. Spray a 9×5 inch loaf pan with non-stick spray. Set aside.
  2. In a large bowl, whisk the flour, baking soda, cinnamon, nutmeg, cloves, and salt together until combined. In a medium bowl, whisk the eggs, granulated sugar, and brown sugar together until combined. Whisk in the pumpkin, oil, and orange juice. Pour these wet ingredients into the dry ingredients (follow this step carefully..it makes a difference) and gently mix together using a rubber spatula or a wooden spoon. There will be a few lumps. Do not overmix. Gently fold in the chocolate chips.
  3. Pour the batter into the prepared loaf pan. Bake for 60-65 minutes, making sure to loosely cover the bread with aluminum foil halfway through to prevent the top from getting too brown. The bread is done when a toothpick inserted in the center comes out clean with only a few small moist crumbs. This may be before or after 60-65 minutes depending on your oven, so begin checking every 5 minutes at the 55 minute mark or so. (my muffins took about 20 minutes to bake)
  4. Allow the bread to cool completely in the pan on a wire rack before removing and slicing. The bread will stay fresh in an airtight container (it tastes better on day 2!) at room temperature or in the refrigerator for up to 10 days. But it won’t last that long.
  5. Make ahead tip: Baked bread can be frozen up to 3 months. Thaw overnight in the refrigerator and bring to room temperature before serving.

Additional Notes:

  1. You can use 1/2 teaspoon pumpkin pie spice instead of these spices.
  2. Try using milk chocolate, white chocolate, dark chocolate, or even pecans/walnuts instead of the semi-sweet chocolate chips

FINAL RESULT: 

pumpkin muffins

HAPPY BAKING!!


Share this:
Share this page via Email Share this page via Stumble Upon Share this page via Digg this Share this page via Facebook Share this page via Twitter

, , , , ,

Feb
05


I knew that there would be a snow storm on Wednesday and it would be the perfect reason to STAY HOME  and cook/bake/clean and work!! It wasn’t hard to figure out what to bake, seeing as I received a recipe that peeked my interest in my inbox the other day. This is what happens when you subscribe to a food blog!! The recipe is from Sally’s Baking Addiction and it’s called ” Banana Chocolate Chip Crumb Cake”.

It’s easy to make, moist and a great way to use up those ripe bananas!!

Banana Chocolate Chip Crumb Cake – from Sally’s Baking Addiction

INGREDIENTS:

  • 1 and 1/2 cups (190g) all-purpose flour
  • 1/2 teaspoon ground cinnamon
  • 3/4 teaspoon baking soda
  • 3/4 teaspoon baking powder
  • 1/4 teaspoon salt
  • 5 Tablespoons (75g) unsalted butter, softened to room temperature
  • 1/2 cup (100g) granulated sugar
  • 1 large egg
  • 1 teaspoon vanilla extract
  • 1 and 1/2 cup mashed bananas, very ripe (about 3 large bananas)
  • 1/4 cup (60g) yogurt – I used Greek yogurt but you can use any type of plain yogurt

    STREUSEL

  • 1 tablespoon ground cinnamon
  • 1/4 cup (50g) light brown sugar (or dark brown sugar)
  • 3/4 cup (135g) semi-sweet chocolate chips
  • 1/2 cup (70g) chopped pecans or walnuts, optional (I did not use any nuts as I wanted to make this as a lunch box snack)

Directions

1.Preheat oven to 350F degrees. Spray an 8×8 or 9×9 baking pan with nonstick spray. p.s I don’t own an 8×8 baking pan (can u believe) but my oval CorningWare worked out just fine.

2. In a medium bowl, toss the flour, cinnamon, baking soda, baking powder, and salt together. Set aside.

first step - easy enough

first step – easy enough

3. Using a handheld or stand mixer with a paddle attachment, beat the butter on high speed until creamy, about 1 minute.  Switch the mixer to medium speed and beat in the sugar until combined. Beat in the egg and vanilla extract, scraping down the sides and bottom of the bowl as needed. Add the mashed banana and yogurt and turn the mixer on high and beat until creamy, about 1 minute.

4. Turn the mixer off and pour the dry ingredients into the wet ingredients. (repeat – put the DRY INGREDIENTS INTO THE WET INGREDIENTS) .Turn the mixer on low and slowly beat until combined. Do not overmix.

snow - wet

5. Make the streusel by combining all of the streusel ingredients into a small bowl.

I made a "nut free" version

I made a “nut free” version

6. . Layer half of the batter into the prepared baking pan. Top with half of the streusel. Repeat with the rest of the batter and streusel.

snow - layer

7. Bake for 40 minutes, covering the cake with aluminum foil after 25 minutes to prevent the edges from browning too quickly. Bake until the center is baked through.

FINAL RESULT

snow - final

Allow to slightly cool for ten minutes before cutting and serving. Not that this cake stays fresh  if you cover it tightly at room temperature for up to 4 days.

I also put half of it in the freezer as I’m sure it freezes well too. (time will tell).

This is the second time I’m baking a recipe from this blog however I’m sure it won’t be the last time!!

Happy Baking!!

Share this:
Share this page via Email Share this page via Stumble Upon Share this page via Digg this Share this page via Facebook Share this page via Twitter

, , , , ,

Sep
13


I’ve been using the same chocolate chip recipe that I cut out from the Toronto Star for years. It served me well however the results were never consistent. One day, I googled “chocolate chip cookie” recipe and a few recipes came up. (just a few..HA). I realized that many of the recipes had the same ingredients but the measurements are slightly different. Plus the technique can be different too!!

After clicking on a few websites, I came across a recipe that was posted on a blog called: Sally’s Baking Addiction! 

Her recipe stood out for these three reasons:

1. the photos (seriously…they couldn’t get any better)

2. she explained each component of the recipe.

3. the addition of CORNSTARCH intrigued me.

I tried out the recipe and then continued to make about 5 batches. I COULD NOT STOP MAKING THIS RECIPE!! Thank you Sally’s Baking Addiction for this perfect recipe.

INGREDIENTS

  • 2 and 1/4 cups (280 grams) all-purpose flour
  • 1 teaspoon baking soda
  • 1 and 1/2 teaspoons cornstarch
  • 1/2 teaspoon salt
  • 3/4 cup (1.5 sticks or 170 grams) unsalted butter, melted
  • 3/4 cup (150 grams) light brown sugar, loosely packed
  • 1/2 cup (100 grams) granulated sugar
  • 1 large egg + 1 egg yolk (preferably at room temperature)
  • 2 teaspoons vanilla extract
  • 1 cup (180 grams) chocolate chips or chocolate chunks

DIRECTIONS

  • Mix together the flour, baking soda, cornstarch and salt in a large bowl. Set aside. (simple enough, right?)cookie - dry
  • In a medium size bowl, whisk the melted butter, brown sugar, and white sugar together until the lumps disappear. Whisk in the egg, then the egg yolk. Finally, whisk in the vanilla.cookie - wet
  •   Pour the wet ingredients into the dry ingredients and mix together with a large spoon. THIS IS AN IMPORTANT STEP and MUST BE DONE CORRECTLY. (I’m talking from experience!!)
  • The dough will be somewhat soft. Fold in the chocolate chips. They may not stick to the dough because of the melted butter, but most of them managed to stick into the dough.
  • Cover the dough and chill for 2 hours, or up to 3 days. THIS STEP IS MANDATORY.
  • Take the dough out of the refrigerator and allow to soften at room temperature for 10 minutes.cookie - fridge
  • Preheat the oven to 325F degrees. Line two large baking sheets with parchment paper or silicone baking mats. Set aside.
  • Roll the dough into balls, about 3 Tablespoons of dough each. The dough will be crumbly, but the warmth of your hands will allow the balls to stay intact. (I used a cookie scooper for this part). Place them evenly on the baking sheet.
  •  Bake the cookies for 11-12 minutes. The cookies will look very soft and underbaked. IMPORTANT: Do not bake longer than 12 minutes. They will continue to bake on the cookie sheet. Allow to cool on the cookie sheet for 10 minutes before moving to a wire rack to cool completely.
  • FINAL RESULT:cookies - final

Now go grab yourself a glass of cold milk and enjoy a cookie (or two).

Happy Baking.


Share this:
Share this page via Email Share this page via Stumble Upon Share this page via Digg this Share this page via Facebook Share this page via Twitter

, , , , , , , ,