I knew that there would be a snow storm on Wednesday and it would be the perfect reason to STAY HOME and cook/bake/clean and work!! It wasn’t hard to figure out what to bake, seeing as I received a recipe that peeked my interest in my inbox the other day. This is what happens when you subscribe to a food blog!! The recipe is from Sally’s Baking Addiction and it’s called ” Banana Chocolate Chip Crumb Cake”.
It’s easy to make, moist and a great way to use up those ripe bananas!!
Banana Chocolate Chip Crumb Cake – from Sally’s Baking Addiction
INGREDIENTS:
- 1 and 1/2 cups (190g) all-purpose flour
- 1/2 teaspoon ground cinnamon
- 3/4 teaspoon baking soda
- 3/4 teaspoon baking powder
- 1/4 teaspoon salt
- 5 Tablespoons (75g) unsalted butter, softened to room temperature
- 1/2 cup (100g) granulated sugar
- 1 large egg
- 1 teaspoon vanilla extract
- 1 and 1/2 cup mashed bananas, very ripe (about 3 large bananas)
- 1/4 cup (60g) yogurt – I used Greek yogurt but you can use any type of plain yogurt
STREUSEL
- 1 tablespoon ground cinnamon
- 1/4 cup (50g) light brown sugar (or dark brown sugar)
- 3/4 cup (135g) semi-sweet chocolate chips
- 1/2 cup (70g) chopped pecans or walnuts, optional (I did not use any nuts as I wanted to make this as a lunch box snack)
Directions
1.Preheat oven to 350F degrees. Spray an 8×8 or 9×9 baking pan with nonstick spray. p.s I don’t own an 8×8 baking pan (can u believe) but my oval CorningWare worked out just fine.
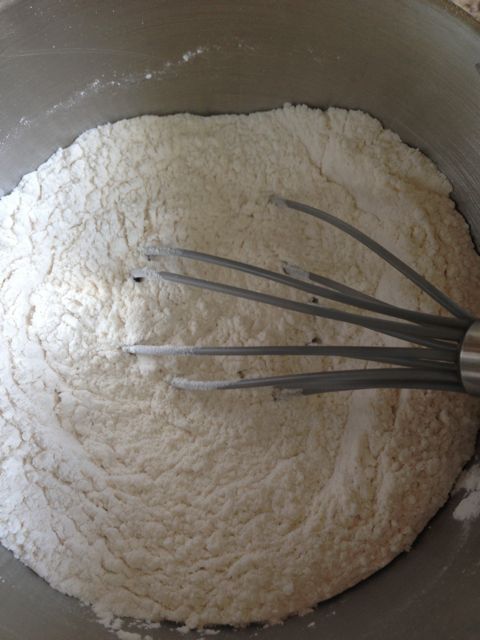
2. In a medium bowl, toss the flour, cinnamon, baking soda, baking powder, and salt together. Set aside.
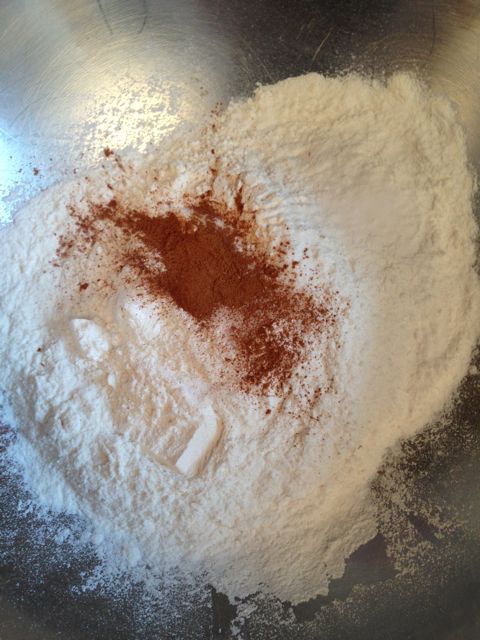
first step – easy enough
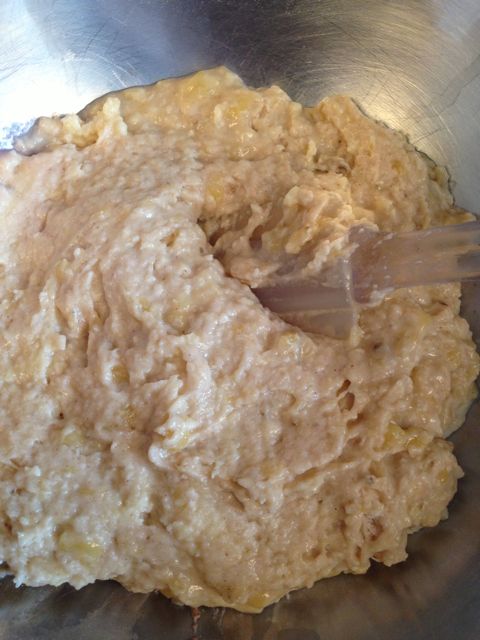
3. Using a handheld or stand mixer with a paddle attachment, beat the butter on high speed until creamy, about 1 minute. Switch the mixer to medium speed and beat in the sugar until combined. Beat in the egg and vanilla extract, scraping down the sides and bottom of the bowl as needed. Add the mashed banana and yogurt and turn the mixer on high and beat until creamy, about 1 minute.
4. Turn the mixer off and pour the dry ingredients into the wet ingredients. (repeat – put the DRY INGREDIENTS INTO THE WET INGREDIENTS) .Turn the mixer on low and slowly beat until combined. Do not overmix.
5. Make the streusel by combining all of the streusel ingredients into a small bowl.
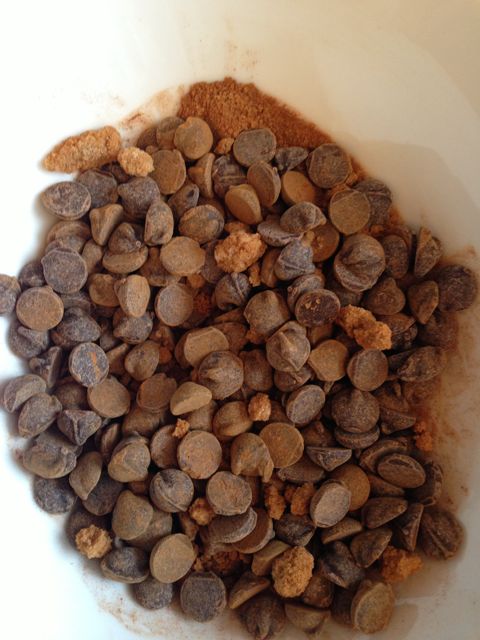
I made a “nut free” version
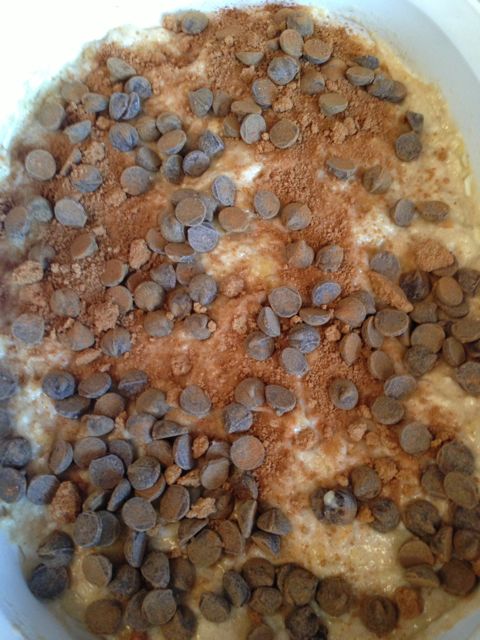
6. . Layer half of the batter into the prepared baking pan. Top with half of the streusel. Repeat with the rest of the batter and streusel.
7. Bake for 40 minutes, covering the cake with aluminum foil after 25 minutes to prevent the edges from browning too quickly. Bake until the center is baked through.
FINAL RESULT
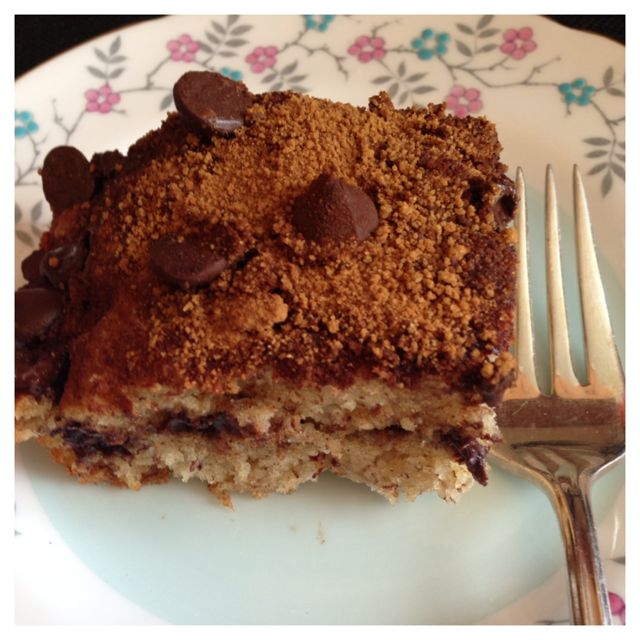
Allow to slightly cool for ten minutes before cutting and serving. Not that this cake stays fresh if you cover it tightly at room temperature for up to 4 days.
I also put half of it in the freezer as I’m sure it freezes well too. (time will tell).
This is the second time I’m baking a recipe from this blog however I’m sure it won’t be the last time!!
Happy Baking!!
Banana, blog, chocolate chip, Recipe, Sallys Baking addiction, Snow
I’ve been using the same chocolate chip recipe that I cut out from the Toronto Star for years. It served me well however the results were never consistent. One day, I googled “chocolate chip cookie” recipe and a few recipes came up. (just a few..HA). I realized that many of the recipes had the same ingredients but the measurements are slightly different. Plus the technique can be different too!!
After clicking on a few websites, I came across a recipe that was posted on a blog called: Sally’s Baking Addiction!
Her recipe stood out for these three reasons:
1. the photos (seriously…they couldn’t get any better)
2. she explained each component of the recipe.
3. the addition of CORNSTARCH intrigued me.
I tried out the recipe and then continued to make about 5 batches. I COULD NOT STOP MAKING THIS RECIPE!! Thank you Sally’s Baking Addiction for this perfect recipe.
INGREDIENTS
- 2 and 1/4 cups (280 grams) all-purpose flour
- 1 teaspoon baking soda
- 1 and 1/2 teaspoons cornstarch
- 1/2 teaspoon salt
- 3/4 cup (1.5 sticks or 170 grams) unsalted butter, melted
- 3/4 cup (150 grams) light brown sugar, loosely packed
- 1/2 cup (100 grams) granulated sugar
- 1 large egg + 1 egg yolk (preferably at room temperature)
- 2 teaspoons vanilla extract
- 1 cup (180 grams) chocolate chips or chocolate chunks
DIRECTIONS
- Mix together the flour, baking soda, cornstarch and salt in a large bowl. Set aside. (simple enough, right?)
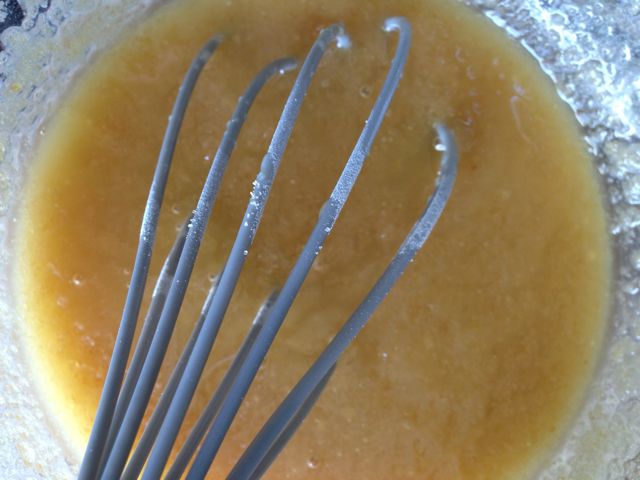
- In a medium size bowl, whisk the melted butter, brown sugar, and white sugar together until the lumps disappear. Whisk in the egg, then the egg yolk. Finally, whisk in the vanilla.
- Pour the wet ingredients into the dry ingredients and mix together with a large spoon. THIS IS AN IMPORTANT STEP and MUST BE DONE CORRECTLY. (I’m talking from experience!!)
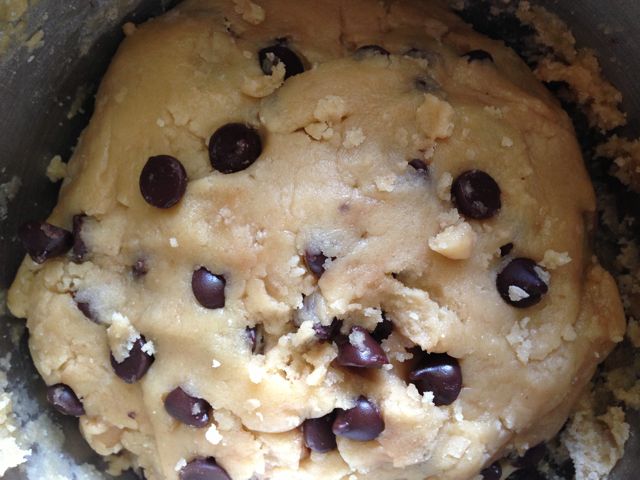
- The dough will be somewhat soft. Fold in the chocolate chips. They may not stick to the dough because of the melted butter, but most of them managed to stick into the dough.
- Cover the dough and chill for 2 hours, or up to 3 days. THIS STEP IS MANDATORY.
- Take the dough out of the refrigerator and allow to soften at room temperature for 10 minutes.
- Preheat the oven to 325F degrees. Line two large baking sheets with parchment paper or silicone baking mats. Set aside.
- Roll the dough into balls, about 3 Tablespoons of dough each. The dough will be crumbly, but the warmth of your hands will allow the balls to stay intact. (I used a cookie scooper for this part). Place them evenly on the baking sheet.
- Bake the cookies for 11-12 minutes. The cookies will look very soft and underbaked. IMPORTANT: Do not bake longer than 12 minutes. They will continue to bake on the cookie sheet. Allow to cool on the cookie sheet for 10 minutes before moving to a wire rack to cool completely.
- FINAL RESULT:
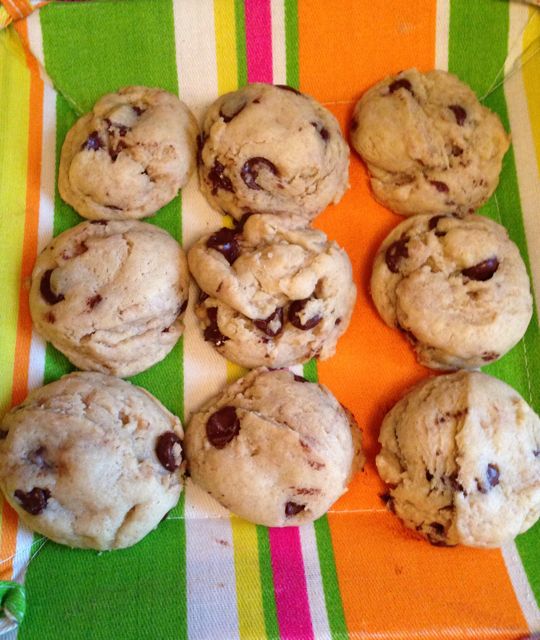
Now go grab yourself a glass of cold milk and enjoy a cookie (or two).
Happy Baking.
blog, chocolate chip, Chocolate chip cookie, cookie, cornstarch, milk, Recipe, Sallys Baking addiction, Toronto Star


