I have talked about my love for my rice cooker before and I will talk about it again. Here’s what you really need to know: GO OUT AND GET ONE. STAT!! Sorry I’m yelling but I feel very strongly about this.
My first rice cooker was bought back in May 2010 after touring T & T in Ottawa with a group of twitter friends.
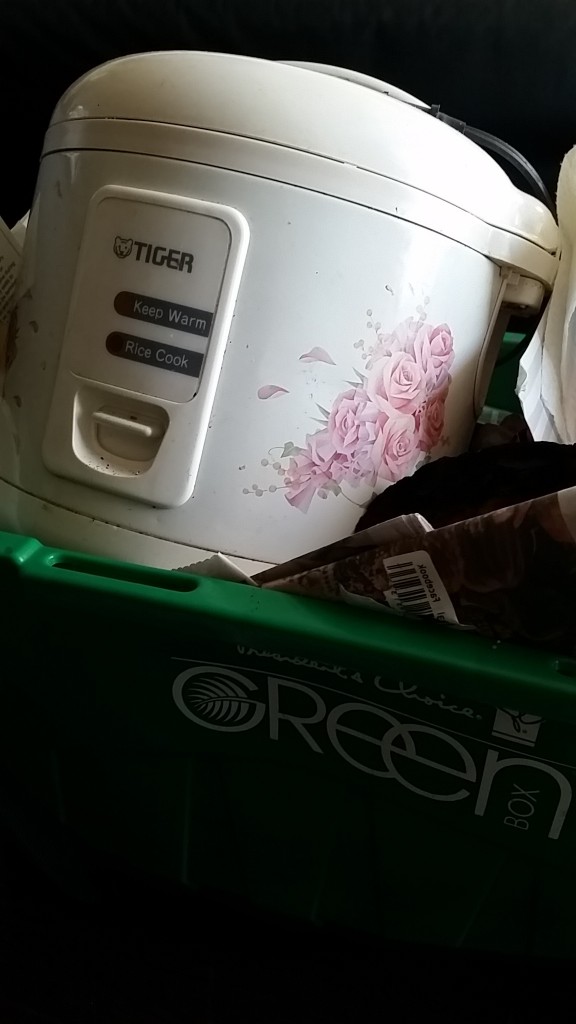
I bought a Tiger Rice Cooker and got hooked on the fact that I could press a button, go get a manicure and return to a bowl of perfectly cooked rice.
Although I loved my Tiger Rice Cooker, it wasn’t easy to clean. It had a hinged top and I could never clean it properly. I would take a photo to show you exactly what I mean but I can’t. It got that gross!
Therefore my beloved Tiger Rice Cooker went into the recycle bin. Bye Bye Tiger Rice Cooker.
Moving forward: I received a Breville Risotto Plus to replace my beloved Tiger Rice Cooker and I’m happy, happy, happy.
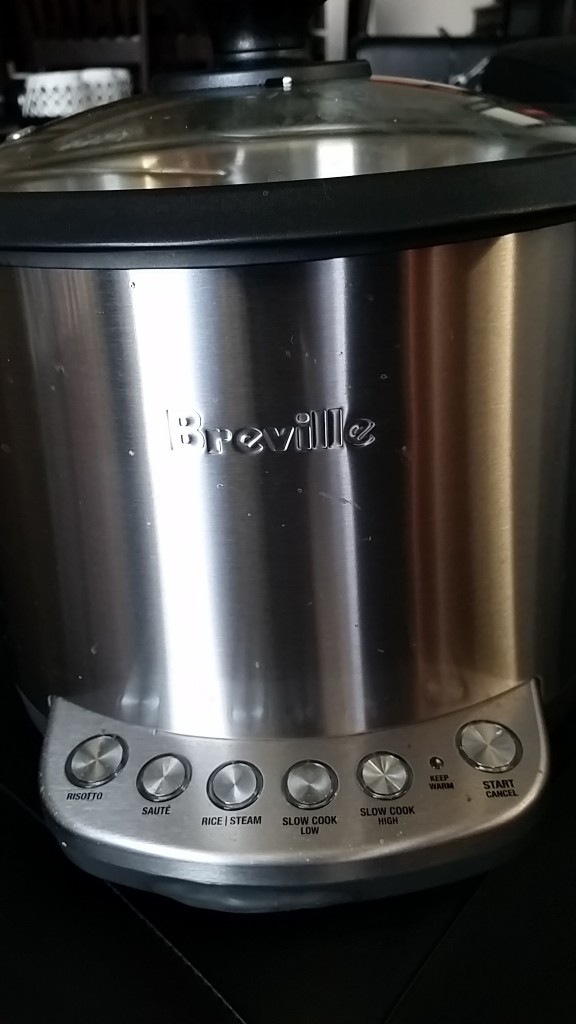
Here’s what I love about my new rice cooker.
-no hinged top
-I can steam vegetables at the same time (which I’ve done already)
-it’s easy to clean.
-I can even make risotto. Check out the left button on the photo below!

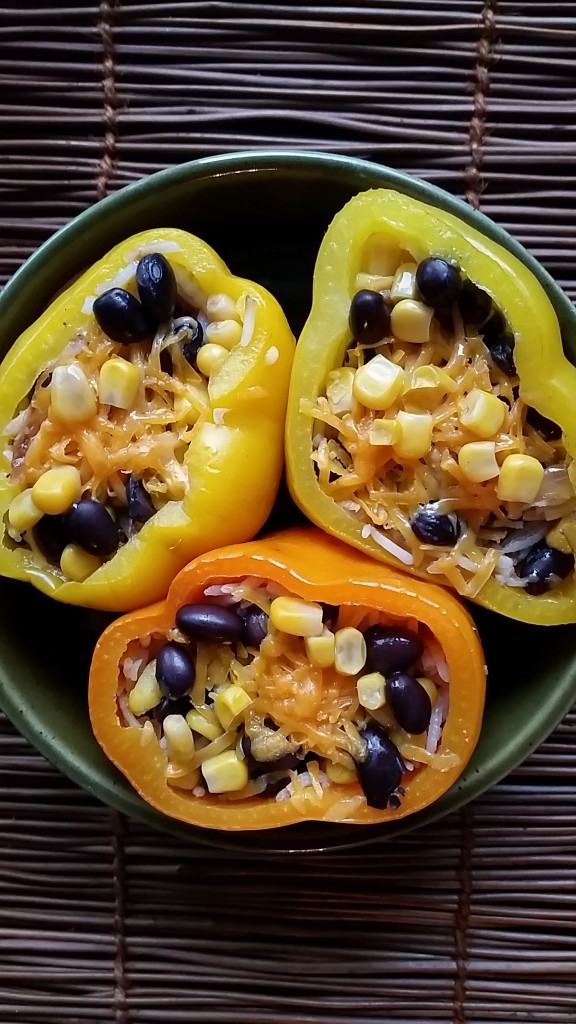
The other night, I made stuffed peppers with rice, corn, black beans and a touch of cheddar cheese. It was the perfect side dish.
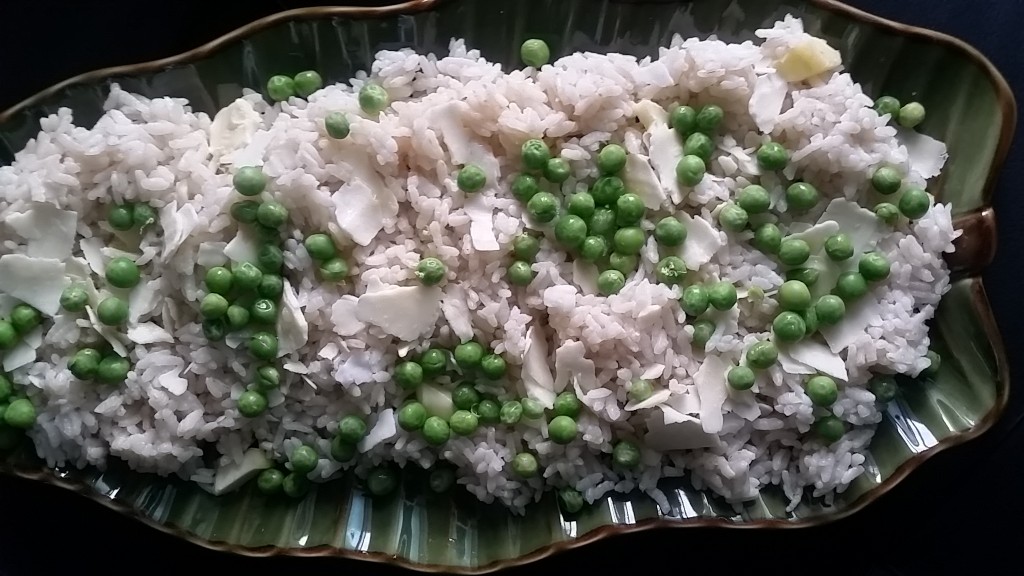
Not to mention, I tested out the risotto button and made this amazing risotto dish with peas, using PC Arborio Rice.
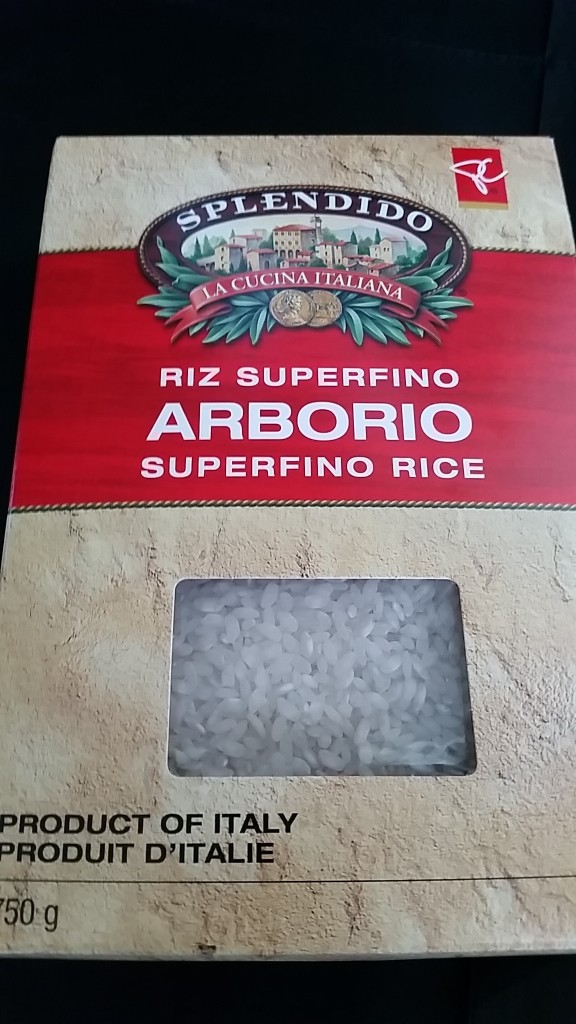
Pretty side dish. Agreed? My Breville Rice Cooker did a perfect job of making the Risotto.
If you are looking for a rice cooker, I highly recommend the Breville Risotto Plus!. I hope to be using it for years and years!!
Happy Cooking.
Disclosure: The Breville Rice Cooker was provided to me, however all opinions are my own
Breville, Breville Risotto Plus, PC arborio, rice, Rice Cooker, risotto, stuffed peppers with rice, T & T, Tiger
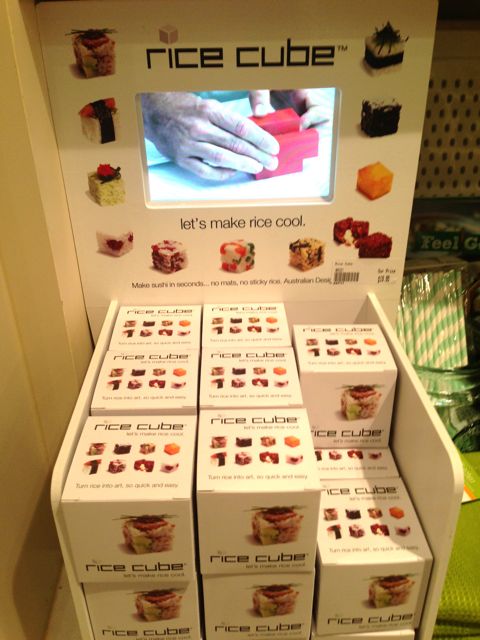
Kitchen stores like Teatro Verde in Bayview Village are dangerous stores for me. I’m bound to buy something and indeed I did buy something. Here’s an example: See this display? Well…it really worked. I actually stood there…. watched the video and then bought the Rice Cube.
I must add, that I was (really) nervous to buy this kitchen gadget, as it was $19.99 and there is no refund or exchange policy at this store. But I did. Go figger.
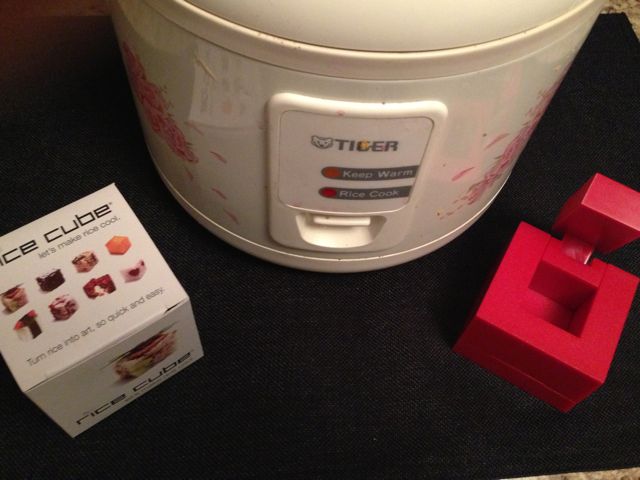
When I got home, I took out my beloved Rice Cooker (thanks @isfalk for ensuring I bought one back in 2010) and my USA Rice and made a batch of sticky rice.
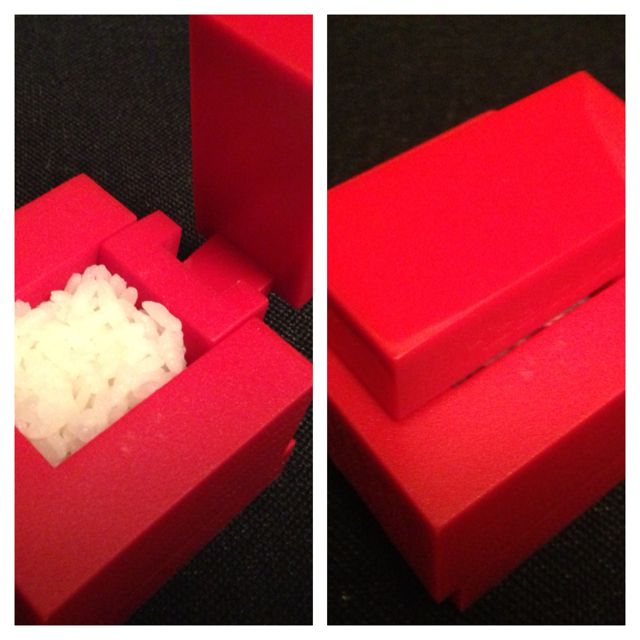
Then I inserted the cooked sushi rice into the little compartment. (photo on the left). Step 2 involved closing the lid ( photo on the right) and then Step 3 involved taking out the CUBE OF RICE. No fuss. No muss.
Here’s the end result. I was all too happy to serve this to my guests that were coming over for dinner.
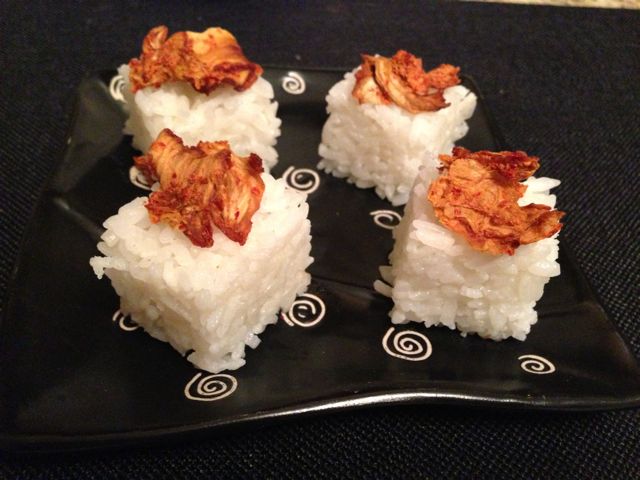
Rice Cubes topped with Dried Kimchi that I bought at Trader Joe’s.
This kitchen gadget is certainly going to be motivating me to use more USA Rice. Also I’ve recently discovered this Rose Reisman Video that I would like to share with you. This video demonstrates the versatility of rice, the health benefits as well as a recipe for a quick and healthy rice salad.
I can’t wait to make these cubes again and top them with chopped nori, or black and white toasted sesame seeds. So many ideas. So little time!!
For more information:
USA Rice
Teatro Verde, Bayview Village, 2901 Bayview Ave, 416 733 4448
Rice Cube
Disclosure: I was provided with compensation for this post, however all opinions and ideas expressed are my own.
Bayview Village, isfalk, kitchen gadget, Rice Cooker, Rice Cube, Rose Reisman, Teatro Verde, Teatro Verde Cucina, USA Rice
I’m a huge sushi fan..infact on my chowhound profile, I had to answer this question: I wish I could eat_______everyday. My answer…..SUSHI.
Therefore this salad appeals to me on my different levels. I discovered it in a local school cookbook called Gatherings which was a school project put on by the parents of Netivot HaTorah Day School in 2003.
I would definitely serve gingered sushi salad with a piece of salmon and asparagus! #justsayin’
Here’s what you need:

Just a few ingredients are required!
GINGERED SUSHI SALAD
1 1/2 cups sushi rice, uncooked
1 3/4 cold water
DRESSING
1/2 cup rice wine vinegar
1 tablespoon oil
1 tablespoon toasted sesame oil
1 tablespoon soy sauce
1 tsp fresh ginger, grated
1/2 tsp garlic, minced
1/4 tsp wasabi powder
SALAD
1 carrot, peeled and grated
1/2 red pepper julienned
1/4 cup red onion
2 tablespoons sesame seeds, toasted ( I used a mixture of white and black sesame seeds)
2 tablespoons, pickled ginger, diced
1 sheet nori cut in pieces
DIRECTIONS:
Cook sushi rice as directed on package.
In a small bowl, combine dressing ingredients. Slowly add the dressing to the hot rice, tossing gently. Add carrot, red pepper, onion, sesame seeds, ginger and nori. Toss and sprinkle with reserved nori. (which I forgot to buy).
Many thanks to the USA Rice Federation and Faye Clack Communications for inviting me to some fabulous events this past month and inspiring me to bring out my beloved rice cooker more often. Stay tuned for more posts about this delicious, healthy, ancient grain!!
Happy Cooking
Cookbook, Faye Clack Communications, Gingered Sushi Salad, Netivot HaTorah, Recipe, rice, Rice Cooker, USA Rice Federation
I discovered this recipe in 2008 on the Oprah website and have been using it ever since. This dish is truly packed with flavor because you cook the quinoa in carrot juice and not water. Plus the addition of nutmeg gives it a certain punch.

Healthy and Flavorful....A Winning Combo
I also love this recipe because it contains all the right elements for a perfect side dish:
- you just need a few ingredients
- it’s got a ton of flavor
- there’s just a few steps i.e its’ easy to make
- oh so healthy
Ingredients:
1 cup of quinoa, rinsed
1/4 tsp olive oil (I didn’t measure but I’m sure I used more)
1/2 cup chopped onion
1/2 cup chopped celery
1/2 cup chopped zucchini
2 cups of bottled carrot juice (I used Bolthouse)
1/2 tsp nutmeg
1/4 tsp salt
1/4 tsp pepper.
Instructions:
Heat a saucepan, and toast the quinoa. Transfer to a bowl. Set aside.
Heat a frying pan, and add olive oil. Add onion, celery, and zucchini. Cook till the vegetables are soft.
Stir in the carrot juice. Bring to a low boil. Stir in the quinoa, nutmeg, salt and pepper. Cover and simmer until liquid has been absorbed and quinoa is tender. About 25 – 30 minutes.

NOTE: I put the quinoa and the carrot juice in the rice cooker!! It works brilliantly. Here’s a picture of my beloved rice cooker.

The Rice Cooker Cooks All Sorts of Grains!! (including quinoa)
Bolthouse, Carrot, Oprah, quinoa, Recipe, Rice Cooker