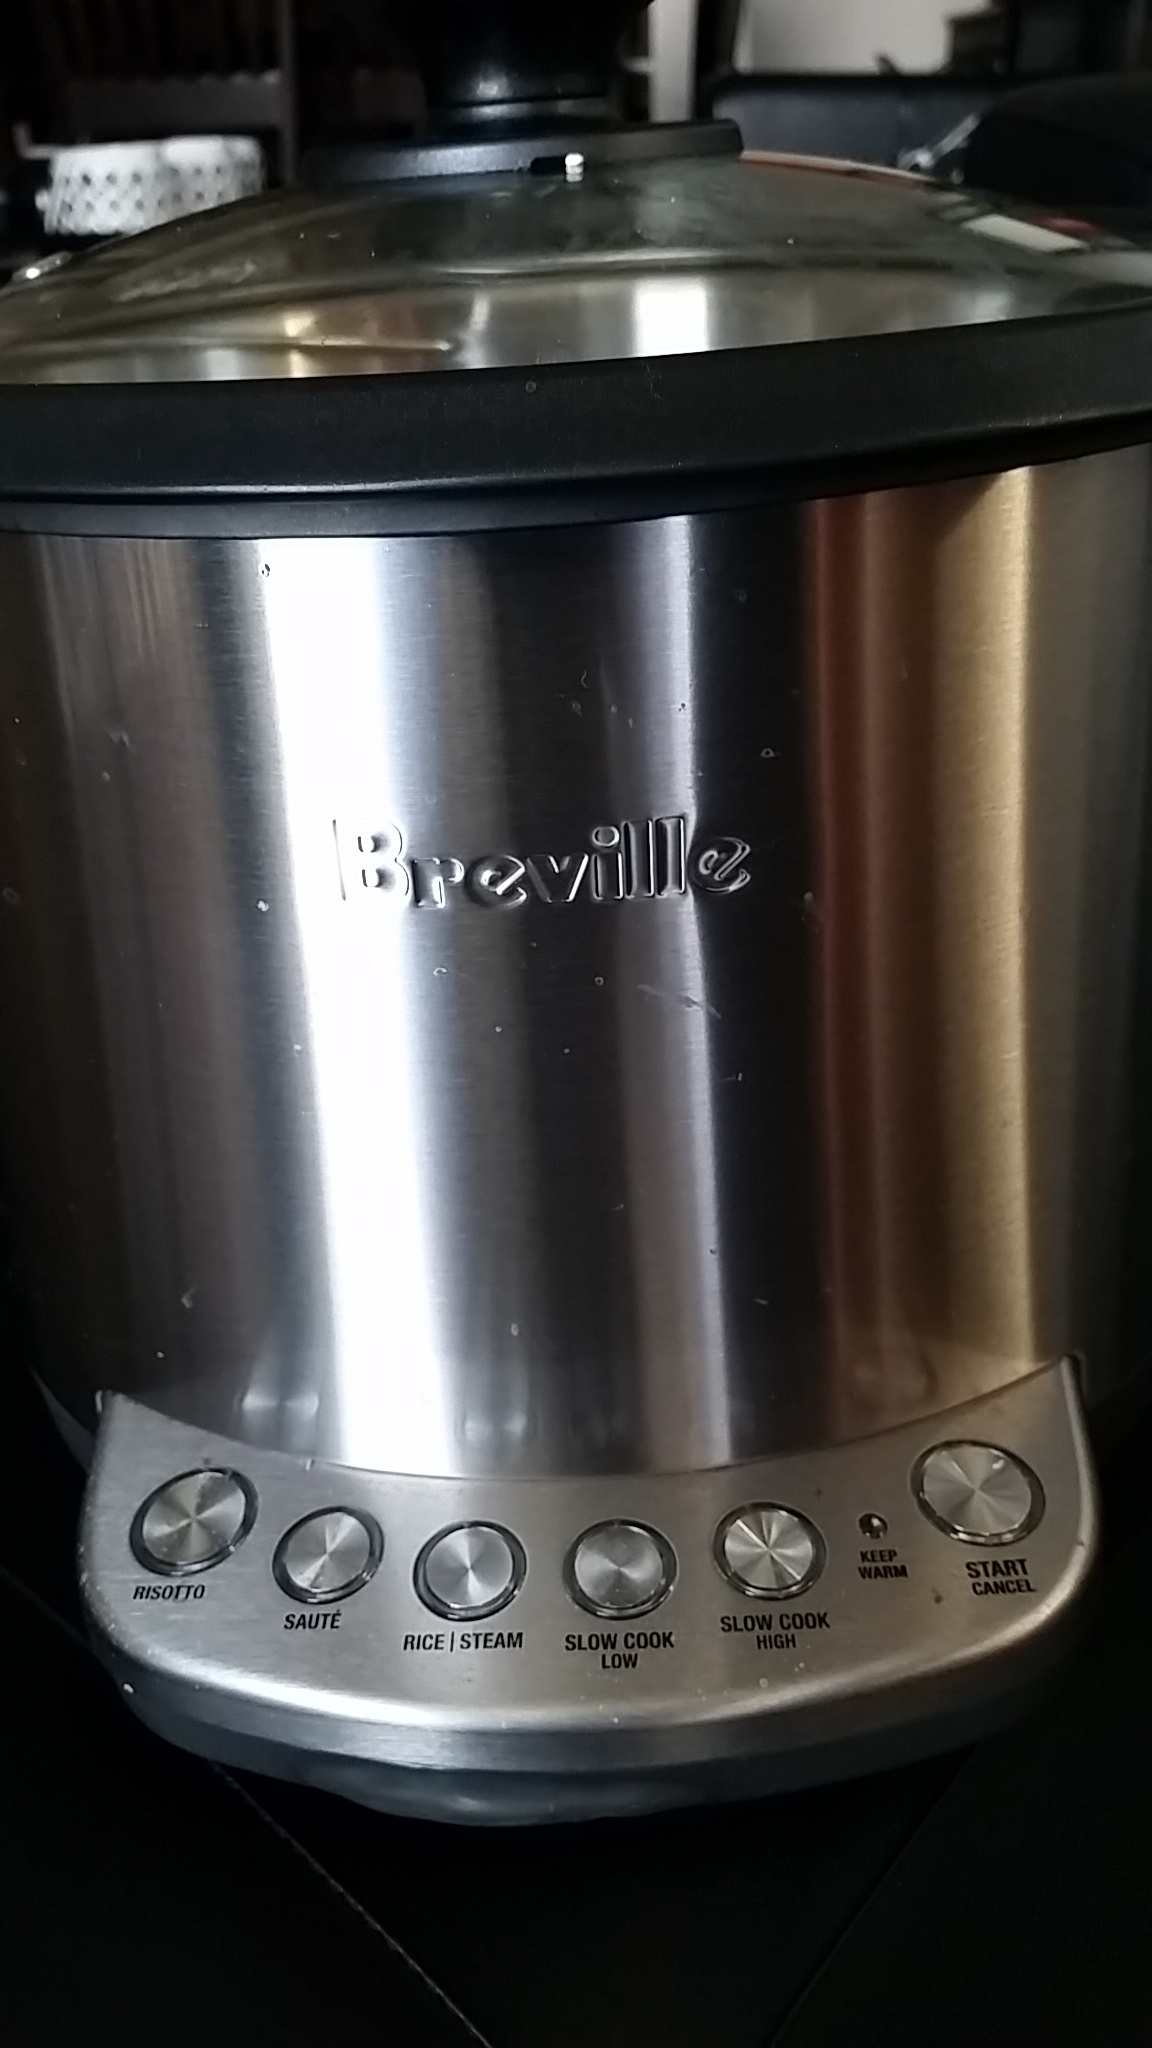
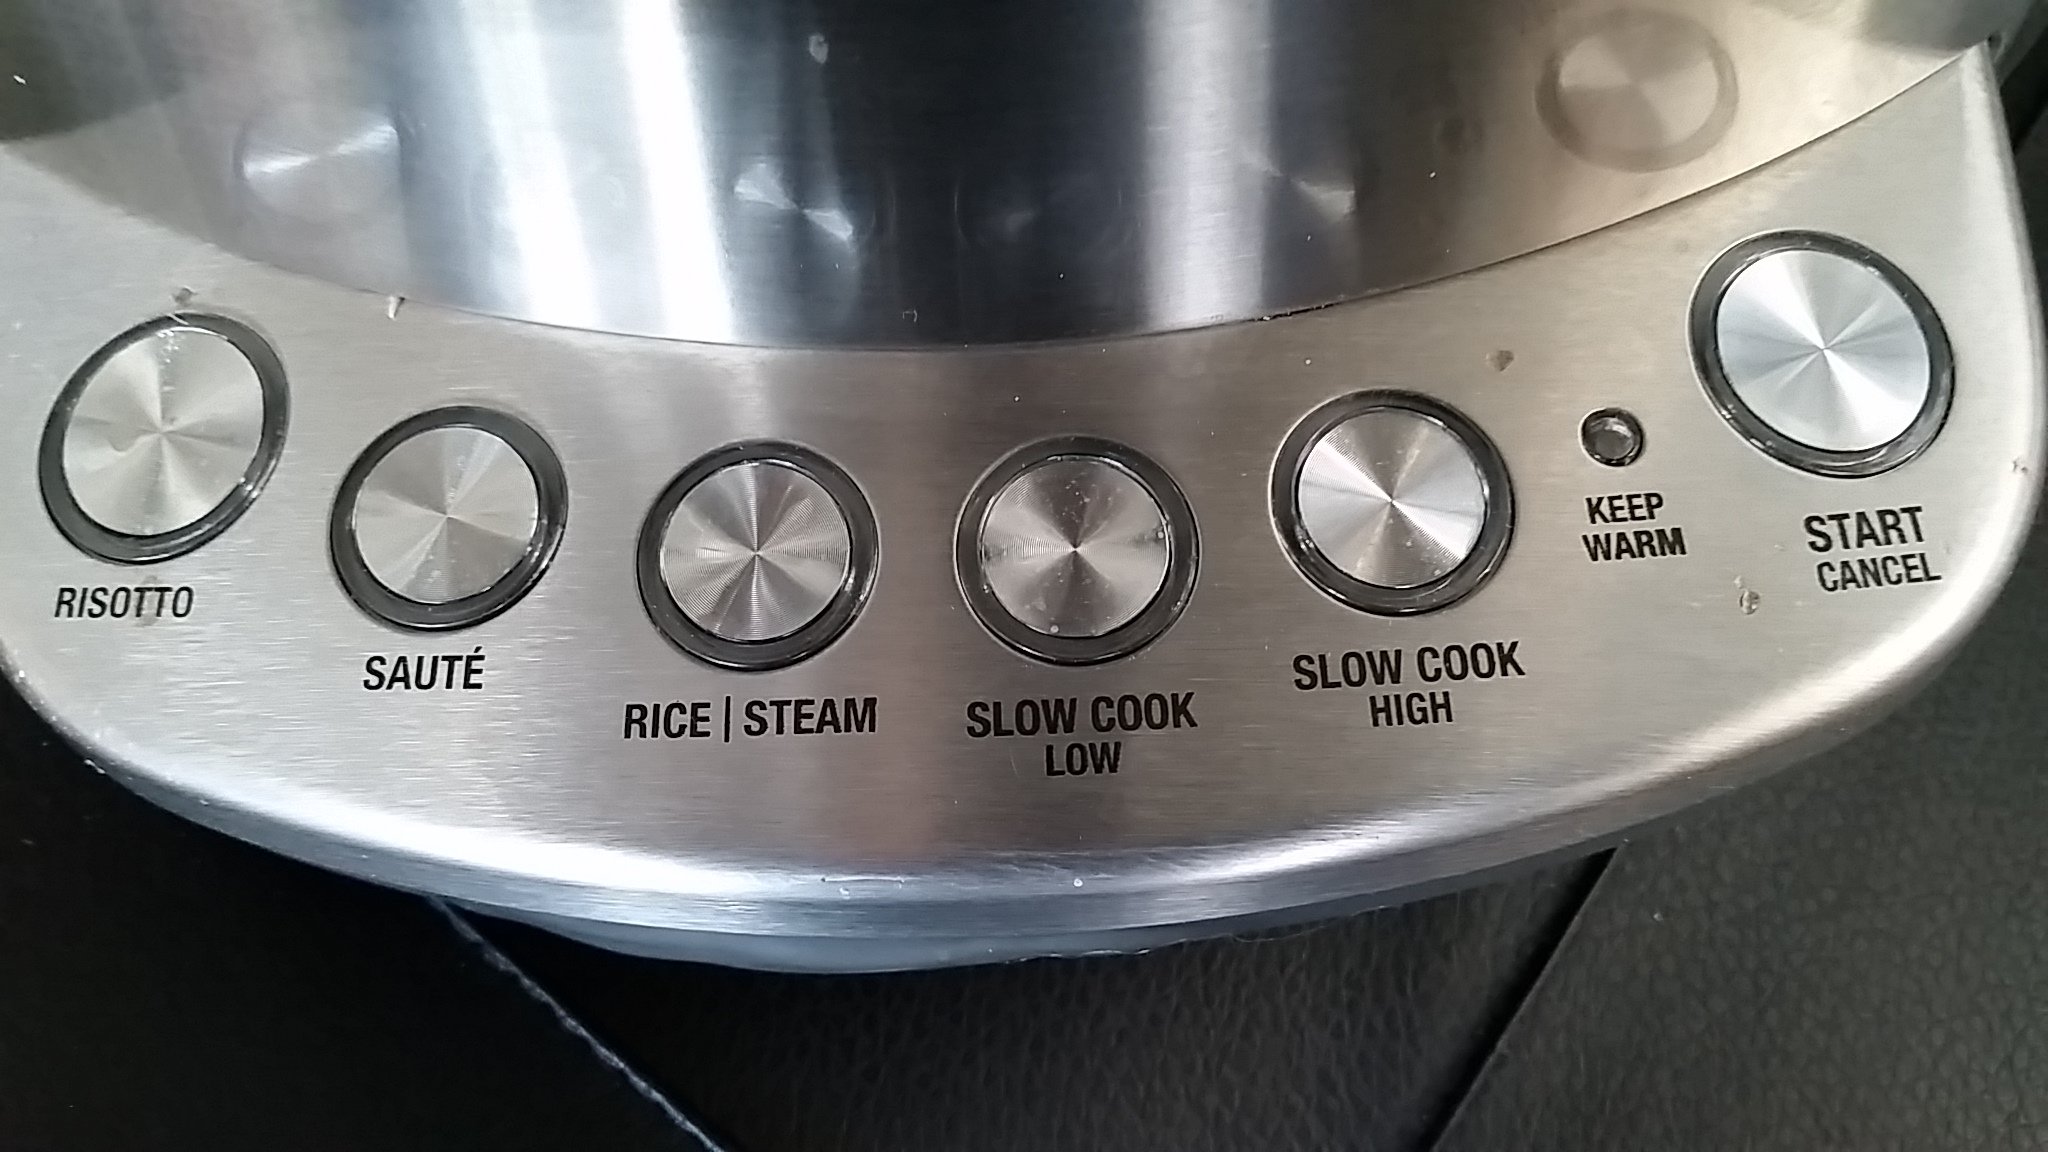
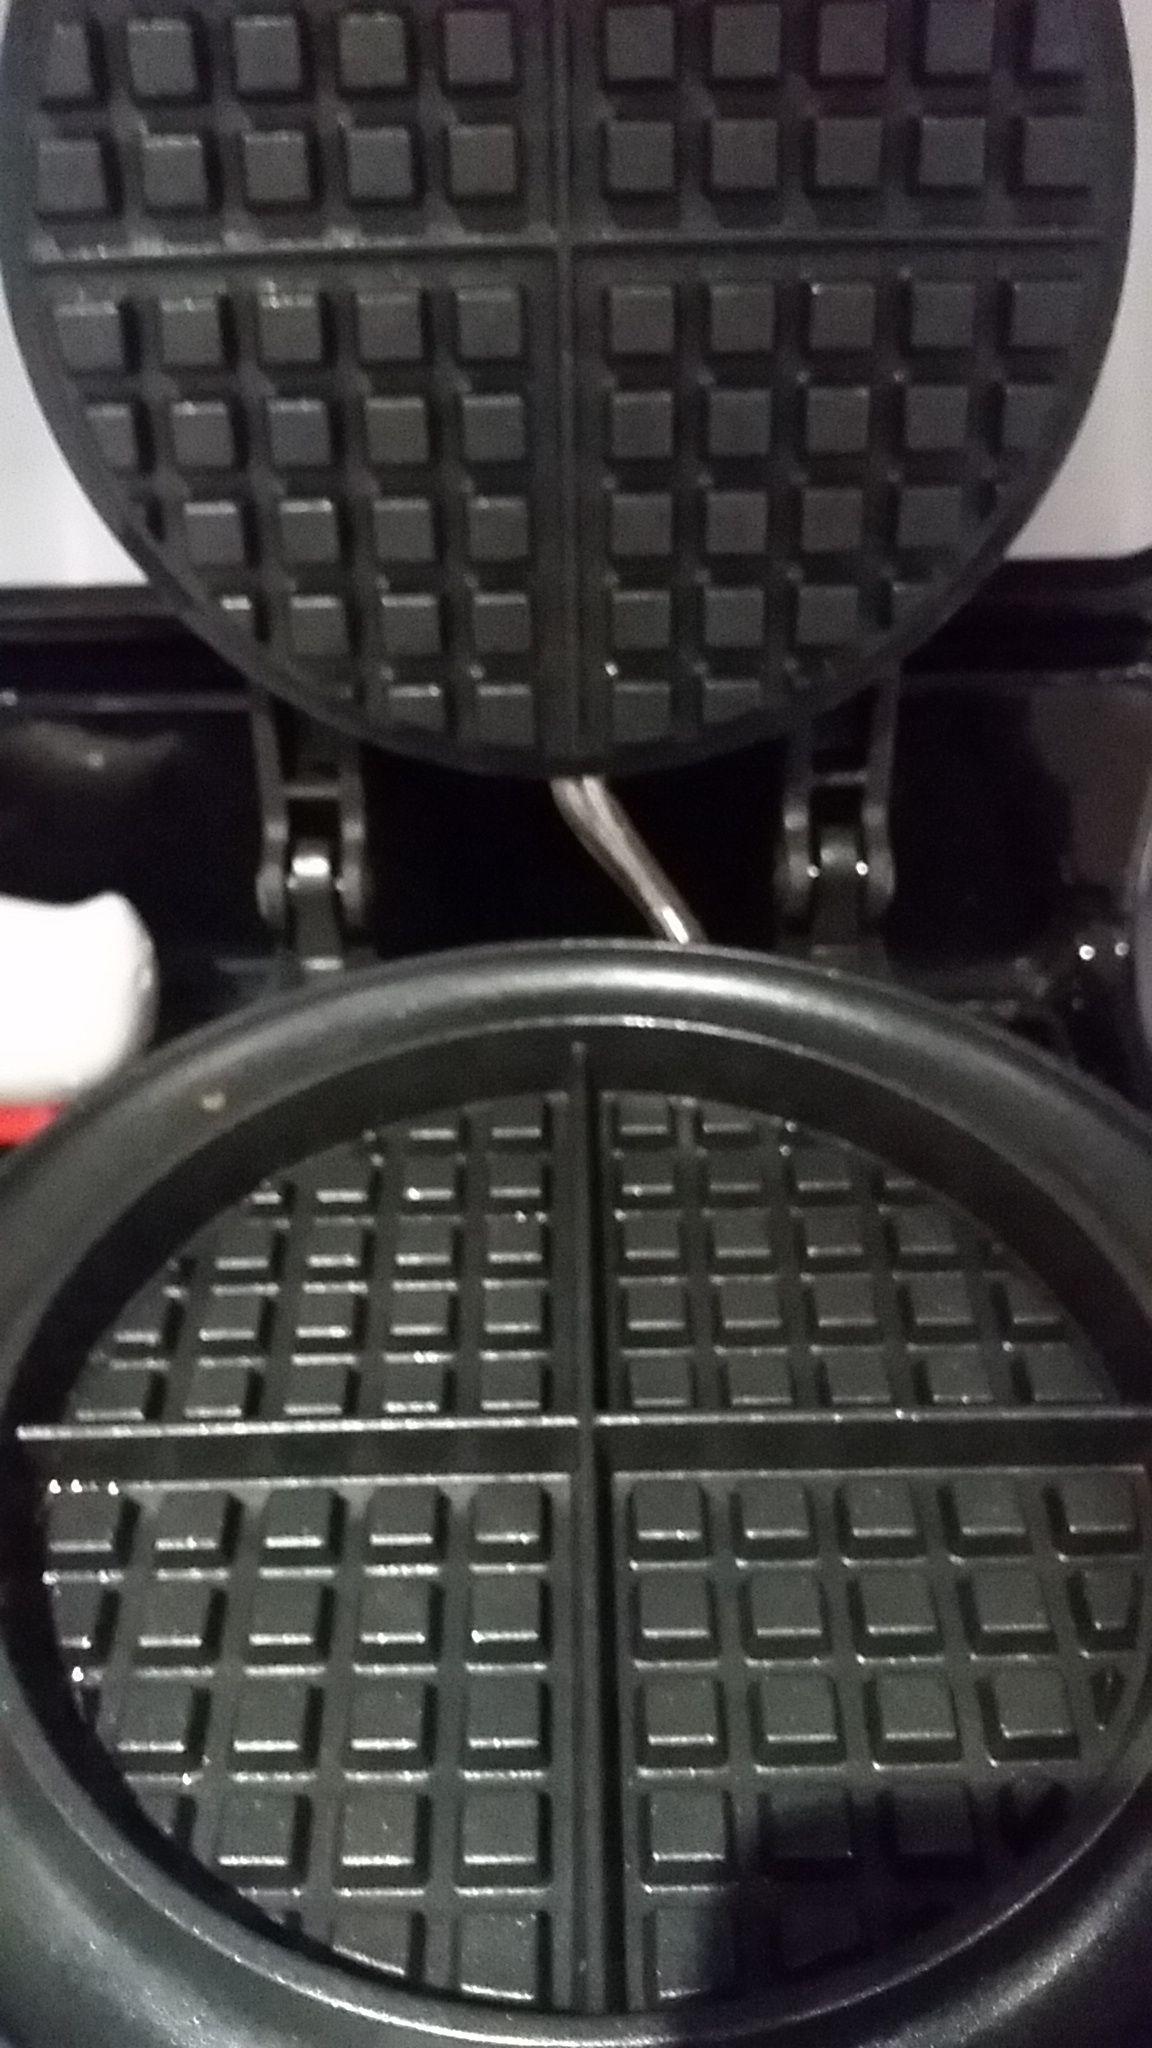
Posts Tagged ‘Breville’

Jun
08


Do you ever have those occasions where you need to buy a gift for someone who has everything? Well this gift is sure to impress. Trust me.

I’d like to introduce you to the new Breville Smoking Gun. As you know I’m a huge fan of all Breville products but this one is certainly unique.

For a change, I put together a small video clip for you to watch so you can see exactly what I’m talking about. It features me actually demonstrating how to use it. Go ahead and take a peek. PS I think I’m going to do these video clips more often. #somuchfun

I have a feeling this gift would be a huge hit if you are looking for a Fathers Day Gift, a hostess cottage gift, or any other special occasion

Happy Cooking!!

Disclosure: this product was provided to me by Breville Canada however all opinions are my own.


Share this:
Share this page via Email Share this page via Stumble Upon Share this page via Digg this Share this page via Facebook Share this page via Twitter

, , , ,

Dec
22


Its that time of year where there’s a lot of entertaining going on. So I thought it might be useful to share two recipes for you.

The first recipe is ideal for breakfast or a brunch. I discovered it while flipping through a RICARDO magazine and thought “hmm..this sounds interesting AND easy”.  I tried it and it worked!! In the event you have never heard of Ricardo before, he is a well known media personality in Quebec who launched an English version of his magazine in 2014.

Basically all you need is some cheddar cheese (I used St.-Albert cheddar of course), Wonder Bread and a waffle maker (I used my beloved Breville Waffle Maker)

ricardo-cheese

Place one piece of buttered Wonderbread onto the waffle maker (buttered side facing down), place some cheese on top, place another piece of buttered Wonderbread on top (buttered side facing up)…close the waffle maker for a few minutes and bingo you have these delicious Cheese Waffle Sandwiches (with NO MESS).

ricardo-waffle

The second recipe is ideal for an appetizer for a party.

This Cheesy Spinach Artichoke Bread Dip Ring is once again super easy to make and delicious.

The entire recipe can be found on this video. 

But here’s a recap in case you don’t want to watch the video!!

Basically you take pizza dough and make golf sized balls. Place these balls in a greased, oven-proof dish. Cover and let rise for 30 minutes.

Mix in a bowl: sour cream, cream cheese, parmesan cheese, drained artichoke hearts, drained frozen spinach, garlic powder, salt and pepper

Place the spinach mixture into the centre of the oven-proof dish. Brush dough with an egg wash.

appetizer-ballsspinach

Bake at 350 F for 20 minutes. VOILA – delish appetizer

appetizer-final

Happy Holidays!


Share this:
Share this page via Email Share this page via Stumble Upon Share this page via Digg this Share this page via Facebook Share this page via Twitter

, , , , , , , , , ,

May
04


Here’s a few ideas for you and I hope you like them. I really tried to be creative. #justsayin

1. Give mom the gift of a one-on -one computer lesson.

Here’s a photo of my mom using my old iPhone 5. Bye Bye Flip Phone! She had one on one lessons with a friend who specializes in teaching seniors how to use smartphones/facebook/tablets etc. BEST GIFT.

mom - phone

2. Give Mom a calendar with 12 of your favourite photos.

I’m in the process of doing this RIGHT now using the new Kodak App. Oh how I love technology.

mom - photos

3. Give mom a new appliance from Breville.

I’m in love with all my Breville appliances and she will be too!

mom - breville

4. Give mom the gift of Technology. Take a peek at what Samsung has to offer these days. See this wireless charger? I know I would be one happy mom if I got one of these. LOL

samsung charger


5.. Give mom a subscription: May I suggest a subscription to Netflix, or Texture? (I’m a fan of both)

6..  If you have old letters that she sent to you at camp…. bring them out and read them to her. Seriously, this is so much fun.

mom - letters

7. Head over to Etsy. There’s no shortage of unique gifts on this website.

Hope these ideas were useful and have a wonderful day.

Share this:
Share this page via Email Share this page via Stumble Upon Share this page via Digg this Share this page via Facebook Share this page via Twitter

, , , , , ,

May
01


About a year ago, I bought the condo that I had been renting. As soon as my signature was dry, I lifted the carpets that were 14 yrs old and put in hardwood floors.

A year later, I knew that the 14 yr old kitchen had to be gutted. This meant:

-new counters, new sink/faucet, new appliances, new cabinets, and a backsplash.

See what I mean? This kitchen HAD to go.

kitchen - old

I then packed up 26 boxes of STUFF. (specifically serving dishes and small appliances). These boxes overtook my bedroom and it wasn’t pretty but I knew it would be worth it.

The renovations started on Feb 10th when I went away on vacation. When I returned, I realized I would be making meals out of my bathroom for the next 4 weeks. It wasn’t a fun period. Trust me.

I selected all the appliances from Sears and I can’t say enough about their service. They got my business as they were the only store that answered my call. (I’m a huge fan of customer service).

My kitchen is now complete and I’m beyond happy with the new look. What a huge difference!

kitchen - final

Of course my new kitchen needed a new appliance!! See that coffee machine in the corner of the photo? I’m now the proud owner of a Breville Barista Express Espresso. Stay tuned for a blog post K? In the meantime, please click on this link so you learn more about The Breville Cafe Quality campaign and their commitment to ensuring we all have a good cup of quality coffee in the morning!

Here’s to my renovations that are now complete and celebrating with an excellent cup of coffee!

Share this:
Share this page via Email Share this page via Stumble Upon Share this page via Digg this Share this page via Facebook Share this page via Twitter

, , , , , , ,

Mar
22


The Breville Fast Slow Pro is simply a BRILLIANT appliance. It’s basically a pressure cooker but it knows the time, temperature and pressure that different foods need. See what I mean? Its BRILLIANT.

As you know I own quite a few appliances. You name it. I have it. But I’ve never ever owned a pressure cooker nor can I remember the last time I went to someones house who owned one.

However a food blogger friend of mine has been regularly posting about her pressure cooker recipes and I was intrigued, to say the least.

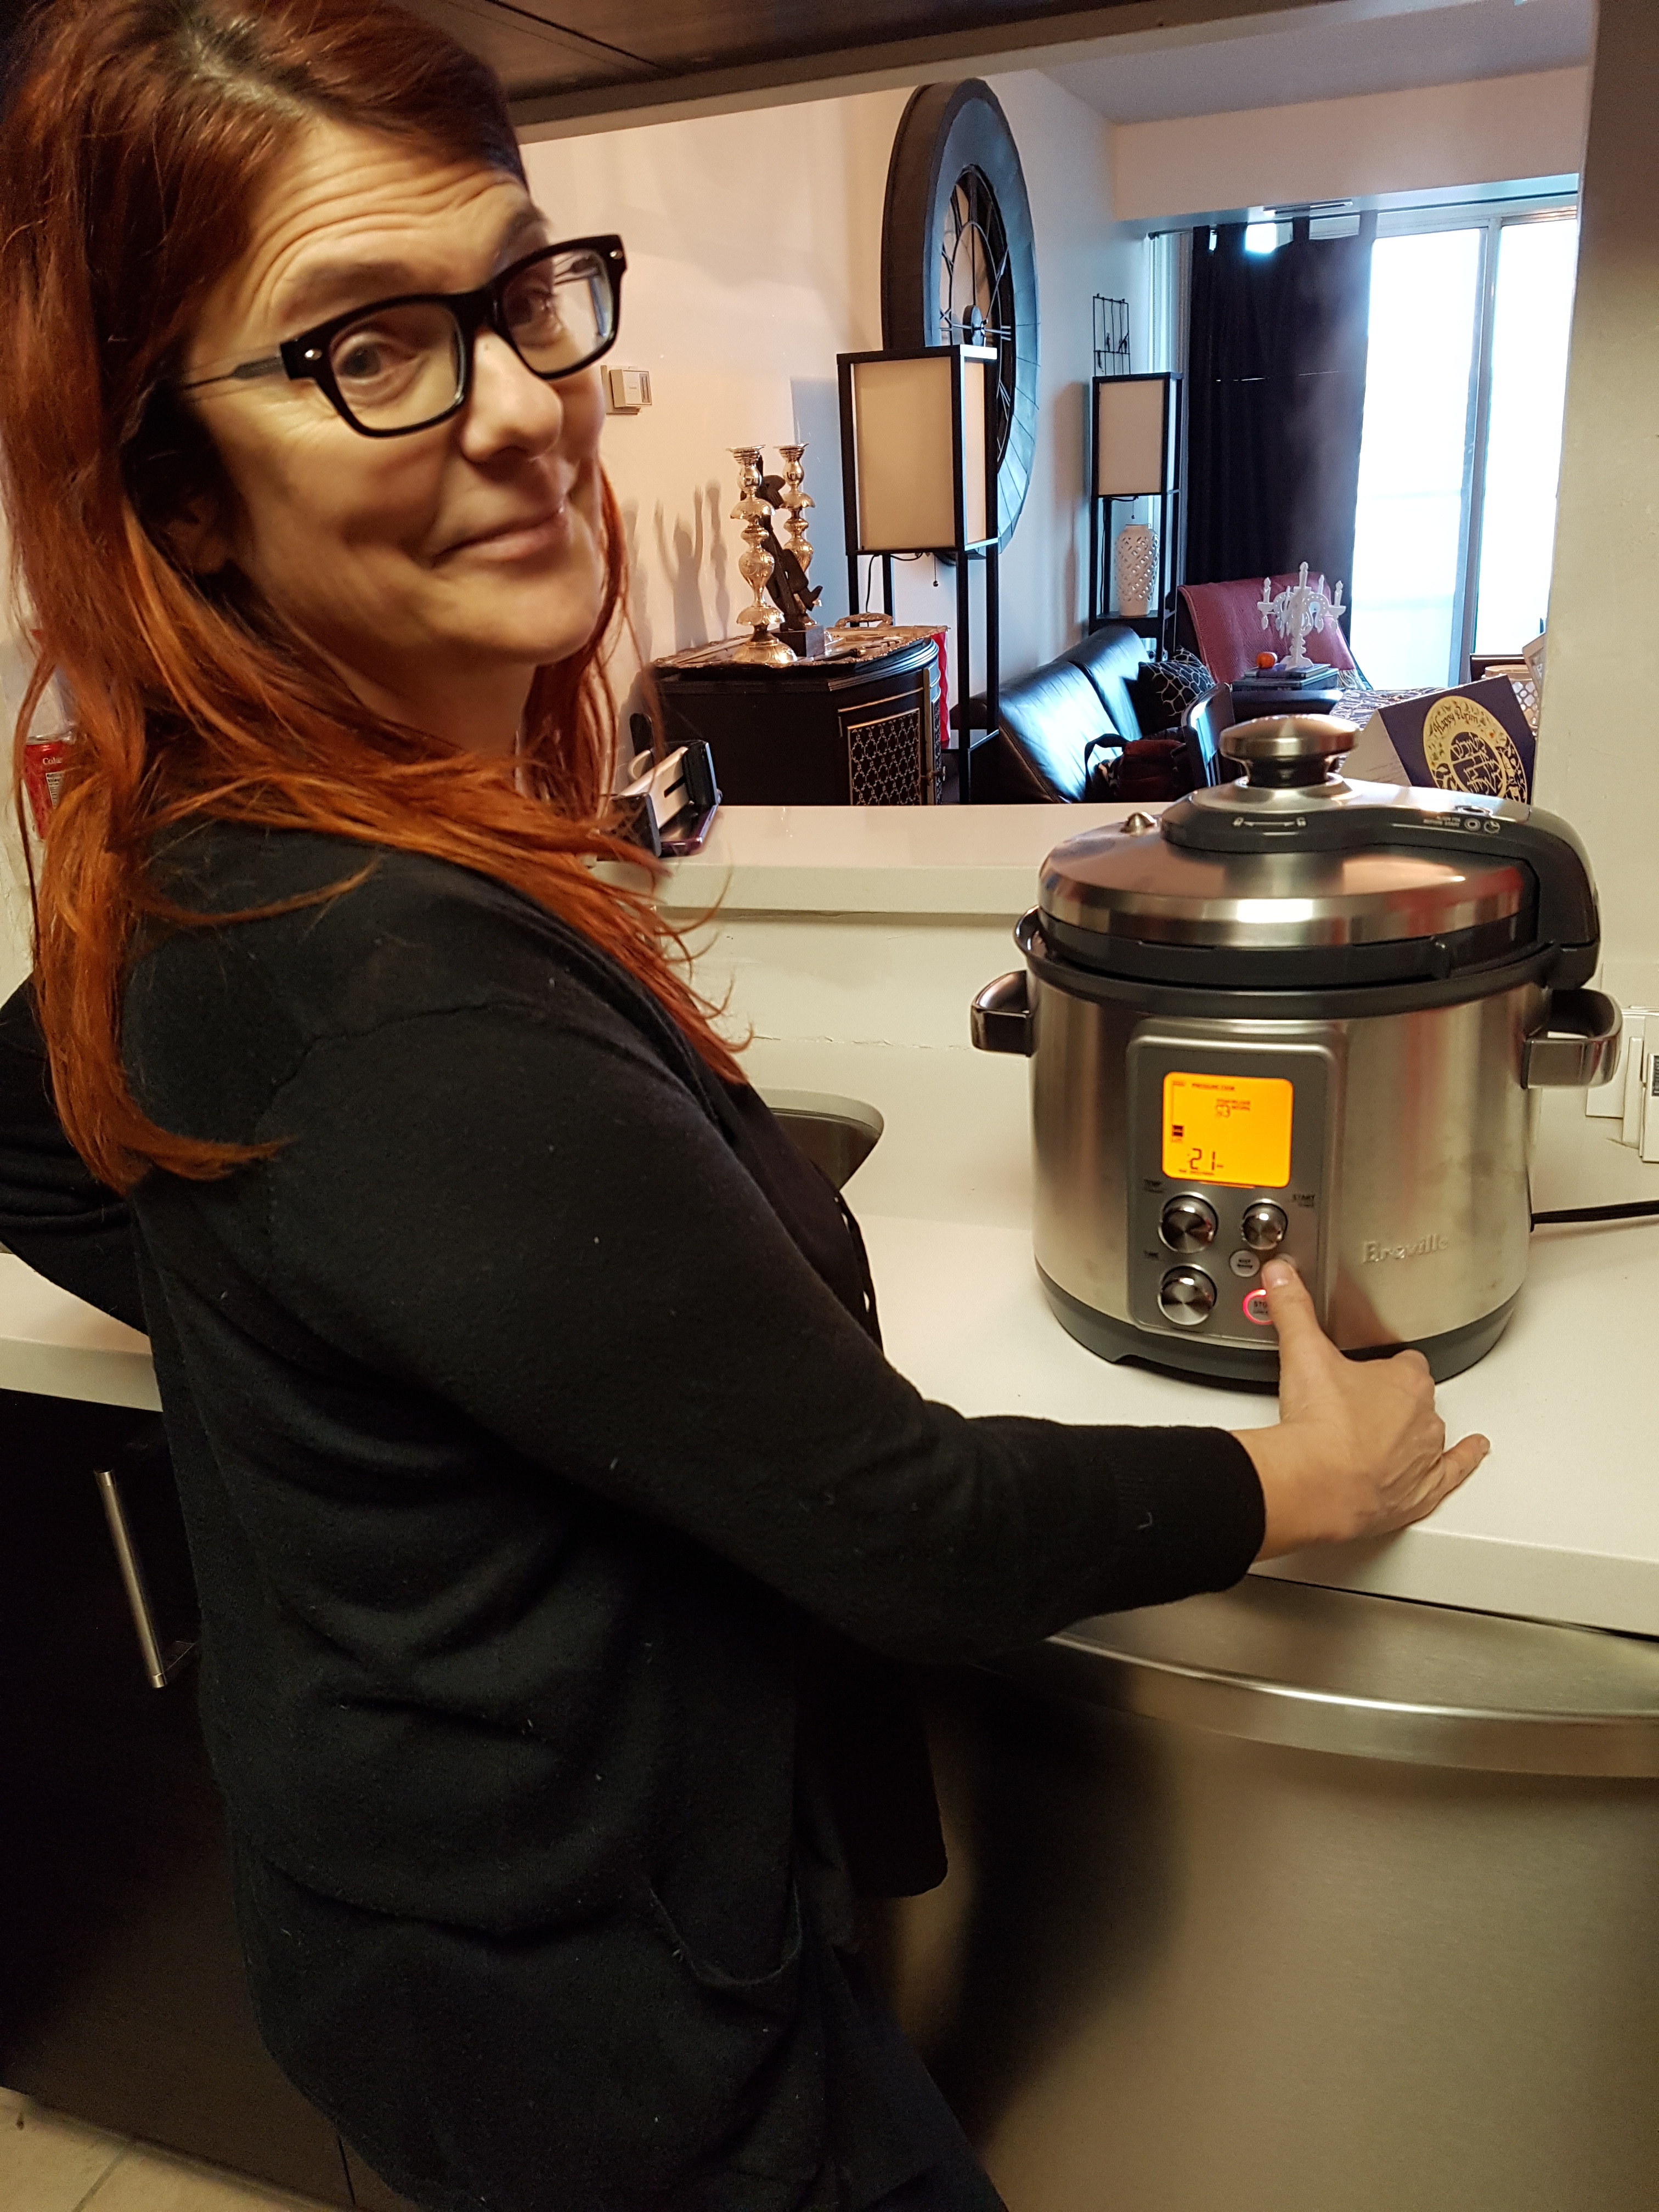
So when the Breville Fast Slow Pro™ arrived, I immediately invited Carole over to teach me a thing or two about using a pressure cooker. While she talked about the ins and outs of pressure cooking, I chopped a few ingredients for the soup.

breville - ingredients

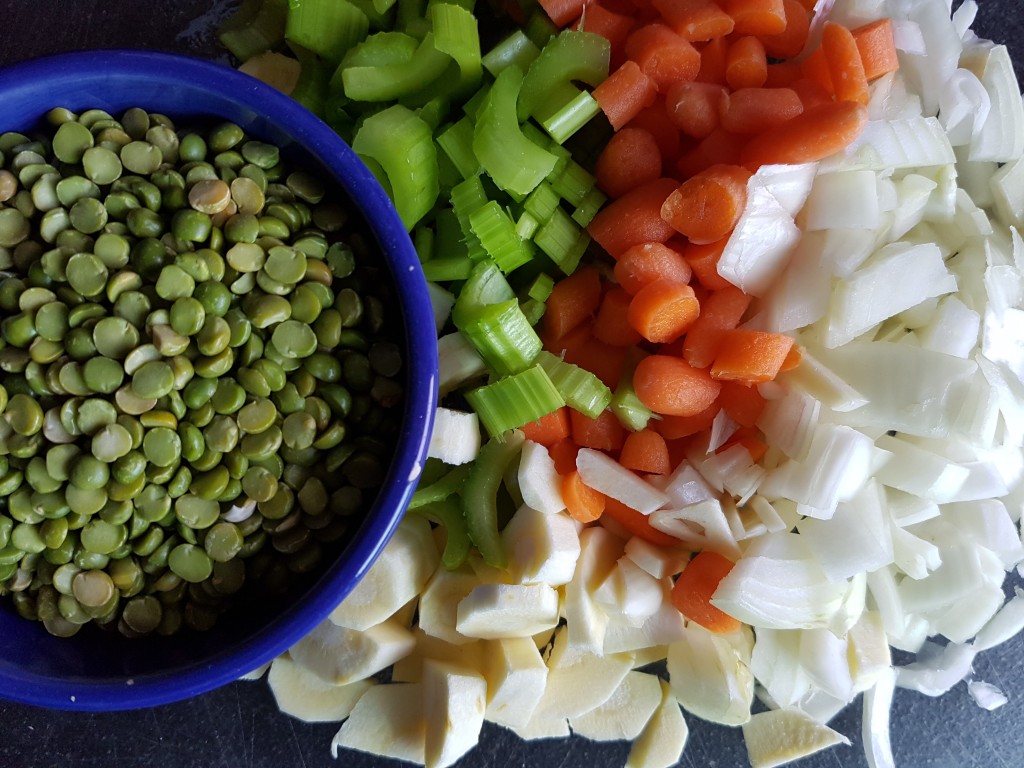
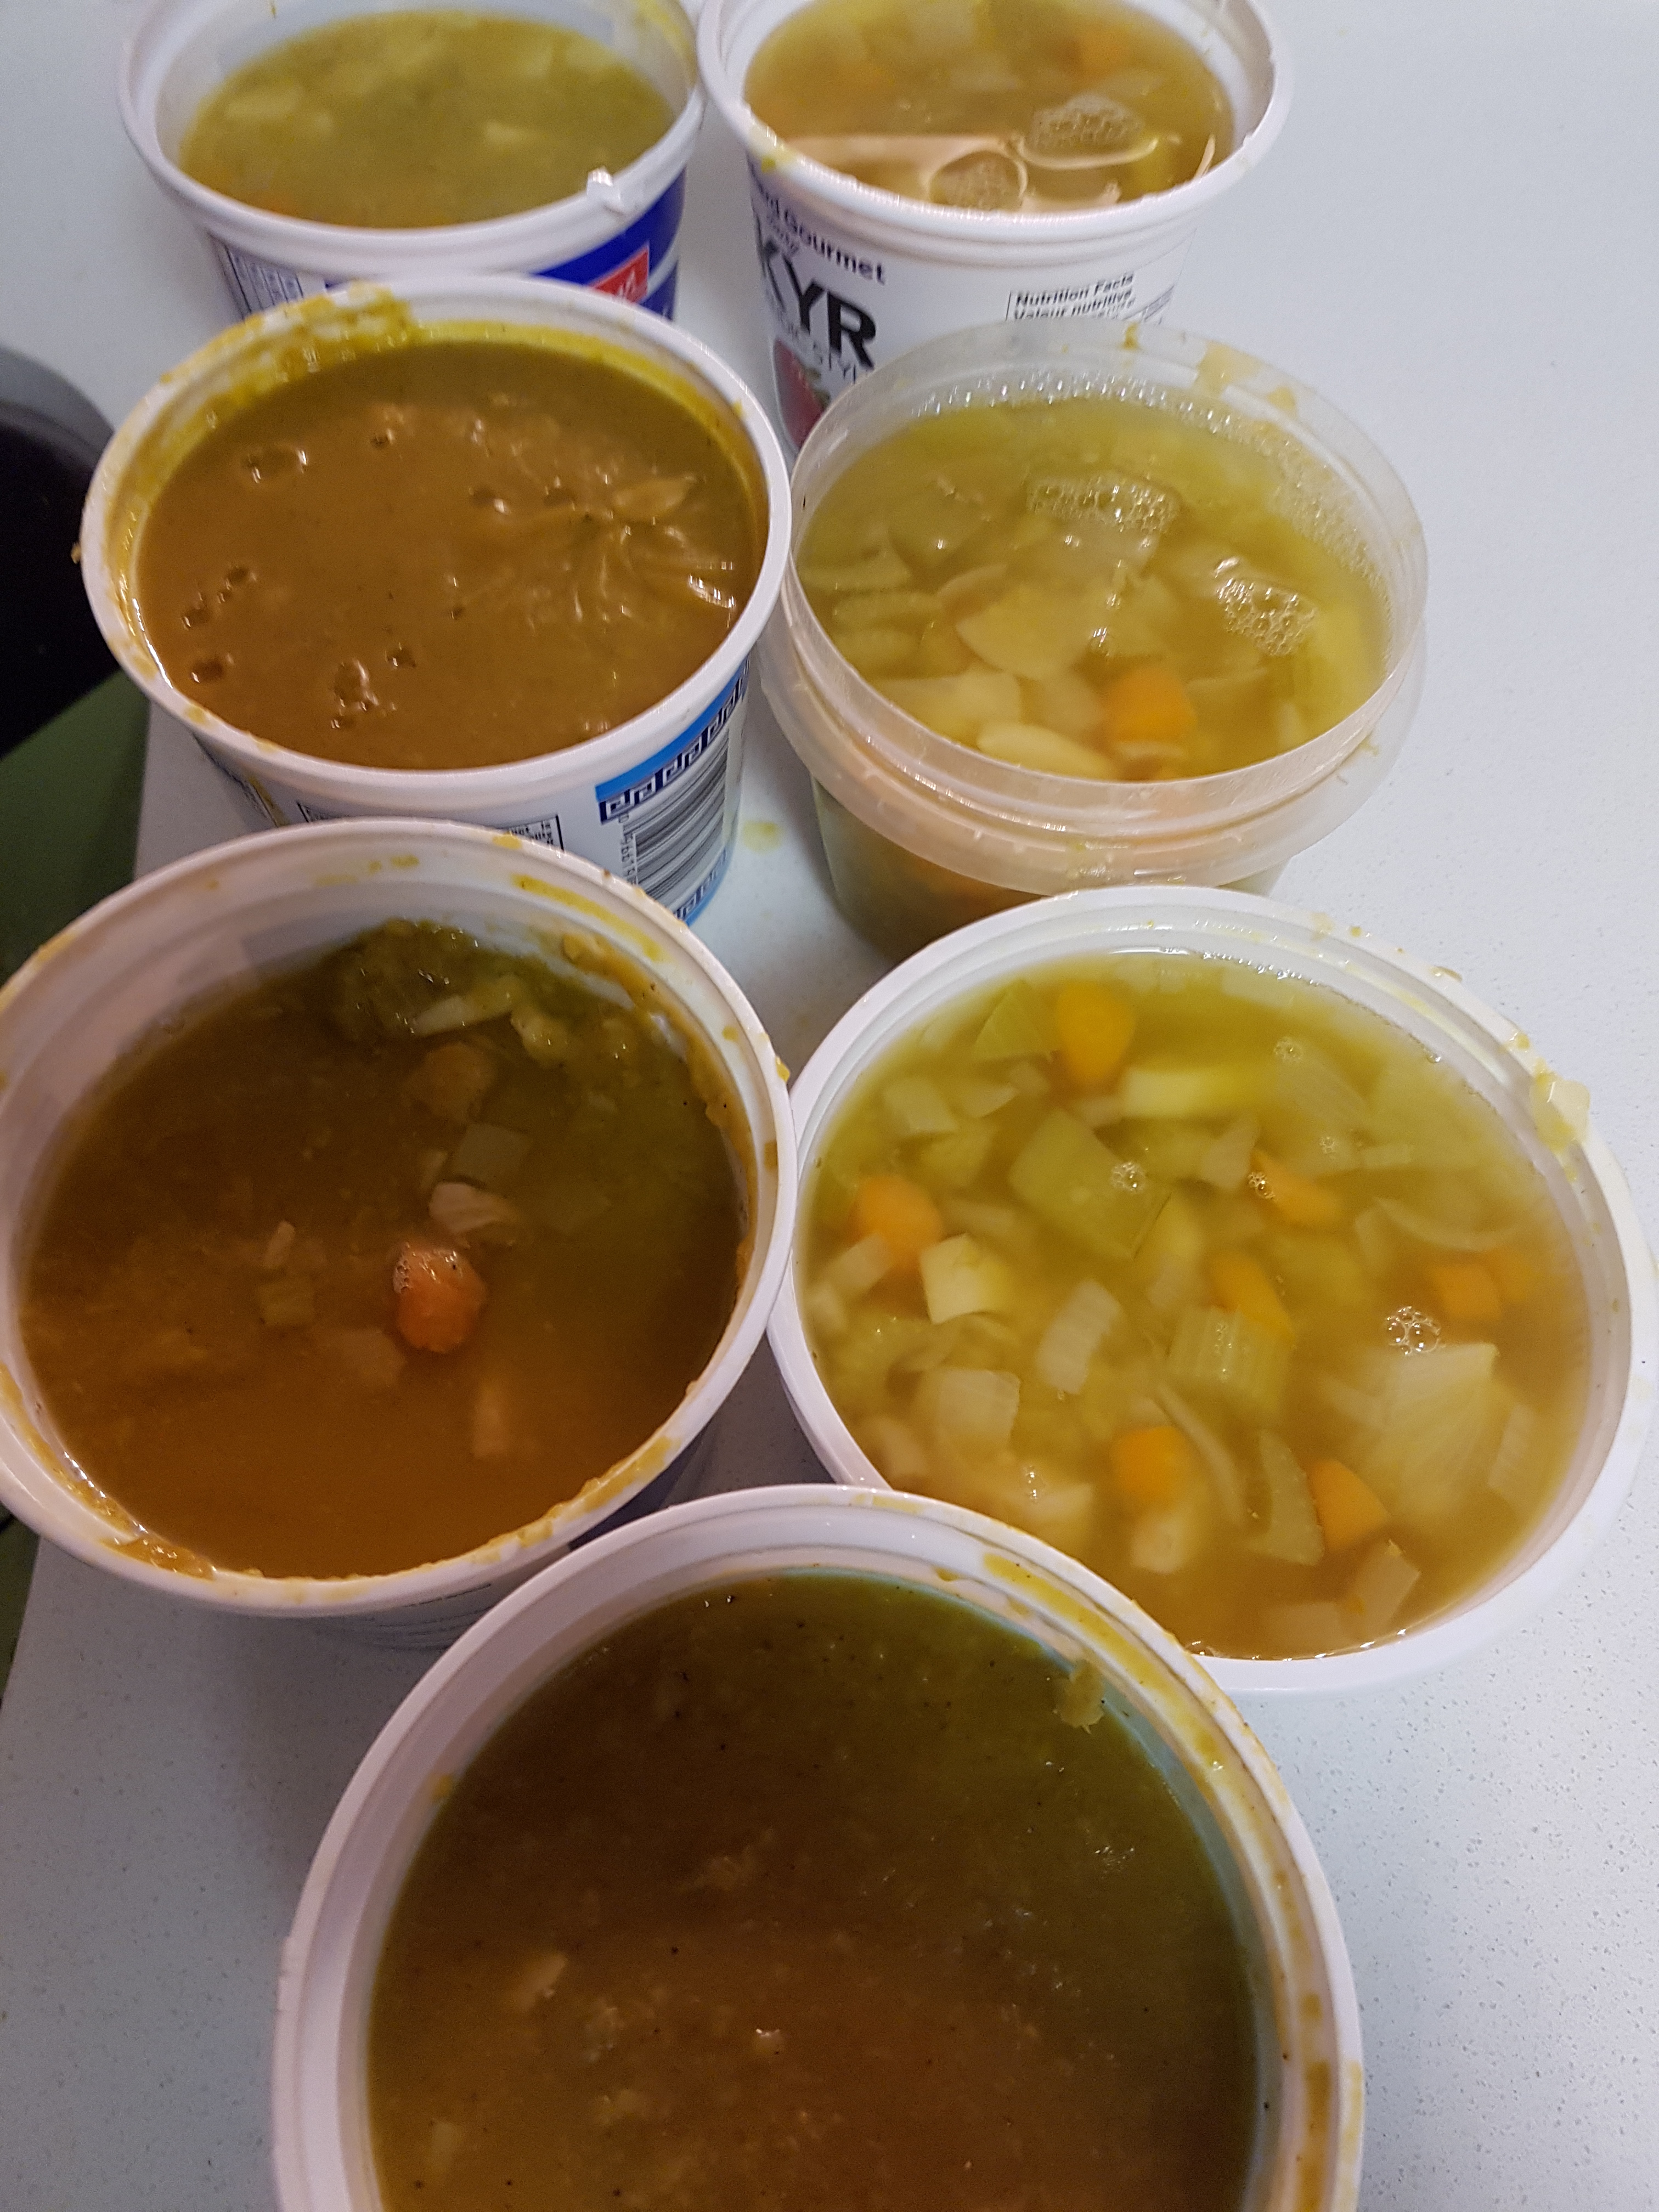
Recipe for Split Pea Soup

1 carrot – diced

1 parsnip – diced

1 onion – chopped

2 celery stalks – chopped

2 cups of  rinsed dried split peas

6 cups of vegetable stocks (4 cups of stock and 2 cups of water – to be honest)

salt and pepper.

Directions: Put all these ingredients into the Breville Fast Slow Pro™, close the lid, press a few buttons and wait 25 minutes. Could cooking get any easier? I don’t think so.

In 25 minutes – Carole opened the lid and just like magic, dinner was served. Yes – Carole got to open the lid as I must admit I kept thinking the pot was going to explode. But Carole assured me that these days, pressure cookers are safe, safe, safe.

breville - carole

I had so much fun that I made a second batch of soup. Seriously.

breville - freezer

Here’s a few things that I learned from Carole:

Some Definitions:
QR – quick release
NPR – natural pressure release
PSI – pounds per square inch

Things I Can Look Forward to Making:

I can take a frozen chicken breast and have dinner ready in 45 minutes
I can make half an acorn squash in 15 minutes
I can make beets in 24 minutes.
I can make small potatoes in 5 minutes.
I can make a whole sweet potato in 15 minutes with natural release

Great Websites about Pressure Cooking:

www.pressurecookingtimecharts.com
www.pressurecookingtoday.com

Plus she says that it’s important to follow recipes and the instructions that go along with it. (note to self)

Happy Cooking!

Disclosure: Breville Canada provided me with this appliance, however all opinions are my own.


Share this:
Share this page via Email Share this page via Stumble Upon Share this page via Digg this Share this page via Facebook Share this page via Twitter

, , , , , , , ,

Jan
06


I have talked about my love for my rice cooker before and I will talk about it again. Here’s what you really need to know: GO OUT AND GET ONE. STAT!! Sorry I’m yelling but I feel very strongly about this.

My first rice cooker was bought back in May 2010 after touring T & T in Ottawa with a group of twitter friends.

I bought a Tiger Rice Cooker and got hooked on the fact that I could press a button, go get a manicure and return to a bowl of perfectly cooked rice.

Although I loved my Tiger Rice Cooker, it wasn’t easy to clean. It had a hinged top and I could never clean it properly. I would take a photo to show you exactly what I mean but I can’t. It got that gross!

Therefore my beloved Tiger Rice Cooker went into the recycle bin. Bye Bye Tiger Rice Cooker.

breville - old rice coooker

Moving forward: I received a Breville Risotto Plus  to replace my beloved Tiger Rice Cooker and I’m happy, happy, happy.

breville - rice cooker

Here’s what I love about my  new rice cooker.

-no hinged top

-I can steam vegetables at the same time (which I’ve done already)

-it’s easy to clean.

-I can even make risotto. Check out the left button on the photo below!

breville - buttons

The other night, I made stuffed peppers with rice, corn, black beans and a touch of cheddar cheese. It was the perfect side dish.

breville - stuffed peppers

Not to mention, I tested out the risotto button and made this amazing risotto dish with peas, using PC Arborio Rice.

breville - PC arborio

Pretty side dish. Agreed? My Breville Rice Cooker did a perfect job of making the Risotto.

breville - final risotta

If you are looking for a rice cooker, I highly recommend the Breville Risotto Plus!. I hope to be using it for years and years!!

Happy Cooking.

Disclosure: The Breville Rice Cooker was provided to me, however all opinions are my own


Share this:
Share this page via Email Share this page via Stumble Upon Share this page via Digg this Share this page via Facebook Share this page via Twitter

, , , , , , , ,

May
30


I have no idea why I have never owned  a Waffle Maker before. However I’m thrilled that I now own a Breville No Mess Waffle Maker.

This waffle maker really made my FIRST experience making waffles super easy!!

breville - machine


Features that I liked about the Breville No Mess Waffle Maker:

– it has a wide wrap around moat that catches the over flow. Which also makes cleaning up, really easy!

– you can select your preferred color from light and fluffy to crispy golden brown. #loveit

-the best part? It BEEPS when the waffle is ready. How cool is that?

I’m delighted to announce that this is what my morning breakfast looked like!waffle - final

Here’s the recipe I used. (taken from www.bettycrocker.com)

INGREDIENTS

2 eggs
2 cups all purpose flour
1 tablespoon sugar
4 teaspoons baking powder
1/4 teaspoon salt
1 3/4 cups milk
1/2 cup vegetable oil or melted butter (I used melted butter of course)
Fresh berries, if desired

DIRECTIONS

1. Heat the waffle maker

2. In large bowl, beat eggs with wire whisk until fluffy. Beat in remaining ingredients except berries just until smooth.

3. Pour slightly less than 3/4 cup batter onto centre  of hot waffle iron. Close lid of waffle iron.

4. Bake about 5 minutes or until steaming stops. (I simply had to wait for my waffle maker to BEEP!!)

5. Carefully remove waffle. Serve immediately. Top with fresh berries. Repeat with remaining batter.

I promise that you will continue to make waffles on a regular basis as the Breville No Mess Waffle Maker really delivers.

breville - final

P.S. Now it’s time for me to host a brunch with a Waffle Bar. I’m already thinking about the topping options – whipped cream, strawberries, blueberries,  raspberries, banana chips, nutella, chocolate chips, chopped pecans etc. OH MY!!

Disclosure: The waffle maker was provided to me, however all opinions are my own

Share this:
Share this page via Email Share this page via Stumble Upon Share this page via Digg this Share this page via Facebook Share this page via Twitter

, , , , , ,