Posts Tagged ‘Baking’

Mar
16


Please forgive me as I haven’t been blogging as much as I normally do. You can blame the following recipe which is so simple that I’m making a batch every two days. What’s not to love? All you need is a blender and a few ingredients. I’m also loving the fact that there’s NO FLOUR, NO SUGAR and NO BUTTER in this recipe.

blender - ingredients

This recipe is saving me in the morning as I tend to sleep in till the last possible moment. As a result – there’s always a mad dash out the door WITHOUT eating anything. Now I simply grab a zip lock bag and enjoy these muffins in my car. Can anyone else relate?

I’m not going to keep you waiting much longer for the recipe. Here it is!

Recipe: Blender Oatmeal Muffins (original recipe can be found here – www.wellplated.com)
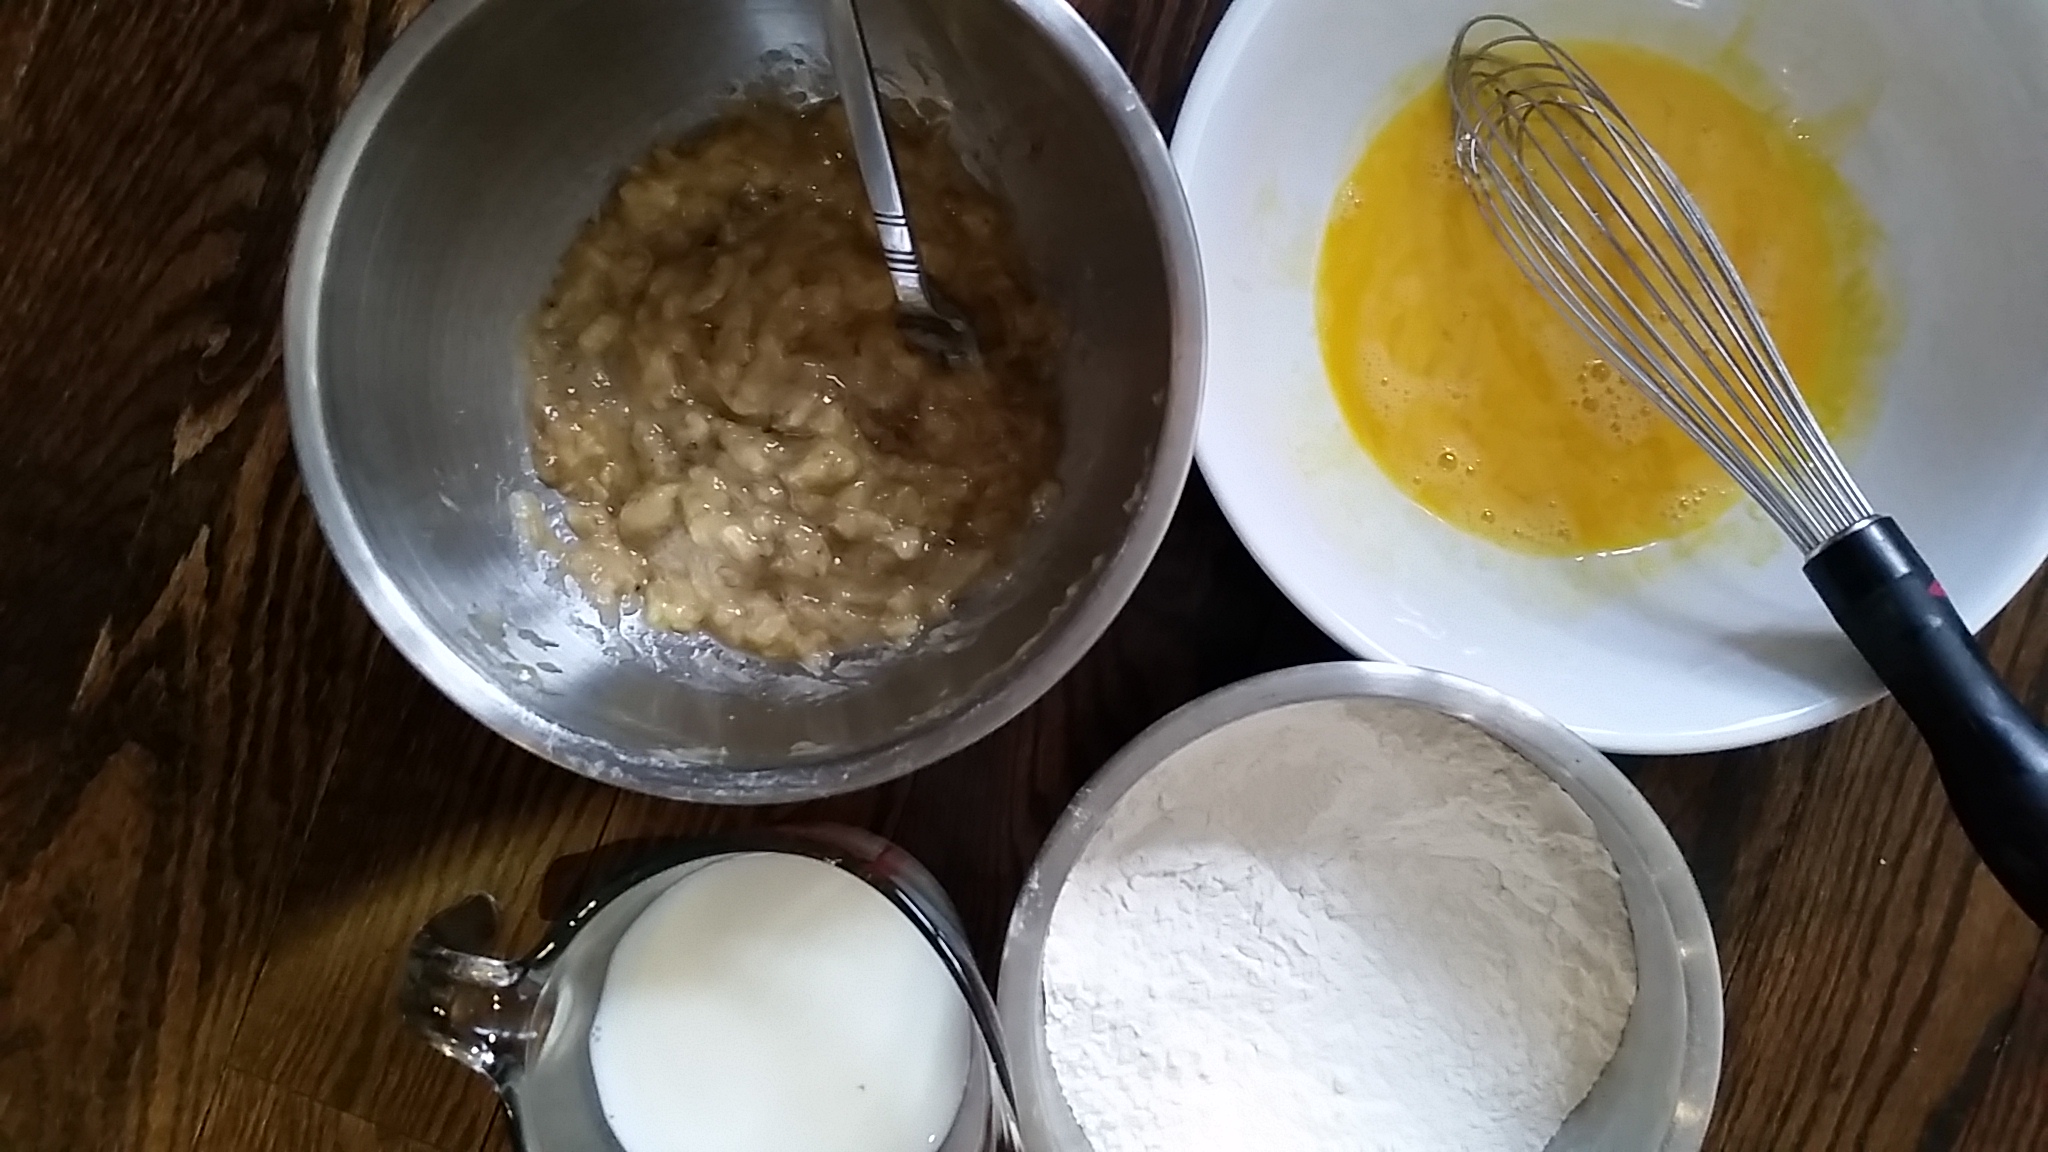
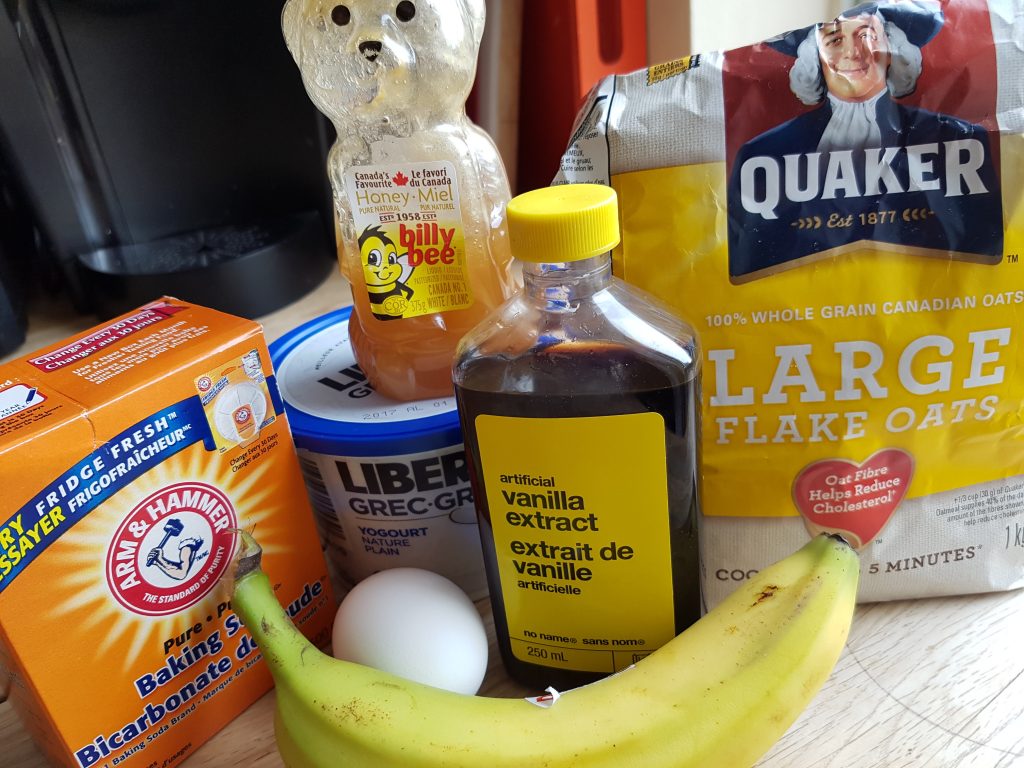
Ingredients

2 cups oats (quick cooking or old fashioned – I used old fashioned)
2 large ripe bananas
2 large eggs
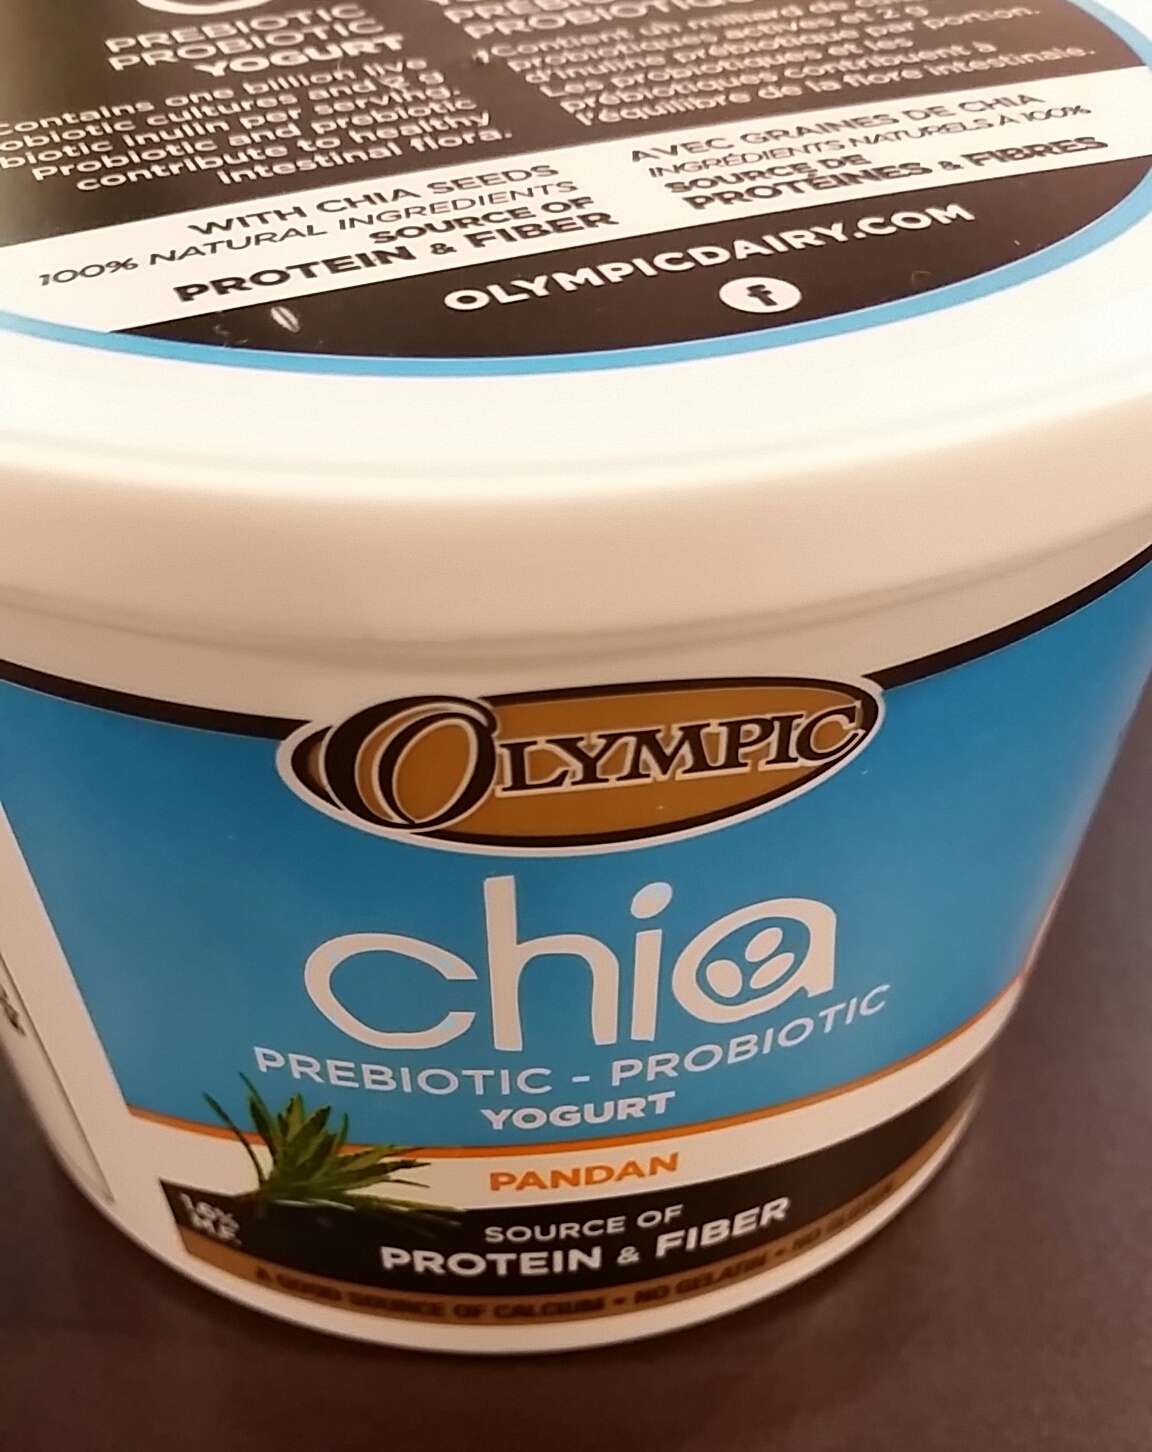
1 cup plain Greek yogurt
2 to 3 tablespoons honey
1 1/2 teaspoons baking powder
1/2 teaspoon baking soda
1/2 teaspoon pure vanilla extract

1/2 cups of mix ins – chocolate chips, raisins, nuts, chopped dates – whatever you want!!

Directions:

1. Preheat oven to 400 degrees

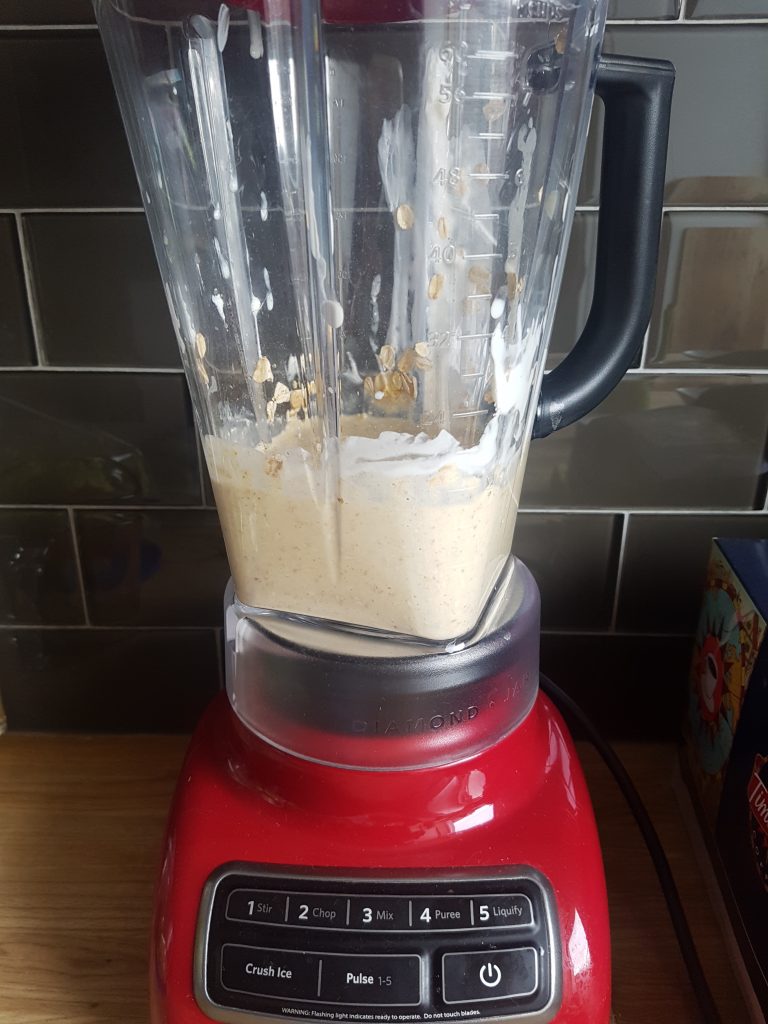
2. Mix all ingredients in the blender. (how easy could this get?).

blender - blender

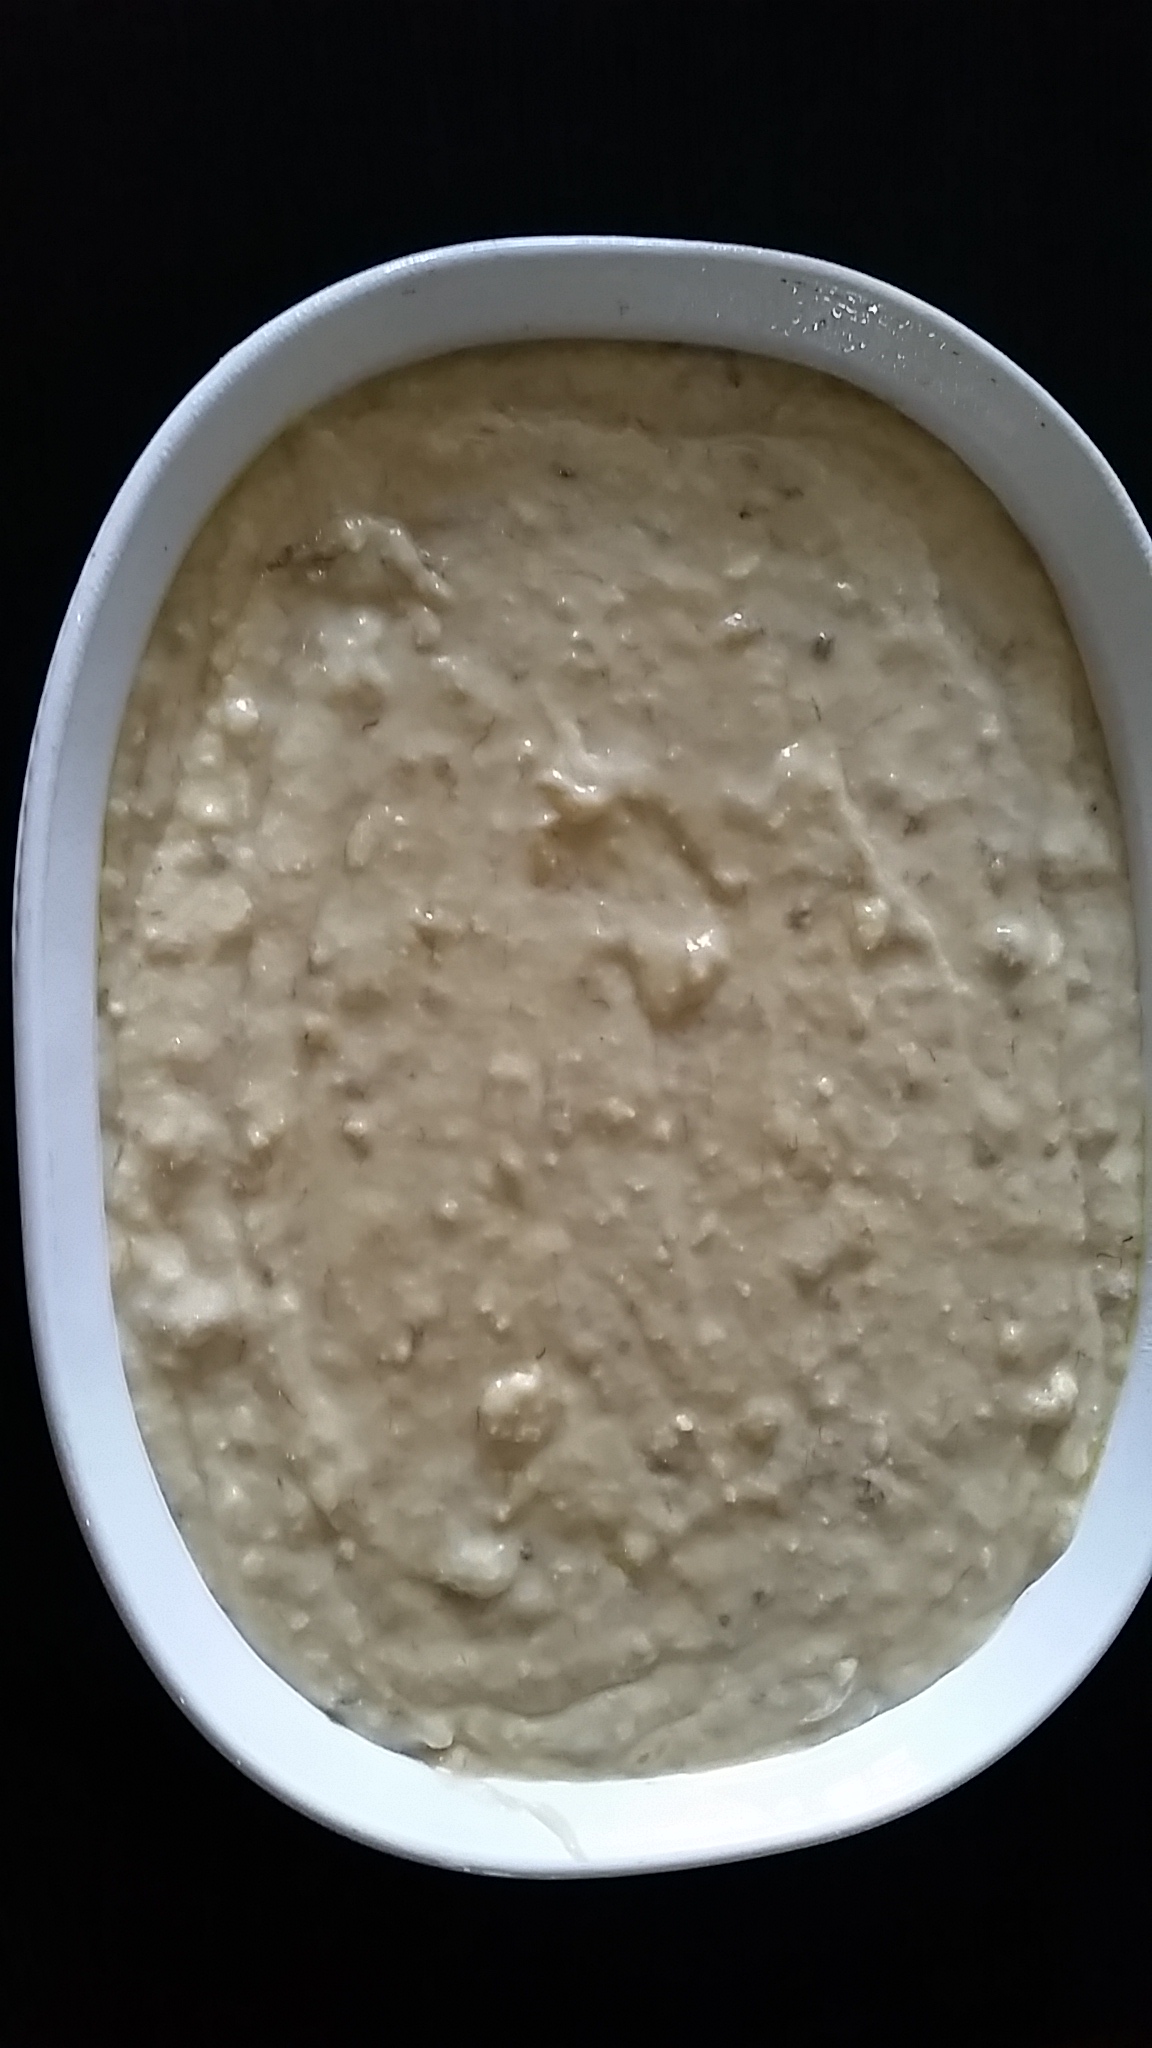
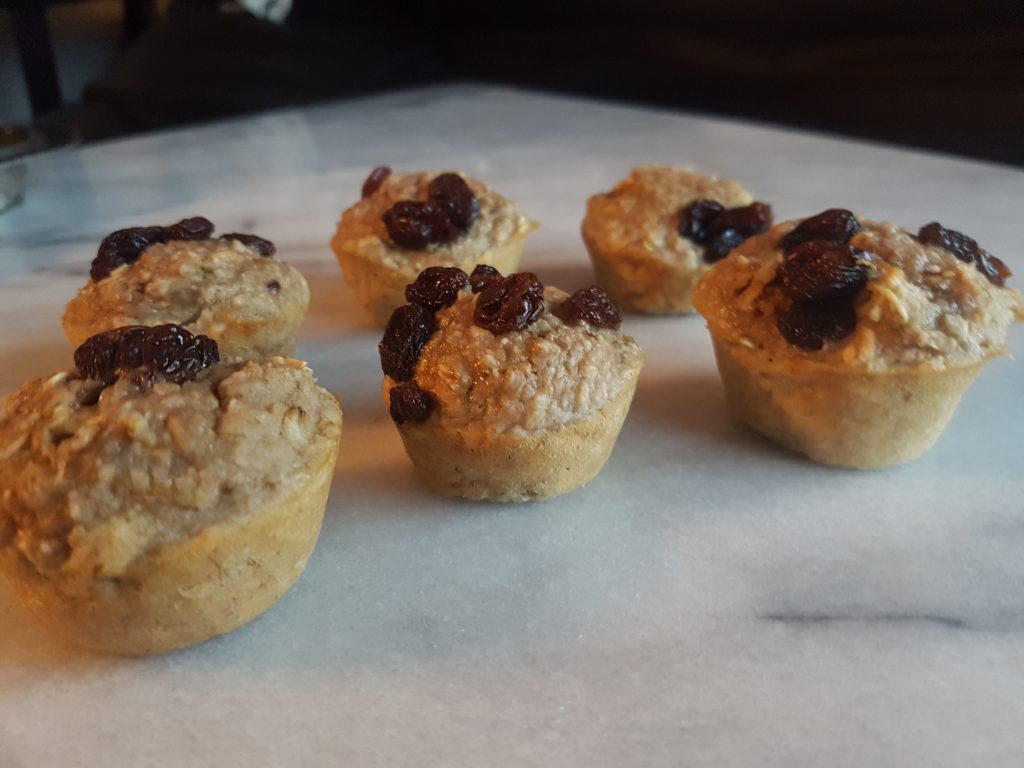
3. Drop batter into a well greased muffin pan. Fill no more than three-quarters of the way to the top. Sprinkle with additional chocolate chips or nuts as desired. Bake for 15 minutes, until the tops of the muffins are set and a toothpick inserted in the center comes out clean. Place the pan on a wire rack and let the muffins cool in the pan for 10 minutes.
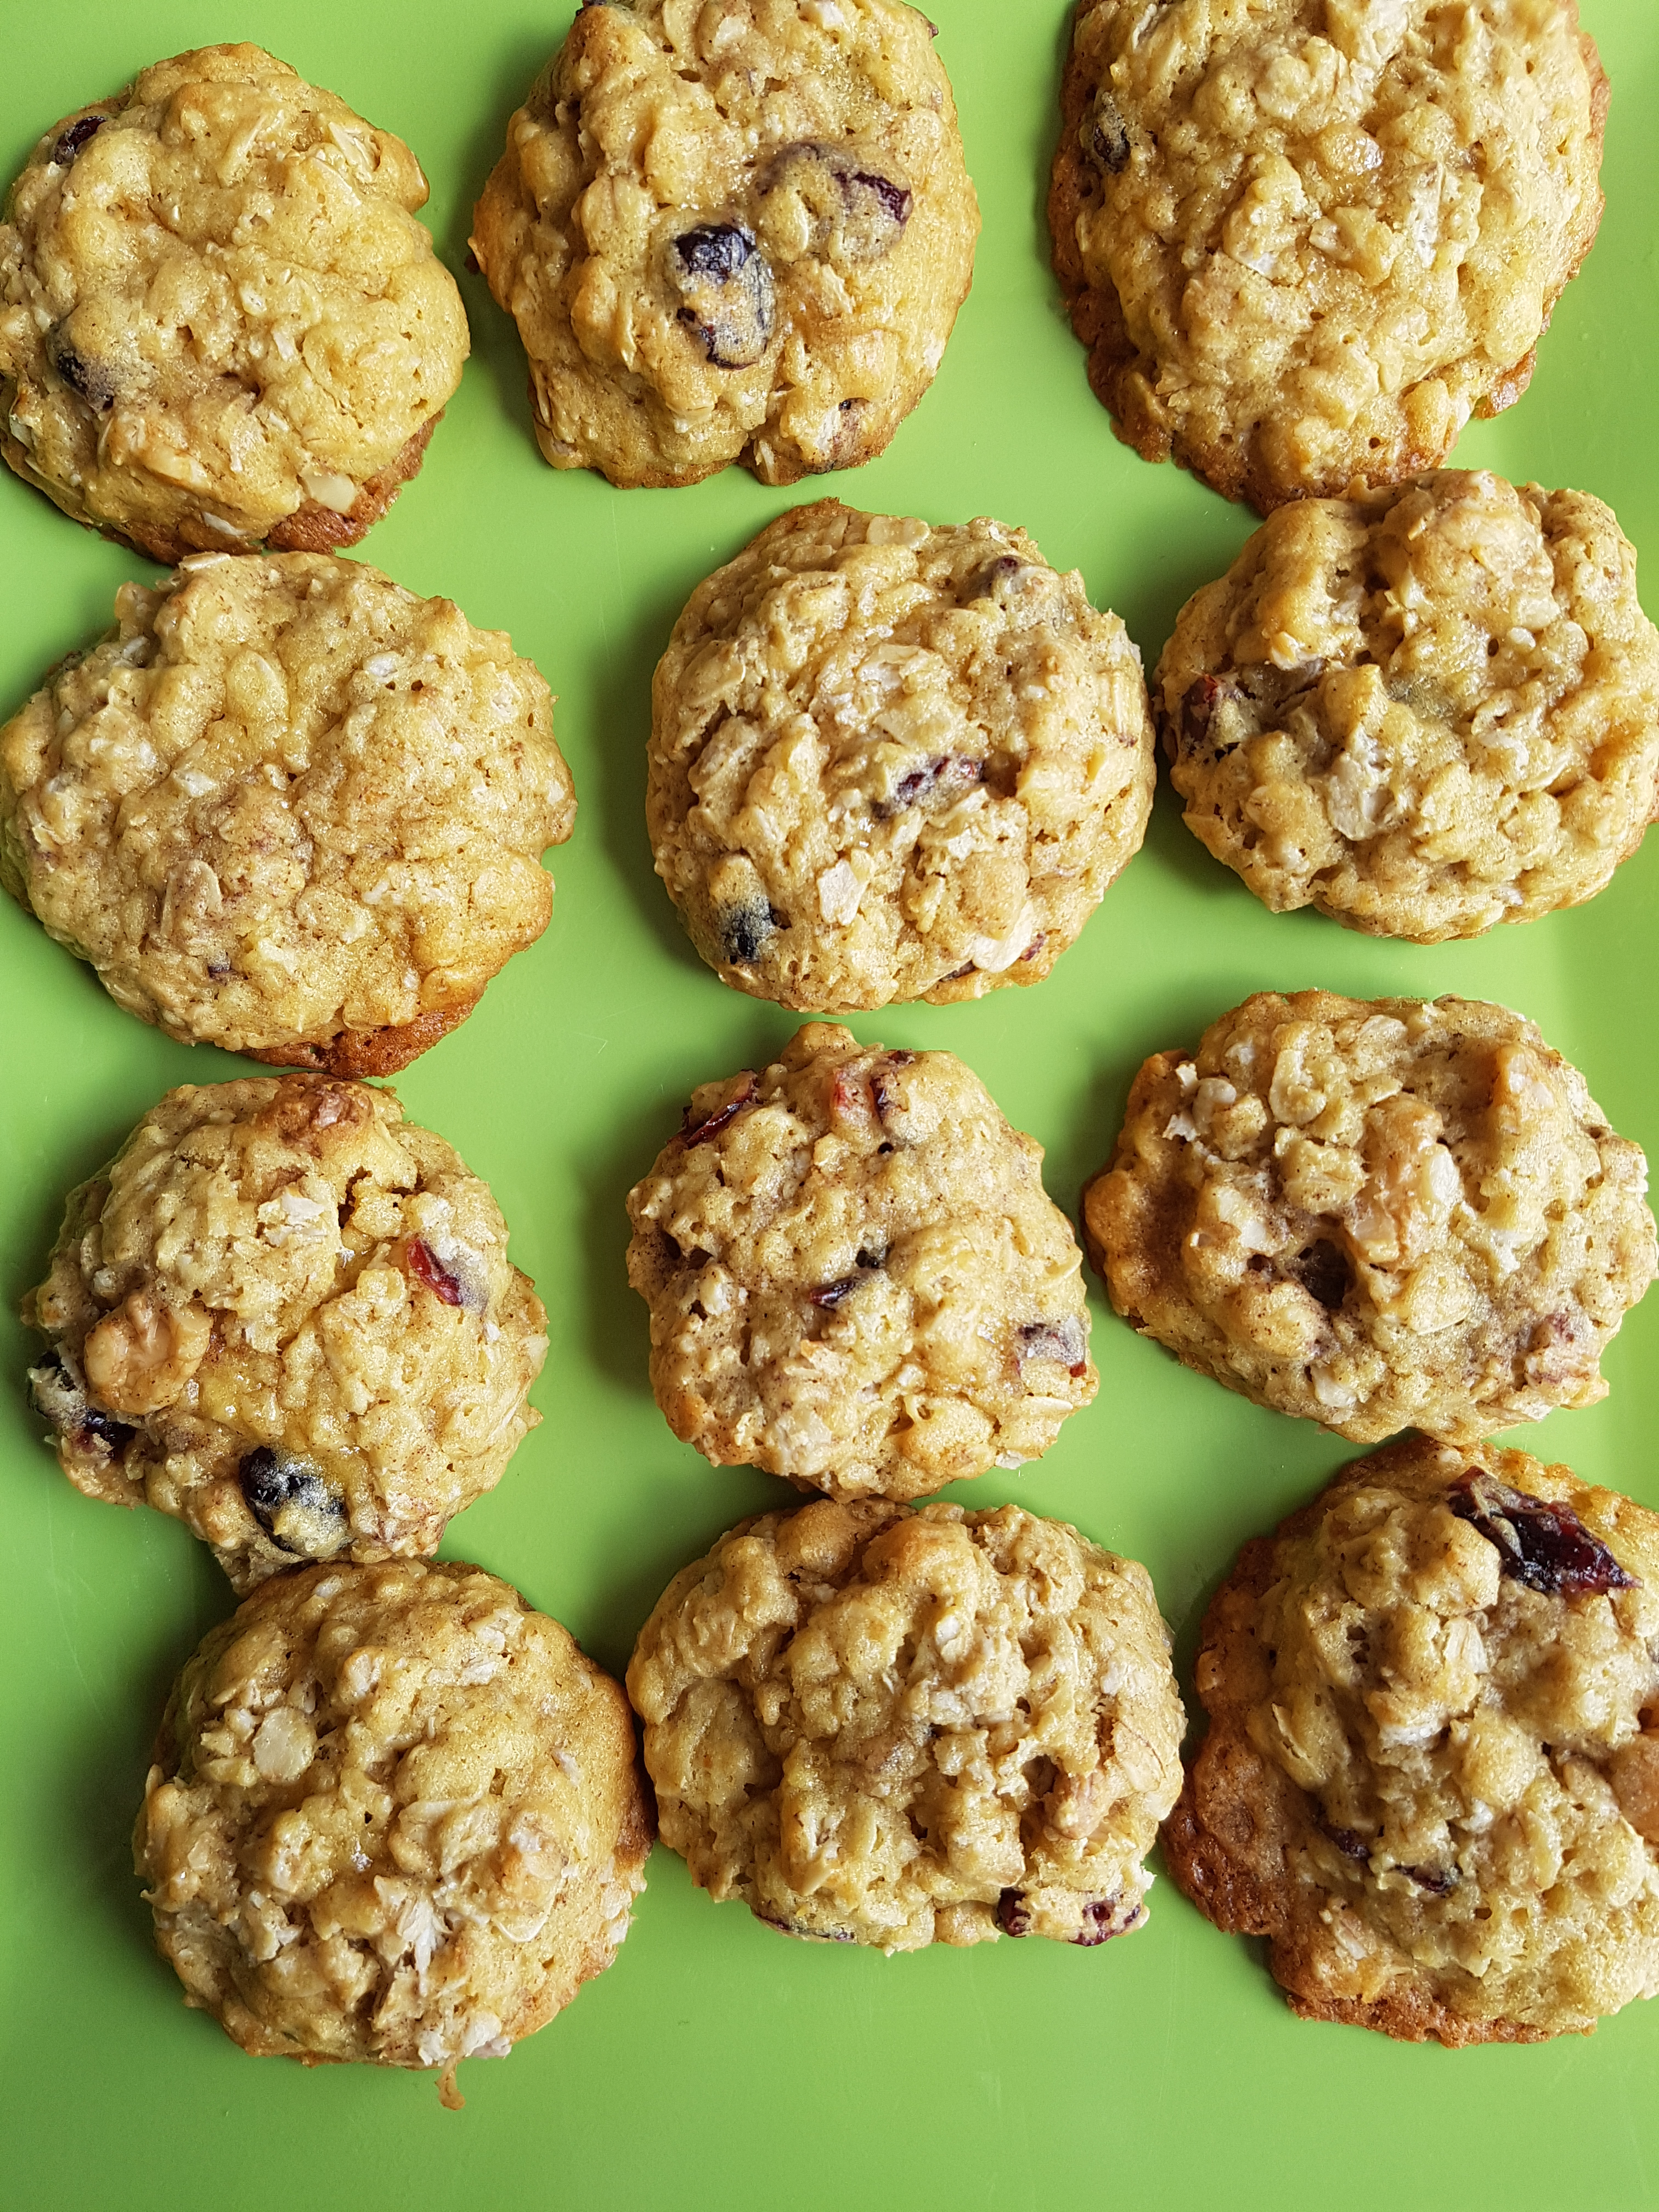
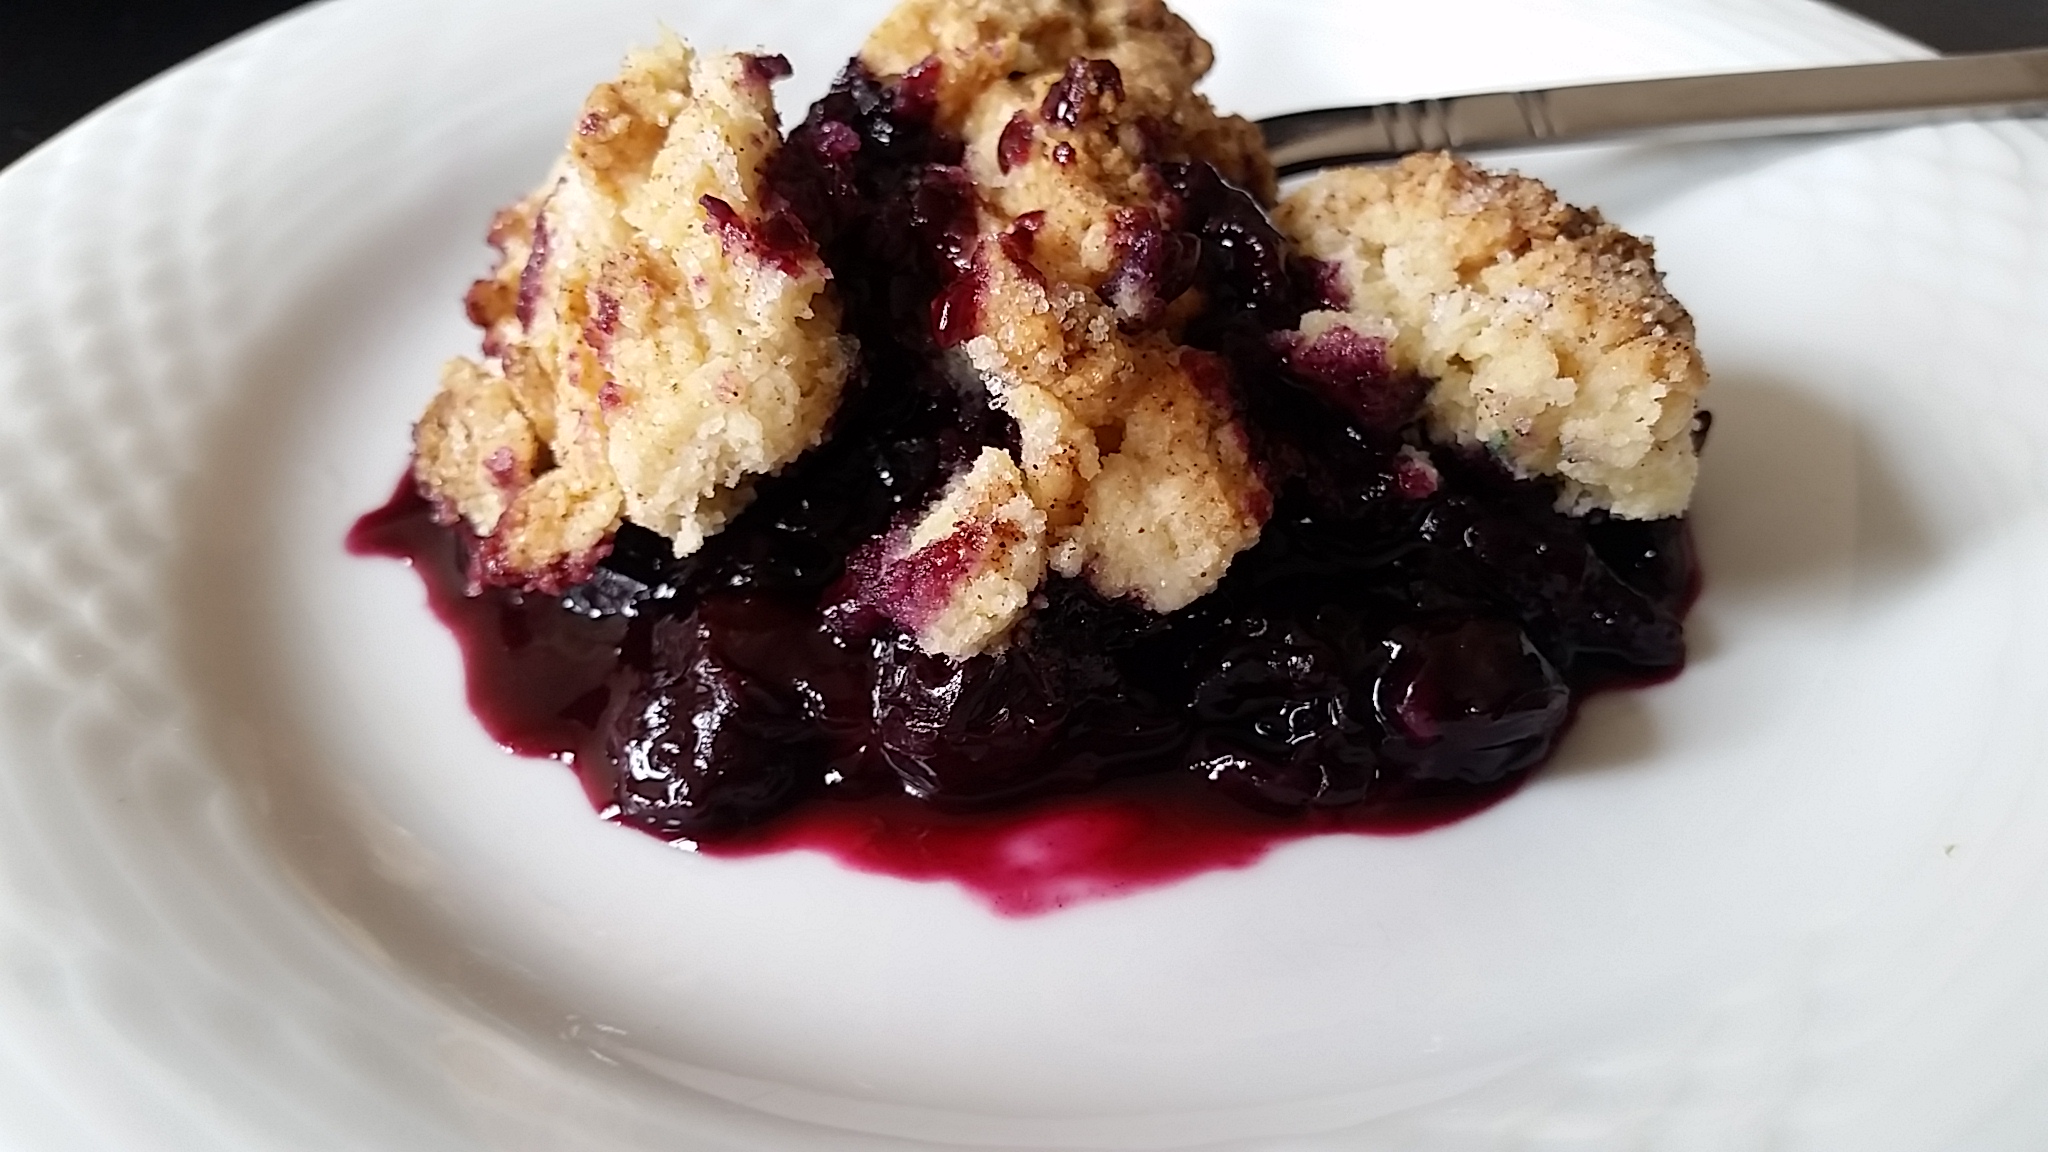
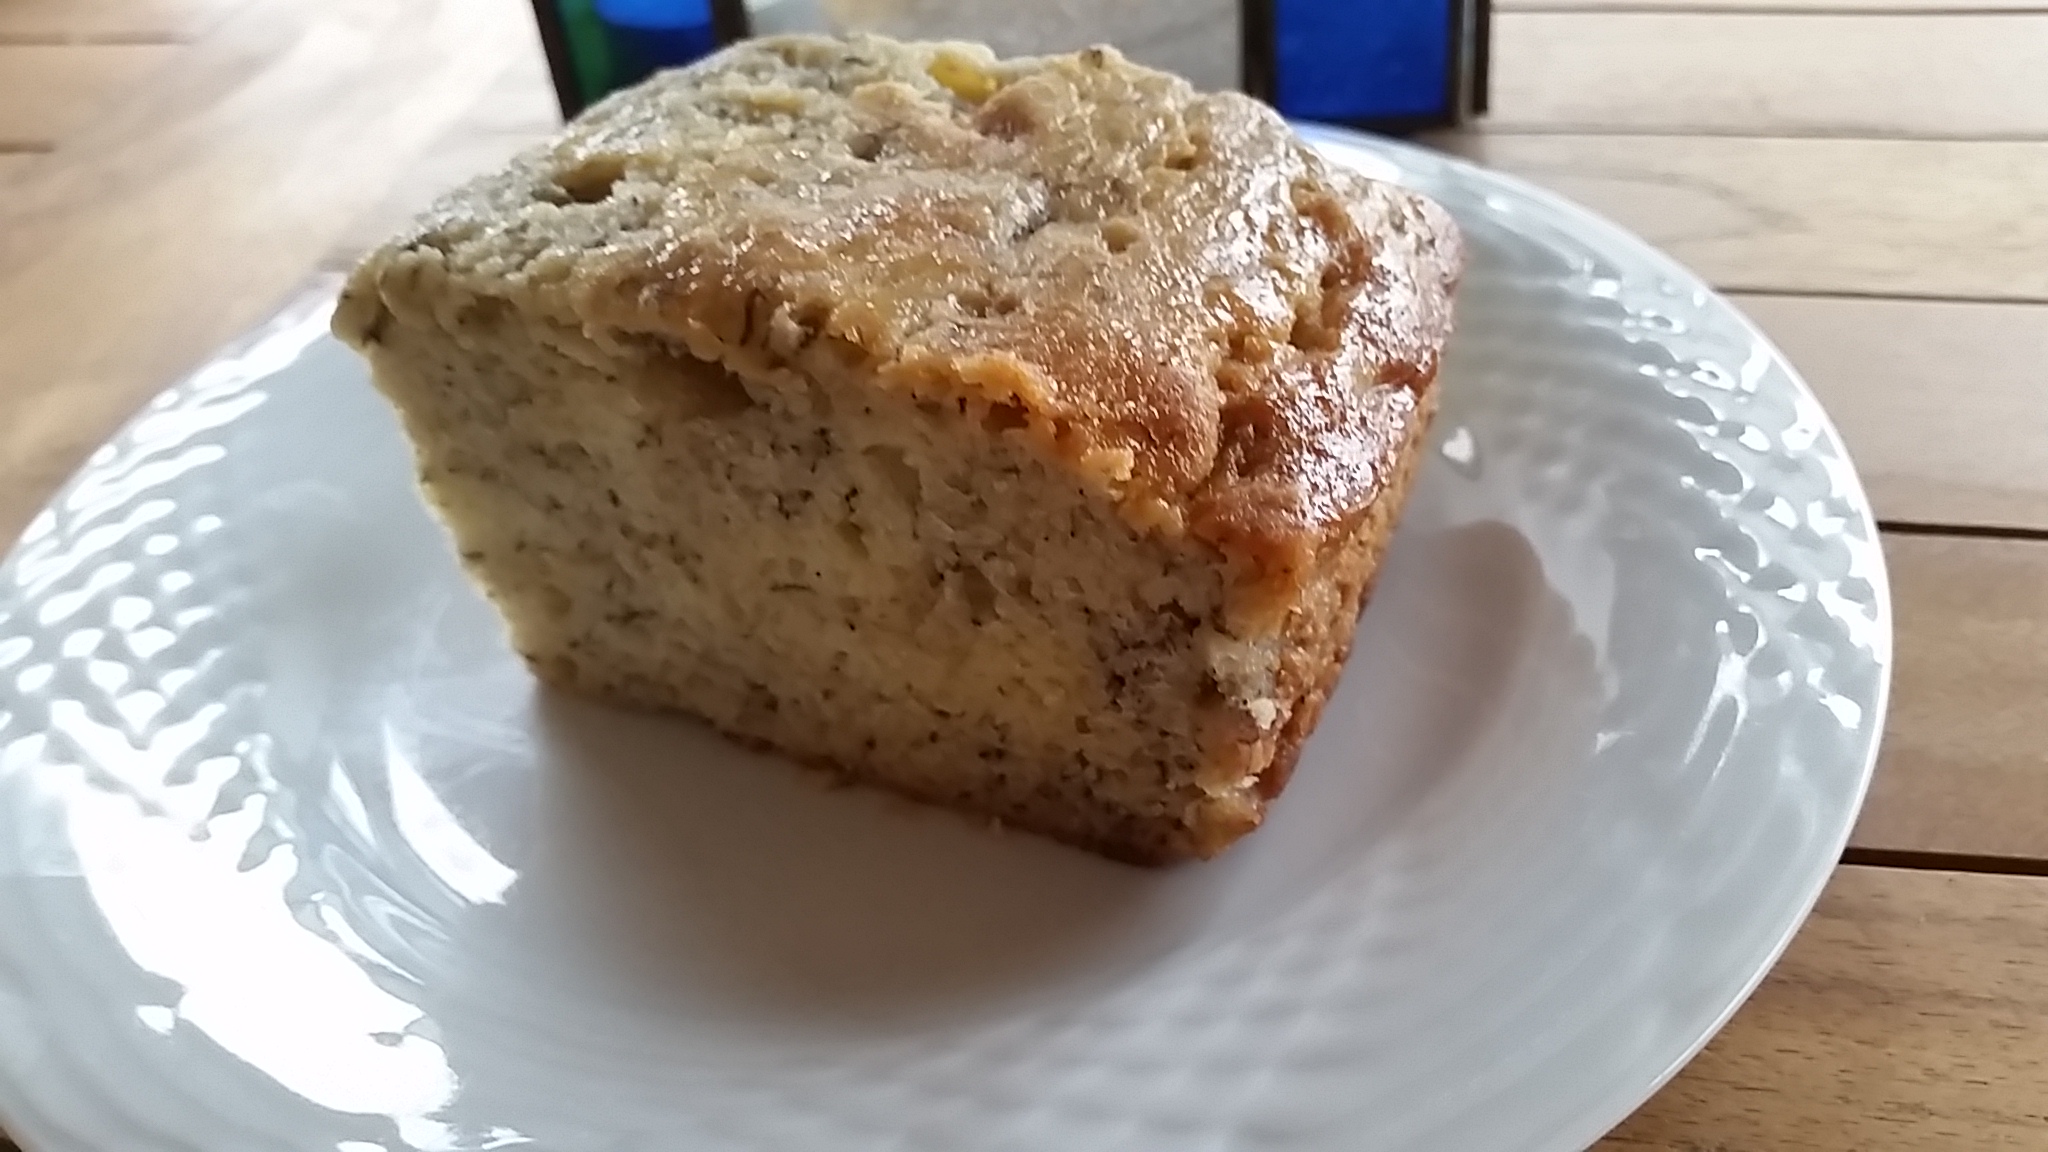
FINAL RESULT!!

blender - finalHappy Baking!!

Share this:
Share this page via Email Share this page via Stumble Upon Share this page via Digg this Share this page via Facebook Share this page via Twitter

, , , , , ,

Dec
01


True Story: I grew up with margarine. There was NEVER butter in the house as we were Jewish and kept meat and dairy separate. Therefore it was easier just to use margarine.

However when I had my first apartment, I decided to have a dairy kitchen and ONLY to buy butter. I have baked exclusively with butter for the last three decades.

But the other night I was invited to a “Bake with Canola” event. Here’s proof that I was actually baking with Canola!

canola-vicky

Here’s another true story: In my cupboard at the moment is Vegetable Oil and Olive Oil.  No ideas why I have never considered buying Canola Oil. One could easily blame it on my mom – I have a good feeling she never bought Canola either!!

At the event, I learned a few reasons why I should be choosing Canola Oil.

  1. It tastes good: Canola has a neutral flavour that won’t take over. It actually absorbs the flavours of the herbs and spices thats’ in the recipe!
  2. It can “take” high heats: Canola oil has a really high heat tolerance which makes it ideal for frying.
  3. Canola is farmed right here in Canada. Here’s a cool fact: There’s over 43,000 Canola Farmers in the Prairies.
  4. It’s a healthy Choice: Canola Oil is a good source of Vitamin E and K, and is packed with Omega 3 fats. It also has the lowest amount of saturated fat.

The event took place at the Luxe Appliance Studio where we were divided into groups. Each group baked one item from this list.

canola-menu

The evening was hosted by Emily Richards who is a professional home economist, cookbook author, recipe developer and someone who I have been following since she was on TV back in the early 1990’s. Plus the recipes we used were from her new cookbook called Per La Famiglia: Memories and Recipes of Southern Italian Cooking.

At the end of the evening, there was a beautiful dessert buffet all made with Canola Oil!!

canola-final

I can’t wait to start baking and frying with Canola Oil. My pantry now has a 3rd oil to select from and I have a feeling that it will be used very soon. You see, next month I will be frying up some delicious latkes for Chanuka using Canola Oil!!

Fore more information:

Website: Www.CanolaEatWell.Com

Twitter/Instagram: @CanolaEatWell

Disclosure: This is a sponsored blog post however all my opinions are my own.


Share this:
Share this page via Email Share this page via Stumble Upon Share this page via Digg this Share this page via Facebook Share this page via Twitter

, , , , , , ,

Mar
31


The other day, I was in the mood to do some baking. Therefore I took a look at what was in the pantry and decided that I was going to make Oatmeal Raisin Cookies. Then I sat on the computer and googled “Oatmeal Raisin Cookies”. Naturally a whole bunch of recipes came up but one recipe from Sally’s Baking Addiction caught my attention.

I’ve used recipes from this website before and I really trust Sally’s Baking Addictions’ knowledge and recipes.

She always seems to do something to the recipe that makes the end result “that much better”.

Once again – her recipe for Soft & Chewy Oatmeal Raisin Cookies will now become my “go-to” recipe when I’m craving this cookie.

Recipe: Soft & Chewy Oatmeal Raisin Cookie (from Sally’s Baking Addiction)

Ingredients

1 cup (230g) unsalted butter, softened to room temperature
1 cup (200g) packed light or dark brown sugar
1/4 cup (50g) granulated sugar
2 large eggs 1
1 Tablespoon vanilla extract (yes, Tablespoon!)
1 Tablespoon molasses….(Um I didn’t have this in my pantry and the recipe still came out)
1 and 1/2 cups (190g) all-purpose flour (spoon & leveled)
1 teaspoon baking soda
1 and 1/2 teaspoons ground cinnamon
1/2 teaspoon salt
3 cups (240g) old-fashioned rolled oats
1 cup (140g) raisins
1/2 cup (64g) chopped toasted walnuts (optional)

Directions:

Cream the softened butter and both sugars together on medium speed in your mixer, until smooth. (about 2 minutes).

Add the eggs and mix on high until combined (about 1 minute). Scrape down the sides of the bowl as needed. Add the vanilla and molasses and mix on high until combined. Set aside.

In a separate bowl, toss the flour, baking soda, cinnamon, and salt together. Add to the wet ingredients (this is important that you get this step right) and mix on low until combined.

Beat in the oats, raisins, and walnuts (if using) on low speed. Dough will be thick, yet very sticky. Chill the dough for 30-60 minutes in the refrigerator (do the full hour if you’re afraid that the cookies will spread too much) This is an important step!

Preheat oven to 350°F (177°C). Line two large baking sheets with parchment paper or silicone baking mats. (Always recommended for cookies.) Set aside.

Roll balls of dough (about 1.5 tablespoons of dough per cookie) and place 2 inches apart on the baking sheets. Bake for exactly 10 minutes until very lightly browned on the sides. The center will look very soft and undone but that’s OK.

Remove from the oven and let cool on baking sheet for 5 minutes before transferring to a wire rack to cool completely. The cookies will continue to “set” on the baking sheet during this time.

FINAL PRODUCT

oatmeal cookies

More tips from Sally’s Baking Addiction:

Room temperature eggs preferred. Good rule of thumb: always use room temperature eggs when using room temperature butter.
Soak your raisins in warm water for 10 minutes before using (blot very well to dry them) – this makes them nice and plump for your cookies. OR even try them with Raisinets!

Happy Baking!


Share this:
Share this page via Email Share this page via Stumble Upon Share this page via Digg this Share this page via Facebook Share this page via Twitter

, , , ,

Jul
10


I got tired of  making blueberry crisps, so I made a Blueberry Cobbler instead. (just like that) I searched online for a recipe and discovered that there’s LOTS of recipes out there….and they are all a little different!

After reading (err..scanning) thru many recipes I finally found one that suited my needs. This is code for …I had all the ingredients in the pantry/fridge.

It’s a winner. The blueberries become all goo-ey and the cobbler part was perfect.

Here’s the recipe:

Blueberry Cobbler (taken from www.wickedgoodkitchen.com)

Ingredients:

For the Blueberry Filling

6 cups of blueberries

1 cup of sugar (I used less)

2 teaspoons of grated lemon zest

3 tablespoons of all purpose flour

For the Buttery Biscuit Crumble Topping

1 cup plus 5 tablespoons of all purpose flour

6 tablespoons of sugar

1 1/2 teaspoons of baking powder

1/4 teaspoon of salt

6 tablespoons of unsalted butter, chilled and cut into bits

1 large egg, slightly beaten

1 teaspoon of vanilla

1 tablespoon of sugar

1/2 teaspoon cinnamon

Directions:

1. Preheat oven to 375 F. Lightly butter a pie plate, baking dish etc.

2. Prepare the blueberry filling: Place blueberries into the prepared baking dish. In a small bowl, combine the sugar and lemon zest. Add the flour and whisk until thoroughly combined. Sprinkle evenly over the berries and toss gently.


blueberry - filling

3. Prepare the buttery biscuit crumble: In a bowl, whisk the flour, sugar, baking powder and salt until well combined. Using a pastry blender, cut the butter into the flour mixture until it resembles a course meal with small pea-sized pieces of butter.  In a small bowl, whisk the vanilla into the beaten egg. Gently toss the egg and vanilla into the flour mixture until moistened and the dough starts to hold together.

blueberry - crumble

4. Assemble the cobbler: Sprinkle the biscuit crumble evenly over the fruit filling. Sprinkle with sugar and cinnamon (if desired).

5. Bake for 40 minutes.

blueberry - final

**I promise that your kitchen is going to smell delicious and the blueberries will be bubbling away.

This recipe was so good that I’ve made this cobbler twice in one week.

Sadly I never have ice cream in my freezer but I bet this blueberry cobbler would be absolutely perfect with a scoop of ice cream!!

blueberry - plate

Happy Baking.


Share this:
Share this page via Email Share this page via Stumble Upon Share this page via Digg this Share this page via Facebook Share this page via Twitter

, , , , ,

May
25


I stumbled across this banana cake recipe online and it intrigued me for these two reasons:

a) You bake it at 275 degrees for 1 hour and 10 min.

banana cake - 275

b) You transfer the cake right from the oven into the freezer for 45 minutes.

So I tried it and it was SO good that I made it three times in one week. Not to mention I had these two compliments;

a) my mom said it tasted similar to the Sara Lee Banana Cake (that we use to eat decades ago)

b) my aunt actually tried it and then made the recipe the following week. She’s an amazing baker so this was a huge compliment!

Here’s the recipe for you to try (in your spare time ..of course)

CRAZY BANANA CAKE WITH CREAM CHESE ICING (credit: www.happyhooligans.ca)

  • 1.5 cups very ripe bananas (3 fresh bananas or 4 thawed, previously frozen bananas)
  • 2 tsp lemon juice
  • 3 cups all-purpose flour
  • 1.5 tsp baking soda
  • 1/4 tsp salt
  •  3/4 cup soft butter
  • 2 cups sugar
  • 3 eggs
  • 2 tsp vanilla
  • 1.5 cups buttermilk (OR milk soured with one tbsp vinegar or lemon juice….I used this method as I didn’t have buttermilk hanging around my fridge)

DIRECTIONS

Pre-heat oven to 275º F, and grease and flour (or spray), a 9×13 cake pan.

Mash banana and mix with lemon juice and set aside.

In a med bowl, mix flour, baking soda and salt.  Set aside.

If you’re making your own buttermilk, combine milk and vinegar (or lemon juice) in a small bowl, and set aside.

banana cake - ingredients

In a large bowl, cream butter and sugar. ( I used a mixer for this step to make it light and fluffy)
Beat in eggs, one at a time.  Stir in vanilla.

Beat in flour mixture alternately with buttermilk.

Stir in bananas.

Pour into greased/floured (or sprayed) cake pan and bake at 275º F for 1 hour and 10 mins (or until knife comes out clean).

banana cake - in pan

HERE’S THE INTERESTING STEP:

Immediately place in the freezer for 45 minutes. (if not completely cool upon removal from freezer, let cool further before icing).

No need to cover the cake, but you’ll want to place it on a thick, folded towel to protect items underneath.

FINAL RESULT:

banana cake - final

Cream Cheese Icining: (which as you can see from the photo I did’t make as I think it’s amazing on it’s own)

  • 1/2 cup softened butter
  • 8 oz cream cheese, room temp.
  • 1 tsp vanilla
  • 3.5 cups icing sugar (also known as powdered sugar or confectioner’s sugar)
  1. Cream butter and cream cheese.
  2.  Beat in vanilla and icing sugar on low until combined, then high until smooth.

Note: This makes a ton of icing so you might want to halve the recipe.

Happy Baking!!


Share this:
Share this page via Email Share this page via Stumble Upon Share this page via Digg this Share this page via Facebook Share this page via Twitter

, , , , ,

Sep
29


Oh how I love food shows. Today I attended Grocery Innovations  in search of new product that will be hitting the grocery shelves.  I have to admit..I don’t mind receiving samples either! Can you tell?

GIC - samples

This year, I discovered the following new products:

a) Olympic has introduced CHIA Balkan Style Yogurt that is Probiotic with 100% natural ingredients. It’s also Lactose free, Gluten free and Gelatin free. I think..scratch that.I know that this product is going to be HUGELY successful.

GIC - chia

b) Crisco has introduced ONE CUPS STICKS. YAY. For those of you who are occasional bakers – this is BRILLIANT. I swear I have 2 sticks of Crisco in my cupboard that have been there way too long. Now I won’t have that problem anymore.

GIC - crisco

C) SILK has introduced a Creamy Cashew Milk. Seeing as I’m lactose free – all these varieties appeal to me.

GIC - silk

I wondered thru the show for hours (no joke) and will be blogging about other products that intrigued me, so stay tuned.

Happy Grocery Shopping!!


Share this:
Share this page via Email Share this page via Stumble Upon Share this page via Digg this Share this page via Facebook Share this page via Twitter

, , , , , , , , , ,

Nov
13


Back in late September, I was invited to the opening of  CakeStar.  I was not going to miss this event even though the next day I was moving. Thats right – the next day I was moving. But I was determined not to miss this opening…I like cake and I have priorities. Clearly eating cake was a higher priority than packing another box!!

Here is some background info about CakeStar: It’s owned and operated by two sisters and it’s a great story about two women who are clearly passionate about the food business.

The cakes are gorgeous (see above photo) and that evening I treated myself to cannoli that was superb. I don’t say that lightly – as I take my desserts very seriously and often don’t indulge in just any old dessert – its got to be GREAT. It was recommended and indeed it was a fantastic recommendation.

heaven!!

CakeStar offers classes too. Ranging from beginners to 3D cake decorating and even a class called “rock ‘n roll romance cake”. I don’t know if you noticed, but my blog posts over the last year have never been about cakes. I can make cookies, muffins, crisps, pudding, and tiramisu but avoid making cakes. (fear of cakes perhaps?). But you never know, one day soon I could get over this fear. Hey – I can make that a goal for 2012 – learn how to make cupcakes and cakes.

If you can’t make it to their store, soon you can watch them on CBC’s the Steven and Chris show as the resident cake expert!! Alternatively, you can find out more about their cakes and cake decorating classes by visiting their awesome website. I have to say, their website is great. (kudos to the webmaster too).

CakeStar

3431 Lake Shore Blvd West (at Kipling)

Etobicoke, ON

416-259-9053

twitter: @CakeStarGirlz

Share this:
Share this page via Email Share this page via Stumble Upon Share this page via Digg this Share this page via Facebook Share this page via Twitter

, , , , ,