Posts Tagged ‘Betty Crocker’

May
30


I have no idea why I have never owned  a Waffle Maker before. However I’m thrilled that I now own a Breville No Mess Waffle Maker.

This waffle maker really made my FIRST experience making waffles super easy!!

breville - machine


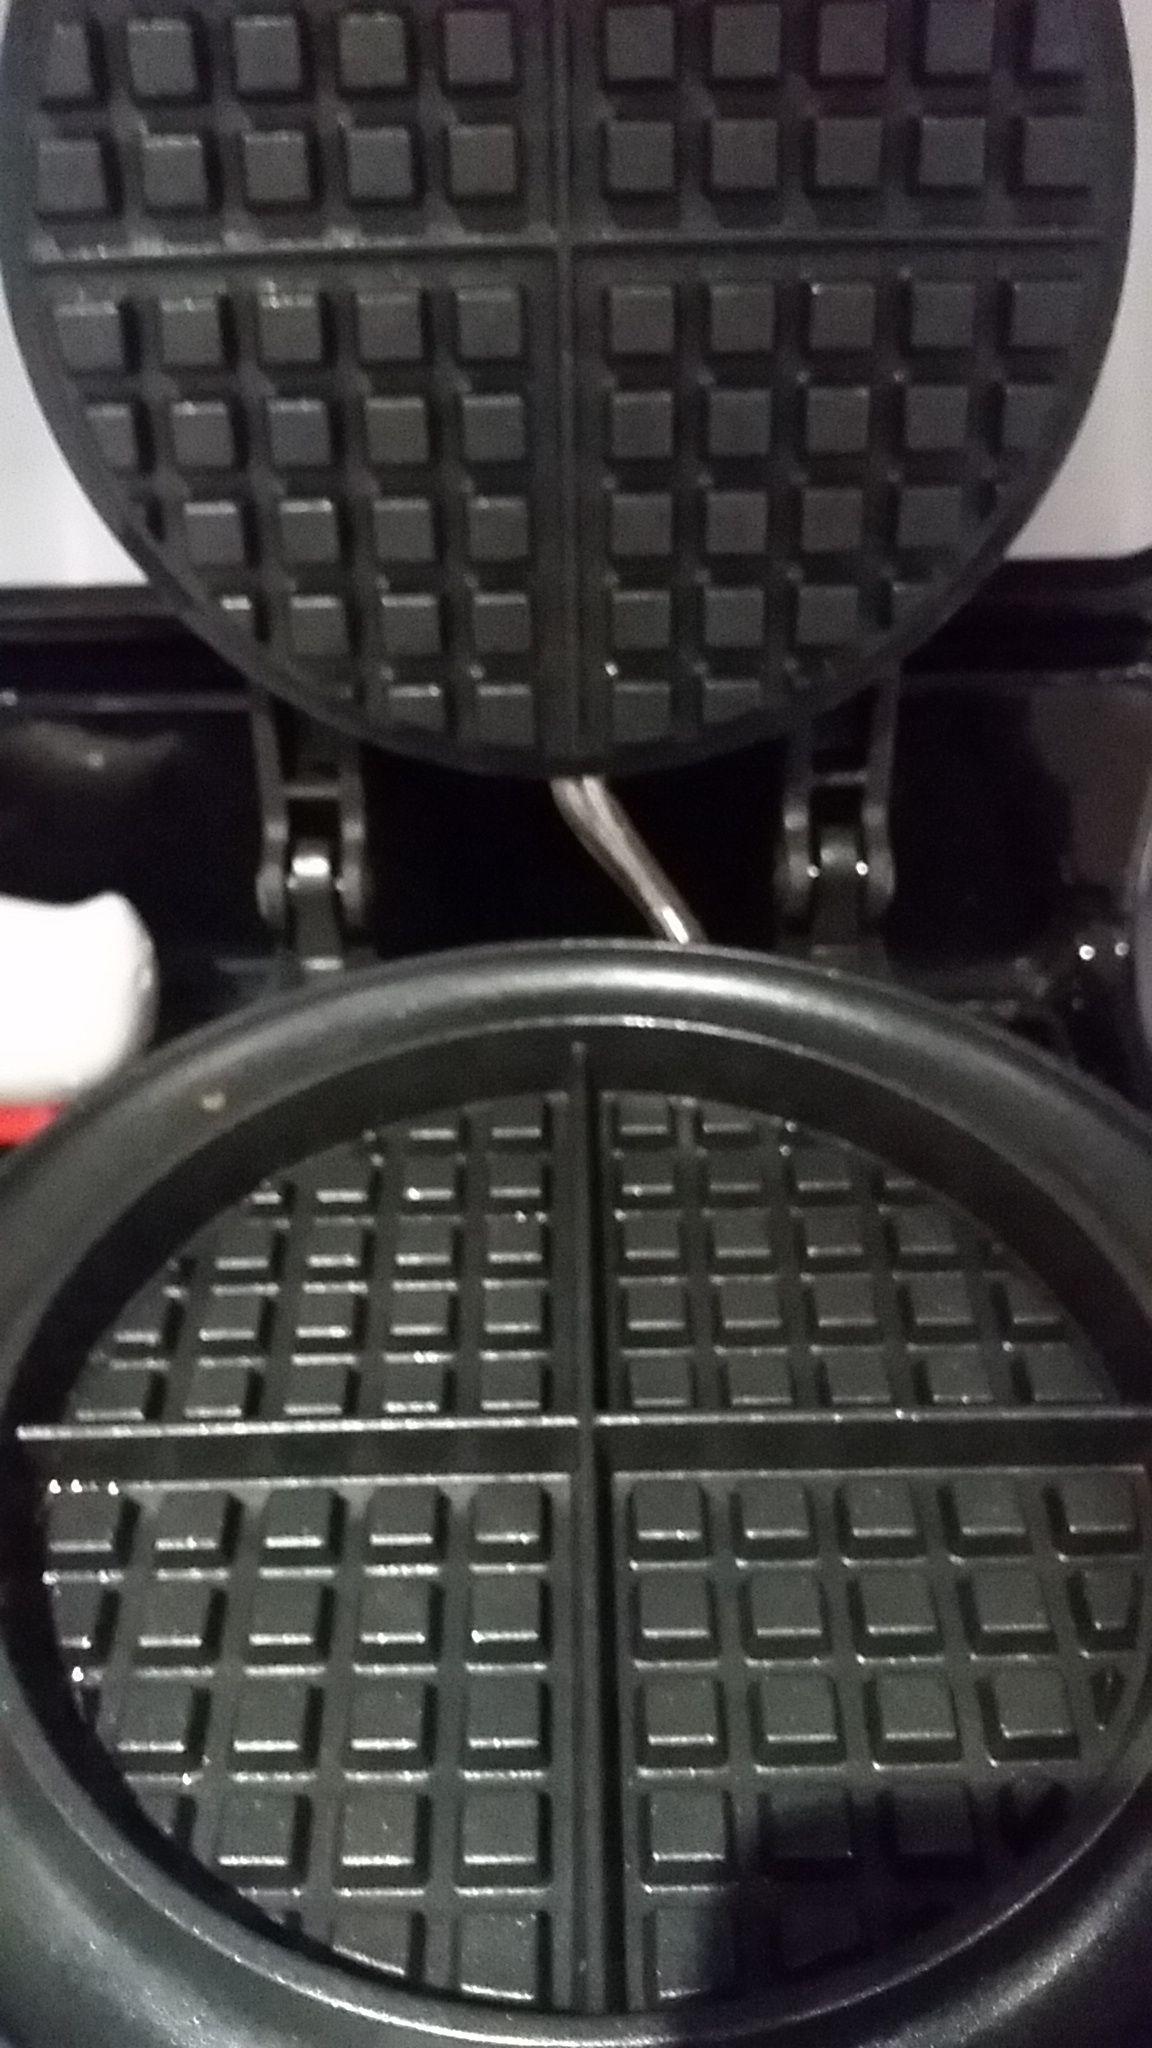
Features that I liked about the Breville No Mess Waffle Maker:

– it has a wide wrap around moat that catches the over flow. Which also makes cleaning up, really easy!

– you can select your preferred color from light and fluffy to crispy golden brown. #loveit

-the best part? It BEEPS when the waffle is ready. How cool is that?

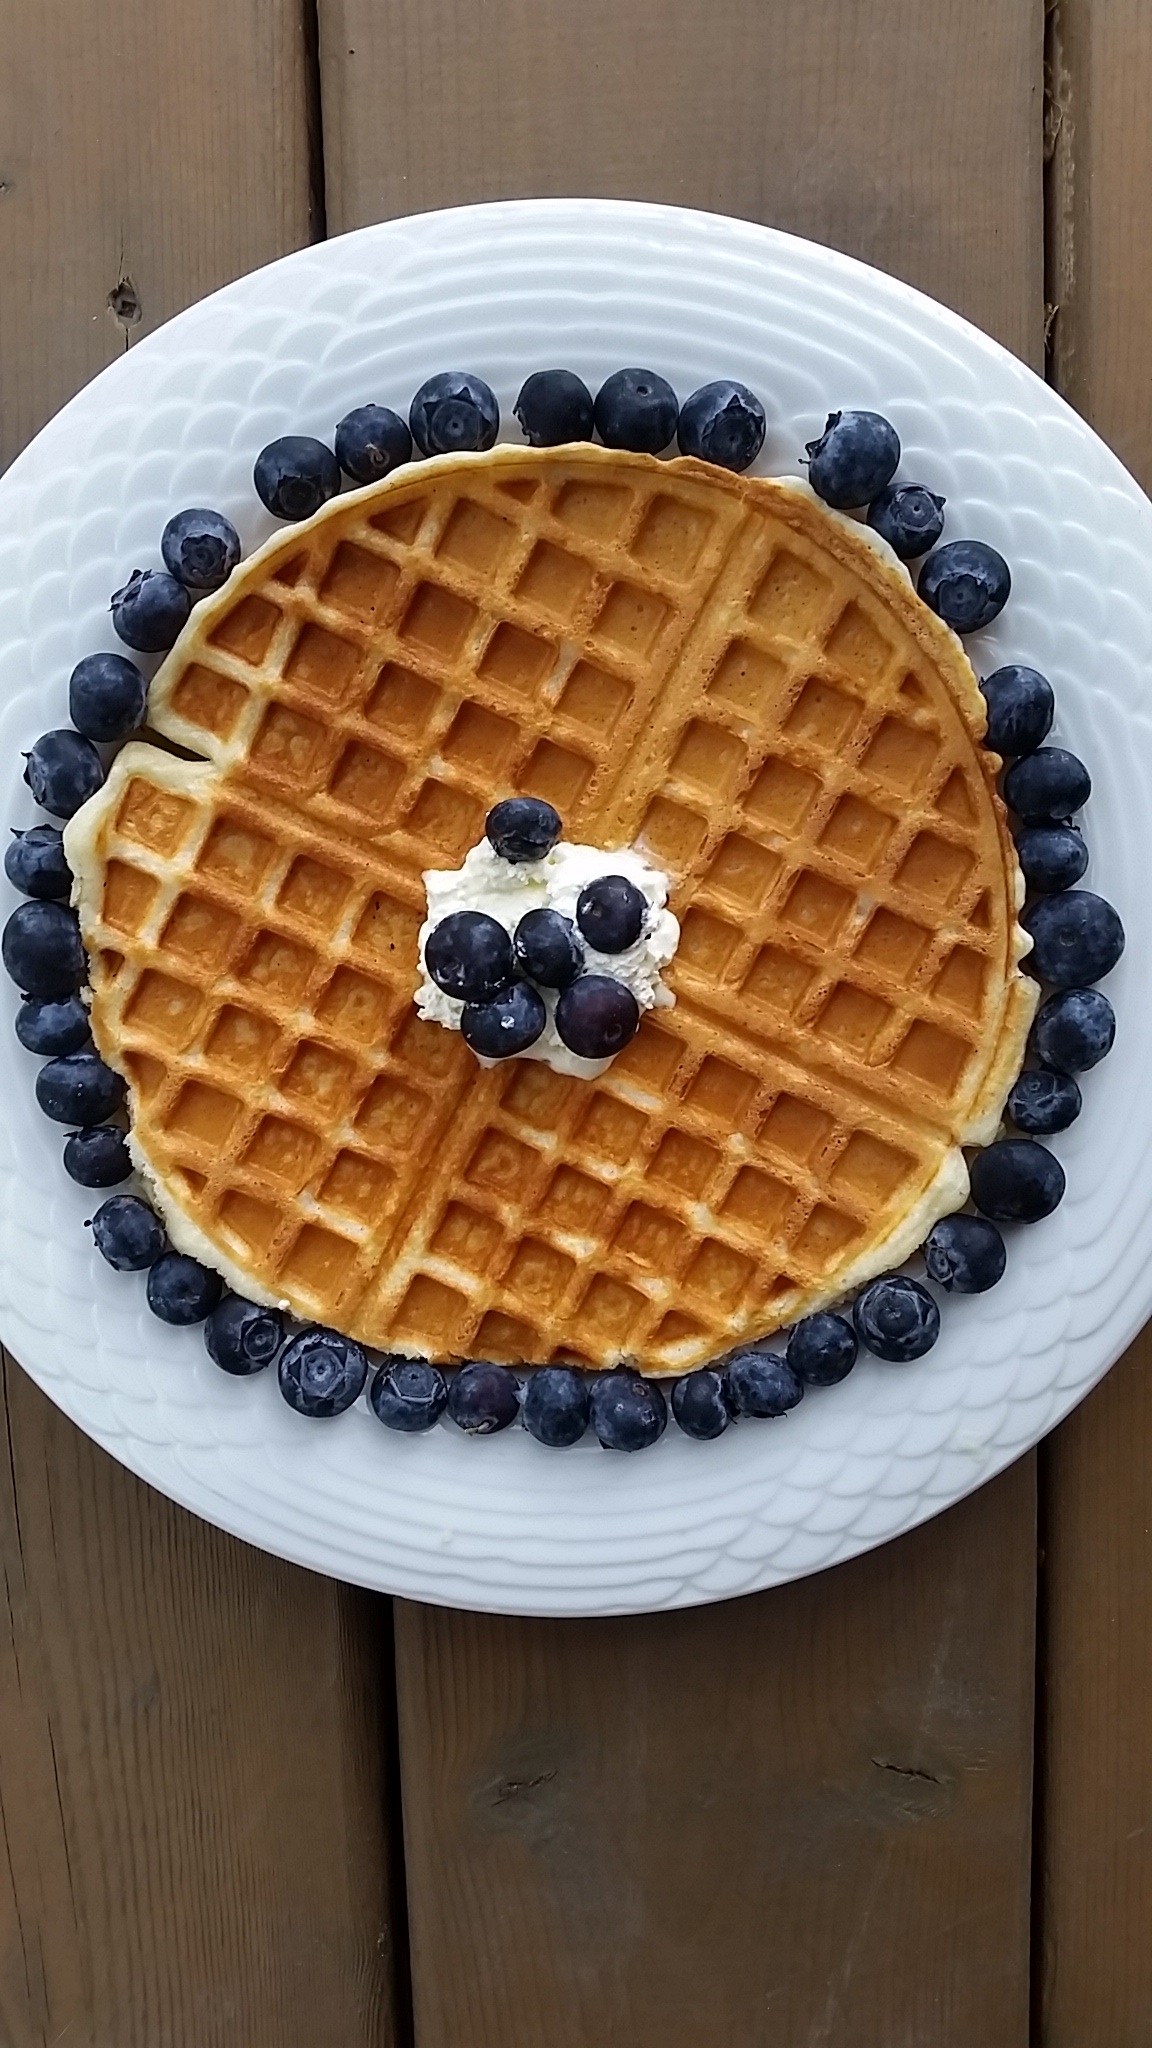
I’m delighted to announce that this is what my morning breakfast looked like!waffle - final

Here’s the recipe I used. (taken from www.bettycrocker.com)

INGREDIENTS

2 eggs
2 cups all purpose flour
1 tablespoon sugar
4 teaspoons baking powder
1/4 teaspoon salt
1 3/4 cups milk
1/2 cup vegetable oil or melted butter (I used melted butter of course)
Fresh berries, if desired

DIRECTIONS

1. Heat the waffle maker

2. In large bowl, beat eggs with wire whisk until fluffy. Beat in remaining ingredients except berries just until smooth.

3. Pour slightly less than 3/4 cup batter onto centre  of hot waffle iron. Close lid of waffle iron.

4. Bake about 5 minutes or until steaming stops. (I simply had to wait for my waffle maker to BEEP!!)

5. Carefully remove waffle. Serve immediately. Top with fresh berries. Repeat with remaining batter.

I promise that you will continue to make waffles on a regular basis as the Breville No Mess Waffle Maker really delivers.

breville - final

P.S. Now it’s time for me to host a brunch with a Waffle Bar. I’m already thinking about the topping options – whipped cream, strawberries, blueberries,  raspberries, banana chips, nutella, chocolate chips, chopped pecans etc. OH MY!!

Disclosure: The waffle maker was provided to me, however all opinions are my own

Share this:
Share this page via Email Share this page via Stumble Upon Share this page via Digg this Share this page via Facebook Share this page via Twitter

, , , , , ,

May
08


I was tired of making tuna burgers and salmon burgers and was searching the internet (for a change) for a corn cake recipe. I’ve made corn fritters before but I can’t say they were much of a hit. The corn cake recipe, I found on the Betty Crocker website uses Bisquick, and I think this makes a huge difference. I’m thrilled with the results. Bye bye corn fritters – hello corn cakes!!

The recipe suggested serving the corn cakes with a sour cream chive dressing but I was in the mood for something spicy so I grabbed the Sriracha bottle I had in the fridge and it was perfect.

Also I noticed that perhaps I didn’t chop up my vegetables fine enough…which is SO typical of my “rush rush rush” style of cooking. Nevertheless – I was thrilled with the results.

MINI CORN CAKES 

INGREDIENTS

 1 tablespoon butter or margarine
1/3 cup chopped green onions (really really fine)
1/3 cup chopped celery (really really fine)
1/3 cup chopped red bell pepper (really really fine)
1 cup soft white bread crumbs (I used panko bread crumbs- I figured “why not”)
1/2 cup Original Bisquick® mix
1 tteaspoon sugar
1/2 teaspoon salt
1/8 teaspoon ground red pepper (cayenne)
2 eggs, slightly beaten 
1 can (11 oz) whole kernel corn, drained 
2 tablespoons vegetable oil
TOPPING
1/2 cup chive-and-onion sour cream

 METHOD
1. In 12-inch nonstick skillet, melt butter over medium heat. Add onions, celery and bell pepper; cook 3 minutes, stirring occasionally.

will chop the veggies a little smaller next time

2. In medium bowl, stir vegetable mixture and remaining ingredients except oil and sour cream until well blended.

This recipe couldnt be easier

3.  In same skillet, heat 2 teaspoons of the oil over medium heat. Cooking 8 corn cakes at a time, drop corn mixture into oil by tablespoonfuls, spreading each into 1 1/2-inch round. Cook 1 minute to 1 minute 30 seconds on each side, carefully turning once, until golden brown. Cook remaining corn cakes, using 2 teaspoons oil for each batch of 8 corn cakes. Serve with sour cream.
FINAL PRODUCT

Will be making these again.

Hope you like this recipe as much as I did. I think it would be a great side dish along with a piece of salmon and roasted root vegetables. What do you think?

Happy Cooking.

Disclosure: I am part of the Life Made Delicious Blogger program and I receive special perks as part of my affiliation with this group. The opinions on this blog are my own.


Share this:
Share this page via Email Share this page via Stumble Upon Share this page via Digg this Share this page via Facebook Share this page via Twitter

, , , , ,

Feb
26


I’ve posted a recipe before that was less than 140 characters, but I think that this recipe takes the cake. HA HA.

You know when you want just a “little something” but you don’t want to make an entire cake? Here’s the solution to your problem. Naturally I found this recipe on Pinterest..which is my latest addiction.

Here’s what you need:

Two boxes of Betty Crocker cake mix. Please note, that one of those boxes MUST be Angel Cake.

Here’s the recipe:

1. Mix the two boxes of cake mix into a zip loc bag.

2. Put 3 tablespoons of cake mix into a mug. Add 2 tablespoons of water. Stir.

3. Put the mug into a microwave and cook for 1 minute.

Voila – a perfect size portion of cake. Of course, I added the perfect size scoop of ice cream to make it even better!!

P.S. Store the mixture in an airtight container or just keep it in the zip loc bag for future “treats”.

Seriously…how awesome is this recipe? How awesome is Pinterest?

Disclosure: I am part of the Life Made Delicious Blogger program and I receive special perks as part of my affiliation with this group. The opinions on this blog are my own.

Share this:
Share this page via Email Share this page via Stumble Upon Share this page via Digg this Share this page via Facebook Share this page via Twitter

, , , , ,

Jan
17


I was having company over and wanted to make something different for dessert. Something I have never tried before. Within no time at all, I was googling recipes for Lemon Meringue Pie.

I looked at several recipes/blogs before deciding that I was going to use the recipe from the blog: Sweet as Sugar Cookies, which she found from Cookie Madness.

It seemed easy:

  1. Make a pie crust
  2. Make the lemon filling
  3. Make the egg whites

Lemon Meringue Pie

Pie Crust:

Most of the recipes said “prepared pie crust”. Naturally I wanted to make my own.

I used a recipe from  Suite 101 written by Donna Diegel.  Click for the recipe and her useful tips.

Egg Whites: ( recipe taken from Betty Crocker)

3 egg whites

1/4 tsp cream of tartar

6 tablespoons of sugar

1/2 tsp vanilla

METHOD:

Beat egg whites on high with an electric mixer till foamy. Beat in sugar , 1 tablespoon at a time. Continue beating till eggs are stiff and glossy. Beat in the vanilla.

LEMON FILING:

Ingredients:

1 1/4 cup sugar

1/8 tsp sgar

1/2 cup cold water

1 tablespoon lemon zest

1/2 cup lemon juice

4 egg yolks

1 tablespoon butter (at room temperature)

1 1/2 cup boiling water

METHOD

Combine sugar, cornstarch, salt in a saucepan.

Whisk in 1/2 cup cold water, lemon zest and lemon juice. Blend thoroughly. Add the butter and whisk in 1 1/2 cups boiling water.

Set pan over medium heat and stir until mixture boils (about 7 minutes). Reduce heat and stir one more minute. Pour hot filling into pie crust, and top with meringue. Spread to the edges of the pie crust to create a seal and prevent shrinkage.

Bake in a preheated oven that at 350 degrees for 15-20 minutes and cool for two hours.

DO NOT (repeat – DO NOT) cover or it will WEEP. (I learned my lesson).

Making Lemon Meringue Pie,  was easy and not so easy! (does that make sense?). Did I make the pie crust too tough? did the lemon filling thicken enough? did the egg whites get stiff? I was a wreck.

However as each step was accomplished I was PROUD.

WOW – I just made the pie crust!

Wow – I just made the filling

WOW – I just made eggwhites!

Best part – wow – I DID IT. I DID IT.

I have to admit, that my stomach was in a knot for the full hour that I was preparing this recipe. I’m just not use to making crust, filling, and meringues. But it was worth it and I know that the next time I make this recipe it will get easier.

I finally served the pie and everyone enjoyed it but received some feedback that the pie crust was too tough. Good to know.

I would love to go to a pie crust 101 class!! Anyone else want to join me?

Disclosure: I am part of the Life Made Delicious Connector Program and I receive special perks as part of the affiliation with this group. The opinions on this blog are my own.

Share this:
Share this page via Email Share this page via Stumble Upon Share this page via Digg this Share this page via Facebook Share this page via Twitter

, , , , , , ,

Jul
26


So much is happening in the world of stores/products these days, who are catering to those with food allergies.  I would like to share some exciting “gluten free” news flashes with you in this blog post.

GOOD BYE GLUTEN…GBG:

A new store opened up recently  called Goodbye Gluten in North Toronto. ( 2066 Avenue Road to be exact). The store is stunning and has a full range of gluten free items. Everything from dry goods, (ie Gluten Free Pebbles), to frozen goods, to freshly prepared goods. I’m sure the neighborhood is delighted that this store opened up.

Goodbye Gluten

BETTY CROCKER GLUTEN FREE  CAKE MIXES:

This is truly amazing news that Betty Crocker has introduced a gluten free cake mix. I made it tonite and no one said anything except “Can I have another slice”. LOL.

I know its not valentines day ..but I couldnt resist.

NUT’N GLUTEN:

Nut’N Gluten is located near Wonderland (3120  Rutherford Rd Unit 17). It has everything one would need and the service is amazing.

There is no question, that more and more people are discovering that they are gluten sensitive or have a gluten allergy. I went out for lunch a few months ago and all 3 off us had some type of food allergy. Two of us were lactose intolerant and the other person needed a gluten free option.

Years ago, when visiting NYC, my friend and I had dinner at Risotteria in the East Village (270 Bleeker St). It was packed with people who were seeking a gluten free restaurant. I thought it was a brilliant concept and I’m sure one day we will see a restaurant like that in Toronto. In the meantime, congratulations to restaurants like Milestones, Il Fornello, Magic Oven, The Burgers Priest and Yes to Fresh who have gluten free options for guests.

Have you noticed that more and more people have gluten allergies? Have you noticed more and more restaurants that have gluten free options?

Disclosure: I am part of the Life Made Delicious Connector Program and I receive special perks as part of the affiliation with this group. The opinion on this blog are my own.

Share this:
Share this page via Email Share this page via Stumble Upon Share this page via Digg this Share this page via Facebook Share this page via Twitter

, , , , , , , ,

Dec
16


I read a blog entry by a fellow foodie about Cake Pops and was inspired immediately to give it a try. Click on the link to see the blog entry by  boneats. (her post was on Dec 3rd..you will have to scroll down a bit)..then the rest of my blog entry will make sense to you.

Her blog entry made it sound so simple (please note: I’m not blaming her.  All I needed was:

  1. Betty Crocker Cake Mix (any flavor)
  2. Betty Crocker Frosting (any flavor)
  3. popsicle sticks (well not really, they are more like lollipop sticks. Available at Bulk Barn
  4. chocolate melts and sprinkles (also from Bulk Barn)
  • So I made the cake. (easy).
  • I put the cake after it had cooled into the Cuisinart to make cake crumbs. (easy)
  • I added the frosting to the cake crumbs (easy).
  • I made little balls. .not SO  easy…my hands were a gloppy mess. It was not a pretty site. However the tray looks lovely.

  • I put the cake balls into the fridge to cool..(easy).

I melted the chocolate melts on a double broiler and this is where the disaster took place.

We took the cake balls, inserted the stick, and then dipped…but it did not come out  smooth. By the time we did a second coat, the chocolate had hardened and I was cursing. I was not happy. Then when I went to put on the sprinkles, they didnt adhere so easily either. I was not happy.

I managed to make a few successful cake pops and then gave up.

not so pretty...but I tried.

I emailed a young woman in our neighborhood who has taken some professional baking courses for some advice and she emailed me this website that has an instructional video by bakerella!!

http://www.youtube.com/watch?v=JpIifr0VOxY

If any one else makes these cake balls (in your spare time of course), can you let me know how it turns out.

I will attempt to try this again..(Im determined). I will read more about tempering chocolate and try to get it right so that my cake pops look like those from the websites: boneats and bakerella

PS I was telling this story at an event today, only to find out that bakeralla was at Williams-Sonomo recently. GRRR. ..wish I would have known. I would love to meet her.

Happy Baking!!

Share this:
Share this page via Email Share this page via Stumble Upon Share this page via Digg this Share this page via Facebook Share this page via Twitter

, , , , , ,