Posts Tagged ‘Internet’

Apr
29


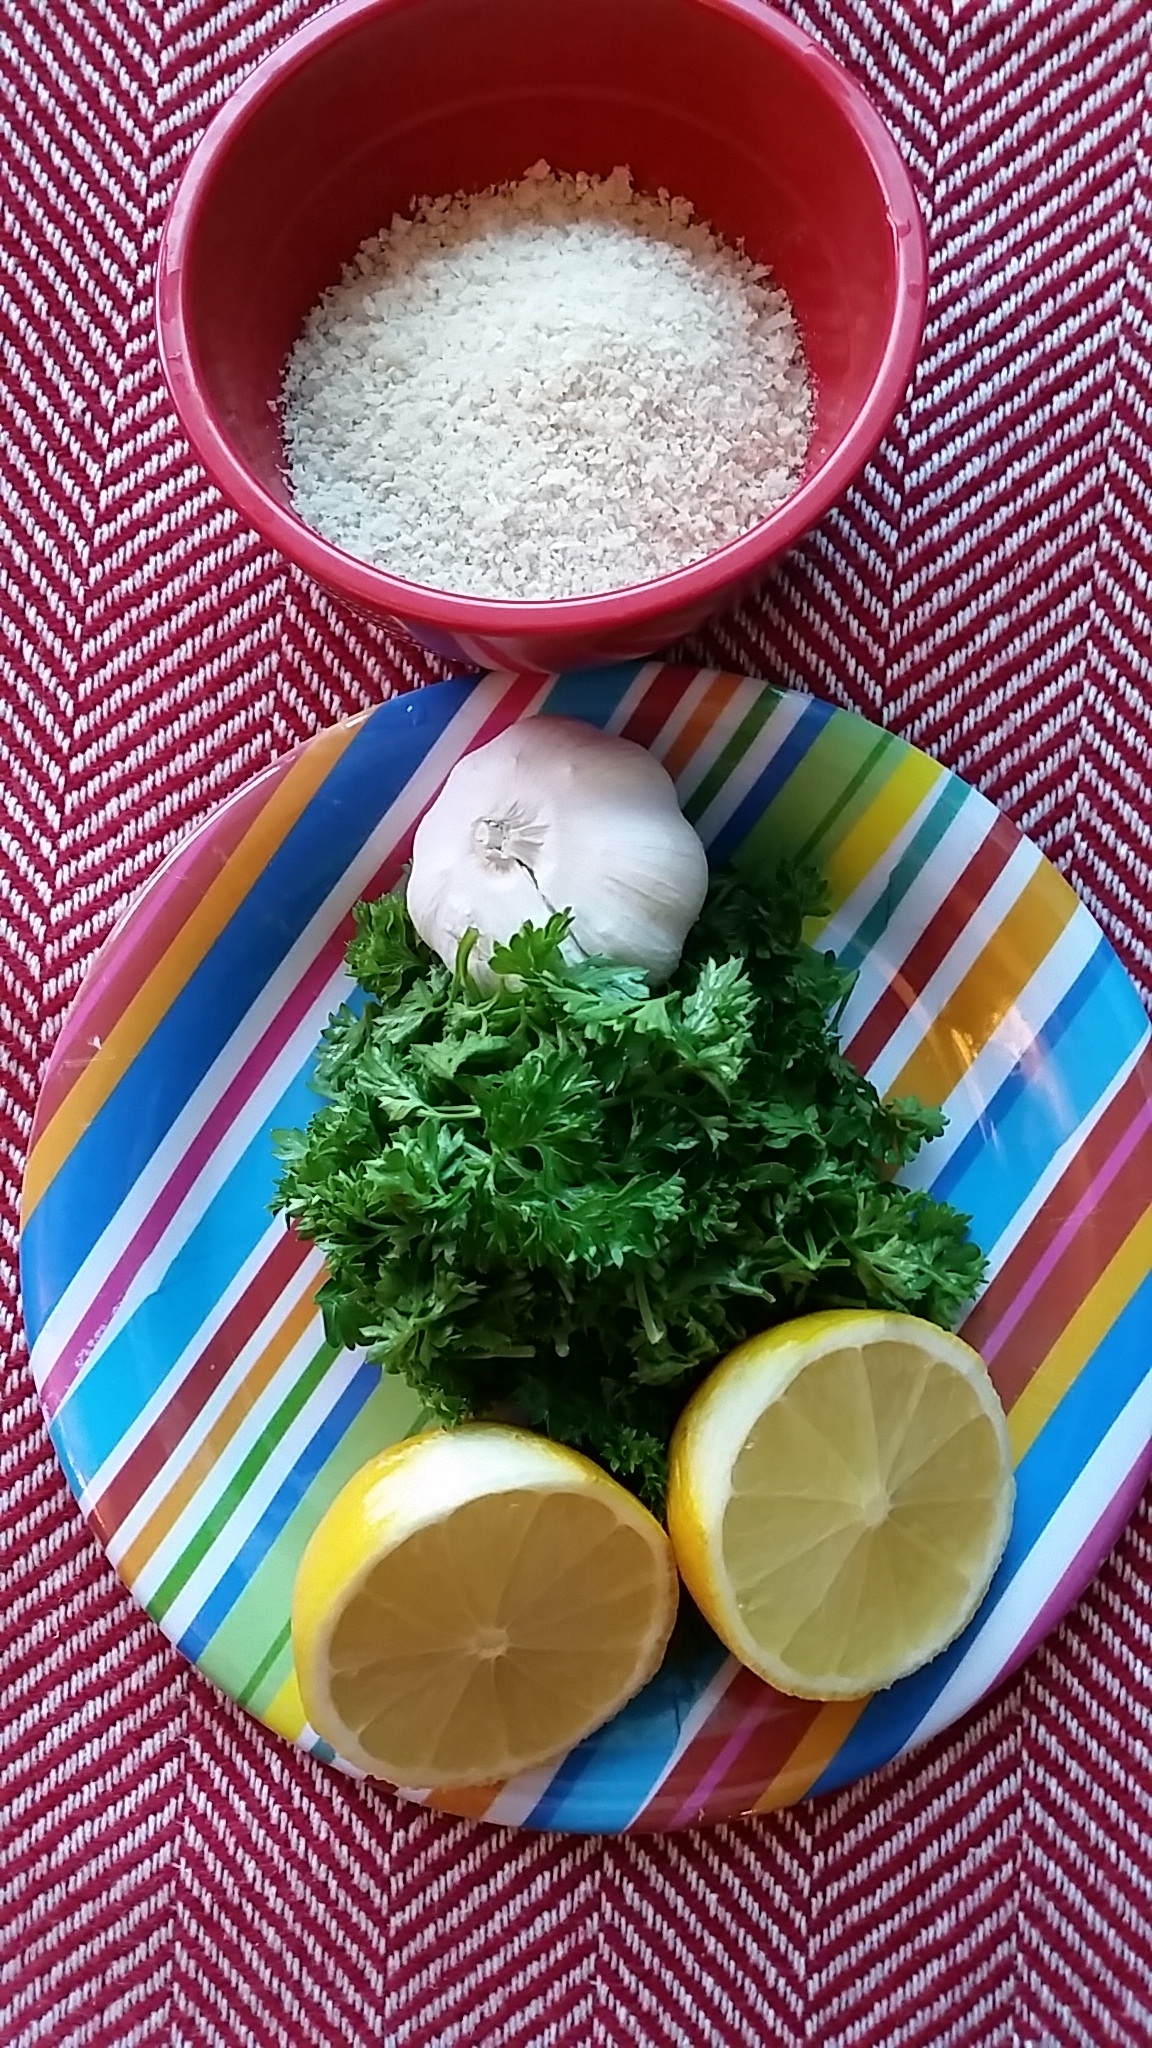
When I saw this recipe on the internet, I knew I wanted to make it.  It looked stunning and it didn’t require a million ingredients. Plus I knew it would be the perfect side dish for my salmon.

Here’s the recipe for a Zucchini  Rose Tart (adapted from www.Buonappa.net)

Ingredients:
1 roll puff pastry

Filling:

1 cup ricotta cheese
2 eggs
1/4 cup Parmesan cheese

1/4 cup mozzarella cheese
a lot of  fresh oregano, fresh rosemary or fresh thyme!

Decoration:
4 multi color carrots (purple, orange and yellow)
2 zucchini
tart - veggies

Instructions:

1. Roll out the puff pastry and place it in the bottom of a greased oven proof baking dish. However,  I was using this recipe for Passover so I covered the bottom of my serving dish with Matza.

If you are using puff pastry, bake in the oven (with weights) at 350 for 20 minutes. Lets cool

tart - matza

2. Mix together in a bowl: eggs, ricotta cheese, parmesan, mozzarella cheese, and fresh herbs (this made all the difference, I promise you).

tart - mixture

3. Spread the mixture over the puff pastry (or matzo in my case)

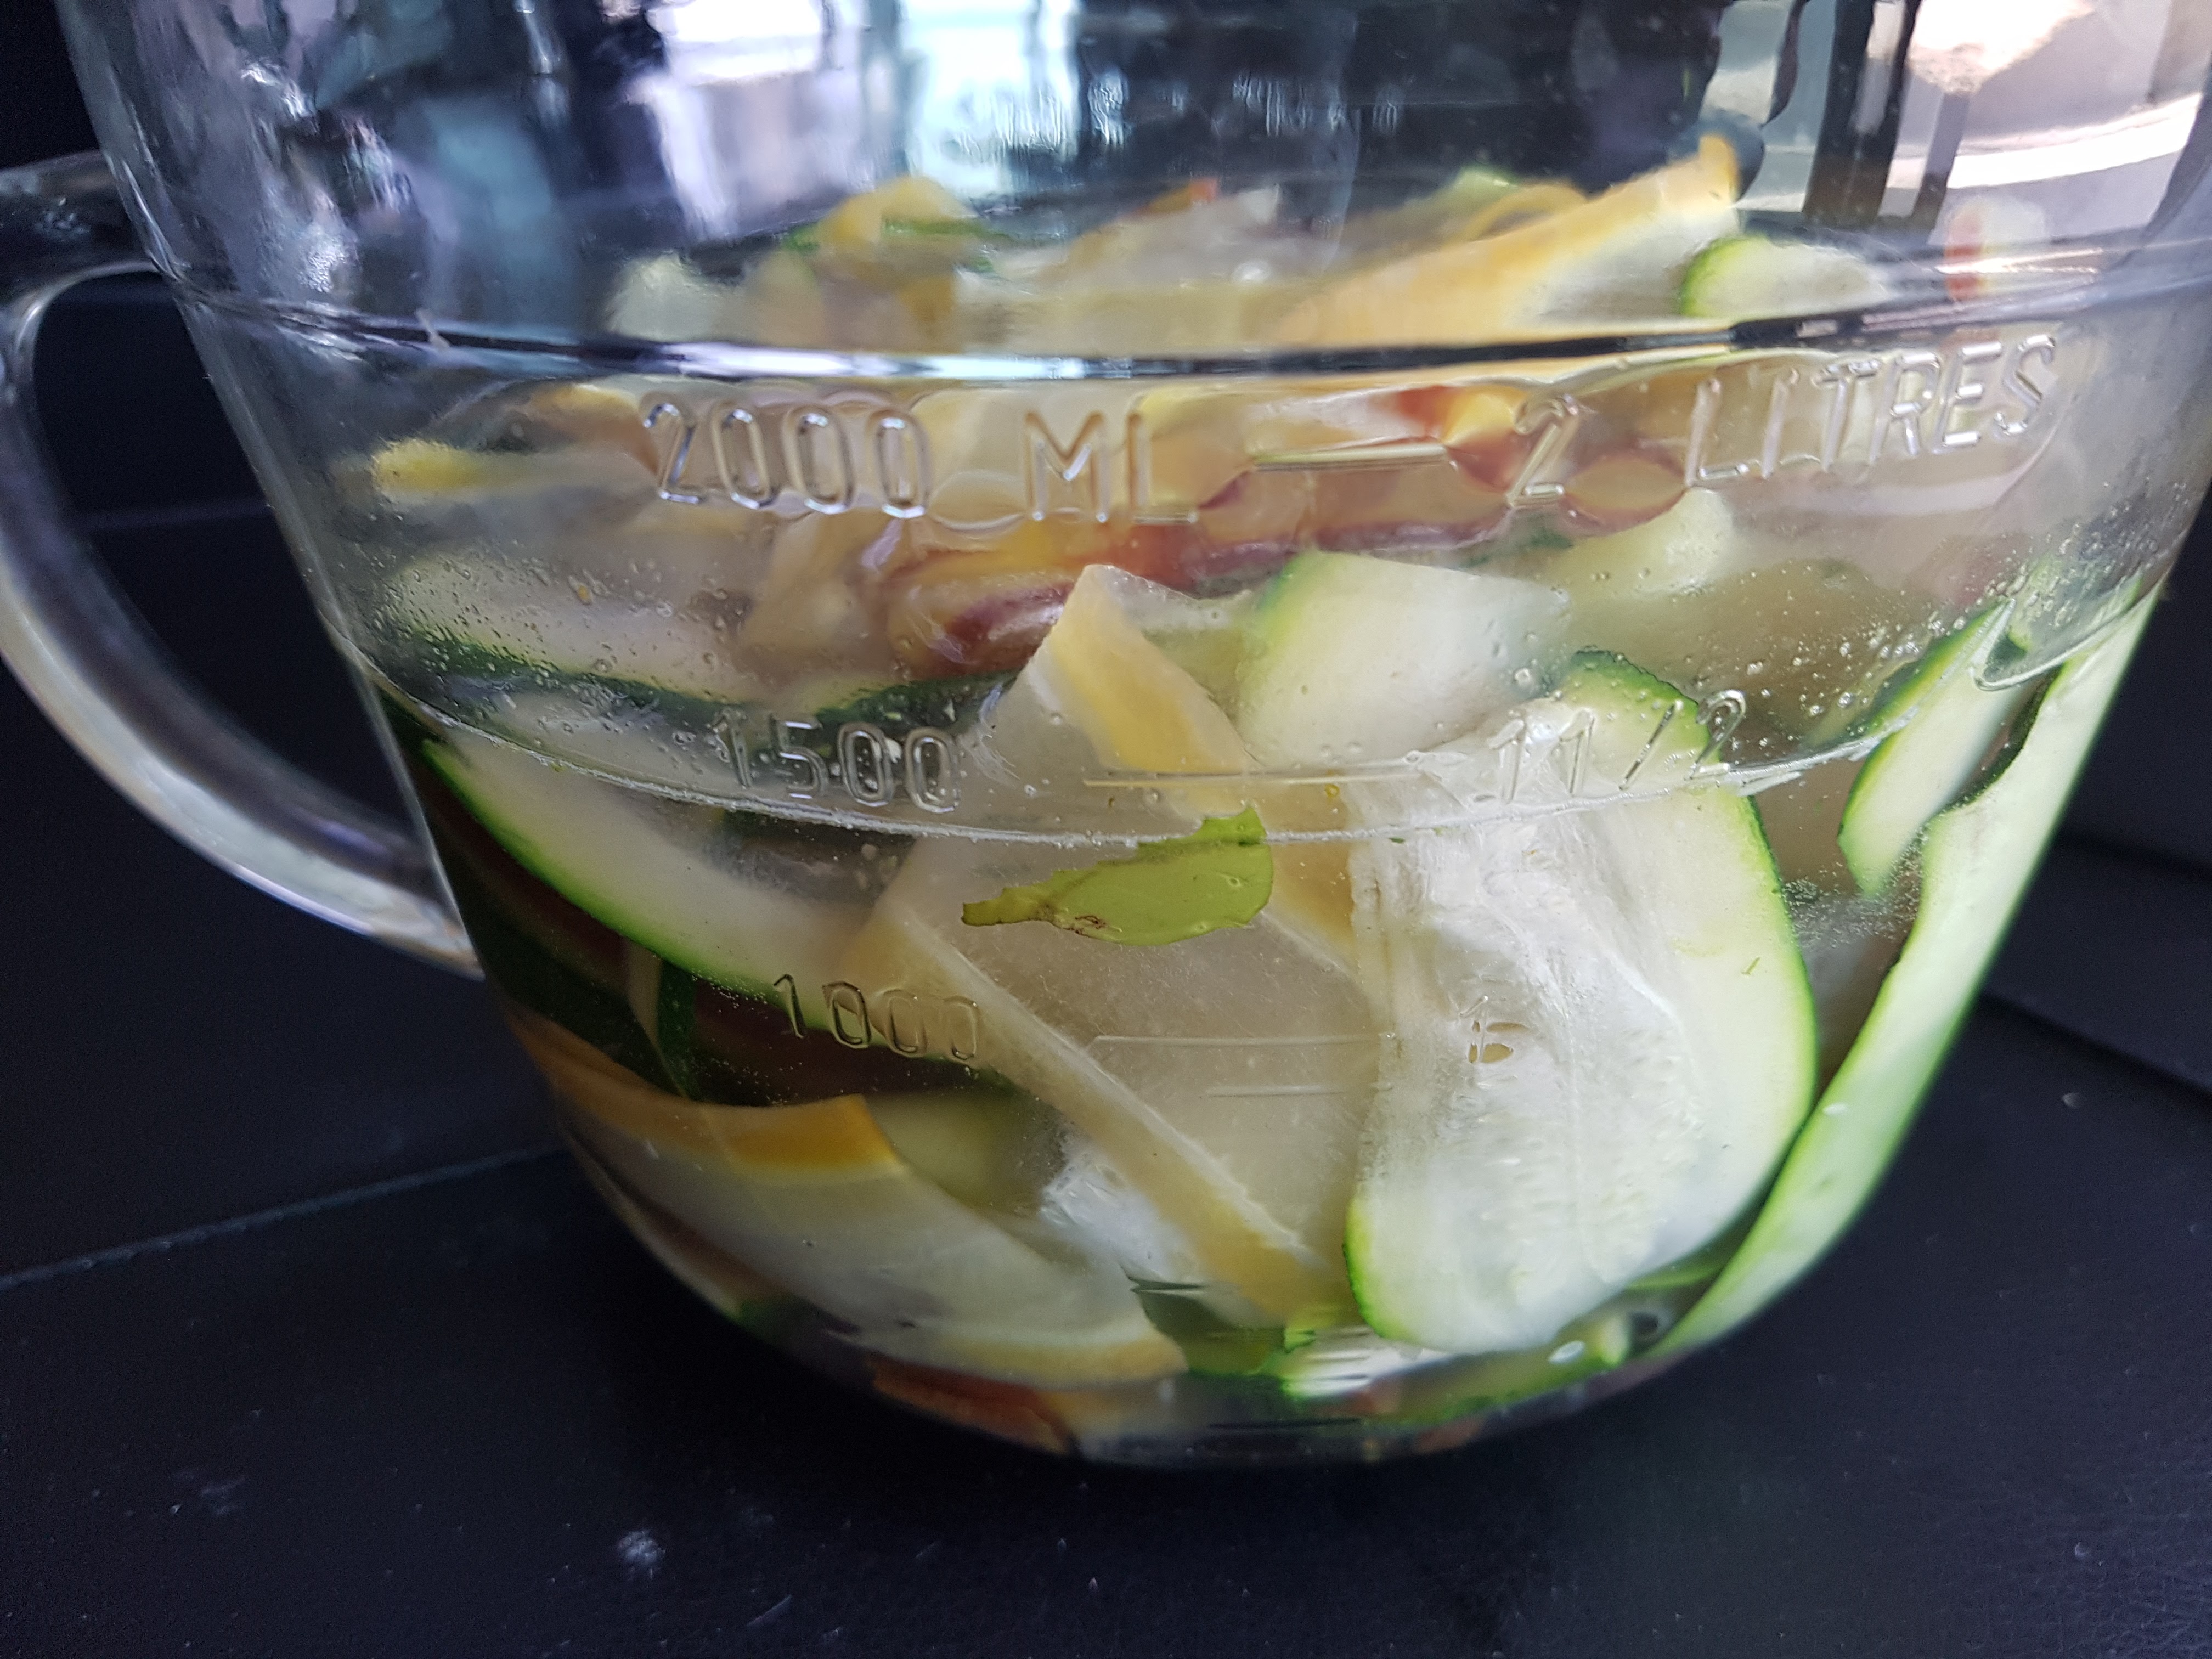
3. For the vegetables: peel the carrots and split in half. Then take your peeler and peel long ribbons. Do the same with the zucchini but don’t peel them. Then place all the ribbons in 2 cups of water and put them in the microwave for 5 minutes. DRAIN.

tart - ribbons

4. Now for the fun. Roll up each ribbon and then place into the filling (which will acts as a “cement). This take TIME. Make sure you have enough TIME and enough RIBBONS. It took more time and more ribbons than I thought but it was SO worth it.

5. Brush with olive oil (which I forgot to do. Oops)

5. Bake at 375 degrees for 45 minutes

Full disclosure: I swore a few times while making this but I will make it again. It was really worth it.

FINAL

tart - final

I served this dish along with:

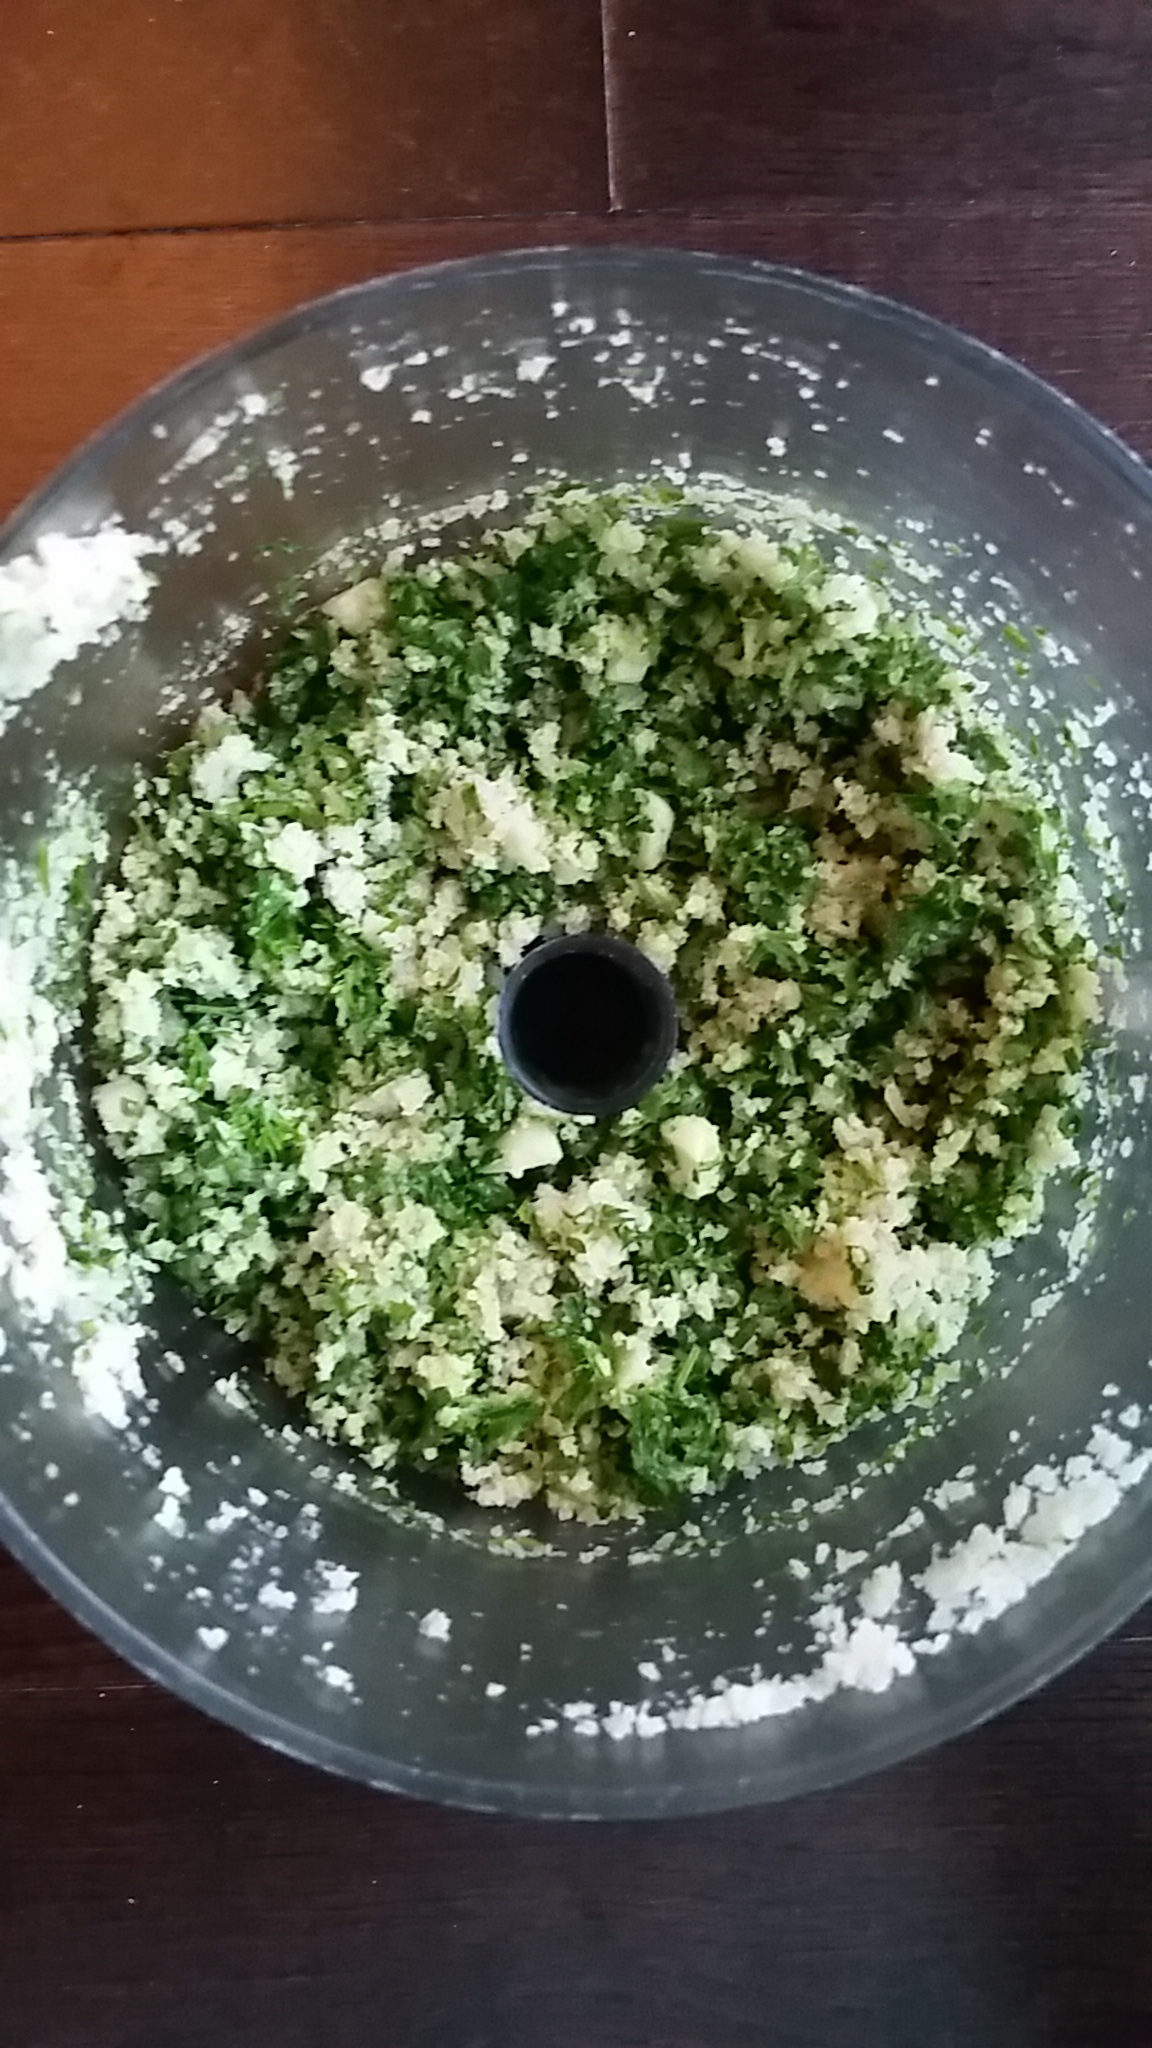
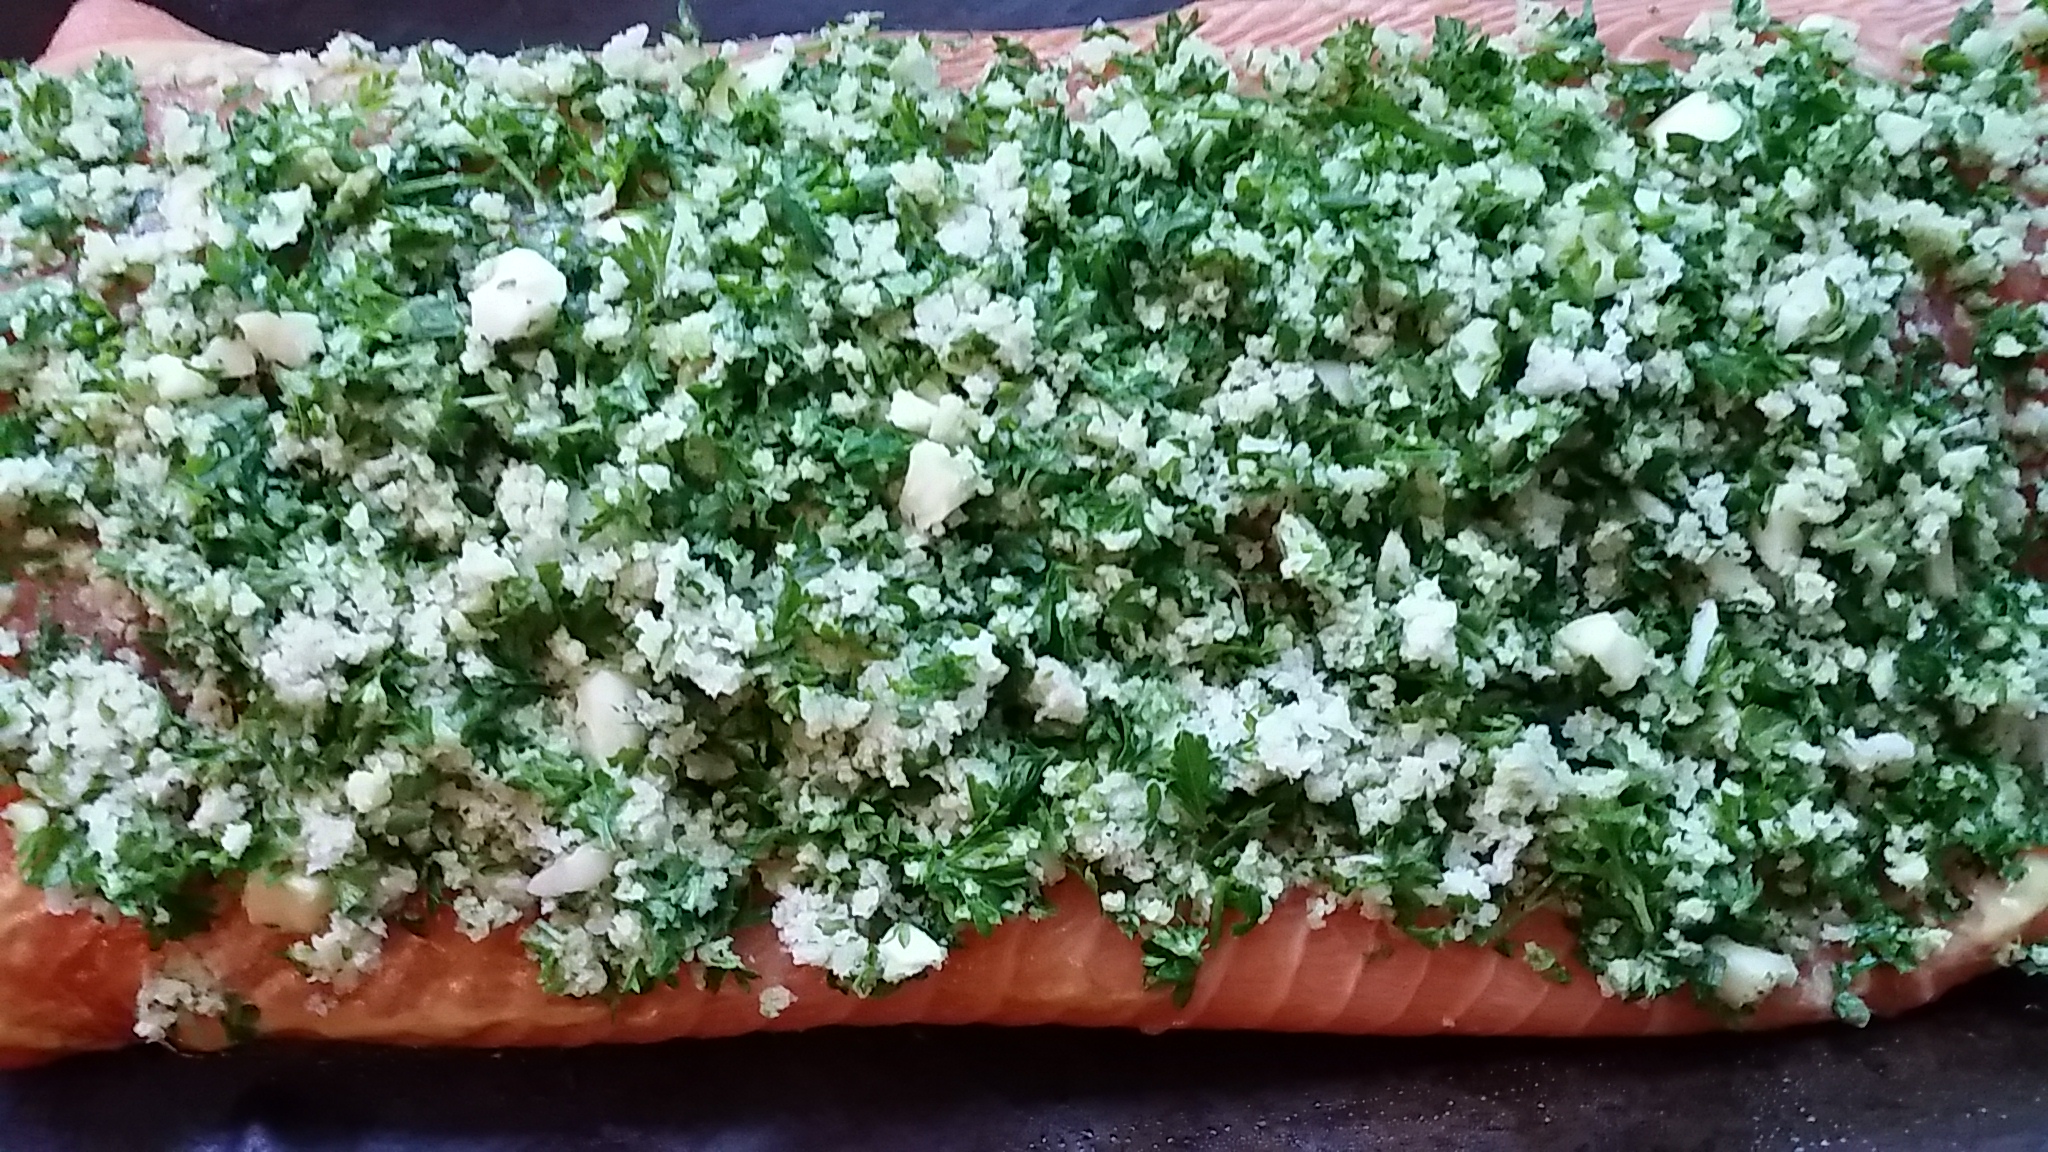
-Salmon with balsamic onions

-Roasted Cauliflower with a Tahini Glaze

– Beet salad with mint/feta cheese

-Spinach salad with blood orange and pecans

Happy Cooking!

Share this:
Share this page via Email Share this page via Stumble Upon Share this page via Digg this Share this page via Facebook Share this page via Twitter

, , , , , , , , ,

Feb
05


True story:

I was online searching for a new dessert recipe to try and came across a recipe called:  “Lemon Magic Cake”.

I got all excited and starting grabbing the ingredients out of my fridge and pantry.

BUT I  then realized:

-I didn’t have any lemons

-I couldn’ find my whisk attachment for the KitchenAid

-I didn’t read the recipe properly and kept the egg whites but threw out the yolks when I actually needed the egg yolks

-the recipe required an 8×8 pan and I didn’t own one. (can you believe this?)

TOTAL FAIL. REPEAT…. TOTAL FAIL

I was so determined to make something new and returned to the internet in search of a new recipe to try. I came across a recipe for Date Squares which for some reason I’ve never made before.  I checked to see if I had ALL the ingredients and indeed I had everything. (sigh of relief). I even ran out to the dollar store to buy an 8×8 pan.

In no time at all, I made a delicious desert. Trust me, I will make it again.

Here’s the recipe for Date Squares (taken from www.JoCooks.com)

For Filling
3 cups dates, pitted
1 cup water
1 tsp vanilla extract

For Crust
2 cups old fashioned rolled oats
1 cup all-purpose flour
¾ cup brown sugar
½ tsp baking soda
¼ tsp salt
⅛ tsp cinnamon
1 cup cold butter, cut into small cubes

INSTRUCTIONS
Preheat oven to 350 F degrees. Line a 9 inch baking pan with parchment paper. Set aside.

1. In a medium saucepan add the water and the dates and cook over medium heat for about 10 minutes, until there’s no water left. Add the vanilla extract to the dates and mix well. Let mixture cool.

2. Add the date mixture to a food processor and pulse until it turns into a paste. Set aside.

3. In a food processor add the remaining dry ingredients and the butter cut into small pieces and pulse until the butter is well incorporated into the mixture and crumbles.

4. Spread ⅔ of the crumb mixture on the bottom of the prepared baking pan and spread it evenly.

5.  Add the date mixture and spread it with a spatula. Add the remaining crumb mixture as the last layer and pat it using a spatula, do not press down too hard.

6. Bake for 35 to 45 minutes until golden brown then let cool completely. Place in the fridge for a couple more hours then take it out and cut into squares.

FINAL PRODUCT.

date square - finalHappy Baking!

Share this:
Share this page via Email Share this page via Stumble Upon Share this page via Digg this Share this page via Facebook Share this page via Twitter

, , , , , , , ,

Aug
24


I was tired of my standard salmon recipes, so I did some research on the internet and found a new recipe that appealed to me. I love how easy it is to find a new recipe these days. Long gone are the days where I use to sit at the kitchen table sifting thru 6 cookbooks. (or more)

The recipe only included a few ingredients and sure enough..I had most of them in my fridge and pantry.

salmon - ingredients

Here’s the official recipe for Garlic Panko Salmon (from www.primaverakitchen.comI used half of the recipe (errr..the ingredients) and then used my own method. Keep reading!!

Ingredients
  • For the Salmon
  • 518g salmon fillets (I bought a big slab of salmon from Costco)
  • Salt and pepper
  • 1 1/2 tablespoons of Dijon
  • 1 tablespoon of honey
  • For the Garlic Panko
  • 2 tablespoons olive oil
  • 4-6 cloves garlic, minced, depending on how garlicky you like it
  • ¾ cup panko crumbs
  • 1 tsp lemon zest
  • 1 teaspoon parsley, chopped (I used more…lots more)
  • Sea salt and fresh ground pepper
Instructions (according to momwhoruns!)
  1. Preheat oven to 375 F degrees.
  2. Spread the dijon mustard and honey onto the salmon.

salmon - fish

3. In my Cuisinart Food Processor – I whizzed up the parsley, lemon, garlic and panko bread crumbs.

cuisinart

4. Spread this mixture over the salmon

salmon - final5. Bake for 30-40 minutes (depending on the size of your salmon)

6. Serve Warm!

Happy Cooking.


Share this:
Share this page via Email Share this page via Stumble Upon Share this page via Digg this Share this page via Facebook Share this page via Twitter

, , , , ,

May
08


I was tired of making tuna burgers and salmon burgers and was searching the internet (for a change) for a corn cake recipe. I’ve made corn fritters before but I can’t say they were much of a hit. The corn cake recipe, I found on the Betty Crocker website uses Bisquick, and I think this makes a huge difference. I’m thrilled with the results. Bye bye corn fritters – hello corn cakes!!

The recipe suggested serving the corn cakes with a sour cream chive dressing but I was in the mood for something spicy so I grabbed the Sriracha bottle I had in the fridge and it was perfect.

Also I noticed that perhaps I didn’t chop up my vegetables fine enough…which is SO typical of my “rush rush rush” style of cooking. Nevertheless – I was thrilled with the results.

MINI CORN CAKES 

INGREDIENTS

 1 tablespoon butter or margarine
1/3 cup chopped green onions (really really fine)
1/3 cup chopped celery (really really fine)
1/3 cup chopped red bell pepper (really really fine)
1 cup soft white bread crumbs (I used panko bread crumbs- I figured “why not”)
1/2 cup Original Bisquick® mix
1 tteaspoon sugar
1/2 teaspoon salt
1/8 teaspoon ground red pepper (cayenne)
2 eggs, slightly beaten 
1 can (11 oz) whole kernel corn, drained 
2 tablespoons vegetable oil
TOPPING
1/2 cup chive-and-onion sour cream

 METHOD
1. In 12-inch nonstick skillet, melt butter over medium heat. Add onions, celery and bell pepper; cook 3 minutes, stirring occasionally.

will chop the veggies a little smaller next time

2. In medium bowl, stir vegetable mixture and remaining ingredients except oil and sour cream until well blended.

This recipe couldnt be easier

3.  In same skillet, heat 2 teaspoons of the oil over medium heat. Cooking 8 corn cakes at a time, drop corn mixture into oil by tablespoonfuls, spreading each into 1 1/2-inch round. Cook 1 minute to 1 minute 30 seconds on each side, carefully turning once, until golden brown. Cook remaining corn cakes, using 2 teaspoons oil for each batch of 8 corn cakes. Serve with sour cream.
FINAL PRODUCT

Will be making these again.

Hope you like this recipe as much as I did. I think it would be a great side dish along with a piece of salmon and roasted root vegetables. What do you think?

Happy Cooking.

Disclosure: I am part of the Life Made Delicious Blogger program and I receive special perks as part of my affiliation with this group. The opinions on this blog are my own.


Share this:
Share this page via Email Share this page via Stumble Upon Share this page via Digg this Share this page via Facebook Share this page via Twitter

, , , , ,