Posts Tagged ‘salmon’

Sep
19


It’s that time of year again!

The Jewish New Year begins on Wednesday night however for many of us, we were thinking about “THE MENU” weeks ago!

Of course, when I think of the word “MENU”, I automatically think of “PINTEREST”.

I was super organized and even created a Rosh Hashanah 2017 Board so I could pin all the recipes and table settings that interested me.

After pinning 18 different ideas, I narrowed it down. Here’s the final menu:

  • Tomato Soup with Homemade Croutons and Parmesan (sorry no recipe)
  • Pan Seared Salmon with Sun Dried Tomato Cream Sauce (click here for recipe)
  • Green Beans with Chestnuts, Pomegranates and Lemony Tahini (click here for recipe)
  • Sweet Fragrant Rosh Hoshana Rice (click here for recipe)
  • Carrot Salad with Tahini and Crisped Chickpeas. (click here for recipe)
  • Dessert: Blooming Apples with Vanilla Ice cream

This Ethiopian tahini that I bought in Israel is going to be put to good use!!

Seeing as it’s traditional to serve apples with honey, I’m going to serve this amazing African Bronze honey that I just discovered at the CHFA show. This honey is so flavourful and I have no doubt that my guests are going to love it too.

As for the table, Pinterest provided me with inspiration once again.

Wishing everyone who celebrates, a Happy and Healthy New Year.

Share this:
Share this page via Email Share this page via Stumble Upon Share this page via Digg this Share this page via Facebook Share this page via Twitter

, , , , , , , ,

Oct
21


Honestly I don’t know why it’s taken me so long to make this dish. I swear I make salmon almost every Friday night and I regularly scour the internet for new recipes but for some reason, I’ve never made a Salmon Wellington before. Till now!!

I’m so glad I tried this recipe even though my “braiding” skills could use some improvement, however the results came out pretty decent. There’s no question that I will make this recipe again.

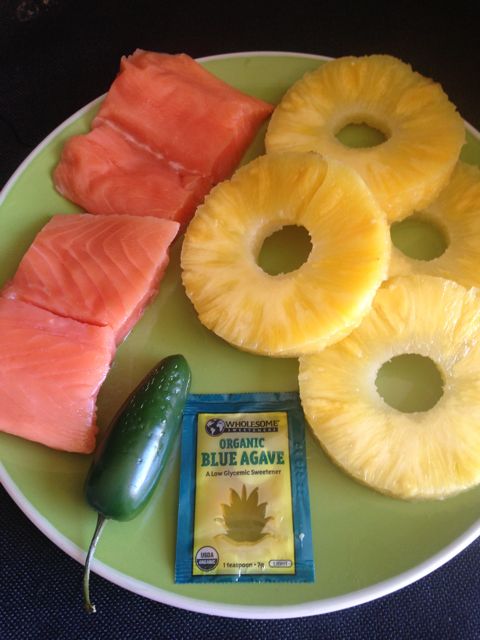
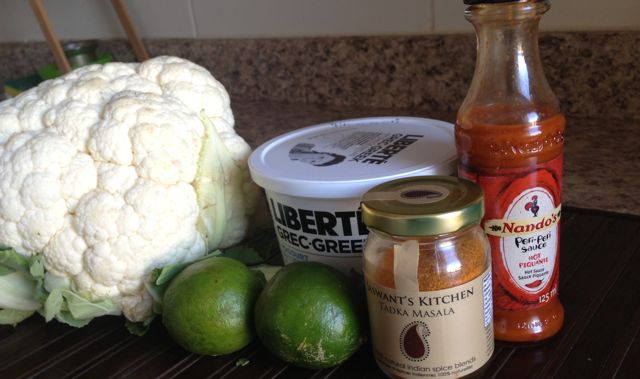
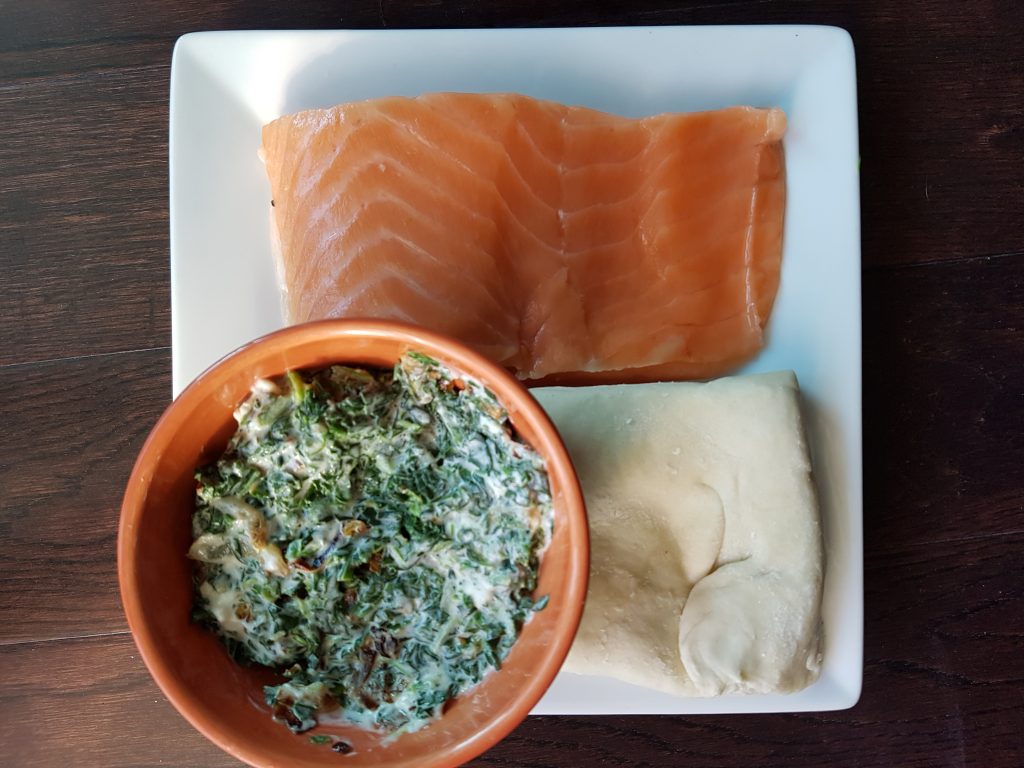
All you really need is a few ingredients and poof – you have a pretty elegant main course.

Recipe: Salmon Wellington (original recipe from www.simplyhomecooked.com)

Ingredients:

4 (7 oz) salmon fillets
salt and pepper to taste
2 tbsp butter
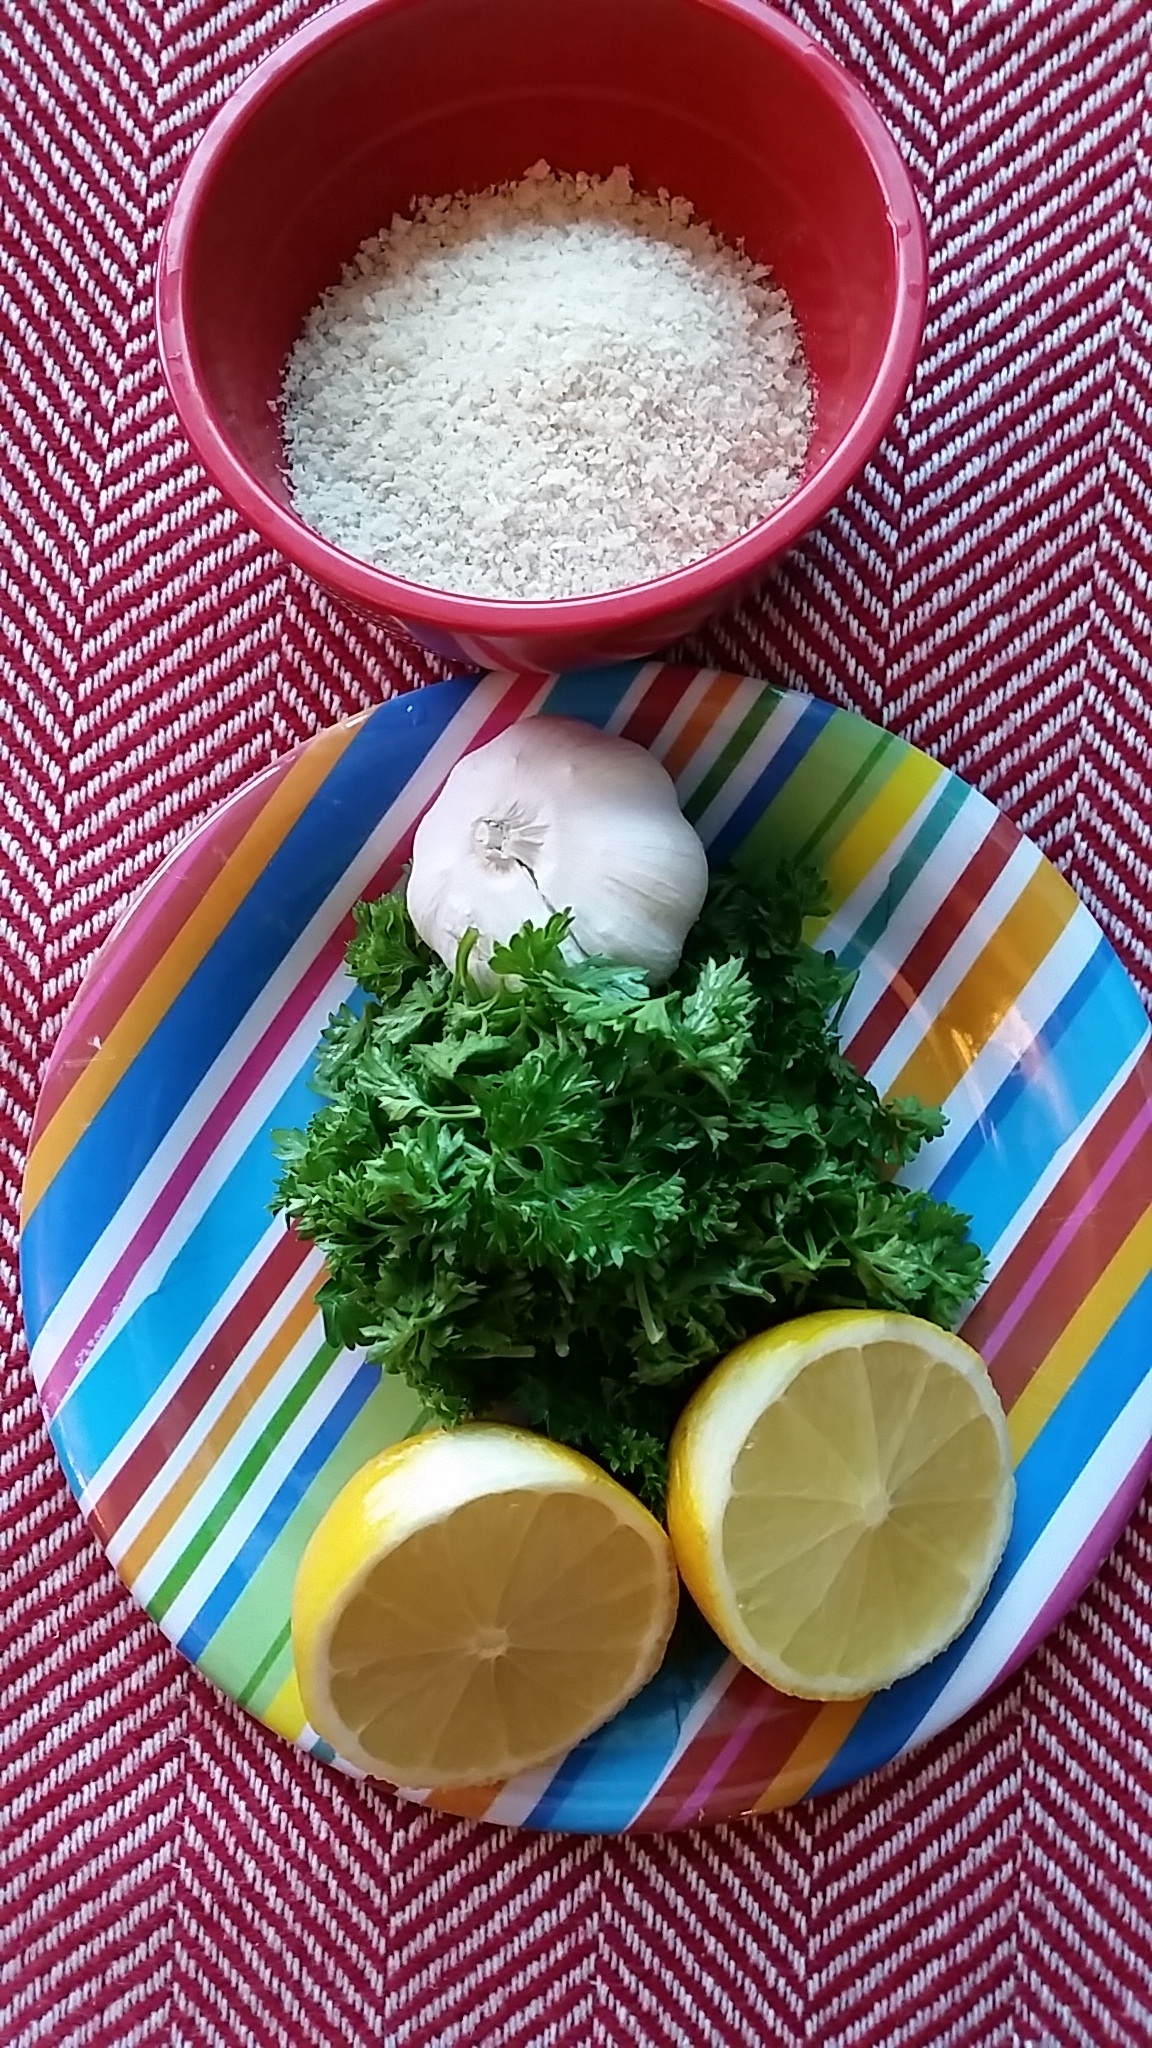
2 garlic cloves, divided
1 shallot, chopped
1/4 cup white wine (I didn’t use any and it still came out delicious)
3 oz cream cheese
5 oz fresh baby spinach
2 tbsp plain bread crumbs
1/4 cup shredded parmesan cheese
1 (1 lb.) package puff pastry
1 egg (for egg wash)

Instructions:

1. Season the salmon with salt and pepper to taste.

2. In a pan, heat butter, chopped shallots, and garlic over medium heat. Sauté until the shallots become translucent.

salmon-ready-to-go

3. Bring the heat to high and add the white wine. Let the liquid cook out for about 5 minute, then add the cream cheese and sauté for 1 minute. (note: I didn’t add any wine)

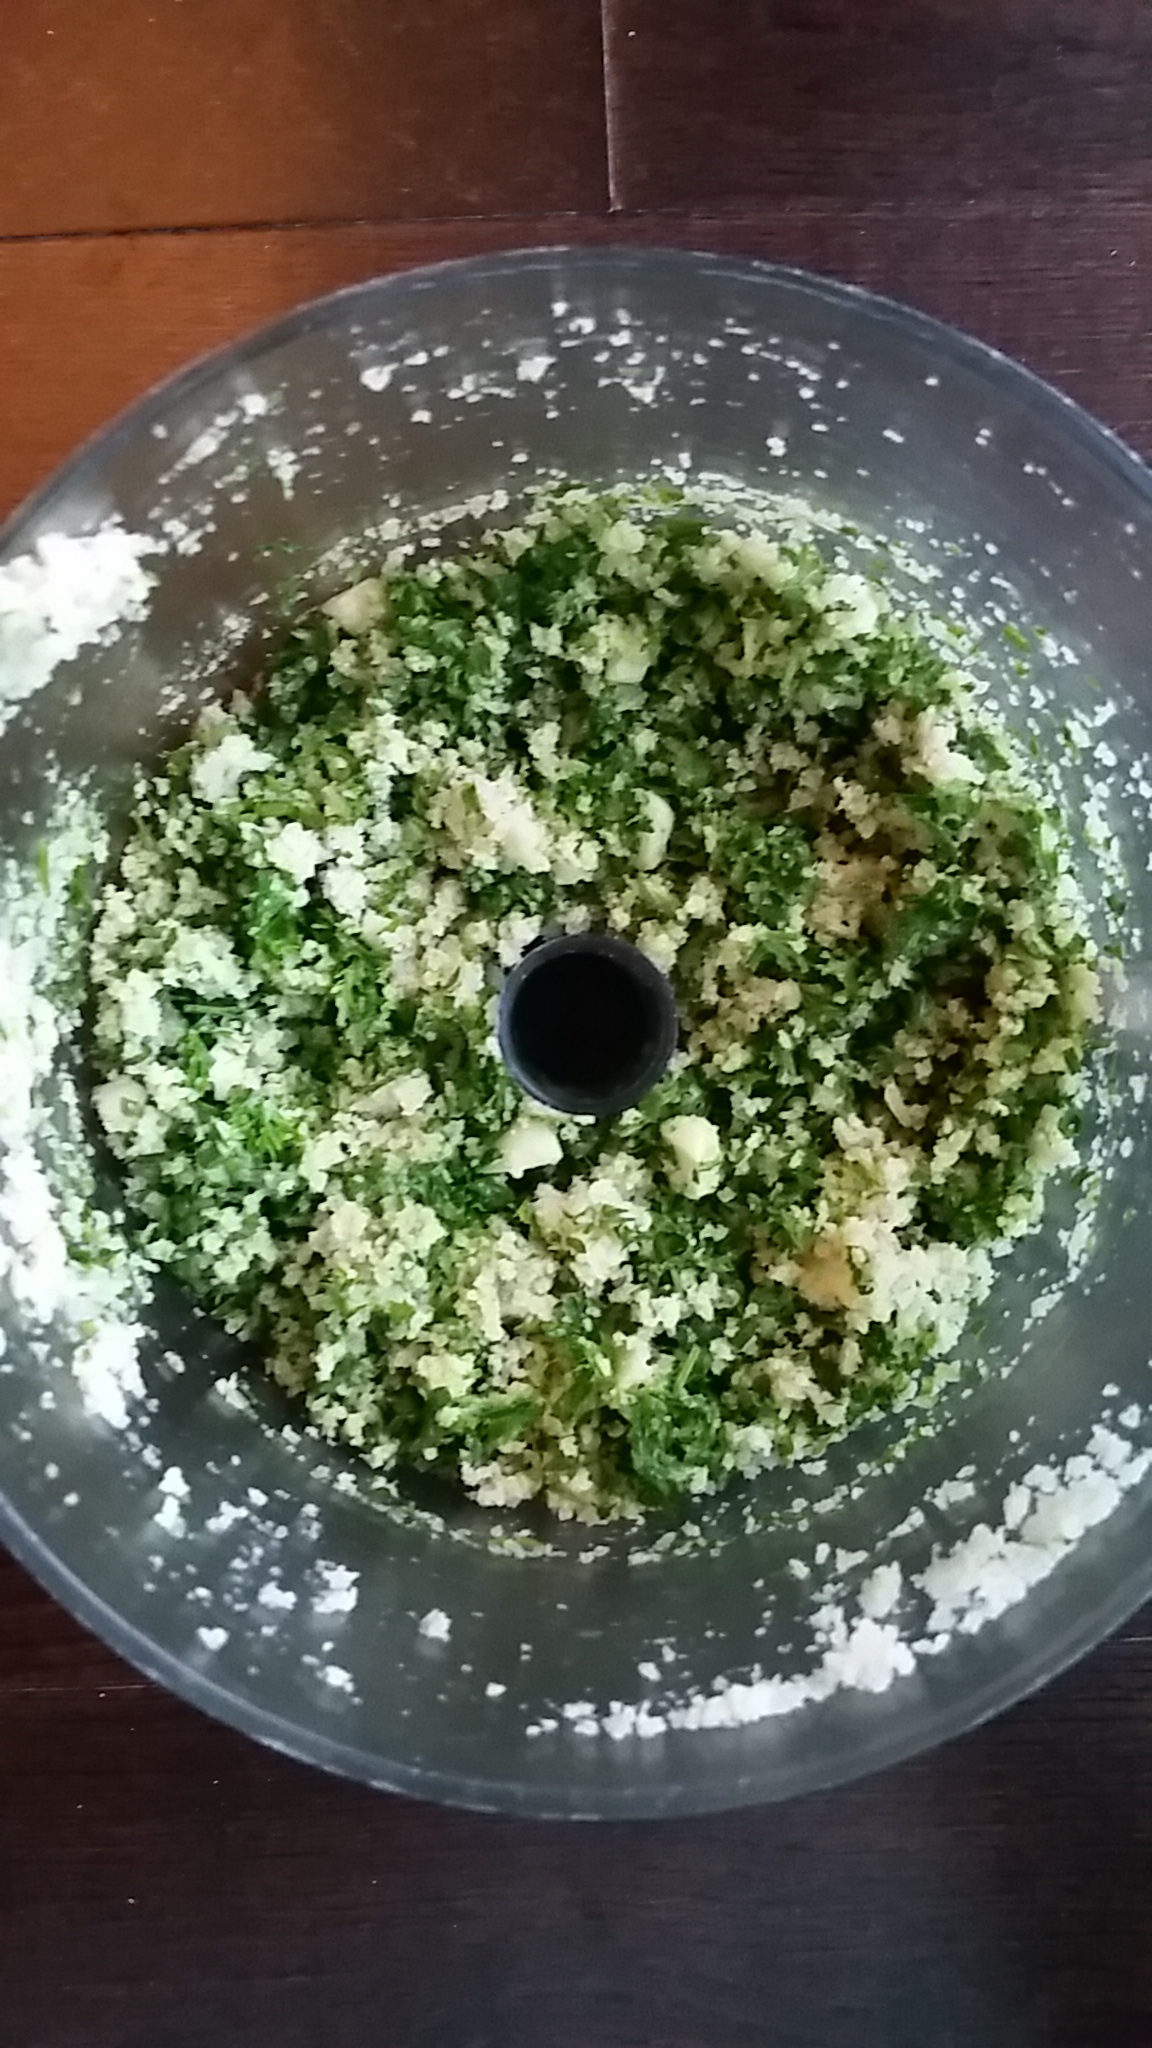
4. Lastly, add the spinach, bread crumbs, and Parmesan cheese. Sauté just until the the spinach softens.

5. Unfold the puff pastry onto a light floured surface and roll out the 2 sheets, then cut them in half. So you end up with 4 pieces.

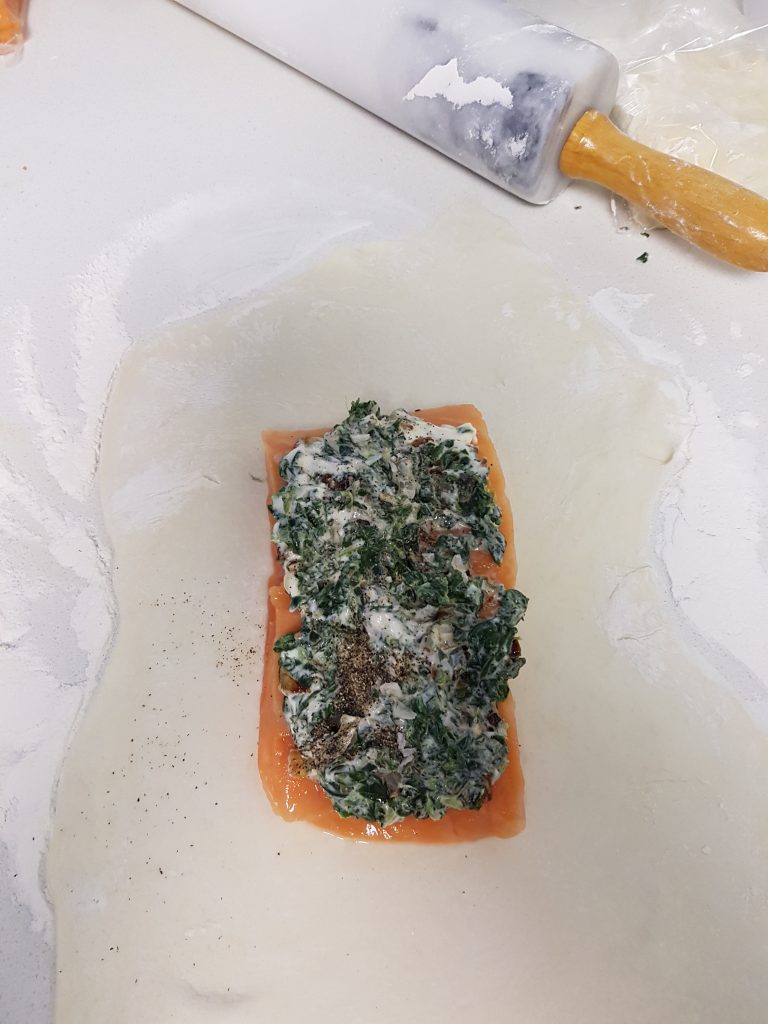
6. Place each seasoned salmon fillet in the middle of each puff pastry sheet. Depending on the size of the fillet, you may need to roll out the puff pastry a little more or less. Leave about 2 inches around the edges.

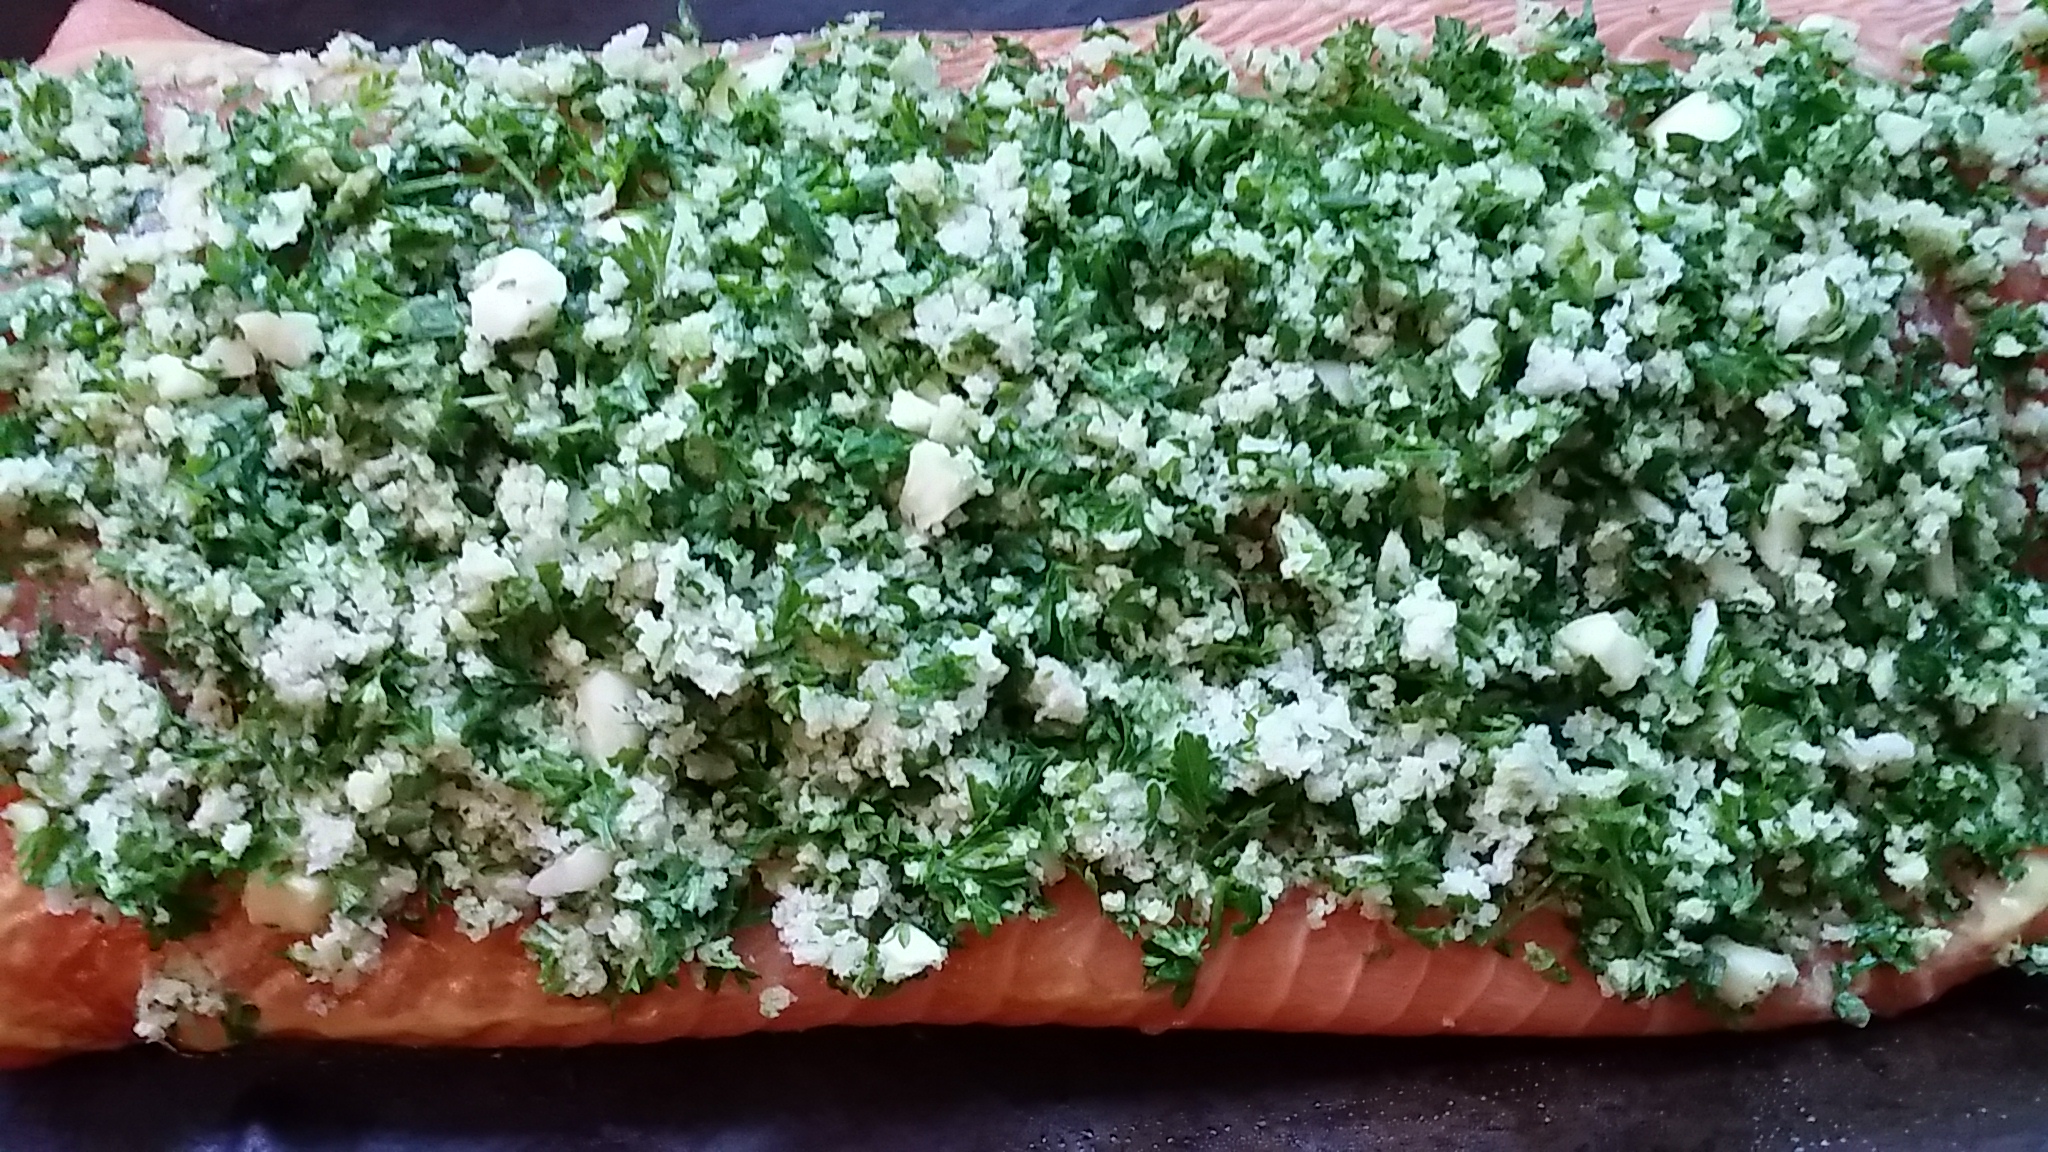
7. Divide the spinach mixture into 4 equal parts and evenly spread it on top of the 4 fillets. Then brush the edges of the puff pastry with egg wash (1 egg + 1 tsp water).

salmon-fishspinach

8. Begin folding the the puff pastry over starting with the longer side. When folding over the short edges, brush more of the egg wash before folding.

9. Line a baking sheet with parchment paper and place the salmon wellington seam side down.

10. Make crosshatch slits on top of the Wellington with a knife. Then brush with more egg wash. (ok I didn’t do this stop either – I did a braid).

11. Bake at 350 degrees Fahrenheit for 25-30 minutes or until the pastry is golden brown.

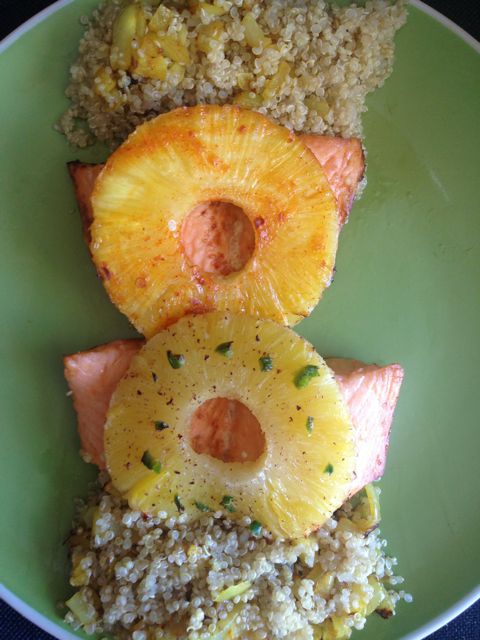
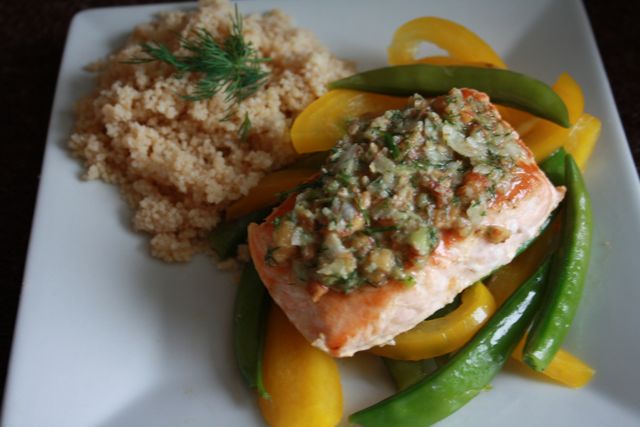
Final Result!! – As you can see, I braided it and didn’t make the crosshatch. I guess I was feeling creative. LOL

salmon-finalI served this along with a salad, vegetarian stew and couscous. The stew was prepared in the slow cooker while I was asleep. Oh how I love my Breville Rice Cooker which also has a function to “slow cook”.

salmon-side-dishes
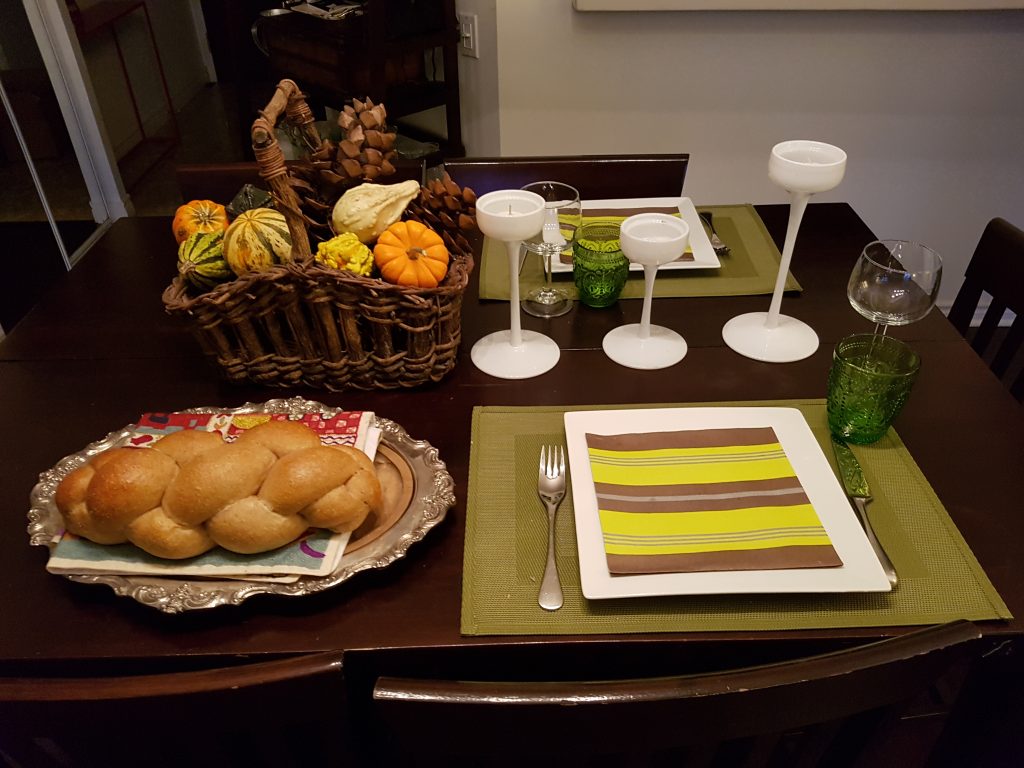
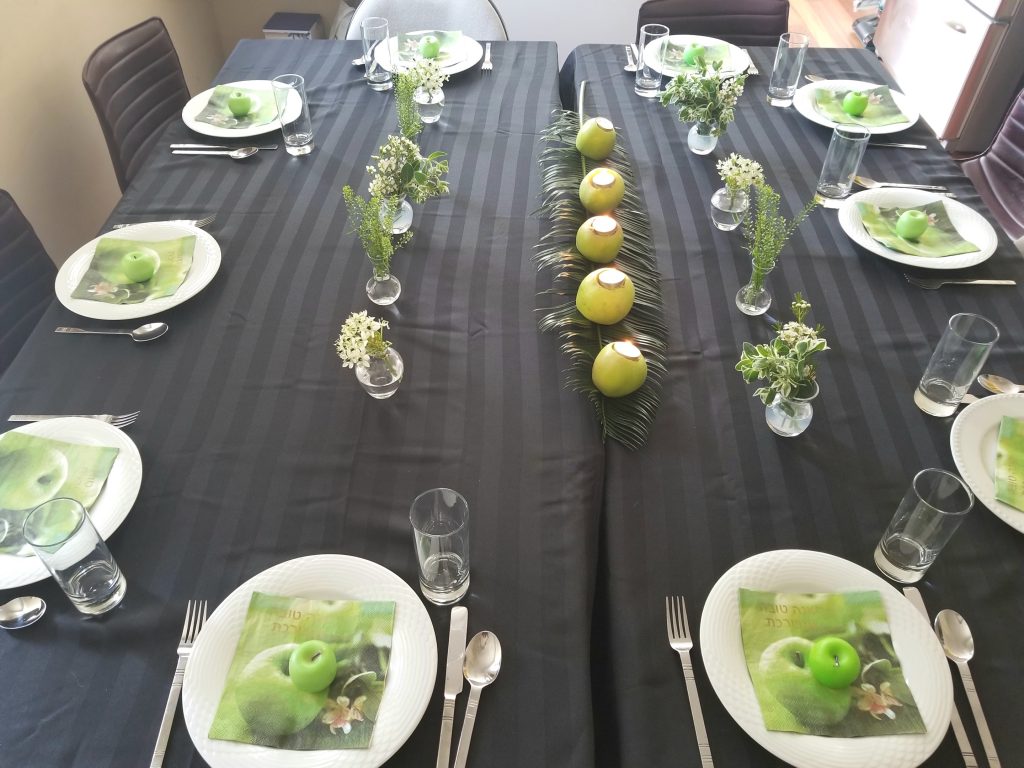
Naturally I had fun setting a “fall inspired” table.

salmon-tableHappy Cooking!!

Share this:
Share this page via Email Share this page via Stumble Upon Share this page via Digg this Share this page via Facebook Share this page via Twitter

, , , , , ,

Jul
13


I read a blog post this week from Glimmer Life and had a good chuckle when I read the following line:  “I basically designed my whole house around inspirational pics on Pinterest”. I left a comment on her facebook page that my entire menu is curated from Pinterest. Seriously.

Here’s a few recipes I tried last week that I found on Pinterest!

Pesto Salmon and Italian Vegetables in Foil Packets (click here for the original recipe by www.cookingclassy.com

1 lb of trimmed and washed Green Beans

4 pieces of Salmon

Pesto (I made my own – click here for an easy recipe)

Directions:

1. Cut tin foil into 4 large squares.

2. Take a handful of green beans and place it in the middle of the square.

3. Take the salmon and place it on top of the green beans.

3. Spread the pesto over the salmon.

4. Wrap the packet up and bake in a 350 degree oven for 30 minutes

FINAL

dinner - salmon

Zucchini Boats ..the original recipe by www.domesticsuperhero.com can be found here). please note: I improvised a lot!

1. Take 4 zucchinis and scoop out the inside to make a “boat”

2. Spread some pizza sauce in the “boat”

3. Sprinkle with shredded cheese and oregano.

Bingo – you have a side dish for the salmon.

FINAL RESULT

dinner - zucchini

As for dessert….Apple Pie Bites:

It really was a simple recipe (um ….3 ingredients)  but I messed up the directions and it looked NOTHING like it was suppose to. However my guests did not notice as they didn’t see the original recipe.

The original recipe from www.cakescottage.com can be found here . (please click on the link so you can see what it was SUPPOSE to look like)
dinner - dessert
 Happy Cooking!


Share this:
Share this page via Email Share this page via Stumble Upon Share this page via Digg this Share this page via Facebook Share this page via Twitter

, , , , , , , , ,

Apr
29


When I saw this recipe on the internet, I knew I wanted to make it.  It looked stunning and it didn’t require a million ingredients. Plus I knew it would be the perfect side dish for my salmon.

Here’s the recipe for a Zucchini  Rose Tart (adapted from www.Buonappa.net)

Ingredients:
1 roll puff pastry

Filling:

1 cup ricotta cheese
2 eggs
1/4 cup Parmesan cheese

1/4 cup mozzarella cheese
a lot of  fresh oregano, fresh rosemary or fresh thyme!

Decoration:
4 multi color carrots (purple, orange and yellow)
2 zucchini
tart - veggies

Instructions:

1. Roll out the puff pastry and place it in the bottom of a greased oven proof baking dish. However,  I was using this recipe for Passover so I covered the bottom of my serving dish with Matza.

If you are using puff pastry, bake in the oven (with weights) at 350 for 20 minutes. Lets cool

tart - matza

2. Mix together in a bowl: eggs, ricotta cheese, parmesan, mozzarella cheese, and fresh herbs (this made all the difference, I promise you).

tart - mixture

3. Spread the mixture over the puff pastry (or matzo in my case)

3. For the vegetables: peel the carrots and split in half. Then take your peeler and peel long ribbons. Do the same with the zucchini but don’t peel them. Then place all the ribbons in 2 cups of water and put them in the microwave for 5 minutes. DRAIN.

tart - ribbons

4. Now for the fun. Roll up each ribbon and then place into the filling (which will acts as a “cement). This take TIME. Make sure you have enough TIME and enough RIBBONS. It took more time and more ribbons than I thought but it was SO worth it.

5. Brush with olive oil (which I forgot to do. Oops)

5. Bake at 375 degrees for 45 minutes

Full disclosure: I swore a few times while making this but I will make it again. It was really worth it.

FINAL

tart - final

I served this dish along with:

-Salmon with balsamic onions

-Roasted Cauliflower with a Tahini Glaze

– Beet salad with mint/feta cheese

-Spinach salad with blood orange and pecans

Happy Cooking!

Share this:
Share this page via Email Share this page via Stumble Upon Share this page via Digg this Share this page via Facebook Share this page via Twitter

, , , , , , , , ,

Aug
24


I was tired of my standard salmon recipes, so I did some research on the internet and found a new recipe that appealed to me. I love how easy it is to find a new recipe these days. Long gone are the days where I use to sit at the kitchen table sifting thru 6 cookbooks. (or more)

The recipe only included a few ingredients and sure enough..I had most of them in my fridge and pantry.

salmon - ingredients

Here’s the official recipe for Garlic Panko Salmon (from www.primaverakitchen.comI used half of the recipe (errr..the ingredients) and then used my own method. Keep reading!!

Ingredients
  • For the Salmon
  • 518g salmon fillets (I bought a big slab of salmon from Costco)
  • Salt and pepper
  • 1 1/2 tablespoons of Dijon
  • 1 tablespoon of honey
  • For the Garlic Panko
  • 2 tablespoons olive oil
  • 4-6 cloves garlic, minced, depending on how garlicky you like it
  • ¾ cup panko crumbs
  • 1 tsp lemon zest
  • 1 teaspoon parsley, chopped (I used more…lots more)
  • Sea salt and fresh ground pepper
Instructions (according to momwhoruns!)
  1. Preheat oven to 375 F degrees.
  2. Spread the dijon mustard and honey onto the salmon.

salmon - fish

3. In my Cuisinart Food Processor – I whizzed up the parsley, lemon, garlic and panko bread crumbs.

cuisinart

4. Spread this mixture over the salmon

salmon - final5. Bake for 30-40 minutes (depending on the size of your salmon)

6. Serve Warm!

Happy Cooking.


Share this:
Share this page via Email Share this page via Stumble Upon Share this page via Digg this Share this page via Facebook Share this page via Twitter

, , , , ,

Apr
24


I love using recipes but sometimes it’s just fun to look into my fridge/freezer and figure out if I can get creative and create my own recipe!

Specifically I had some pineapple and a piece of salmon….plus a jalapeno.

philips - plate

I decided to bring out my Philips AirFryer to create my meal as I knew it was going to be the fastest way to cook this dish. Not to mention, no odour and minimal cleanup. #winwin

Philips - photo

1. First, I cooked the salmon. (see previous post).

2. Then I shmeared (is that a word?) 2 slices of pineapple with the agave, and then sprinkled it with some finely diced jalapeno. Notice the brown specks? That’s grated nutmeg on it.  I also decided to take the other 2 slices of pineapple and shmeared it with Nando’s Piri Piri Sauce.

philps - pineapple

3. I popped the pineapple slices into the Philips Airfryer and 6 minutes later  (at 200 degrees) it was golden and cooked!!

4.To complete the meal I made some some quinoa with fried onions and some spices from Jaswant’s Kitchen.

philips - final

Voila. LUNCH.

Disclosure: The Philips Airfryer was provided to me however all opinions are my own.

Share this:
Share this page via Email Share this page via Stumble Upon Share this page via Digg this Share this page via Facebook Share this page via Twitter

, , , , , , , ,

Apr
07


About once a month I buy a box of party sandwiches for dinner or for a snack. There’s never ANY leftovers. EVER. I will repeat – EVER. I usually pick them up at Bruno’s, Pusateri’s, Daiters, or What A Bagel.

serve this with salad and/or soup and you have yourself a lovely dinner!!

serve this with salad and/or soup and you have yourself a lovely dinner!!

When I was trying to figure out what to serve at my birthday party last week,  it dawned on me that party sandwiches would be a welcome change from the usual sushi platter.

I contacted Lesley’s Party Sandwiches & Catering and made fast friends with Lesley who also shared the same birthday as me!! (too funny). I found out that she’s been in business for 29 years and was the first independent party sandwich supplier in the city! I also found out that I could drop my off my platters and she would will fill them up with an assortment of party sandwiches, such as:

  • brie and fig preserve
  • cream cheese and cucumber
  • egg, tuna, and  salmon salad,
  • smoked salmon and cream cheese and MORE.

So I dropped off my platters and witnessed how party sandwiches are made! There is a reason why I’m not making party sandwiches!!

Perfectly Sliced Bread!!

Perfectly Sliced Bread!!

Just before the party – they were delivered. HOW SWEET IS THAT? This is what my platter looked like. Pretty….Don’t you think?

This platter was empty at the end of the night. They were a  hit

This platter was empty at the end of the night. They were a hit

Lesley’s Party Sandwiches are perfect for baby showers, baby namings, tea parties, office parties, engagement parties, graduations and more!! She also makes a variety of salads and beautiful fruit platter and vegetable platters too. #justsayin’.

For more information:

Lesley’s Party Sandwiches: 55 Glen Cameron Road, Unit 19, Thornhill, ON (905) 660 0551

Disclosure: Lesley’s Party Sandwiches provided me with an assortment of party sandwiches. However all opinions are my own.


Share this:
Share this page via Email Share this page via Stumble Upon Share this page via Digg this Share this page via Facebook Share this page via Twitter

, , , , , , , ,

Mar
20


Newsflash: There’s a new appliance in my kitchen. It’s the Philips Airfyer. Take a peek… Isn’t she beautiful?

Philips - photo

Besides being gorgeous, here’s a few other first impressions:

-It’s simple to use: i.e. one dial is the temperature control and the other dial is the timer. This could not get easier.

-The cord is in the back and slides beautifully into the appliance. No more dangling cords that need to be wrapped around an appliance!!

-You don’t need to use any OIL. (or if you do..it’s less than a tablespoon). The technology in this airfyer is genius.

-My kitchen didn’t heat up and I’m anticipating using the Philips Airfyer ALL SUMMER LONG.

So what did I make?

-baked potatoes (in 12 minutes)

-a piece of salmon (in 10 minutes exactly)

Voila…dinner!!

philips - dinner

For more information:

 http://www.philips.ca/c/home-cooking/viva-collection-airfryer-with-rapid-air-technology-hd9220_26/prd/en/ 

Disclosure: The Philips Airfryer was provided to me however all opinions are my own.

Share this:
Share this page via Email Share this page via Stumble Upon Share this page via Digg this Share this page via Facebook Share this page via Twitter

, , , , , , ,

Jan
29


Out of nowhere…I’m noticing a lot of Cauliflower recipes. I strongly believe that Cauliflower is the new Kale!! I’ve noticed on Facebook this week, not just one cauliflower  recipe but two.

For some reason, I’m wired to try new recipes..so I did. I liked the fact that I didn’t have to chop anything AND it was uber healthy. Not to mention pretty too!

Give it a try. You won’t be disappointed.

SPICY WHOLE ROASTED CAULIFLOWER (from www.purewow.com)

Ingredients

1 tablespoon vegetable oil

1 head cauliflower

1½ cups plain Greek yogurt

1 lime, zested and juiced

2 tablespoons chile powder

1 tablespoon cumin

1 tablespoon garlic powder

1 teaspoon curry powder

2 teaspoons kosher salt

1 teaspoon black pepper

 cauliflower - ing

Directions

1. Preheat the oven to 400° and lightly grease a small baking sheet with vegetable oil. Set aside.

2. Trim the base of the cauliflower to remove any green leaves and the woody stem.

3. In a medium bowl, combine the yogurt with the lime zest and juice, chile powder, cumin, garlic powder, curry powder, salt and pepper. NOTE: I used Nando’s PERI-PERI as I’m in love with this sauce plus I think most of my spices are stale!

4. Dunk the cauliflower into the bowl and use a brush or your hands to shmeer the marinade over its surface. I had so much fun with this step. When I was finished having fun, I sprinkled spice from Jaswant’s Kitchen for additional colour #smartmove.

cauliflower - hands

5. Place the cauliflower on the prepared baking sheet and roast until the surface is dry and lightly browned, 30 to 40 minutes. The marinade will make a crust on the surface of the cauliflower.

6. Let the cauliflower cool for 10 minutes before cutting it into wedges. This would make a great side dish with a piece of salmon, non?

FINAL RESULT:

cauliflower - final

Happy Cooking!!


Share this:
Share this page via Email Share this page via Stumble Upon Share this page via Digg this Share this page via Facebook Share this page via Twitter

, , , , , , , ,

Apr
14


Haven’t tried a new recipe for a while. But last week, I had the opportunity to make something new and it was a hit. If it wasn’t a hit, trust me, I wouldn’t be blogging about i

Dinner consisted of:

-Appetizers: pita chips (homemade of course, here’s the recipe), roasted garlic, and salsa from Sabra!

thursday - appetizers


-Salmon with Snap Peas, Yellow Peppers and Dill Pistachio Pistou, Smoked Couscous, Spinach and Almonds

thursday - plated

The spinach was a nice addition too. #healthy

thursday - spinach

The Salmon with Snap Peas, Yellow Peppers and Dill Pistachio Pistou is want I want to share with you. Not only did the plate look amazing but it was a pretty flavourful meal too!

Here’s the recipe: (courtesy of Epicurious)

1/3 cup chopped fresh dill

1/3 cup finely chopped green onions

1/2 cup shelled or natural pistachios or almonds (I used whole almonds)

1/4 cup olive oil

2 yellow peppers cut into 1/2 inch strips

1 package of sugar snap peas, trimmed, strings removed

1 garlic clove, minced

1/4 cup water

4 – 6 ounce salmon filets

DIRECTIONS:

Mix dill, green onions, pistachios, (or almonds) and 1/4 cup oil in medium bowl. Season to taste with salt and pepper. DO AHEAD: Pistou can be made 2 hours ahead. Let stand at room temperature.

thursday - cuisinart

1.Heat 1/2 tablespoon oil in heavy large skillet over medium-high heat. Add peppers and sauté until beginning to soften, about 2 minutes. Add snap peas, garlic, and 1/4 cup water;  sprinkle with salt. Sauté until vegetables are just tender and water evaporates, 2 to 3 minutes. Transfer to a serving dish.

2. Heat remaining 1 tablespoon oil in a skillet over medium-high heat.

3. Sprinkle salmon with salt and pepper. Place salmon, skin side down, in skillet; cook until skin is crisp, about 3 minutes. Turn salmon and cook until almost opaque in center, about 3 minutes longer.

4. Arrange salmon fillets over vegetables on platter. Spoon some pistou down center of each fillet and serve, passing remaining pistou alongside.

NOTE: This recipe was rated 5 stars out of 5 stars and they were right – it’s certainly worth 5 stars!!

Happy Cooking!!


Share this:
Share this page via Email Share this page via Stumble Upon Share this page via Digg this Share this page via Facebook Share this page via Twitter

, , , , , , , , ,