ActivitiesMarch 1st, 2016
I seem to have a lot of friends who have gone back to school as mature students these days. They took courses to become ESL teachers or Certified Financial Advisors and some have even taken part-time classes in the culinary field (baking or bread-making).
When my friends announced to me that they were taking these courses, I was extremely supportive because there’s no such thing as “it’s never too late to switch careers”. Plus education is always valuable and never goes out of style. EVER.
True story: I’ve been active on Social Media since 2009 and have really embraced it. I embraced it so much that I morphed into a social media consultant for 3 years.
Clients hired me to tweet and post on Facebook – seeing as they didn’t have the time or they didn’t know a thing about social media. I truly was passionate about it and over the years I’ve helped many restaurants get off the ground in the twitterverse.

However I really know that there’s more to it than just tweeting. There’s strategy and content and metrics and more. I also know that I could benefit from a course. Even today.
I’m a huge believer in attending college and hope to actually sign up for a social media certificate at Seneca College one day soon.
I’m not kidding I’ve looked online as well as flipped through their printed course book. (so old school – I know). A full-time course isn’t realistic for me however I know that a part-time course would be ideal. Even better – an online course really appeals to me so that I could study according to my (busy) schedule.
True Story #2: I am a disaster when it comes to SEO, plug ins, coding, rafflecopter and more. I often have to call a good friend of mine to help me out with these things. I know I would benefit from a basic “wordpress” course as well.
Now that I think about it – a creative writing course could help me out as well. Seems like there’s a few areas where I could do with some “improvement”!!
I’m confident that signing up at a college, would be the ideal place for me to reach more goals.
Going back to school part-time would help me out in more ways than one. There is no doubt about it. Stay tuned for more.
For more information:
Website: www.becauseitmatters.ca
Twitter: @senecacollege
Hashtag: #BecauseItMatters
Disclosure: I was compensated for this blog post, however all opinions are my own
BecauseItMatters, blog, college, education, Seneca, twitter. SEO
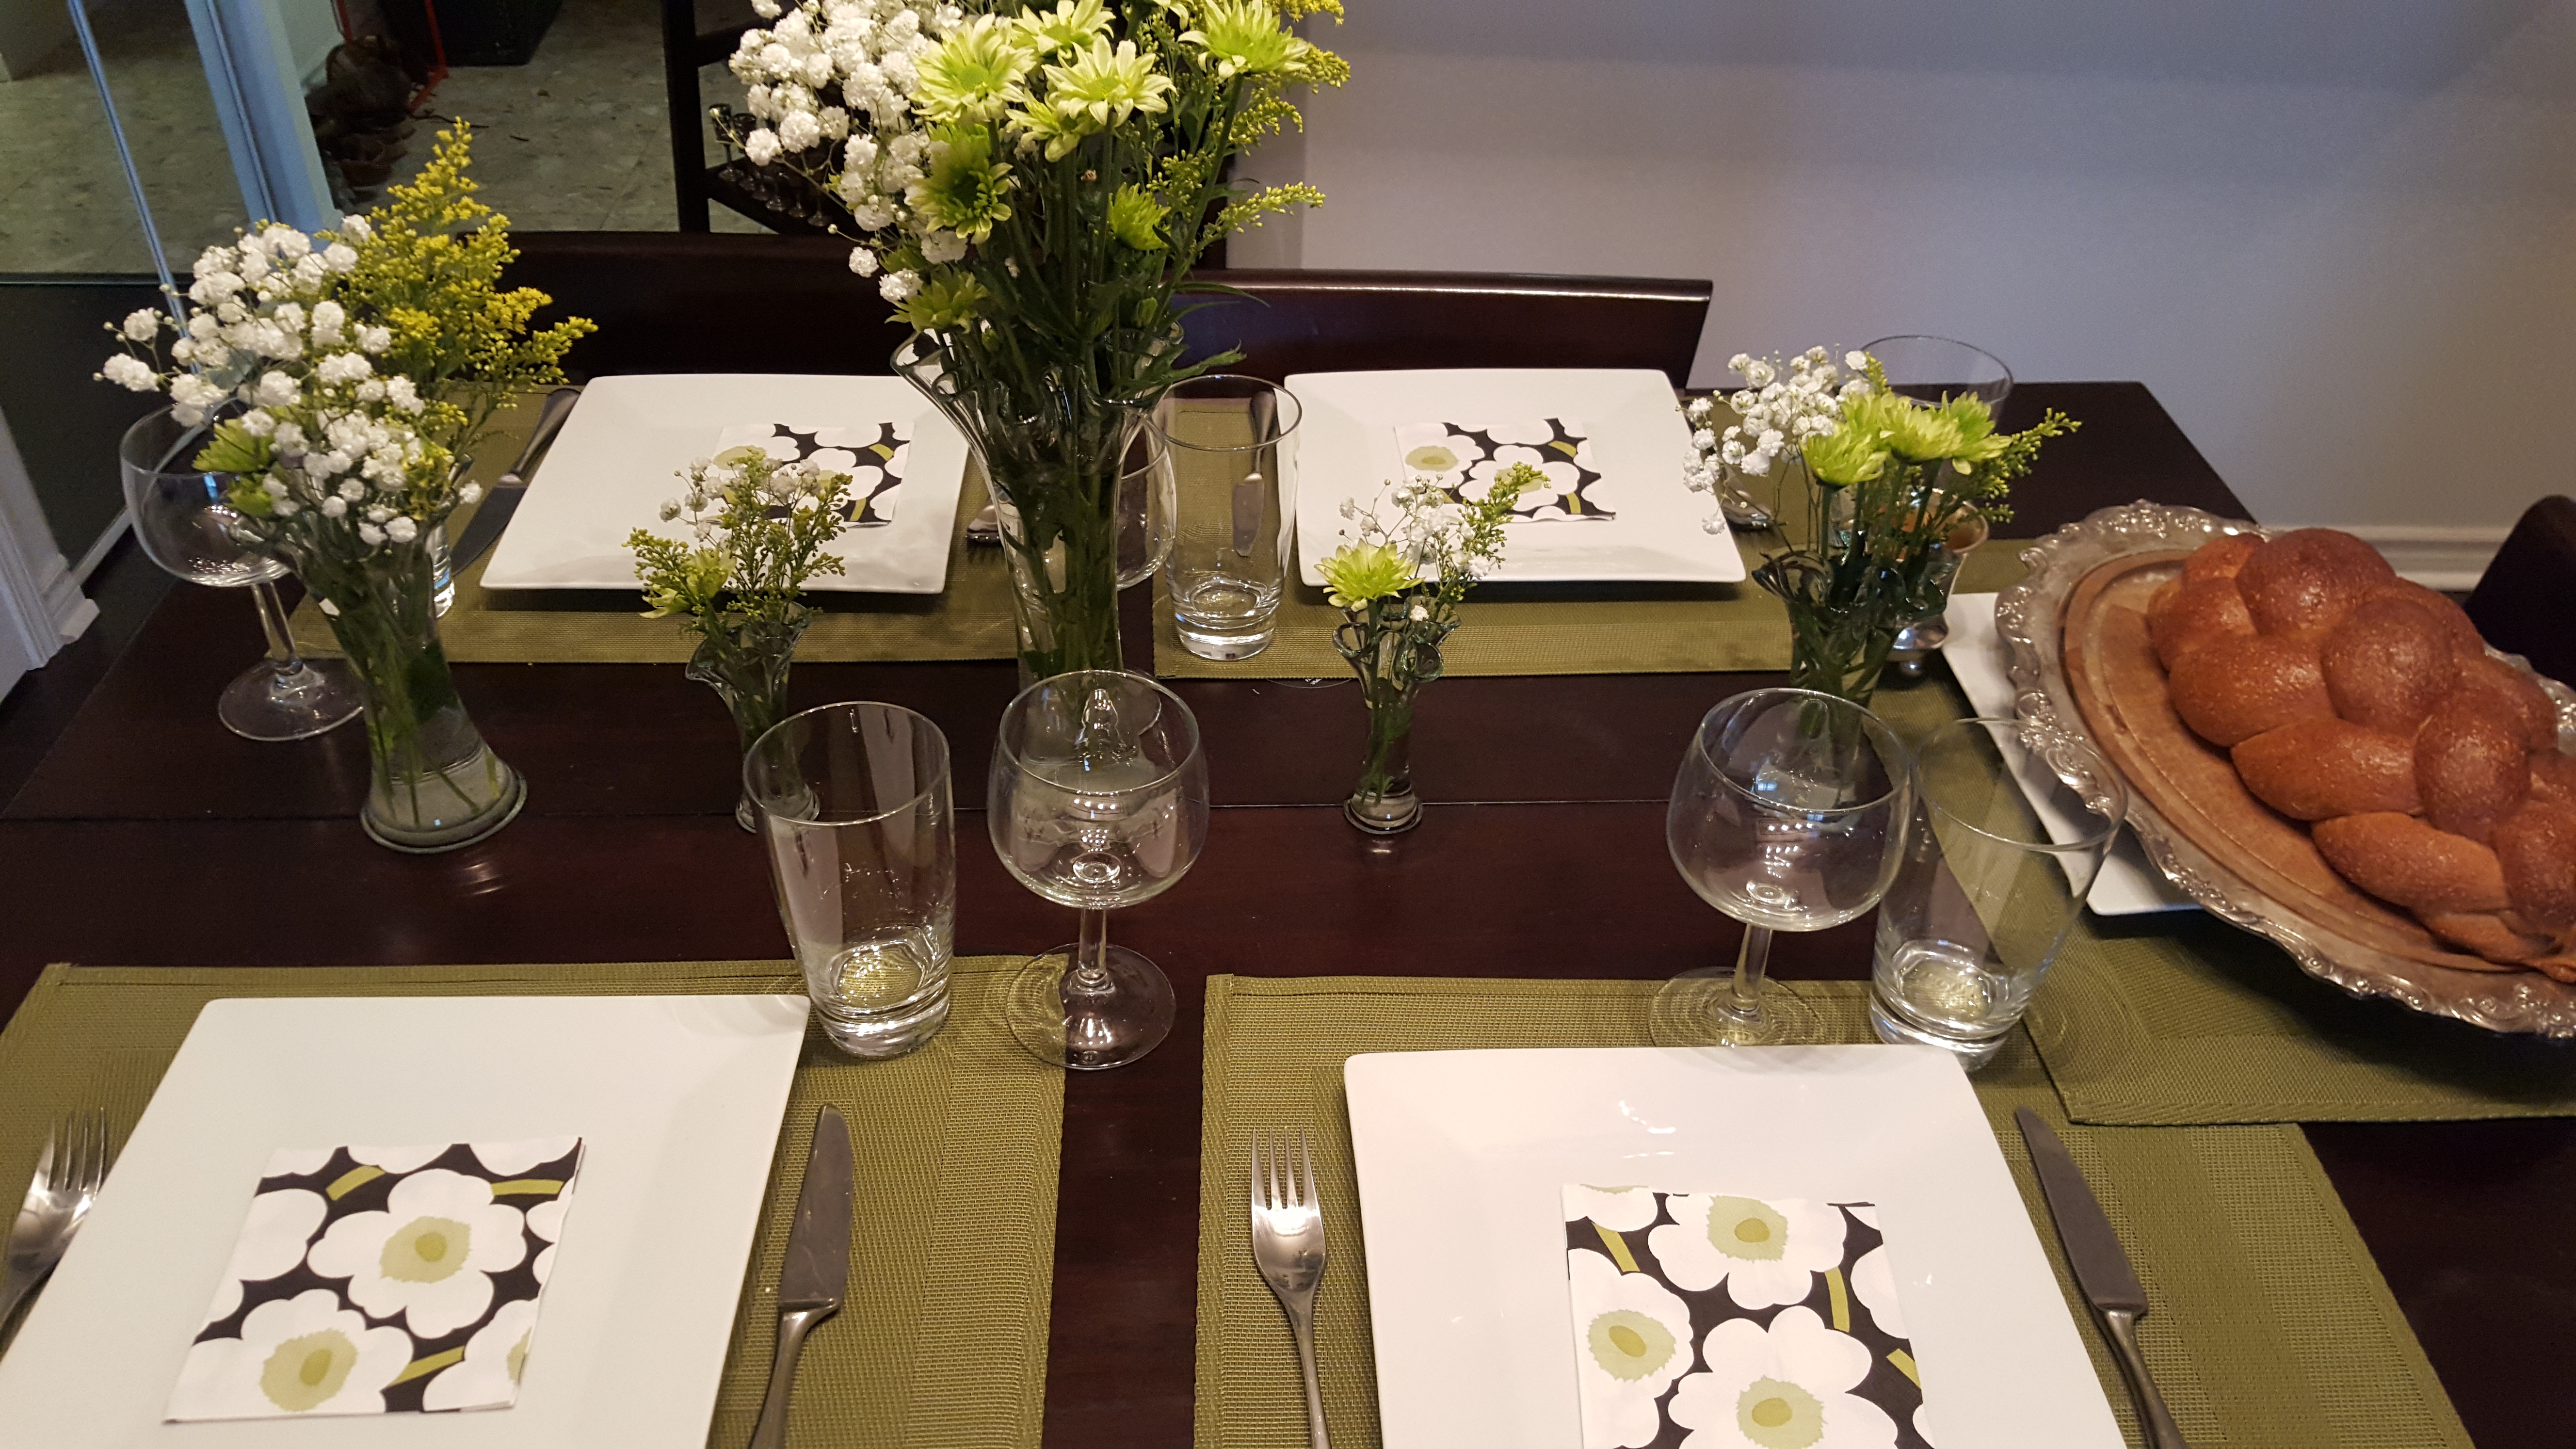
I had some company over on Friday night for dinner and I have to admit – the meal was divine. I served one main course and three salads plus dessert. Right now, I feel like I need to share one particular salad recipe with you STAT.

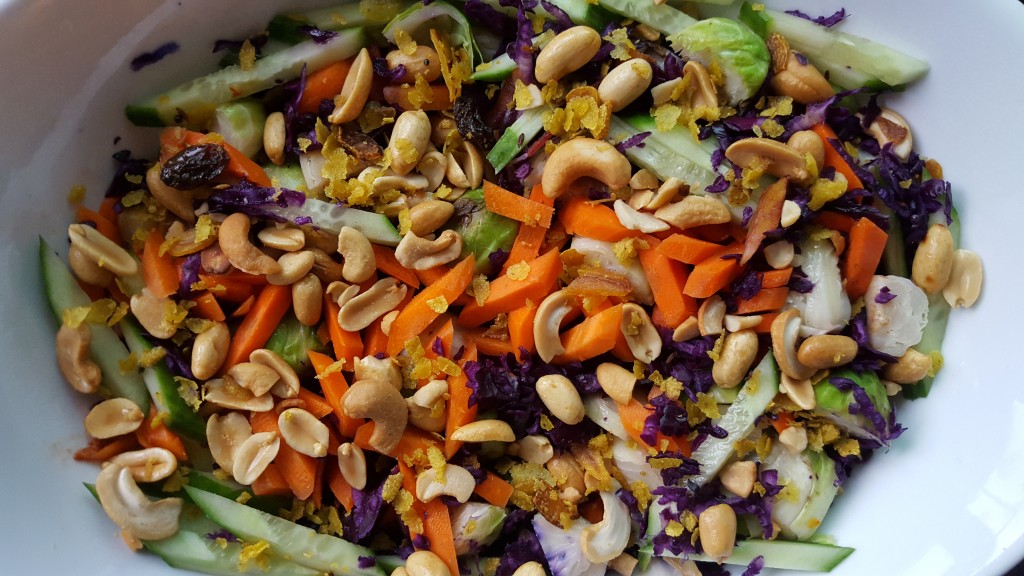
This Thai Crunch Brussels Sprout recipe was worth all the chopping and all the ingredients. TRUST ME. LOL
Thai Crunch Brussel Sprout Salad (taken from a fantastic blog that I subscribe to..Sweet Eats)
INGREDIENTS
1 1/2 tablespoons olive oil
1 pound brussels sprouts, stems removed and thinly sliced
2 garlic cloves, minced
1/4 teaspoon salt
1/4 teaspoon pepper
6 scallions, sliced
1 cucumber, seeds removed and sliced
1 red bell pepper, thinly sliced
1 orange bell pepper, thinly sliced
1 yellow bell pepper, thinly sliced
1/2 small red cabbage, thinly sliced
3 carrots, peeled or grated
1/2 cup freshly torn cilantro
1/2 cup shelled edamame
1/3 cup roasted peanuts, coarsely chopped
1/3 cup roasted cashews, coarsely chopped
3 tablespoons toasted sesame seeds
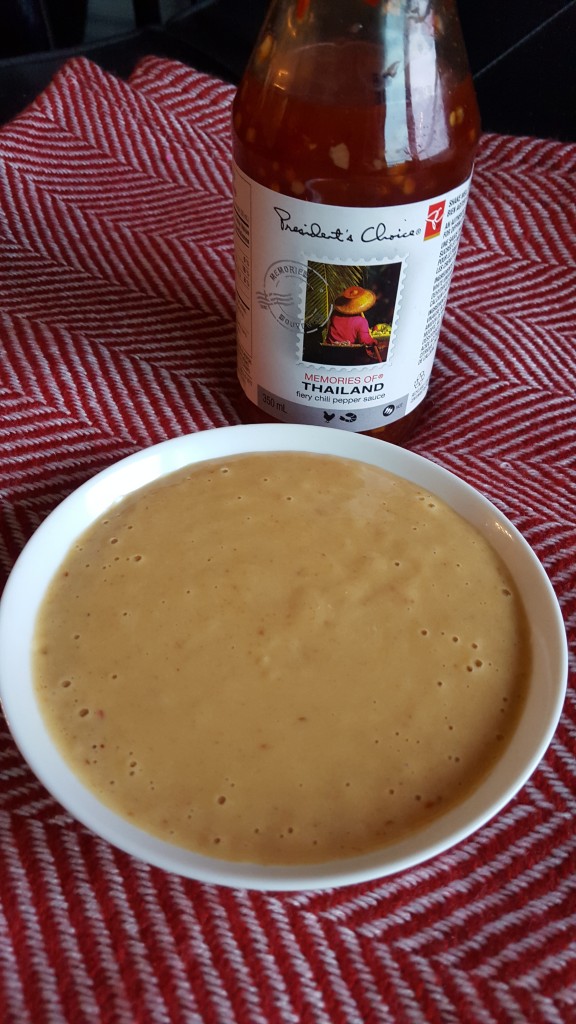
chili lime dressing
1 cup sweet chili sauce ( I used PC® Memories of Thai)
1/2 cup rice vinegar
1/2 cup light canned coconut milk
5 tablespoons honey
4 garlic cloves, pressed or finely minced
2 tablespoons creamy peanut butter
2 teaspoon-sized knobs of ginger, grated
2 limes, juiced
1 tablespoon soy sauce
directions:
Heat a large skillet over medium heat and add olive oil. Add the sliced brussels and garlic, tossing to coat. Season with the salt and pepper and cook until the brussels are a bit crispy, then remove and place in a bowl.
Add the scallions, cucumber, peppers, cabbage, carrots, cilantro and edamame to the brussels, tossing well to mix. Add in half of the peanuts and the cashews and all of the sesame seeds. Pour a 1/4 cup of the dressing over top and toss the salad well. Top with the remaining peanuts and cashews. Serve the salad with the extra dressing. (The extra dressing can be kept sealed in the fridge for a week or so!)
chili lime dressing
Combine all ingredients in a saucepan, whisking to combine. Bring to a boil, the reduce to a simmer and cook for 3-4 minutes until slightly thickened.
I actually used my beloved Blentec and the dressing came out velvety smooth and super flavourful. I can see myself using this dressing in all sorts of future recipes…that’s how good it tasted.
FINAL RESULT
Happy Cooking.
blog, Memories of Thai, PC, Salads, Serious Eats
According to my blog, I haven’t attended the Gourmet Food & Wine Expo since 2010. Here’s the blog post! So I’ve decided it’s about time I return. I’m really looking forward to eating and drinking (my fav combo) and helping them celebrate their 20th Anniversary. This year’s expo offers more than 1500 wines, beers, sprits and gourmet foods to choose from. I took a peek at the exhibitor list and quickly came to the realization that I won’t be leaving the expo hungry or thirsty!
 Here’s the details about the Gourmet Food & Wine Expo:
Website: http://www.foodandwineexpo.ca/ ( a great place to buy tickets in advance – HINT)
Hours:
Friday, November 21, 2014, 2pm-10pm
Saturday, November 22, 2014, 12pm-10pm
Sunday, November 23, 2014, 12pm-6pm
Location: Metro Toronto Convention Centre, North Building
Hope to see you there. Cheers!!
blog, Exhibitors, food, gourmet food & wine expo, Metro Convention Centre, wine
ShoppingNovember 18th, 2014
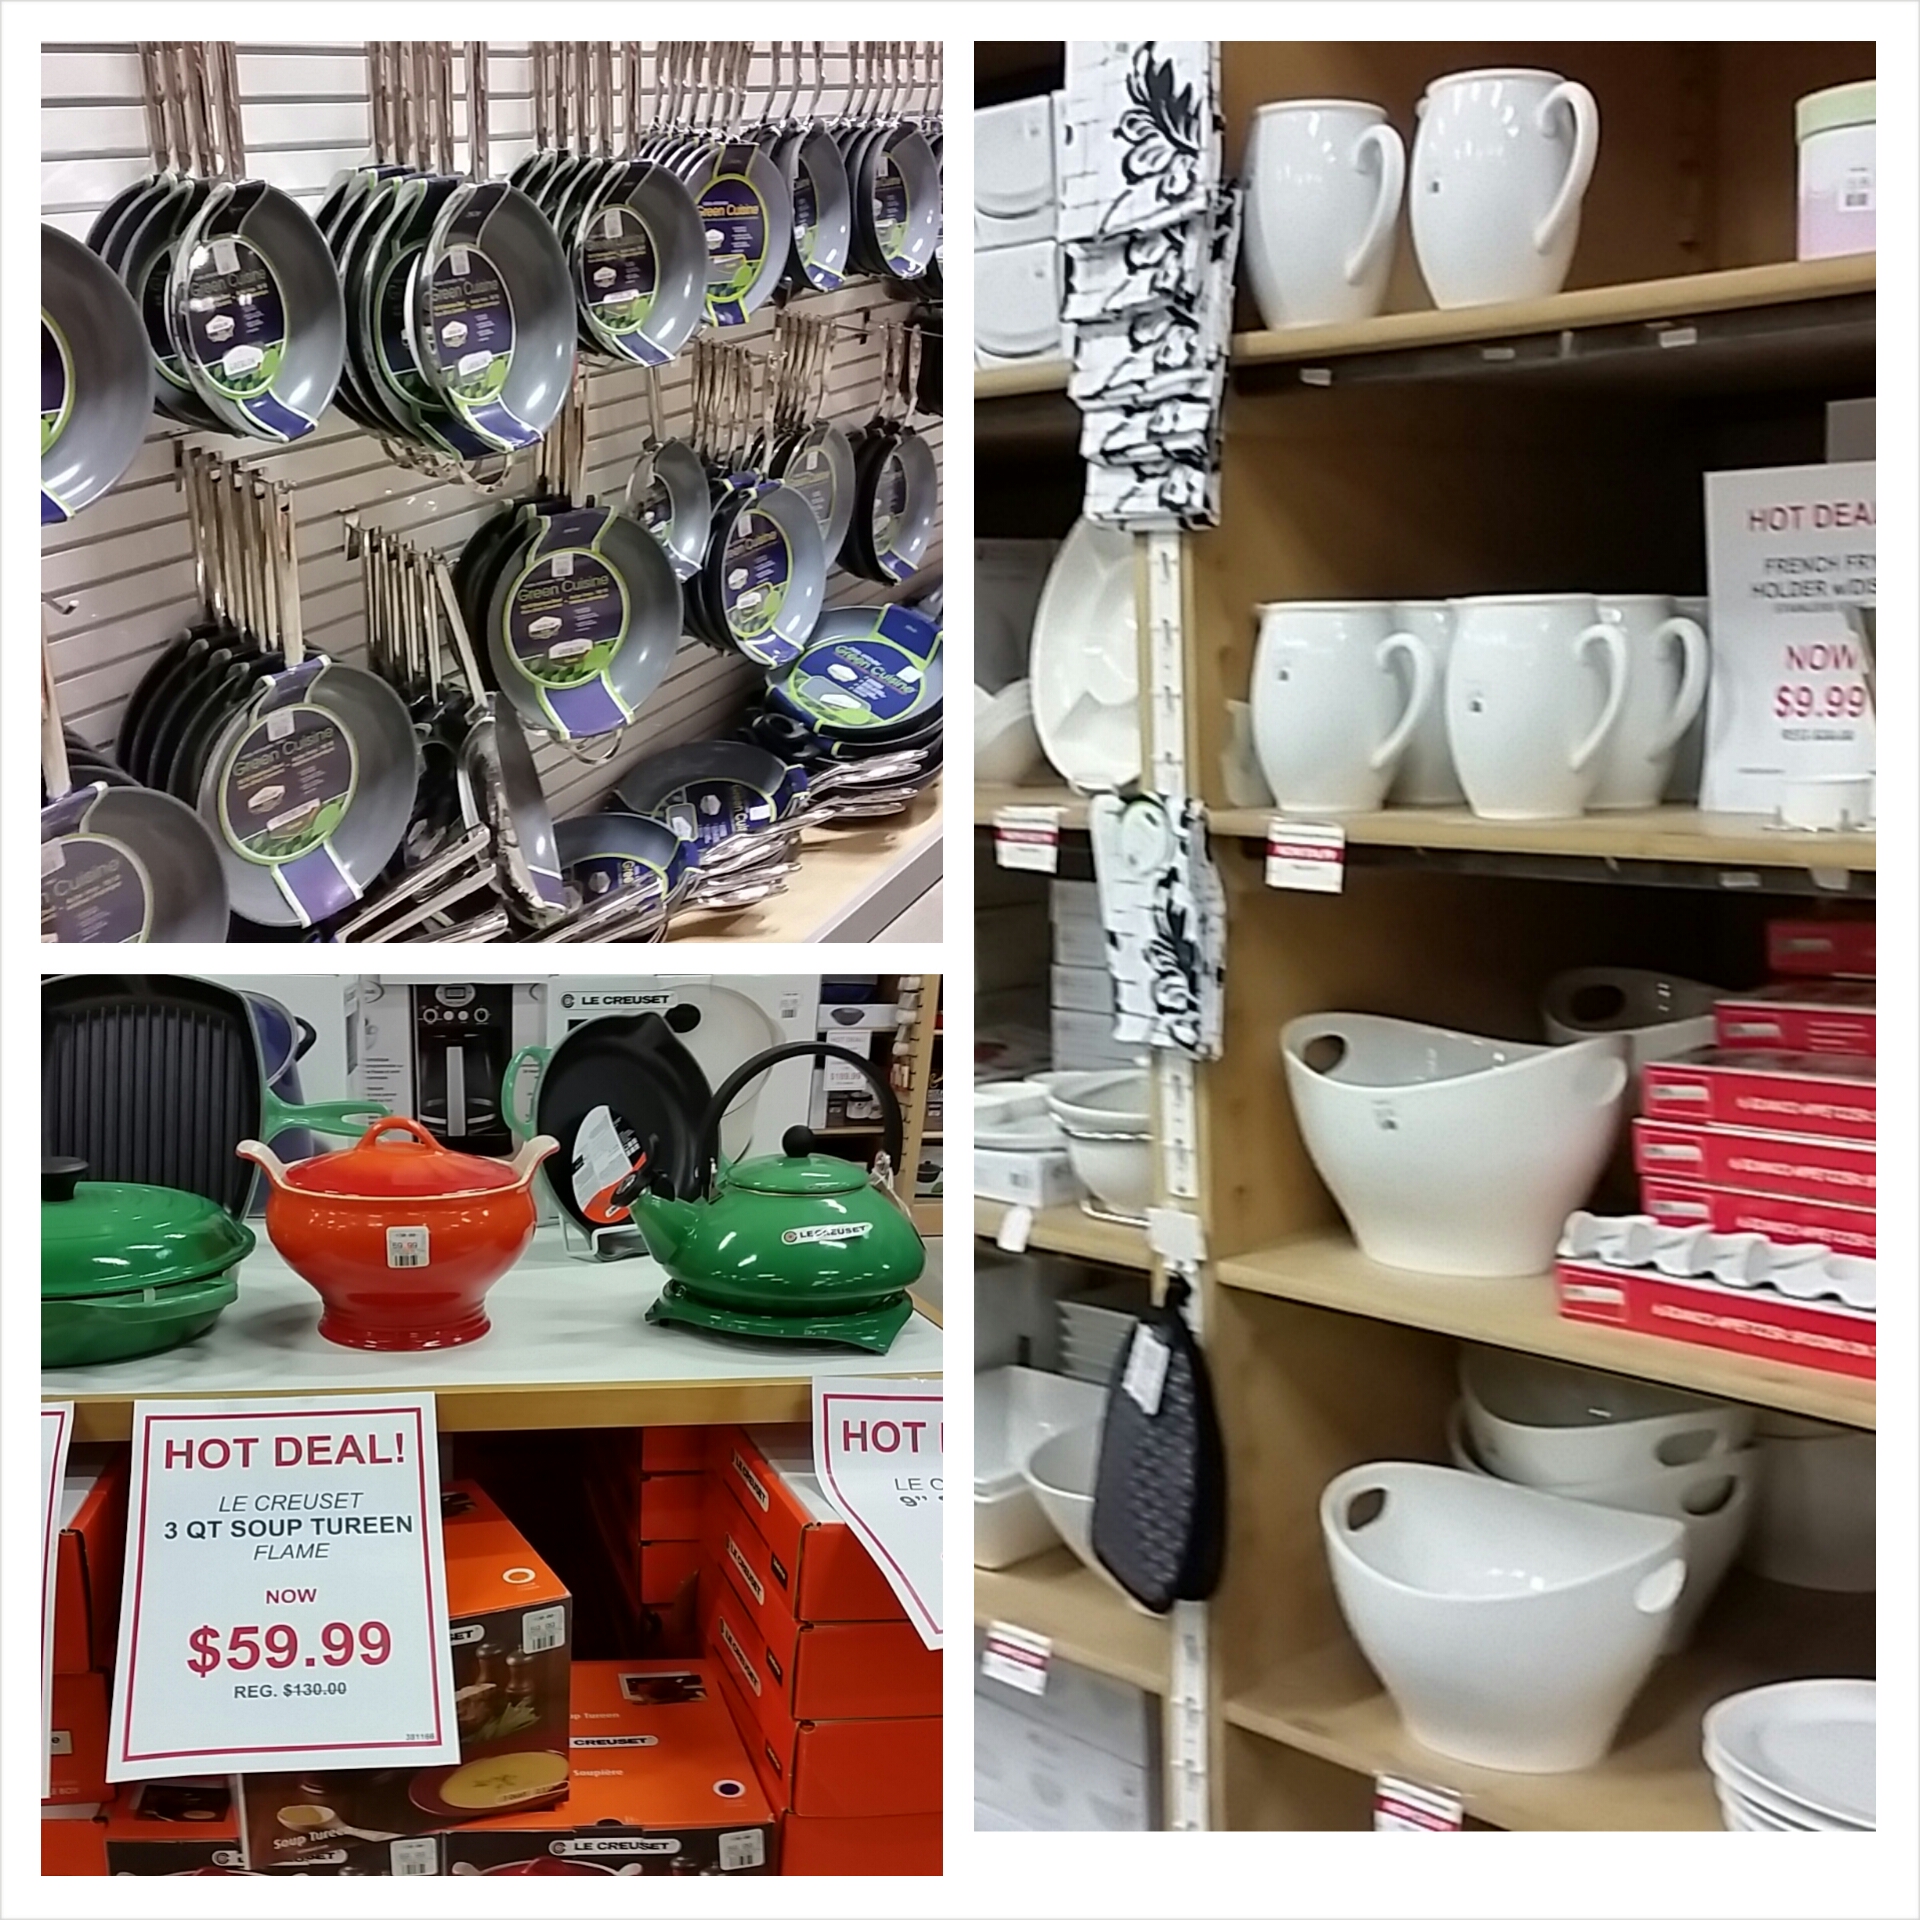
I finally went to the William Ashley Warehouse Sale. Hip Hip Hooray!! Many of my friends have gone to this sale and now I know why!
This year they’ve moved to a bigger space that features 30,000 square feet of shopping, with over one million items up for sale. There’s more to the sale than William Ashley’s signature china and dishware – there’s home décor, fashion items, candles, bath toiletries, even gourmet food.
See what I mean? Take a peek at the layout….

This new location has another bonus! Shoppers get to wait inside – and not in a heated tent!

I walked thru the aisles and saw SO many different items that I wanted to purchase but all I kept thinking was “where am I going to put it”.
 It wasn’t easy to decide what to buy. But I did it!!
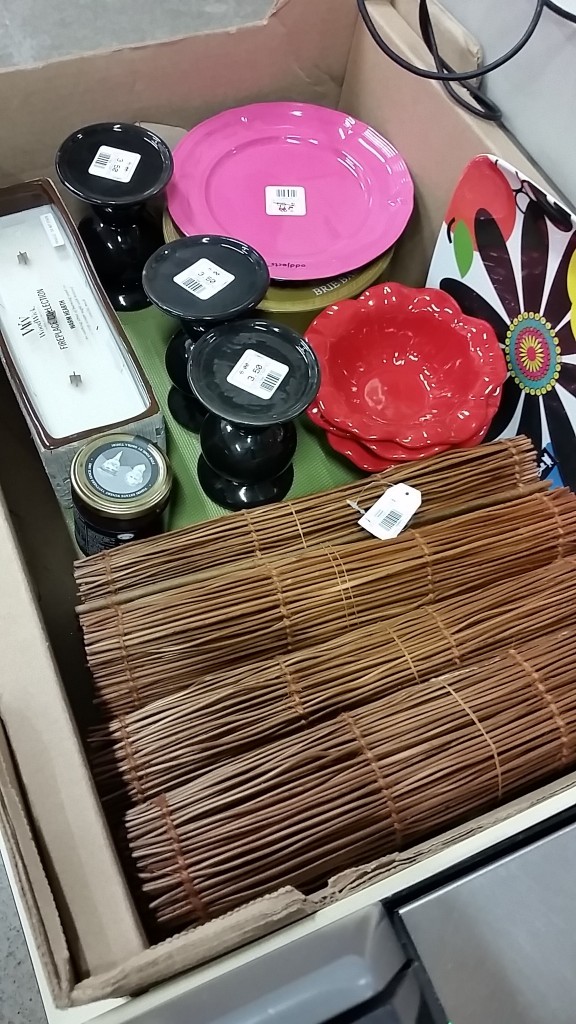
-some colourful plates (for my blog of course)
-a candle that is going to crackle when lit (I’m a sucker for things like that),
-a few red small bowls that I’m going to use for an upcoming cheese fondue party
-some place mats that I really don’t need but I LOVE
-a brie maker (again for the cheese fondue party).
-candle holders that I know Im going to enjoy. One can’t have enough candle holders, right?
So here’s what you need to know:
William Ashley Warehouse Sale 111 Creditview Rd, Vaughan ON
Website: http://www.williamashley.com/warehousesale/
Hours: Tues, Wed, Thurs, Fri. 10 am to 9 pm, Saturday and Sunday 10 am to 6 pm.
THIS IS THE FINAL WEEK! #Justsayin….
Happy Shopping!
Disclosure: I was provided a gift card to shop at this sale however all opinions are my own
blog, placemants, plates, Shopping, Vaughan, William Ashley Warehouse Sale
Food, TravelAugust 19th, 2014
I recently visited Montreal from Aug 3 to Aug 10. What a treat for both my tummy and my eyes! I’m actually going to dedicate TWO blog posts to the “food” part of my trip. Does that give you an indication of how much food I ate? LOL
Here’s a list of restaurants that I tried. Sadly I didn’t make it to Joe Beef as they were closed. Sniff.
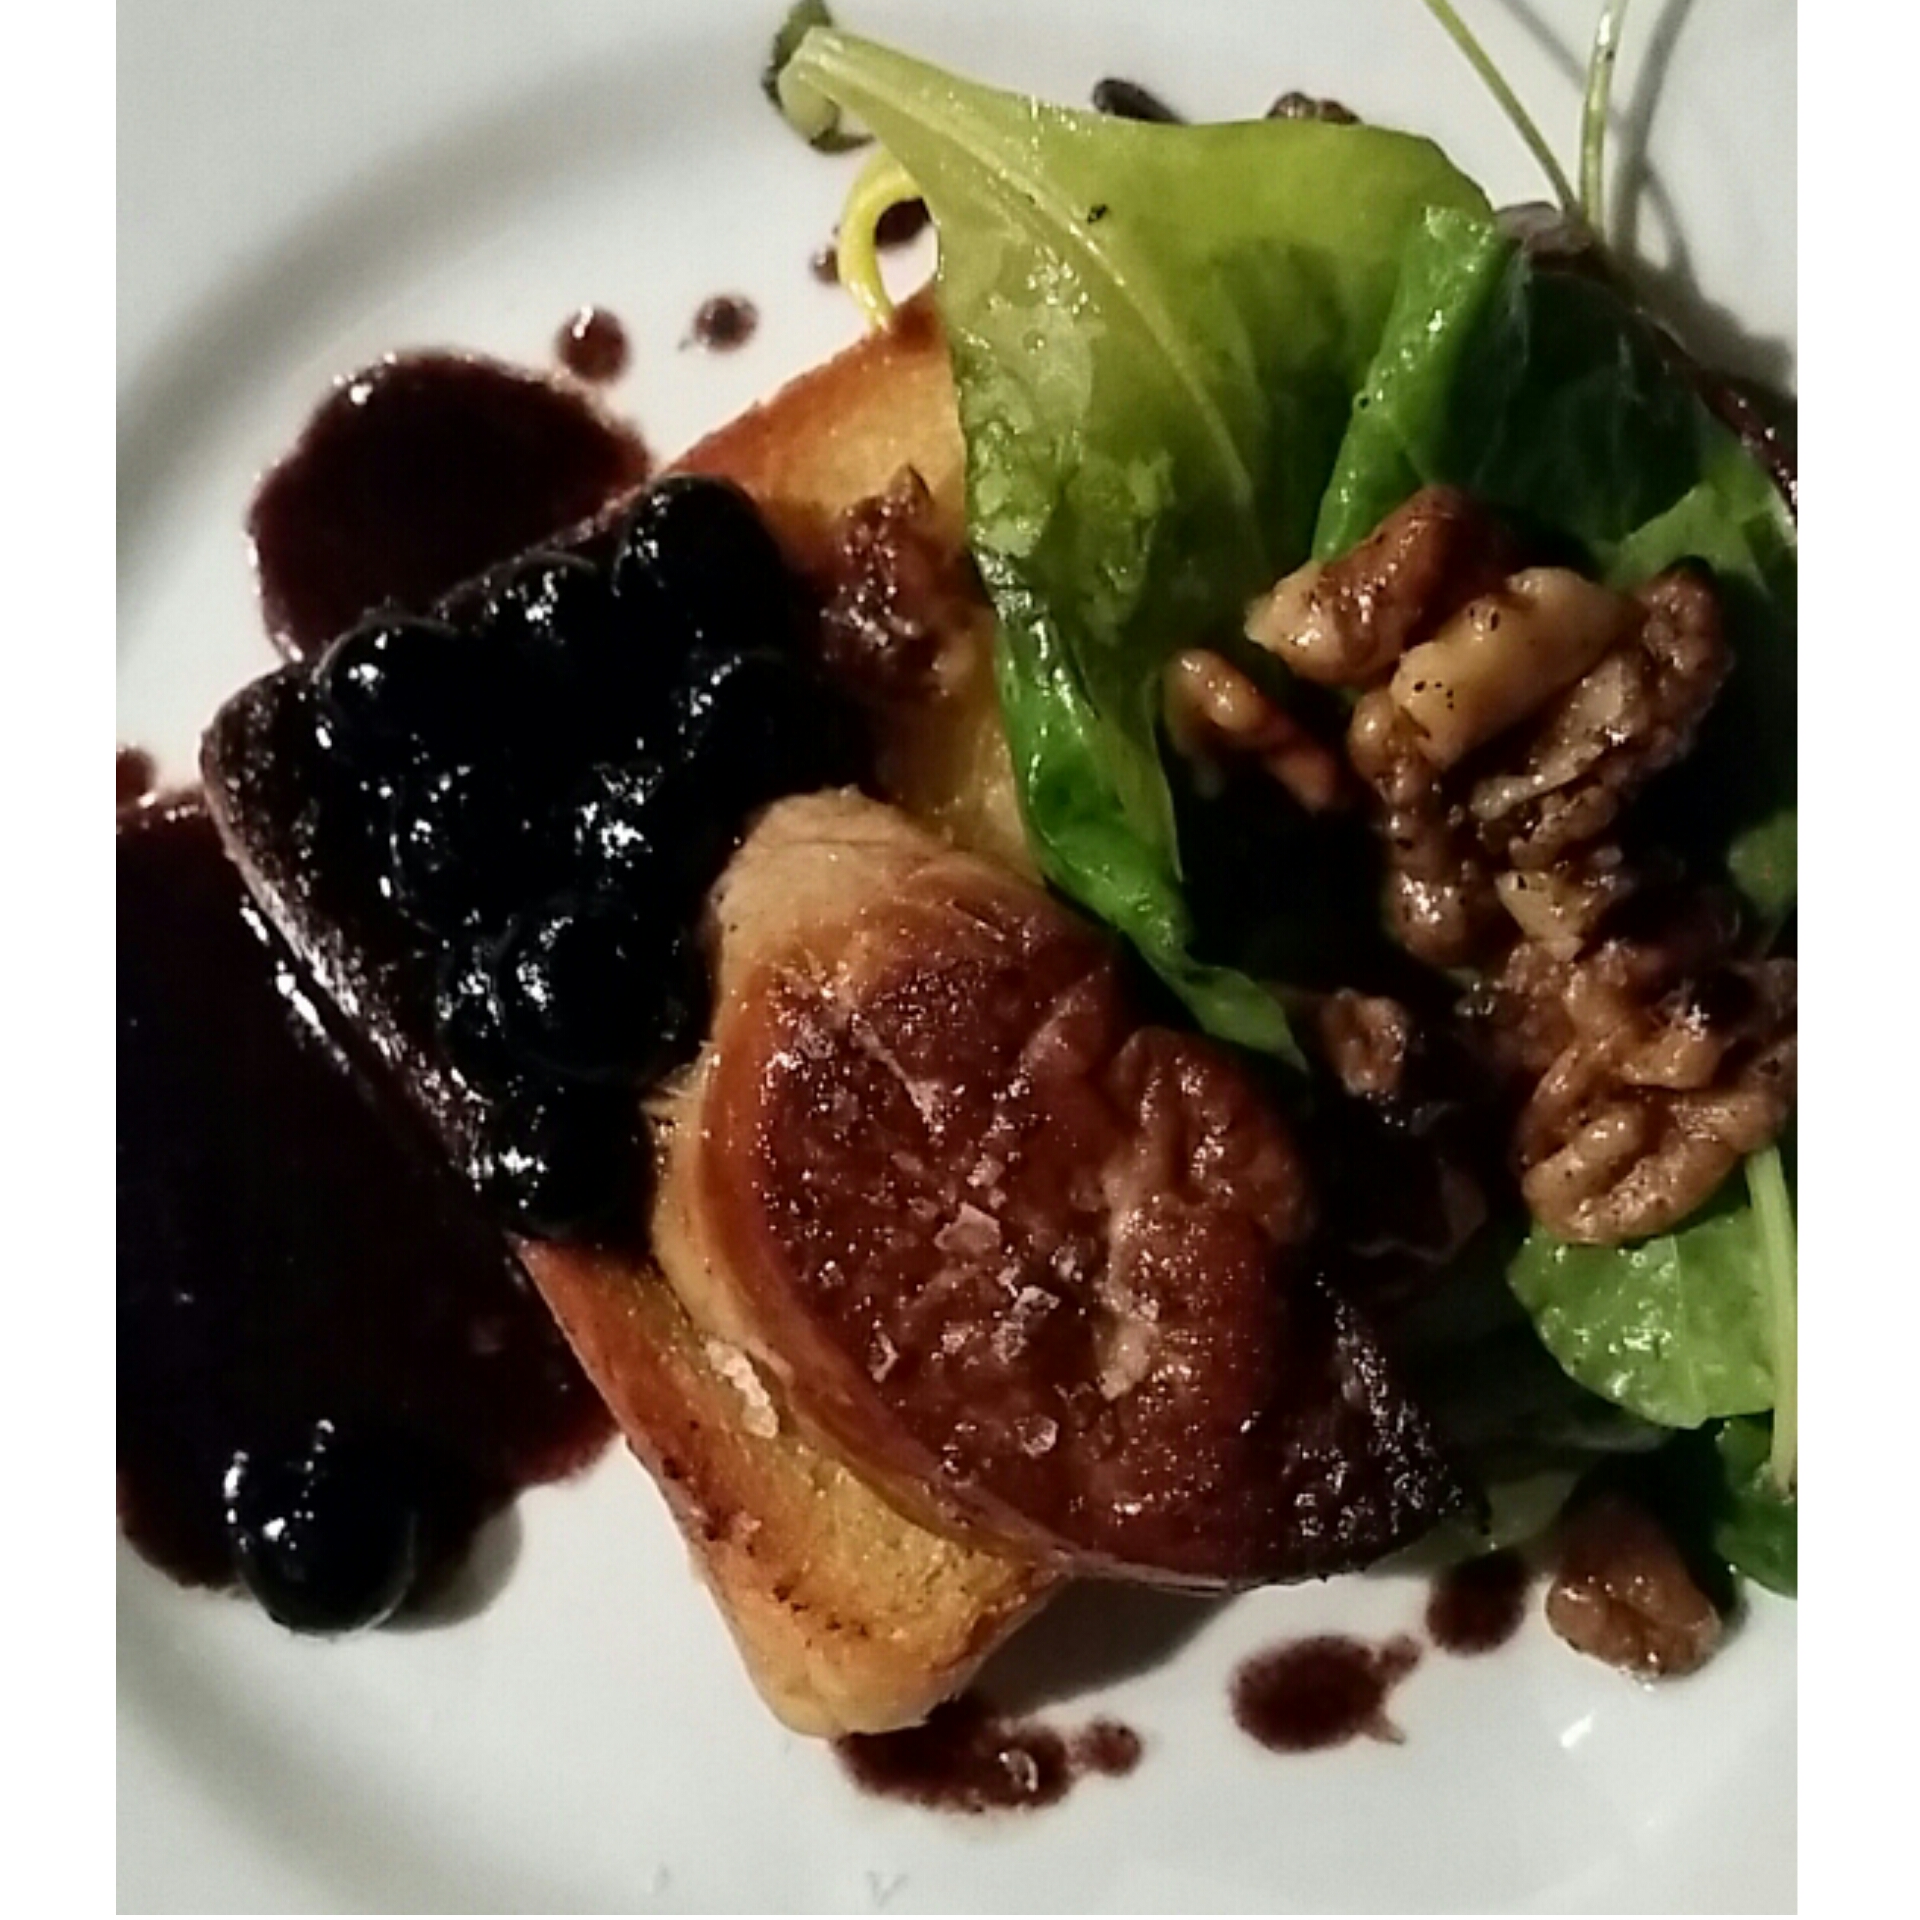
Garde Manger: What did we order? The lobster poutine, Foie Gras with brioche and a blueberry sauce, and the Walleye. We sat at the bar in the back and loved both our food and the cool yet casual vibe of this restaurant. PS almost went back another night for the Foie Gras dish – it was that good.

Au Pied Du Cochon; This is my 3rd time to this restaurant in the past 7 years and I keep ordering the same thing! Foie Gras Poutine and Cromesquis Foie Gras (basically deep fried squares and when you pop them into your mouth – foie gros oozes into your mouth). This visit I felt like I need to add some vegetables to balance the meal and it didn’t disappoint.
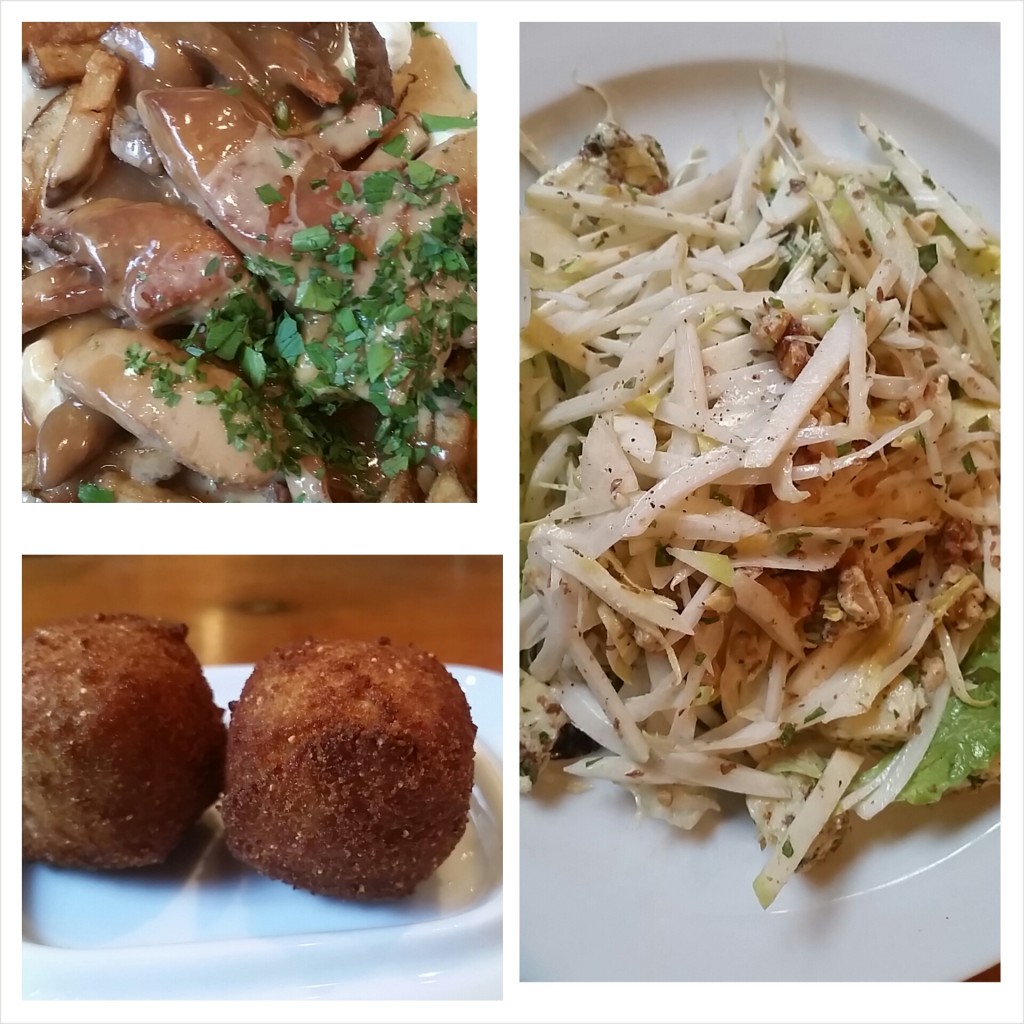
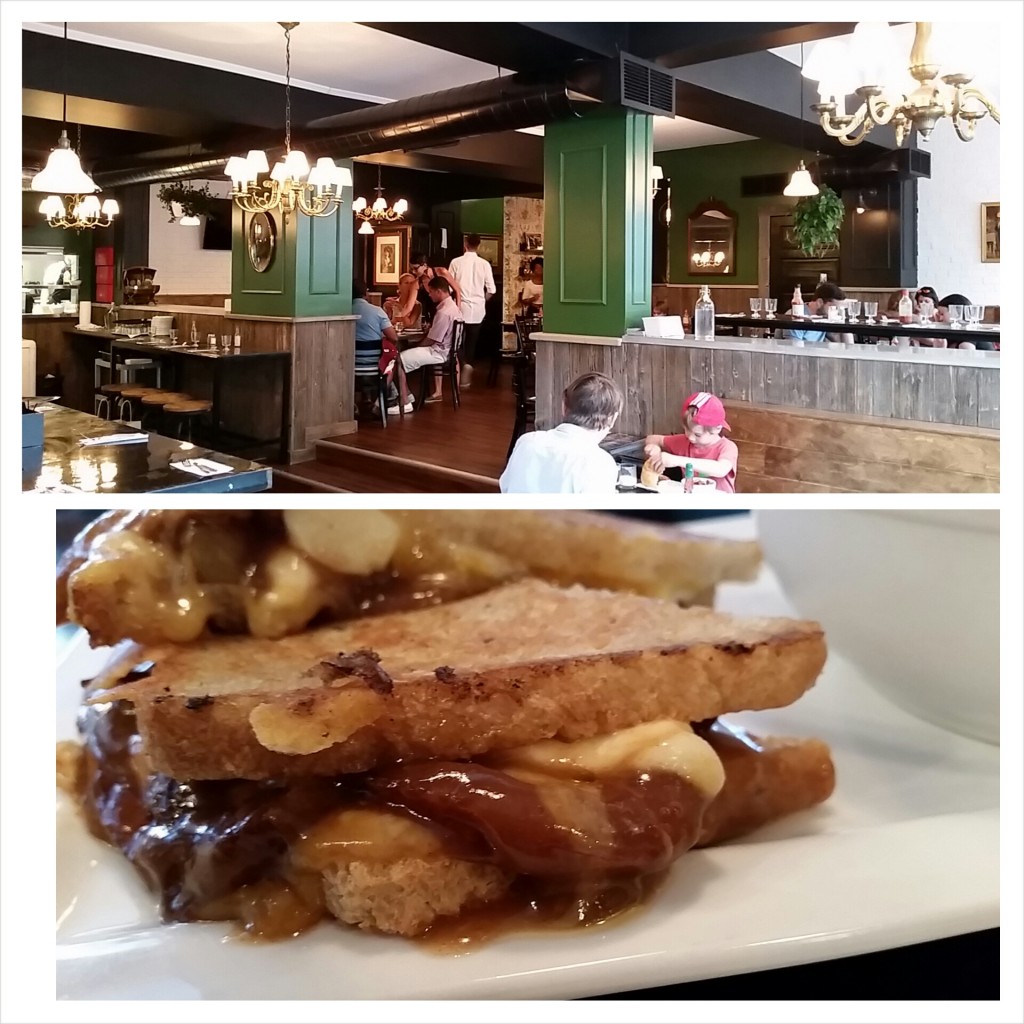
L’Gros Luxe: Noticed that they had a poutine sandwich on the menu AND deep fried avocado. Didn’t take me long to add L’Gros Luxe to the list of restaurants I wanted to check out. There’s a reason why they just opened their second location…great food, great prices and friendly staff.
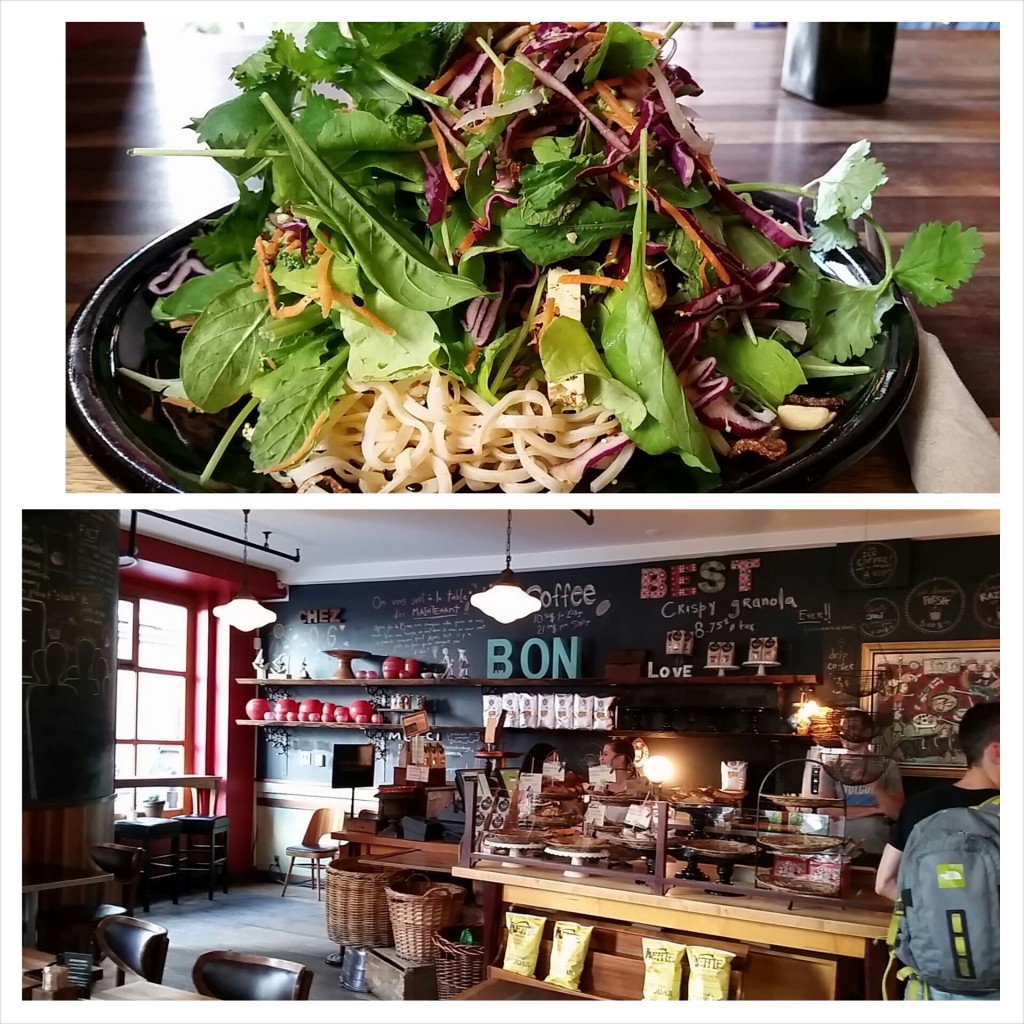
Olive & Gourmando: This restaurant seems to be packed ALL the time. I went an hour before closing and it was still full of customers (minus the line ups). It was a good strategy not to go for breakfast or lunch seeing as I’m not fond of line ups. The waitress told me that #24 on the menu is a popular salad so I ordered it. It was SO pretty and SO tasty. Just what I needed. I can see why this is a popular spot for tourists and for locals.
Brit & Chips; One night I was looking for a casual restaurant that wasn’t far from Old Montreal and this restaurant fit the bill. Just perfect.
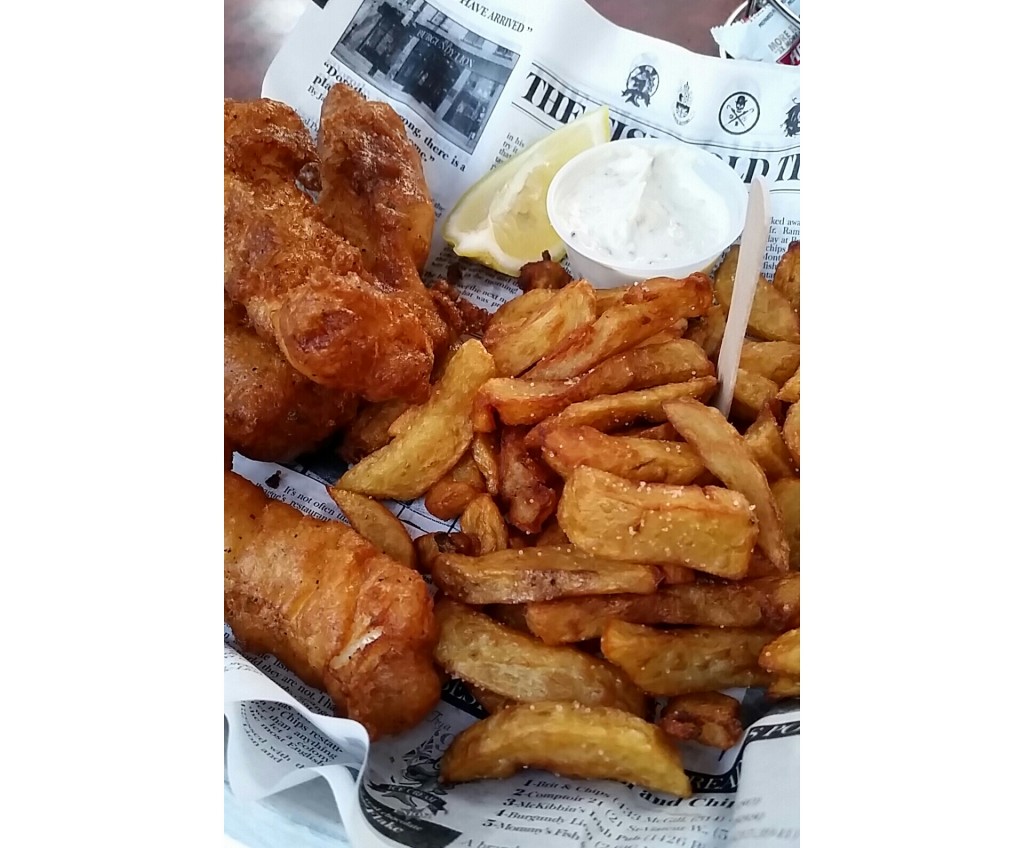
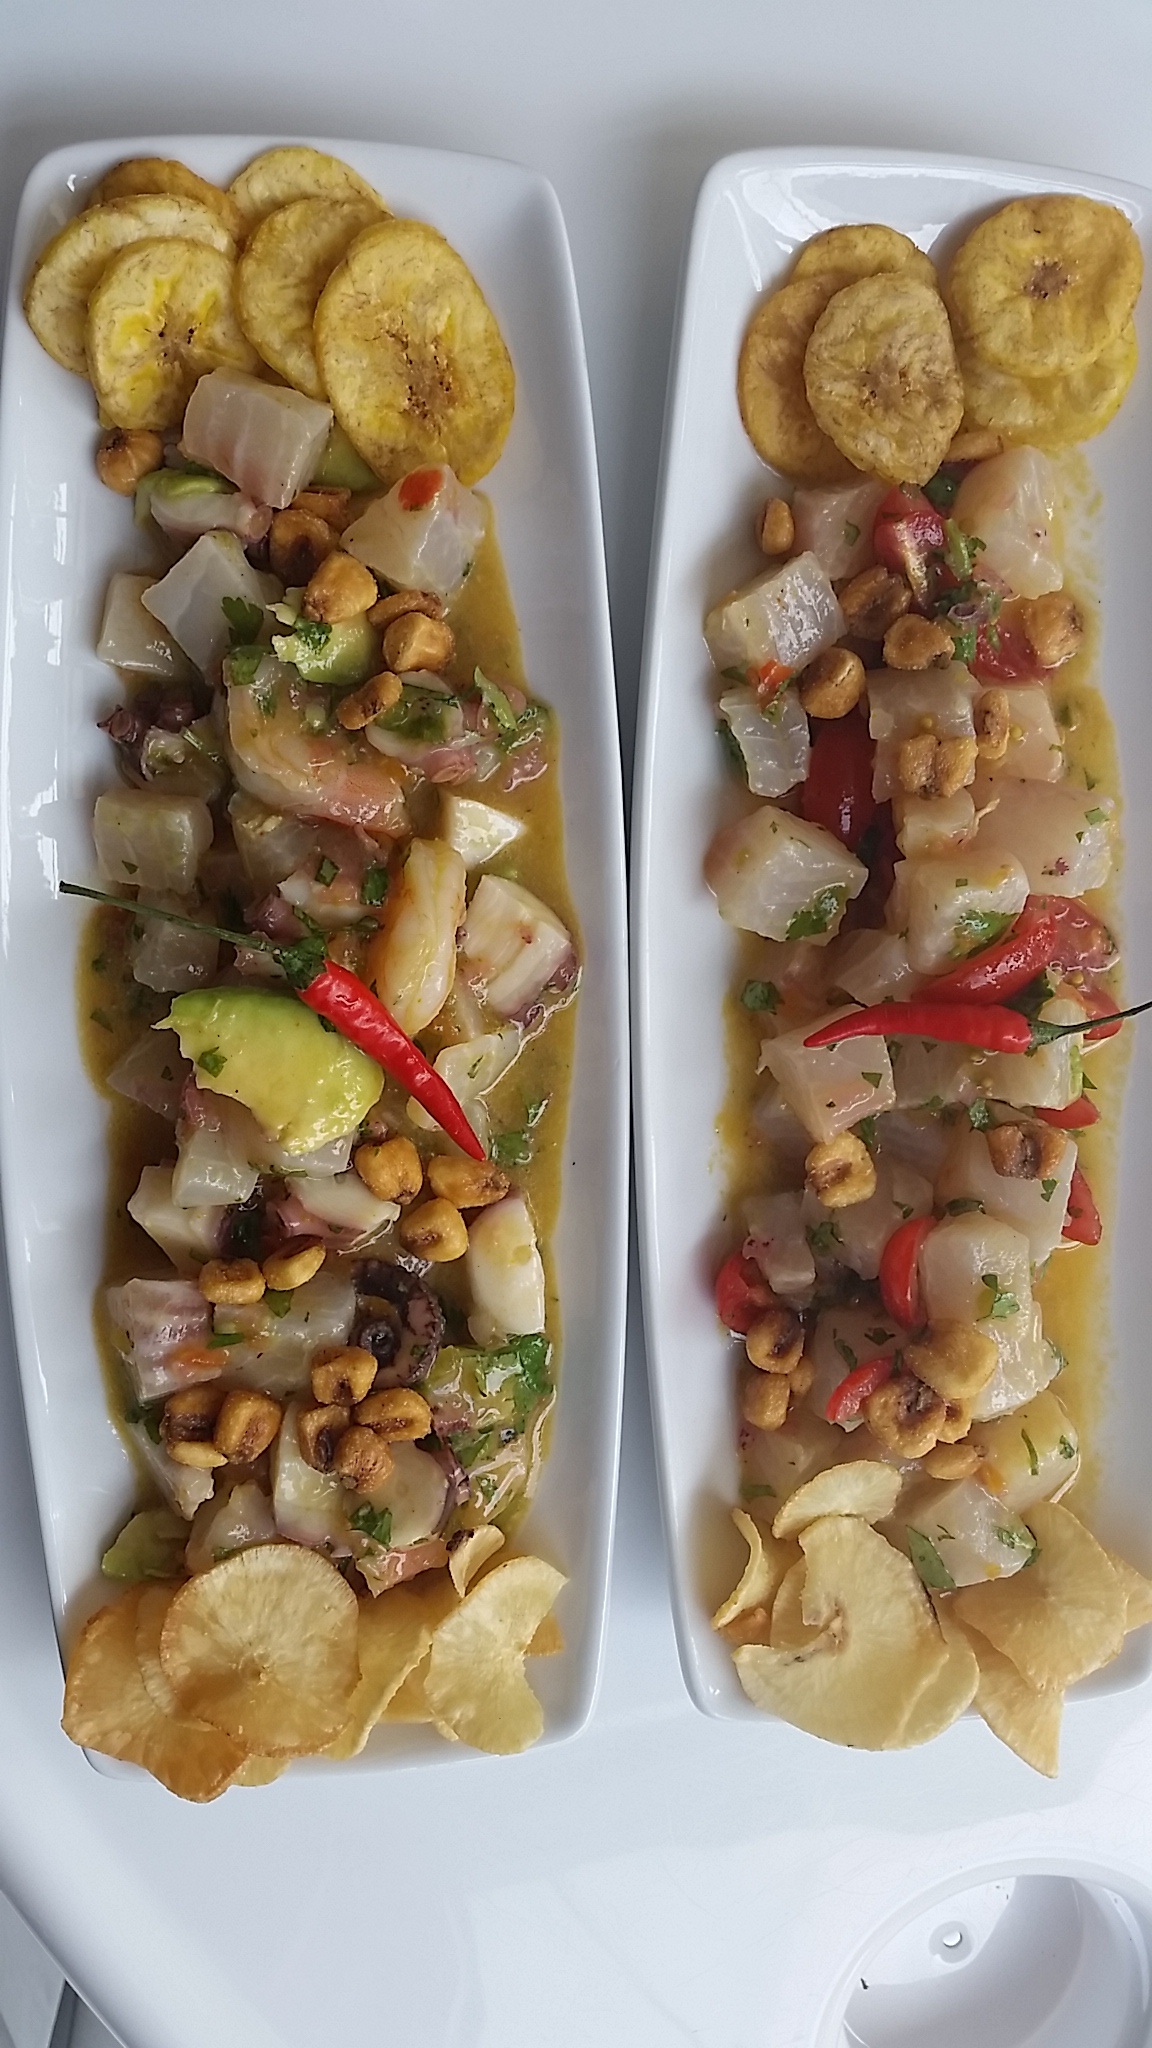
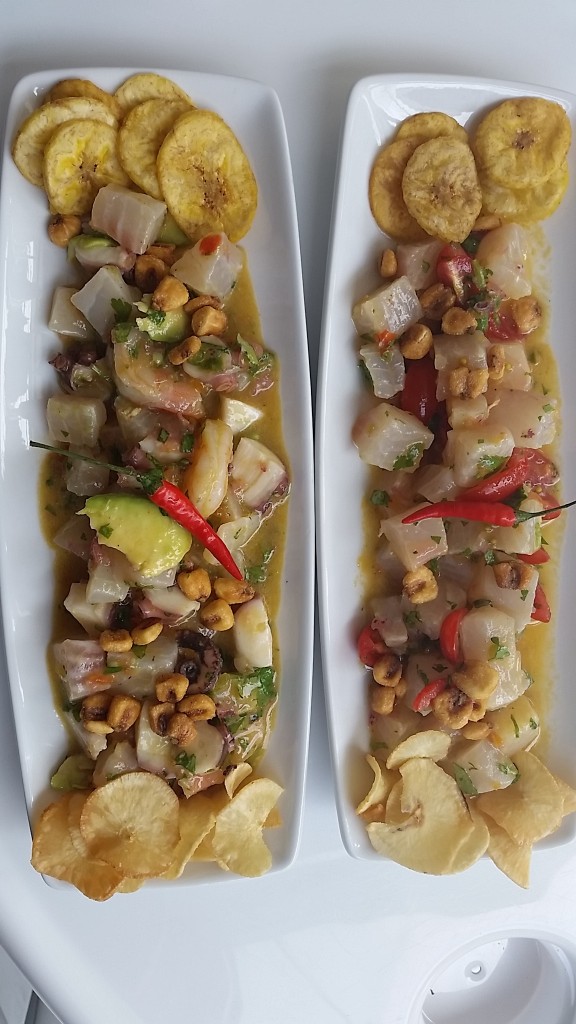
Ceviches: Oh what a treat to discover this restaurant. Love. Love. Love this restaurant. Again – another casual restaurant and exactly what I was looking for. I wish there was a restaurant like this in Toronto!
Just so you know – I followed three blogs that were instrumental in helping me decide which restaurants to go to!
1. www.mtlblog.com
2.www.willtravelforfood.com
3. www.shutupandeat.ca
For more information:
Garde Manger 408 Rue St. Francois Xavier, Montreal (514) 678 5044
Au Pied Du Cochon 36 Avenue Duluth Est, Montréal (514) 281-1114
L’Gros Luxe 3807 St-André 514-447-2227 OR 150 Bernard Ouest Mile End 514-507-8883
Olive & Gourmando 351 Rue Saint Paul Ouest (514) 350-1083
Ceviches 152 Rue Napoléon, Montréal (514) 419-6391
Brit & Chips 433 Rue McGill (514) 840 1001 or 5536 Cote-des-Neiges, Montreal (514) 737-9555
Au Pied Du Cochon, blog, Brit & Chips, Ceviches, food, Garde Manger, L'Gros Luxe, Montreal, MTL Blog, Old Montreal, Olive & Gourmando, Poutine Sandwich, restaurant, Shut up and Eat, Will Travel for Food
ActivitiesAugust 11th, 2014
Dear Readers…
I hope this blog post finds you well and enjoying your summer. I’ve had a SUPER busy sumer. In fact it’s been so busy that I haven’t blogged for an entire month. This is the first time I’ve taken a “blogging break” since 2009….when I first started to blog.
Heres’3 reasons why I took a “Blog Break”:
a) I went to my boyfriends’ cottage from July 12 to July 27 and for some reason Rogers (my internet provider) doesn’t work up there. A neighbour suggested that I buy a Bell pay-as-you-go-package and indeed it worked. YAY. I used it to work and occasionally update facebook and to reply to emails. However I have to admit – I just wanted to sit on the dock and do NOTHING (which is what I did).

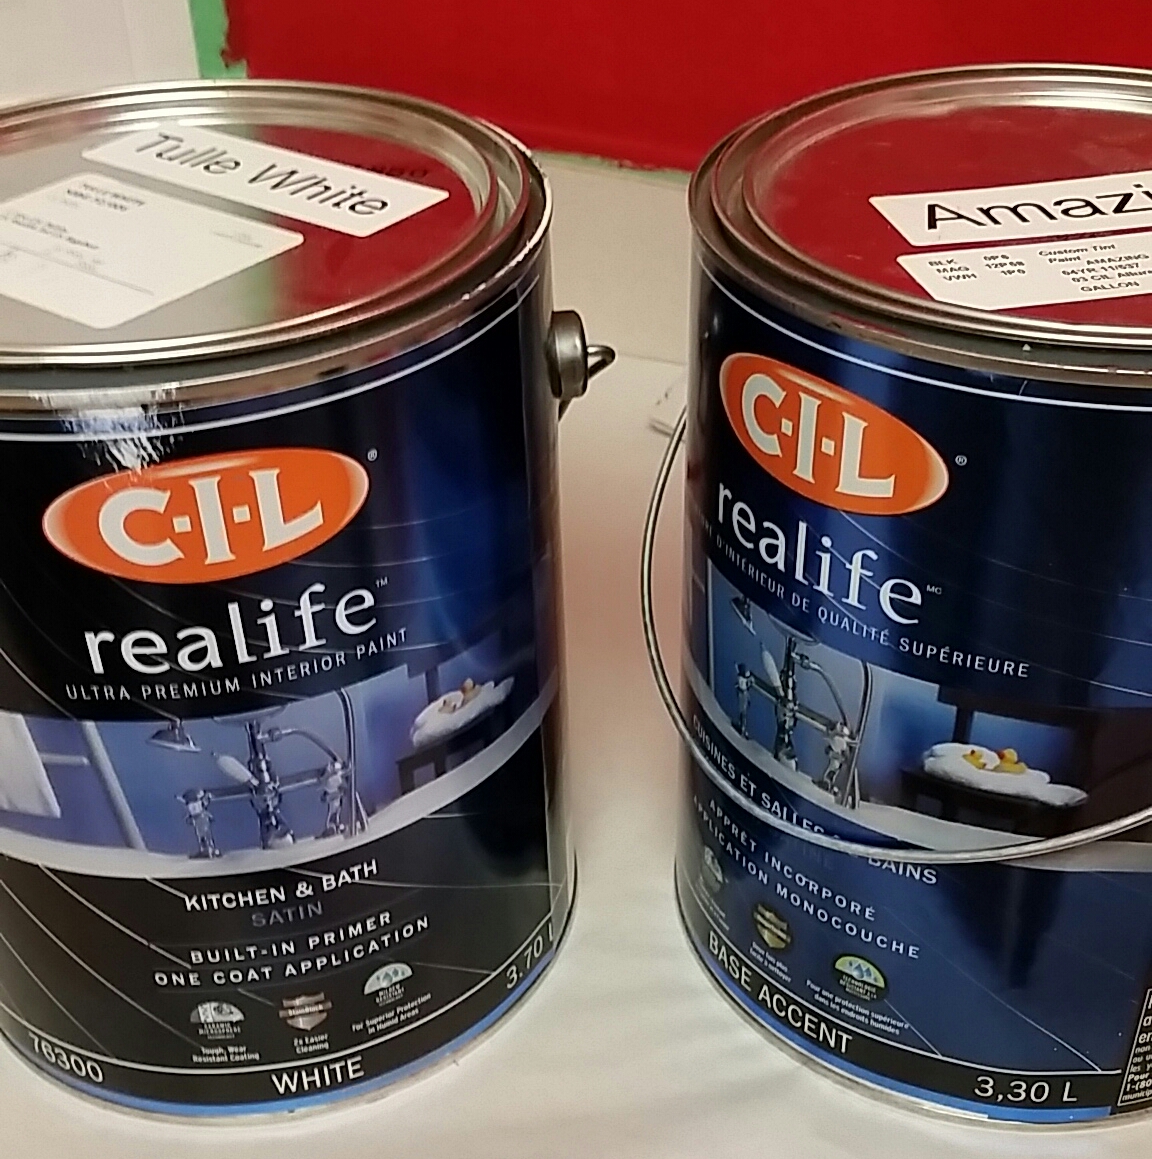
b) I’m moving which means I’m drowning in boxes. It’s insane…. I have-so-much-stuff. I’m moving to a rental condo that is several hundred dollars cheaper and has 8 amenities. At the moment I live in an apartment with ZERO amenities and when my rent went up – I decided it was time to move. Despite the fact that I’m stressed with the move, I’m thrilled that I get to redecorate using CIL Paints. (stay tuned for a blog post)

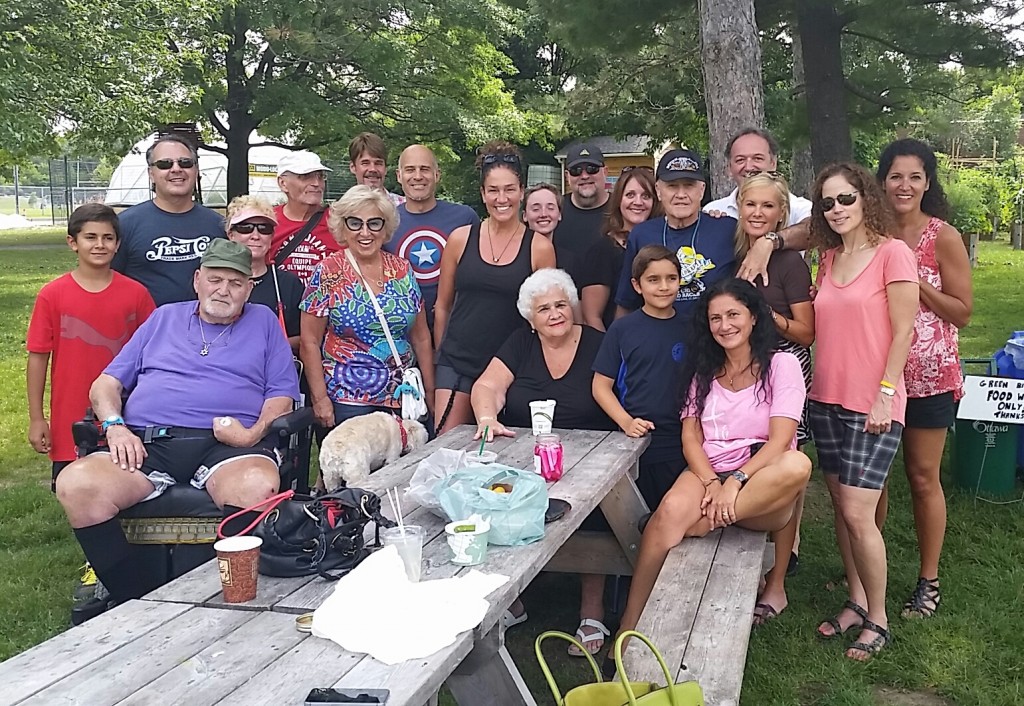
c) I went to a family reunion in Ottawa from Aug 1-3. This meant I had ZERO time to blog. All we did was TALK and EAT. Repeat.
d) I also went to Montreal from Aug 3 to 13. See what I mean? I’ve been BUSY. I’ve never spent so much time in Montreal and can’t stop snapping photos ..this city is SO beautiful. (stay tuned for several blog posts..LOL).
 I look forward to sharing lots of summer adventures with you – starting NOW. It feels good to be back on track blogging again.
Cheers,
Vicky
blog, Boxes, CIL, Condo, cottage, Montreal, Moving, Ottawa, paint, Reading, Summer
I knew that there would be a snow storm on Wednesday and it would be the perfect reason to STAY HOME and cook/bake/clean and work!! It wasn’t hard to figure out what to bake, seeing as I received a recipe that peeked my interest in my inbox the other day. This is what happens when you subscribe to a food blog!! The recipe is from Sally’s Baking Addiction and it’s called ” Banana Chocolate Chip Crumb Cake”.
It’s easy to make, moist and a great way to use up those ripe bananas!!
Banana Chocolate Chip Crumb Cake – from Sally’s Baking Addiction
INGREDIENTS:
- 1 and 1/2 cups (190g) all-purpose flour
- 1/2 teaspoon ground cinnamon
- 3/4 teaspoon baking soda
- 3/4 teaspoon baking powder
- 1/4 teaspoon salt
- 5 Tablespoons (75g) unsalted butter, softened to room temperature
- 1/2 cup (100g) granulated sugar
- 1 large egg
- 1 teaspoon vanilla extract
- 1 and 1/2 cup mashed bananas, very ripe (about 3 large bananas)
- 1/4 cup (60g) yogurt – I used Greek yogurt but you can use any type of plain yogurt
STREUSEL
- 1 tablespoon ground cinnamon
- 1/4 cup (50g) light brown sugar (or dark brown sugar)
- 3/4 cup (135g) semi-sweet chocolate chips
- 1/2 cup (70g) chopped pecans or walnuts, optional (I did not use any nuts as I wanted to make this as a lunch box snack)
Directions
1.Preheat oven to 350F degrees. Spray an 8×8 or 9×9 baking pan with nonstick spray. p.s I don’t own an 8×8 baking pan (can u believe) but my oval CorningWare worked out just fine.
2. In a medium bowl, toss the flour, cinnamon, baking soda, baking powder, and salt together. Set aside.
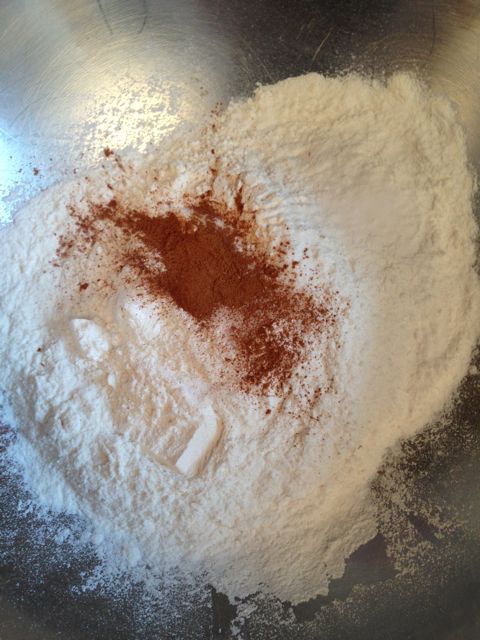
first step – easy enough
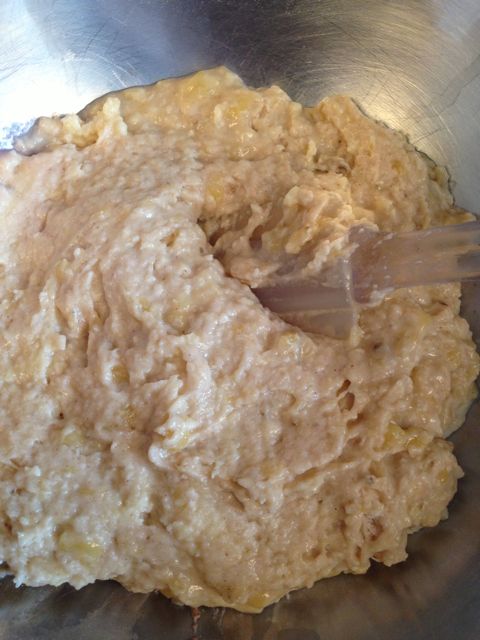
3. Using a handheld or stand mixer with a paddle attachment, beat the butter on high speed until creamy, about 1 minute. Switch the mixer to medium speed and beat in the sugar until combined. Beat in the egg and vanilla extract, scraping down the sides and bottom of the bowl as needed. Add the mashed banana and yogurt and turn the mixer on high and beat until creamy, about 1 minute.
4. Turn the mixer off and pour the dry ingredients into the wet ingredients. (repeat – put the DRY INGREDIENTS INTO THE WET INGREDIENTS) .Turn the mixer on low and slowly beat until combined. Do not overmix.
5. Make the streusel by combining all of the streusel ingredients into a small bowl.
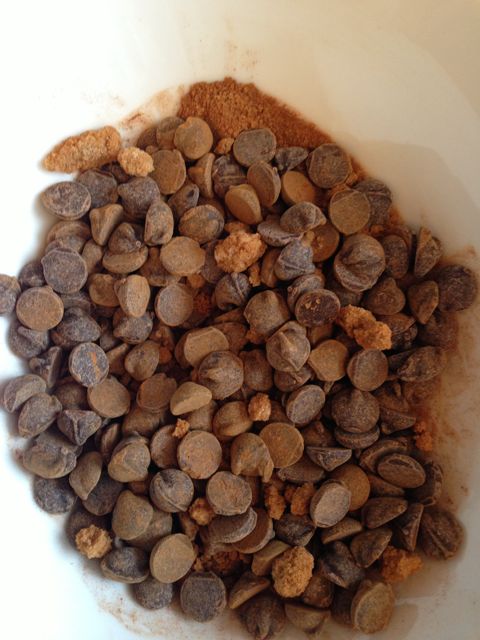
I made a “nut free” version
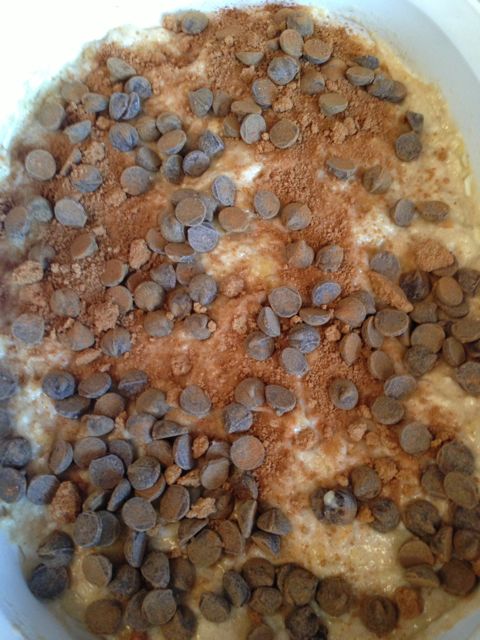
6. . Layer half of the batter into the prepared baking pan. Top with half of the streusel. Repeat with the rest of the batter and streusel.
7. Bake for 40 minutes, covering the cake with aluminum foil after 25 minutes to prevent the edges from browning too quickly. Bake until the center is baked through.
FINAL RESULT
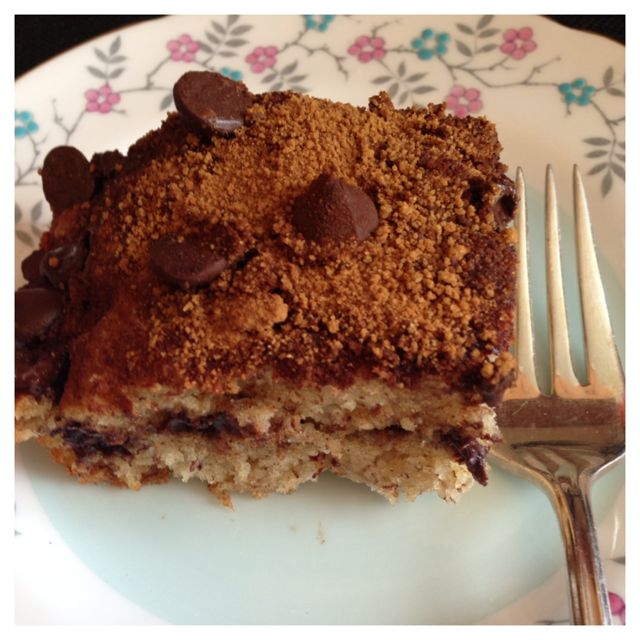
Allow to slightly cool for ten minutes before cutting and serving. Not that this cake stays fresh if you cover it tightly at room temperature for up to 4 days.
I also put half of it in the freezer as I’m sure it freezes well too. (time will tell).
This is the second time I’m baking a recipe from this blog however I’m sure it won’t be the last time!!
Happy Baking!!
Banana, blog, chocolate chip, Recipe, Sallys Baking addiction, Snow
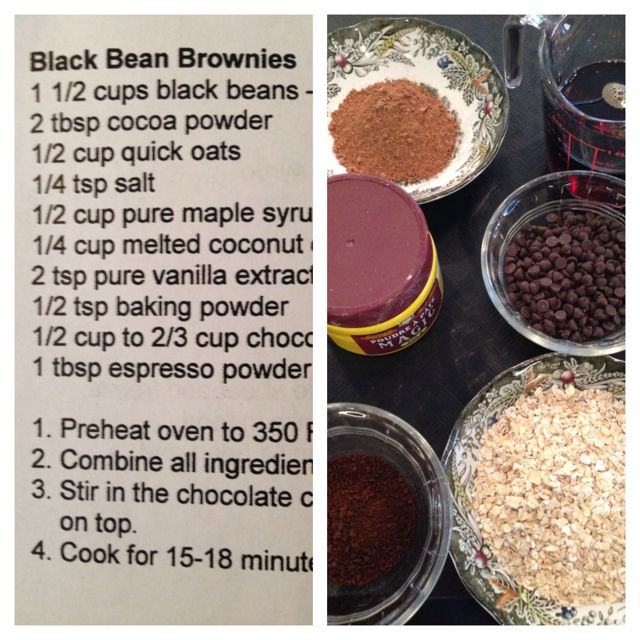
Back in November I was invited by the workshop leaders of Love Thy Carrot, to attend a Healthy Desserts Cooking Workshop. I should mention that it also said that “all workshops are dairy free, gluten free and sugar free.
I was intrigued seeing as my desserts are all about butter, sugar and flour. Repeat – all about butter, sugar and flour!! OK…throw in some chocolate too!!
How did I meet Love Thy Carrot? Well I was introduced to Love Thy Carrot by The Bumpercrop a few years ago and have been following her blog for at least a year. I was delighted to hear that she branched out and was teaching workshops too! The workshops are taught by Marla – who is passionate about leading a healthier lifestyle and Karen, who is a graduate of the Canadian School of Natural Nutrition.
During the class we learned how to make an amazing Black Bean Brownie – which I will definitely be making again. That’s how good it was!
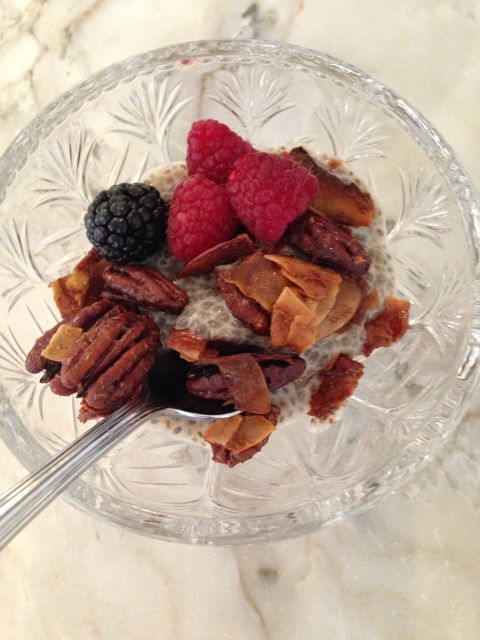
We also learned how to make Chia Pudding with a Maple Glazed Coconut Crunch.
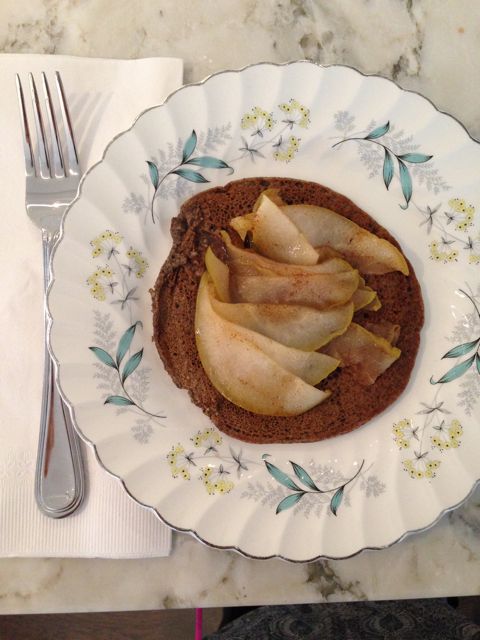
 Plus we learned how to make Buckwheat Pancakes with Caramelized Pears. These pancakes are way healthier than the pancakes that I make with regular flour!!
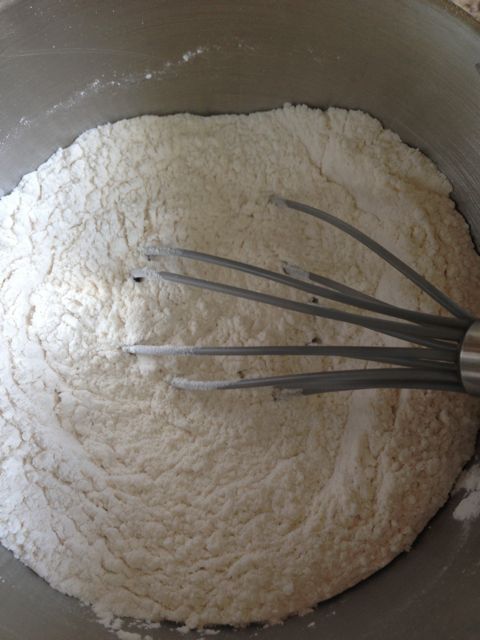
 The workshop was informal but informative and included a wonderful handout at the end of the class so that I could go home and recreate these amazing dishes. Not to mention that Marla took the time to talk to us about her favorite kitchen appliances and motivated me to go purchase a Vegetable Spiralizer. (which I’m loving). I also loved that she included the basic essentials regarding what a healthy pantry should include!! (note to self: pick up agave)
Upcoming workshops include: One Pot Winners to Warm the Winter Soul (Wednesday, February 5, 6:30PM – 8:30PM and Thursday, February 27, 11am -1:30PM
and Vegan Comfort Food (Feb 13 from 11 to 1:30 pm). Note: Each workshop costs $80.
Please don’t forgot to check out Love Thy Carrots amazing blog as well. I’m a huge fan of her photography and her content!
For more information:
Love Thy Carrot,
Email: marla@simplexity.ca
Twitter: @LoveThyCarrot
Black Bean Brownies, blog, Buckwheat pancakes, Canadian School of Nutrition, Chia Pudding, cooking, Healthy, Love Thy Carrot, The Bumpercrop, workshops
I’ve been using the same chocolate chip recipe that I cut out from the Toronto Star for years. It served me well however the results were never consistent. One day, I googled “chocolate chip cookie” recipe and a few recipes came up. (just a few..HA). I realized that many of the recipes had the same ingredients but the measurements are slightly different. Plus the technique can be different too!!
After clicking on a few websites, I came across a recipe that was posted on a blog called: Sally’s Baking Addiction!
Her recipe stood out for these three reasons:
1. the photos (seriously…they couldn’t get any better)
2. she explained each component of the recipe.
3. the addition of CORNSTARCH intrigued me.
I tried out the recipe and then continued to make about 5 batches. I COULD NOT STOP MAKING THIS RECIPE!! Thank you Sally’s Baking Addiction for this perfect recipe.
INGREDIENTS
- 2 and 1/4 cups (280 grams) all-purpose flour
- 1 teaspoon baking soda
- 1 and 1/2 teaspoons cornstarch
- 1/2 teaspoon salt
- 3/4 cup (1.5 sticks or 170 grams) unsalted butter, melted
- 3/4 cup (150 grams) light brown sugar, loosely packed
- 1/2 cup (100 grams) granulated sugar
- 1 large egg + 1 egg yolk (preferably at room temperature)
- 2 teaspoons vanilla extract
- 1 cup (180 grams) chocolate chips or chocolate chunks
DIRECTIONS
- Mix together the flour, baking soda, cornstarch and salt in a large bowl. Set aside. (simple enough, right?)
- In a medium size bowl, whisk the melted butter, brown sugar, and white sugar together until the lumps disappear. Whisk in the egg, then the egg yolk. Finally, whisk in the vanilla.
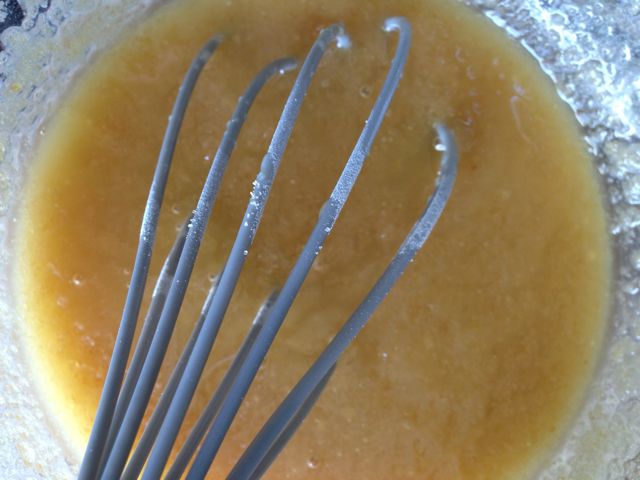
- Pour the wet ingredients into the dry ingredients and mix together with a large spoon. THIS IS AN IMPORTANT STEP and MUST BE DONE CORRECTLY. (I’m talking from experience!!)
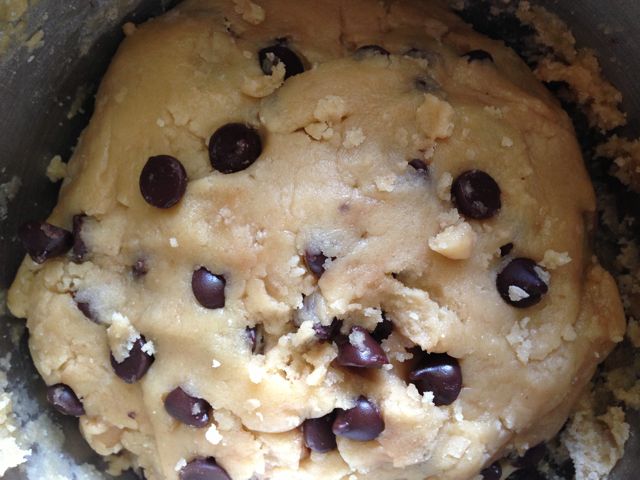
- The dough will be somewhat soft. Fold in the chocolate chips. They may not stick to the dough because of the melted butter, but most of them managed to stick into the dough.
- Cover the dough and chill for 2 hours, or up to 3 days. THIS STEP IS MANDATORY.
- Take the dough out of the refrigerator and allow to soften at room temperature for 10 minutes.
- Preheat the oven to 325F degrees. Line two large baking sheets with parchment paper or silicone baking mats. Set aside.
- Roll the dough into balls, about 3 Tablespoons of dough each. The dough will be crumbly, but the warmth of your hands will allow the balls to stay intact. (I used a cookie scooper for this part). Place them evenly on the baking sheet.
- Bake the cookies for 11-12 minutes. The cookies will look very soft and underbaked. IMPORTANT: Do not bake longer than 12 minutes. They will continue to bake on the cookie sheet. Allow to cool on the cookie sheet for 10 minutes before moving to a wire rack to cool completely.
- FINAL RESULT:
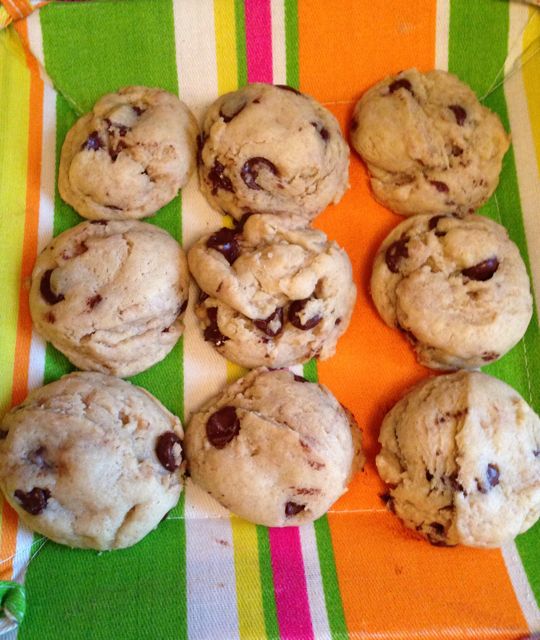
Now go grab yourself a glass of cold milk and enjoy a cookie (or two).
Happy Baking.
blog, chocolate chip, Chocolate chip cookie, cookie, cornstarch, milk, Recipe, Sallys Baking addiction, Toronto Star
UncategorizedAugust 15th, 2013
Who is MomWhoRuns and What Does She Do? T’is the big question. So here is the answer.

Who Is MomWhoRuns?
I seriously should have called myself “MomWhoEats” but years ago when I first started blogging with Urbanmoms, I was a mommy blogger. I then noticed how much I loved sharing recipes, reviewing restaurants and have slowly morphed into a food blogger. I still write about other topics…as long as I think it’s of interest to my dear readers (yes..thats you)
I have truly embraced the journey of blogging. Soon it will be 4 years since I first started blogging and I’m seriously hoping to launch a new “look”. Stay tuned. It’s about time!
What Do I Do?
For many years I was a food sales rep. Then I saw a niche market to tweet for restaurants that didn’t have time to tweet nor did they have the skills. It was a tough sell many years ago, but these days everyone knows that they need to be using Social Media. My services have expanded to Facebook, Pinterest, Instagram as well as blogger outreach. I even have two clients in Ottawa. (which I think is pretty cool). I call myself a Social Media Consultant (not an expert).
Oh yeah – I’ve also given dozens of twitter lessons over the years for those who want to handle their own accounts. It’s all good. I can’t complain.
One day there will be a formal website called Hire Me To Tweet!! One day….
One can often find me, tweeting from a coffee shop. If you see me and my MacBook…please say hi.
Hope this blog post gives you a better idea of who I am and what I do.
Cheers,
ps Many thanks to @ledolci who inspired me to write this blog post after a quick chat we had this week.
blog, blogger, Facebook, instagram, Le Dolci, momwhoruns, Pinterest, Social Media, twitter, urbanmoms