Posts Tagged ‘Garlic’

Sep
22


I was determined to attend the Toronto Garlic Festival despite the POURING RAIN.

garlic - rain

Upon arrival I realized that the rain wasn’t stopping garlic fans from attending as the three parking lots were almost full and it was only 10 am!!

However, the rain stopped and the sunshine came out which meant I could focus on these garlicky treats!!

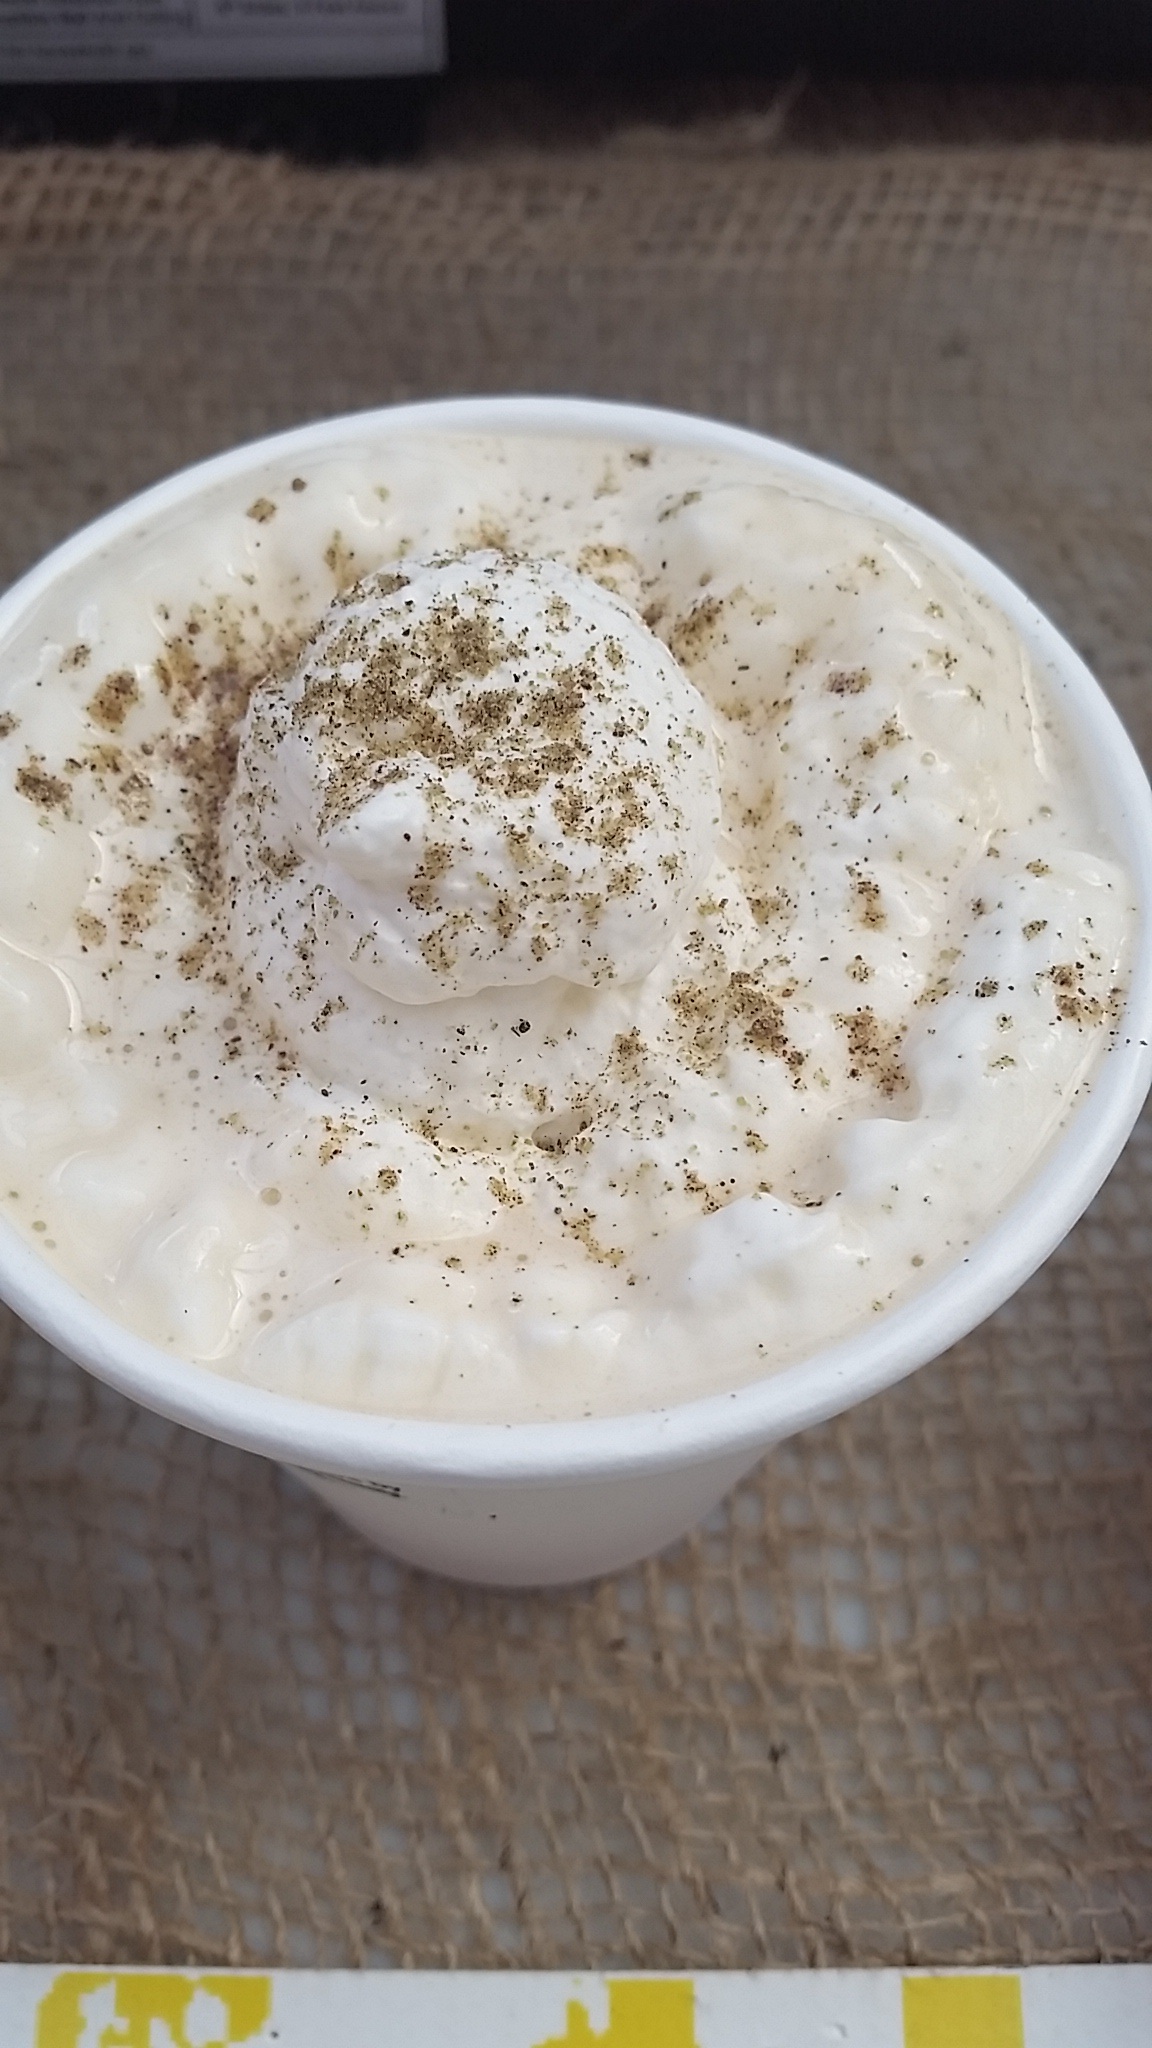
a) GARLIC COFEE – yes, that’s right…Garlic Coffee. Described as: Warm Garlic Infused Spiced Coffee with Maple Cream and Pumpkin Vanilla Dust. Thank you Incredible Spice for creating this unique cup of java.

garlic - coffee

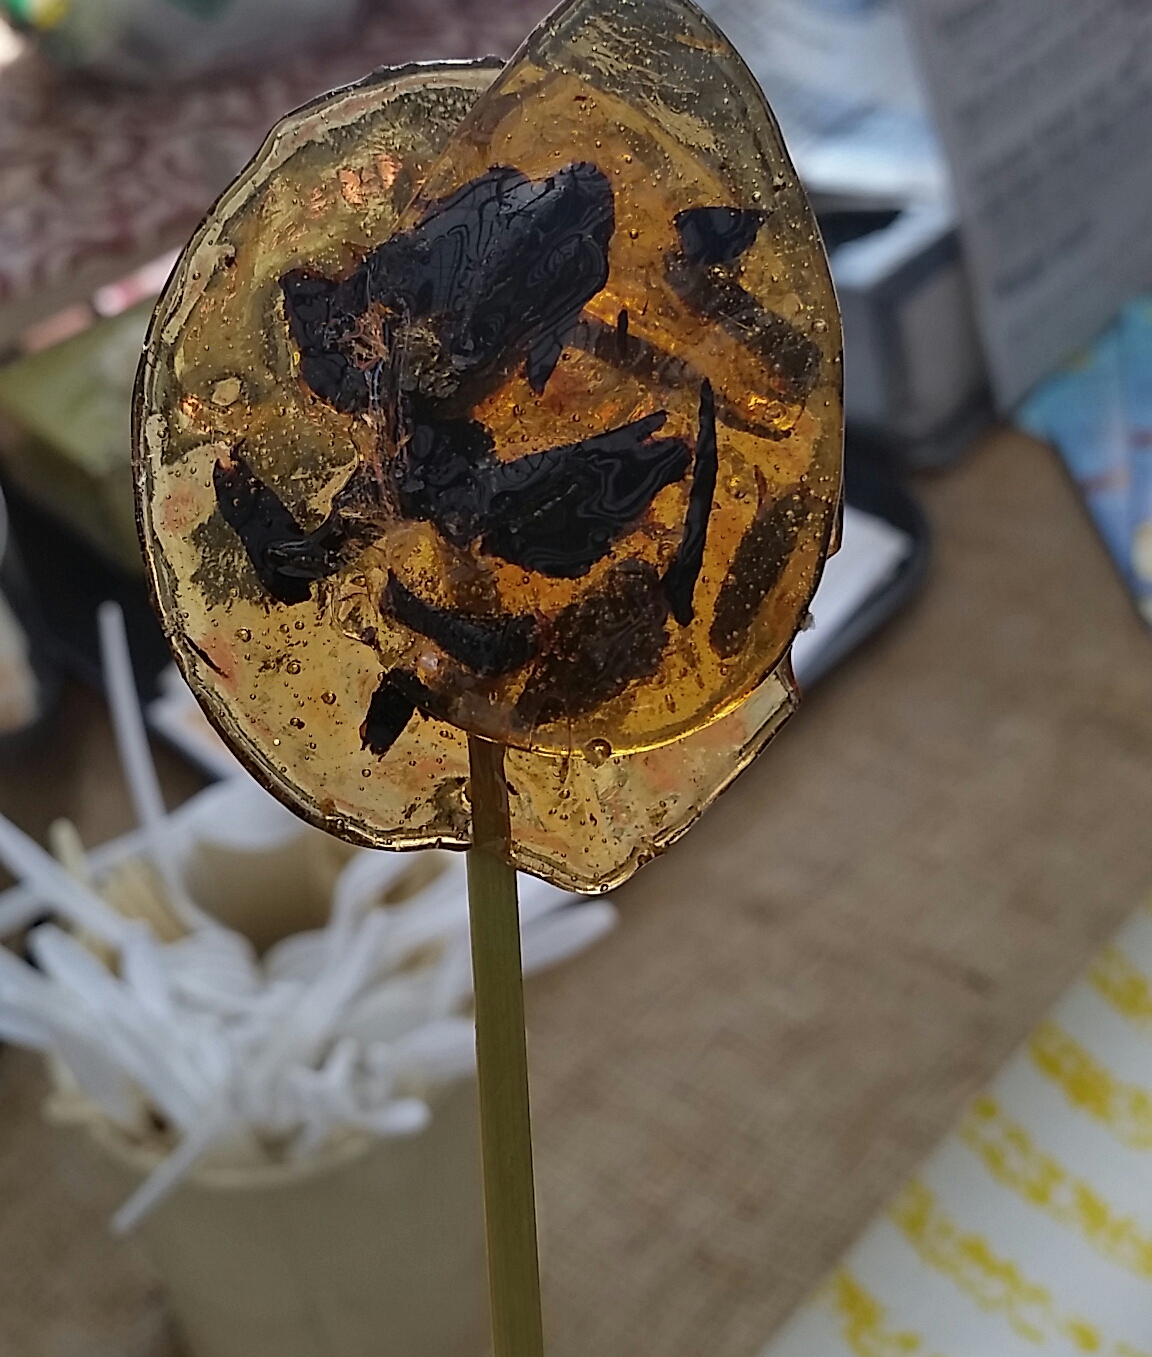
b) GARLIC Lollipop – oh how I love these creations that mix sweet and savoury.

garlic - lolly

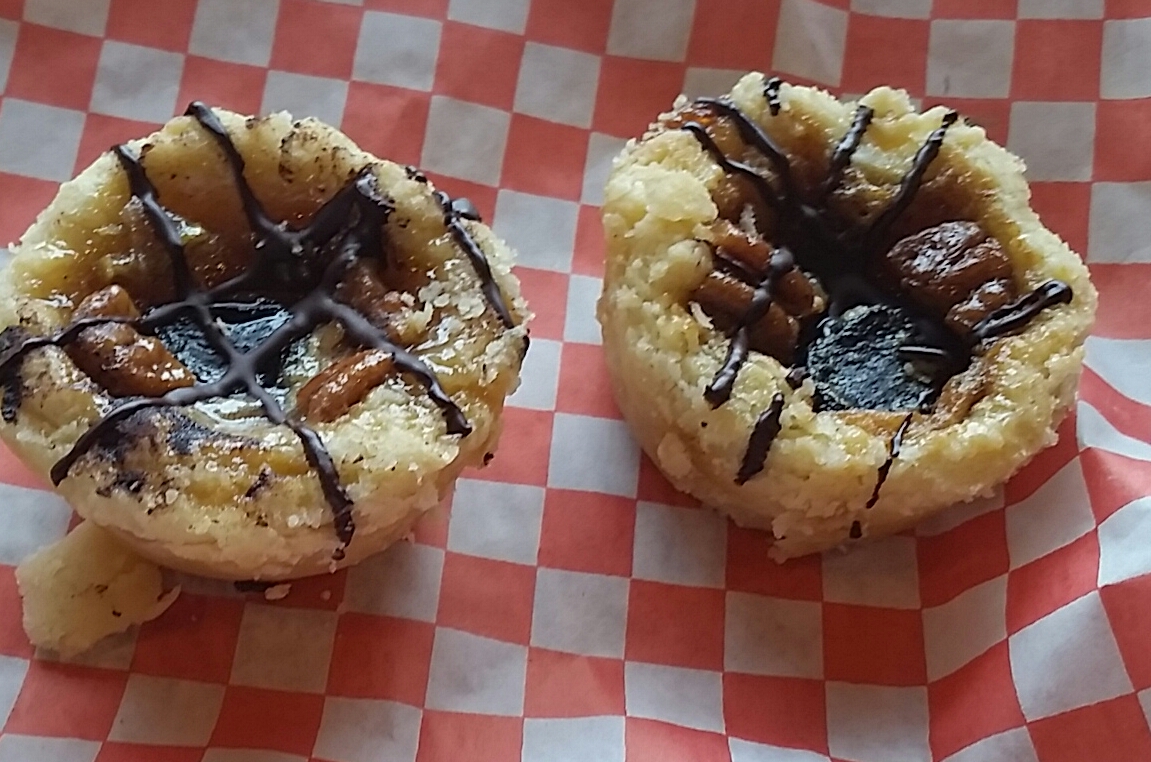
c) BLACK GARLIC BUTTER TARTS – this had my name all over it as butter tarts are one of my weaknesses! Kudos to the good people at Smoked and Cracked. I really hope this will be a regular feature on their menu

garlic - buttertart

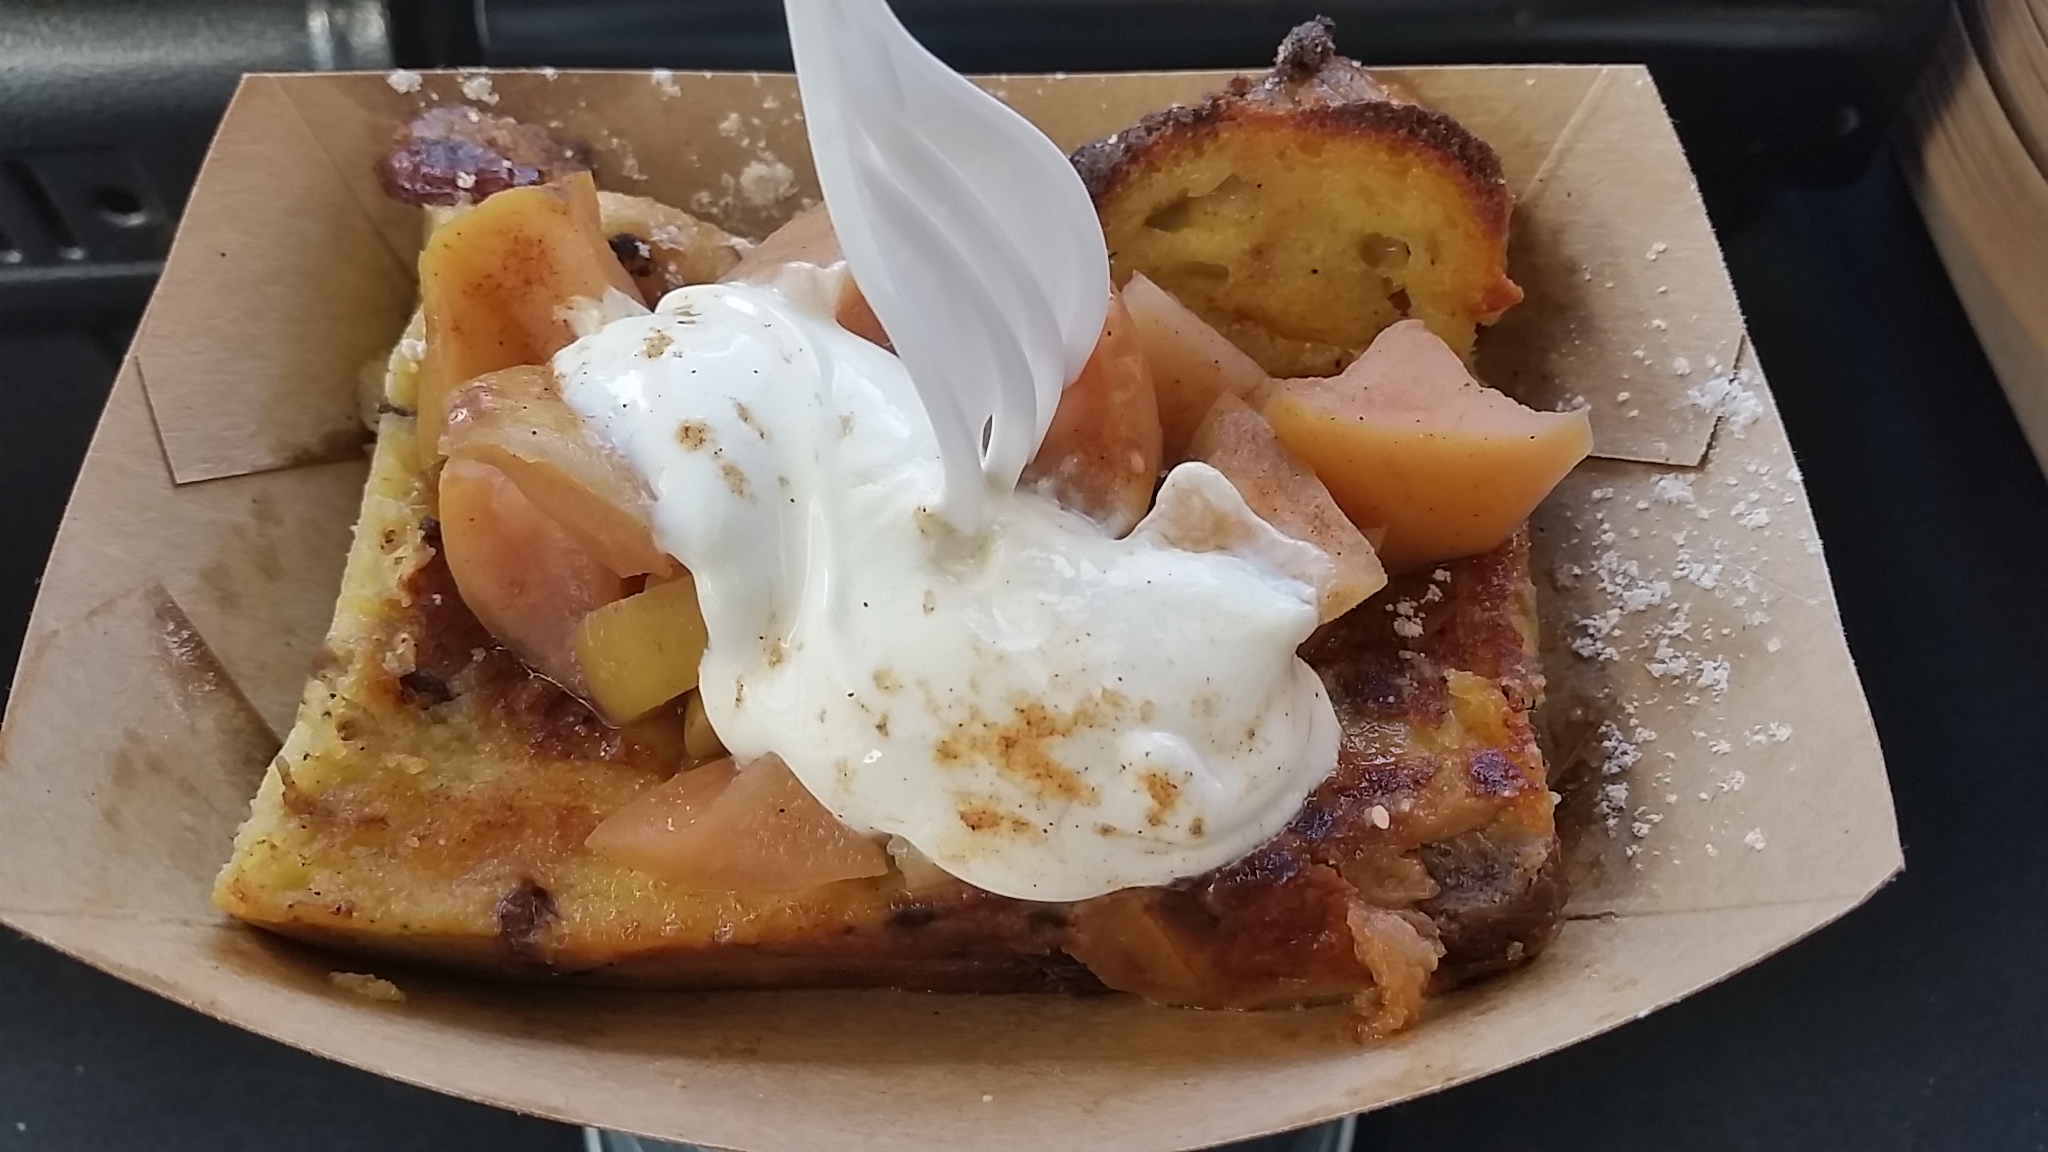
d) FRENCH GARLIC APPLE TOAST with Creme Fraiche from Magic Oven. – oh what a combo of flavours. ps did you know that Magic Oven is soon opening on Eglinton Ave W.?

garlic - french toast

Of course I came home with some garlic from Soup Stone Farms and put it to good use…immediately. Please remind me, never to buy garlic from the grocery store again! What a difference.

garlic - soupstone

Congratulations once again to the Toronto Garlic Festival for putting on another well organized and tasty event.


Share this:
Share this page via Email Share this page via Stumble Upon Share this page via Digg this Share this page via Facebook Share this page via Twitter

, , , , , , , ,

Jan
27


Usually I buy frozen salmon filets at Costco, but last week I bought a beautiful fresh salmon filet with the intention of making Salmon Primavera. For some reason, I’ve only used this recipe on fresh salmon but now that I’m thinking of it, you could probably make with the frozen salmon pieces as well.  This recipe will certainly “wow” your family or dinner guests!!  It’s so pretty and so moist. Promise.

RECIPE: SALMON PRIMAVERA (taken from Kosher by Design: Entertains by Susie Fishbein)

2 1/2 – 3 pounds WIld Pacific or Sockey Salmon Filet

Salt

Pepper

Dijon mustard or thick honey mustard (I’ve only used this recipe with thick honey mustard like Honeycup Mustard or Woebers Honey Mustard)

1 small zucchini, with skin, thinly sliced

1 small yellow squash, with skin, thinly sliced – (use either yellow zucchini if you can find it it OR butternut squash slices but please pre-cook the slices)

1 Roma or plum tomato, thinly sliced

1/4 cup unflavored breadcrumbs or Panko (I use Panko)

2 tablespoons chopped fresh dill

2 tablespoons olive oil

DIRECTIONS:

1. Preheat oven to 375 degrees

2. Put the salmon on a parchment lined baking sheet and season the salmon fillet with salt and pepper. Brush an even thick coat of the (honey) mustard all over the salmon.

3. Place a layer of zucchini slices on the salmon. Then place a layer of the yellow zucchini or PRE COOKED butternut squash slices. Then place a player of thinly sliced tomatoes

Pretty Easy Stuff.

4. In a small bowl, mix the olive oil, panko or breadcrumbs (I use Panko) and the fresh dill.

I doubled or tripled this step as I had a pretty big piece of salmon

5. Spread this mixture onto the entire salmon.

Be generous. I use the method called “pat pat pat” to make sure the panko adheres to the salmon.

6. Bake for 30-35 minutes. Don’t be afraid to poke thru the fish to ensure that’s its all cooked!!

7. Serve hot or room temperature.

FINAL PRODUCT:

Ta Da!!

I served this with a strawberry spinach salad, roasted garlic from Stone Soup Farms, tomato basil tarts and roasted tri color carrots with fresh tarragon leaves.

The meal was a hit!!

Happy Cooking.

Share this:
Share this page via Email Share this page via Stumble Upon Share this page via Digg this Share this page via Facebook Share this page via Twitter

, , , , , , , ,

Nov
22


As you know, I have been trying to avoid carbs…. which means I try to avoid sweet potatoes, squash, carrots and more. (I’m not listing them so I don’t get depressed).

However there’s a list of vegetables I am allowed to enjoy and that list includes: bok choy and asparagus. Here are two recipes that I made this week.

I am a bit frustrated with the first recipe as I can’t find it. Don’t ask..it’s in a cookbook but I don’t know which one. I have given up looking. Sorry.

But I’m going to share it with you anyway with my own made up recipe.

Again, this dish is a perfect side dish for salmon and can be served warm or cold.

Gingered Asparagus

Ingredients

asparagus

Sauce:

1/2 tablespoon tamari

1 tablespoon sesame oil

1 minced garlic clove

1 minced chunk of ginger (please oh please buy organic.It’s so much more flavorful)

a bit of honey (sorry I didn’t measure)

DIRECTIONS:

1. steam asparagus

2. combine the ingredients to make the sauce.

3. drizzle the sauce of the middle of the asparagus dish.

Nutty Bok Choy Salad (from Gatherings: A Collection of Recipes from Netivot Hatorah Parents Association)

I didn’t have all the ingredients – but you get the idea.

Dressing

3 tablespoon Balsamic vinegar

3 tablespoons soy sauce

2 tablespoons honey

2 teaspoons peanut butter

Topping

1/2 cup dry roasted peanuts

1 pk ramen noodles, crushed

Salad

5 cups bok choy, sliced

2 green onions, sliced

1 red pepper, thinly sliced

1/2 cup cherry tomatoes

Directions:

In a small bowl, whisk together vinegar, soy sauce, honey and peanut butter until well combined. Set aside.

In a small saucepan, saute peanuts and noodles until golden. Remove from heat

Put the salad ingredients in a shallow bowl. Right before serving, sprinkle the noodles and nuts over the salad.

Drizzle with dressing. Serve.

Happy Healthy Cooking

Share this:
Share this page via Email Share this page via Stumble Upon Share this page via Digg this Share this page via Facebook Share this page via Twitter

, , , , , , , , , , , ,

Jun
20


The other nite, @HorriblePeanut sent me a photo of what he made for dinner. (only because I asked!!). He had prepared cod and kale. I asked him how he prepared the kale and he replied “with veggie stock – er, Knorr”. I then realized that this would be a good time to do a blog post called How to Make Your Own Vegetable Stock!! 

Oh How I Love This Stock!!

Here’s what you need:

Ingredients:
2 carrots, peeled and chopped*
2 onions, peeled and chopped*
1 parsnip, peeled and chopped*
1 apple, cut in half
1 whole head of garlic, peeled (no chopping necessary0
1 sweet potato peeled and chopped*
and bunch of parsley

*:no one is going to see the vegetables so it doesn’t have to be pretty looking!! BONUS

Feel free to add celery, apples, bay leaves, zucchini, etc.a

INSTRUCTIONS

1. Boil water in a saucepan (please forgive me, I did not measure the quantity)
2. Add all the ingredients listed above. Cover the pan with a lid.

A Rough Chop is Just Fine!!

3. Season with salt and pepper
4. Reduce heat and simmer for 30 minutes.

5. Strain the vegetables

Voila…beautiful aromatic vegetable stock. By all means play around with this recipe: add celery, add bay leaves (which I did by the way) or  add zucchini. Just don’t add anything bitter like broccoli or green pepper.

I like to freeze this soup is small ziploc containers so I can use it whenever a recipe calls for vegetable stock. It will make a HUGE difference and you won’t be buying any powdered soup stock anymore.

Happy Cooking (even if its 30 degrees outside)!!

By the way: I grew up in a household with a product called Croyden House. (kosher fake chicken stock poweder)  My mom used it on EVERYTHING. (as still does). I promised myself when I moved out that I would never buy a jar of that stuff and guess what? I haven’t.


Share this:
Share this page via Email Share this page via Stumble Upon Share this page via Digg this Share this page via Facebook Share this page via Twitter

, , , , , , , ,

May
30


For years and years, I did not go NEAR a recipe that involved phyllo dough. I was frozen with fear. I don’t know why but I wouldn’t touch the stuff. Then one day I saw a course being offered called “FEAR OF PHYLLO” and I quickly signed up.

During the class we learned how to make sweet potato purses, spinach/feta bourekas, streudel and more. I think it was one of the first cooking classes I ever went to and I loved the fact that it was hands on.

I STILL have the outline from this course (I am not a hoarder – I swear). But for some reason I make the same thing with phyllo – over and over again. I am addicted to making phyllo cups. I make them – freeze them – serve them.

Here’s the most important thing you need to know: when you are ready to start this recipe, please do not answer the phone, do not take out a load of laundry or start to empty the dishwasher …you must focus on the phyllo!! Otherwise it will dry up, crack, and you will be swearing at me!!

PHYLLO CUPS:

one package of phyllo dough (thawed)

1/2 cup melted butter

muffin pan, scissors, pastry bush

INSTRUCTIONS

1. brush one sheet of phyllo dough with melted butter

2. cover it with another sheet of phyllo dough and brush that sheet with melted butter as well

3. take yet another sheet of phyllo dough and brush that sheet with melted butter. (I used 4 sheets for a “thicker” phyllo cup)

4. take SCISSORS and cut the sheets into healthy sized squares

5. place the square into a muffin pan

6. bake in preheated 375 oven for 8 minutes. (till golden brown).

That’s it. How simple, wouldn’t you agree?

Then I take the phyllo cups and freeze in a tupperware container  till I need them.

ready for the freezer!!

What do I do with these phyllo cups? Here’s some ideas:

-goat cheese with a roasted tomato

-roasted garlic

-ricotta with mint/honey

Curious to know if you use phyllo dough often and what you use phyllo dough for.

Note: I put the leftover phyllo dough into a zip loc bag and put it in the freezer.


Share this:
Share this page via Email Share this page via Stumble Upon Share this page via Digg this Share this page via Facebook Share this page via Twitter

, , , , ,

Nov
01


GInger Maple Vinaigrette

I have been in love with organic ginger for the last year. It all started when I was visiting Kensington Market and stopped by the Urban Herbivore. It was one of those cold winter days and I wanted some thing healthy and HOT, so I ordered some organic ginger tea. I watched them grind up the fresh ginger and then add some hot water. I loved this drink so much that I went out and bought some fresh organic ginger and then made the drink at home!

Often I just didn’t have organic ginger available and bought the normal ginger from the grocery store. Let me tell you – ITS NOT THE SAME. I will now ONLY buy organic ginger. I love how intense the flavor is – it’s not even on the same planet as the non organic ginger.

Lets discuss: organic vs non organic:

organic: stronger flavor, less water, you need less, costs more, not available at your local grocery store

non organic: flavor is not as strong, you need more, costs less,

The brand I usually pick up has a lovely recipe on the back and I FINALLY decided to try it. (took me long enough).

Here’s what you need for Ginger Maple Vinaigrette:

2 inch piece of organic ginger chopped

1 med organic garlic clove, minced

1 med shallot, minced

2 tablespoons maple syrup

2 tablespoons dijon mustard

3 tablespoons balsamic vinegar

1 cup olive oil

METHOD:

In a blender combine all the ingredients except olive oil and blend until smooth.

On the lowest setting, pour olive oil until emulsified. Adjust taste with salt and pepper. Use as a dressing or marinade and store for up to 2 weeks in a refrigerator.

I encourage everyone to:  a) pick up some organic ginger b) try the above dressing c) or try making fresh ginger tea.

Funny, as I type this blog post I’m thinking of ginger ice cream, ginger cookies, gingerbread latte, dipped ginger in chocolate. Who else has any ideas what to make with ginger?

Share this:
Share this page via Email Share this page via Stumble Upon Share this page via Digg this Share this page via Facebook Share this page via Twitter

, , , , , , ,

Oct
18


My mom has been making pita chips for years and then I got into the habit of making them too. It’s such a great alternative to eating a tortilla chip plus they are simple to make and freeze well. (always important for freezer junkies like me)

Ingredients:

Pita

1/4  cup melted butter or margarine

2 cloves of garlic (minced)

chopped parsley

Method:

1. Take scissors and cut the pita into triangles. Open up the triangles and lay them flat on a baking sheet (lined with parchment paper).

scissors make it really really easy!! (hint)

2. Melt the butter, and add the parsley and chopped garlic

Love the smell of butter, parsley and garlic

3. Take a brush and start painting the pita triangles – liberally or not so liberally!!

Ready for the oven!!

4. Bake in a preheated 325 F oven for 20 minutes till slightly brown and crispy.

Pita Chips!!

These Pita Chips go perfectly with hummus. Speaking of hummus…have you ever made your own? Stay tuned for that recipe!!

Happy Cooking!!

Share this:
Share this page via Email Share this page via Stumble Upon Share this page via Digg this Share this page via Facebook Share this page via Twitter

, , , ,