Posts Tagged ‘Apple’

Oct
15


The first thing that comes to my mind when you say “September” or “October” is APPLES. It’s funny, I didn’t grow up apple picking but as soon as I had kids it was something we did almost every single year.

Sadly I can’t get the kids (now 17 and 21) to go anymore, but that doesn’t stop me from heading out to Milton to go apple picking!!

So a few weeks ago, my boyfriend and I headed out on a beautiful Sunday and went to Chudleigh’s.

We timed our visit right and went around 2 pm which meant that it was nap time and missed the morning “rush” of families. (#smartmove)

I managed to accomplish everything on my visit.

a) I simply HAD to have the corn on the cob.

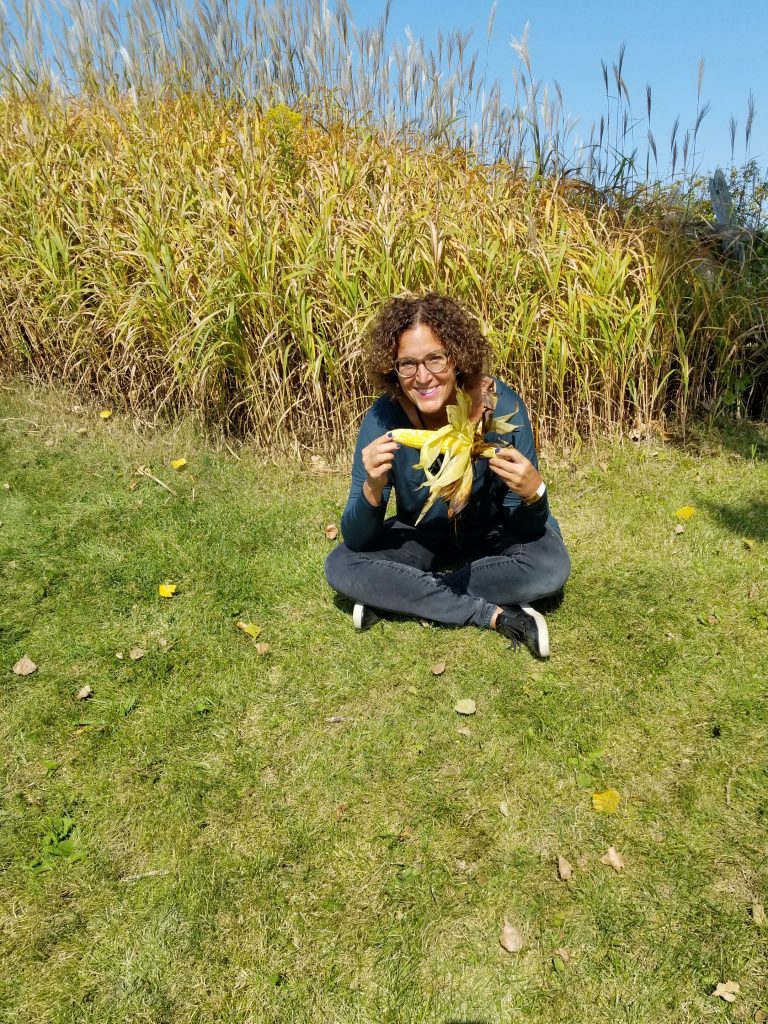
b) I simply HAD to go on a wagon ride. Yes – I’m 52 years old and still feel like a 10 year old sometimes. LOL

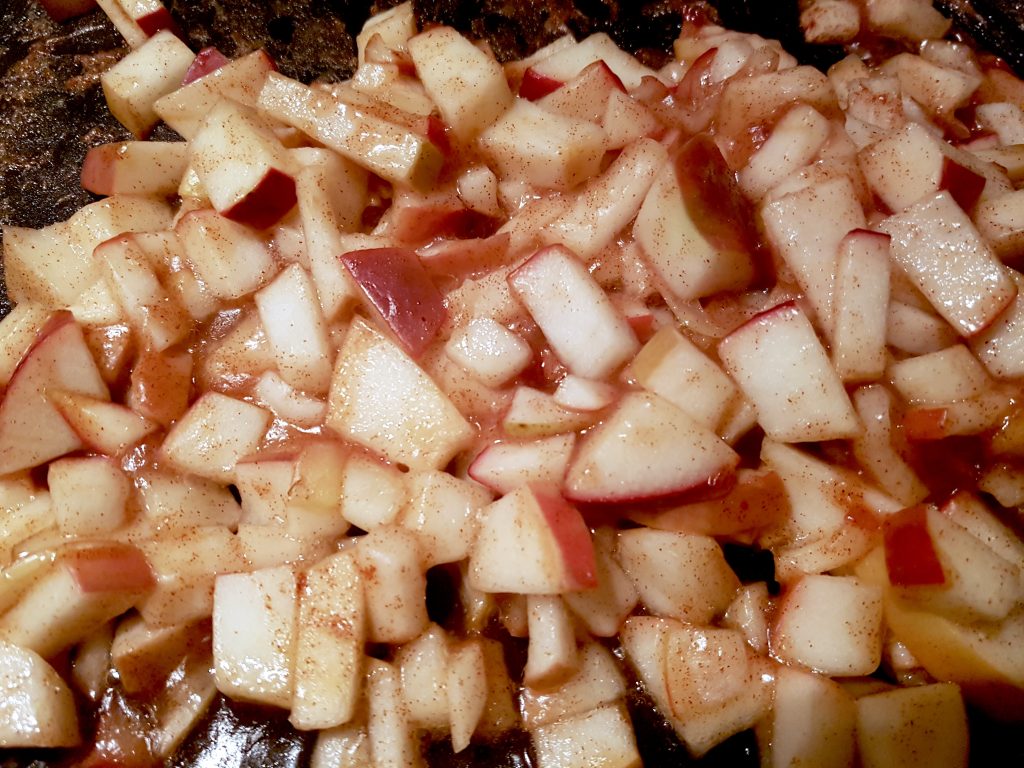
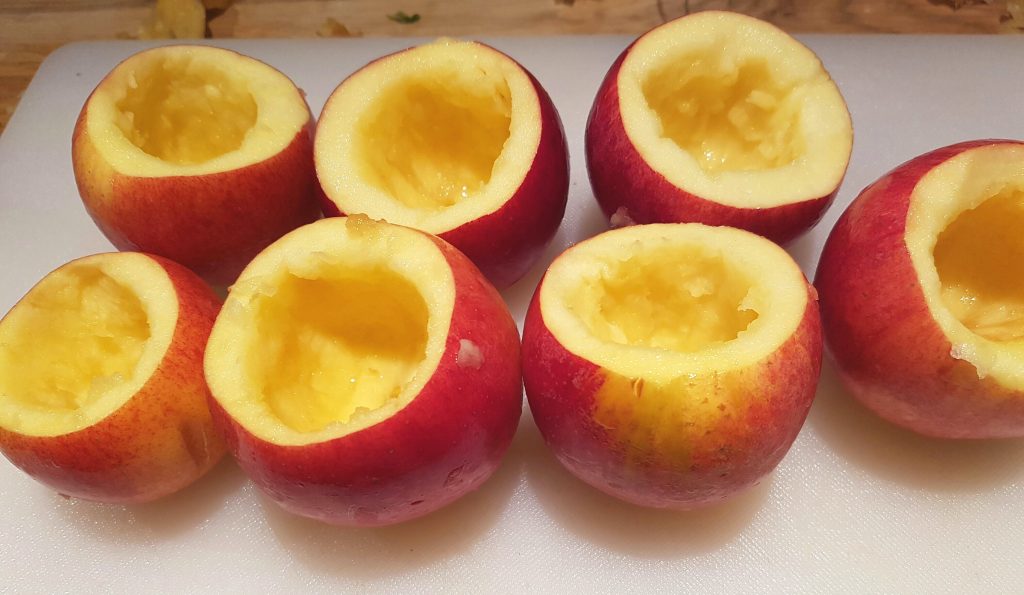
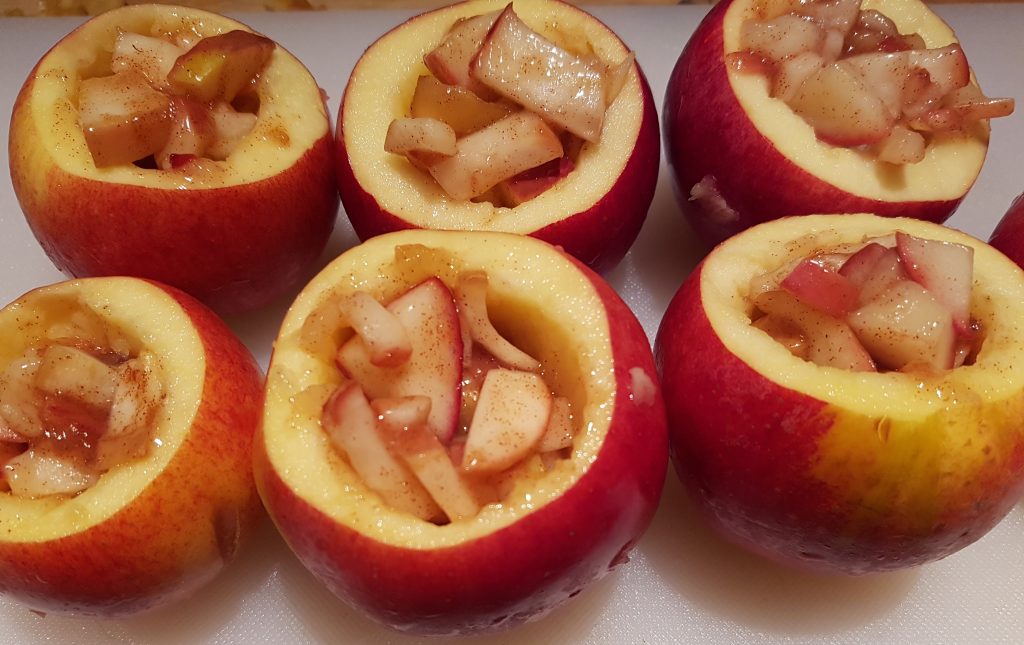
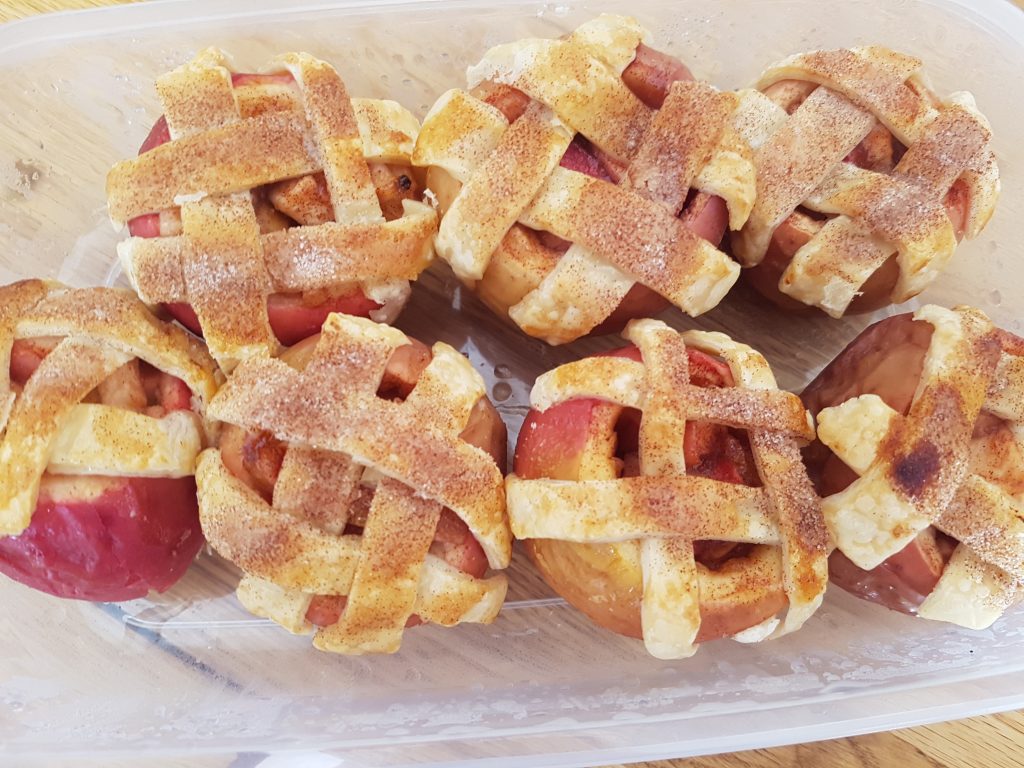
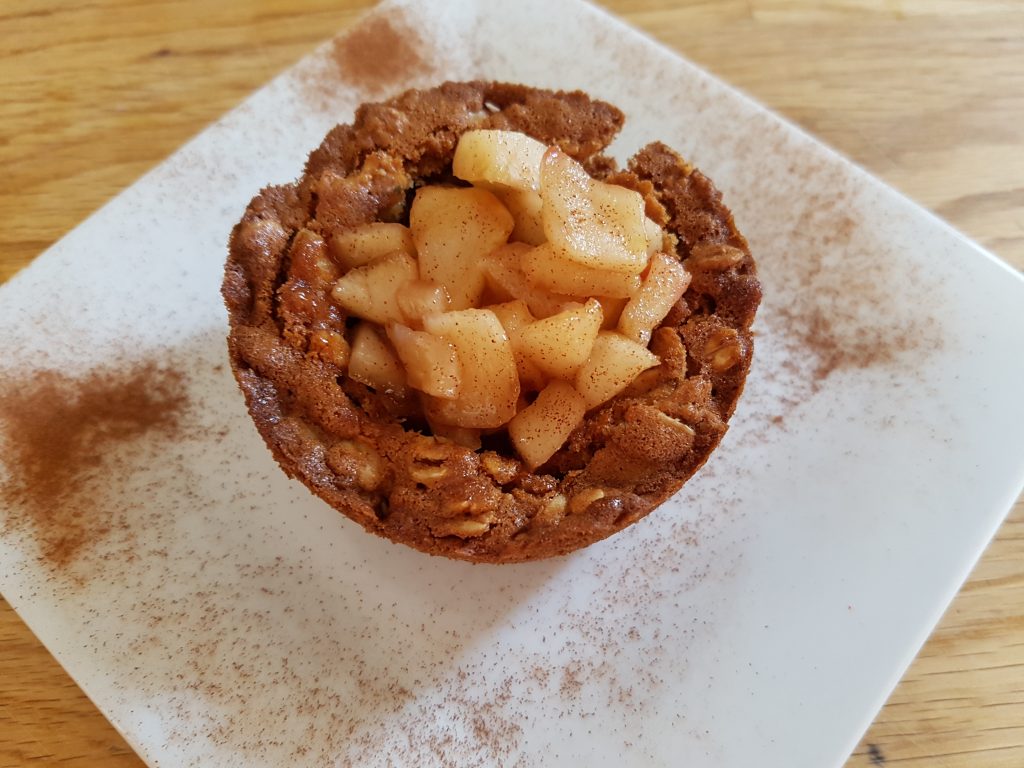
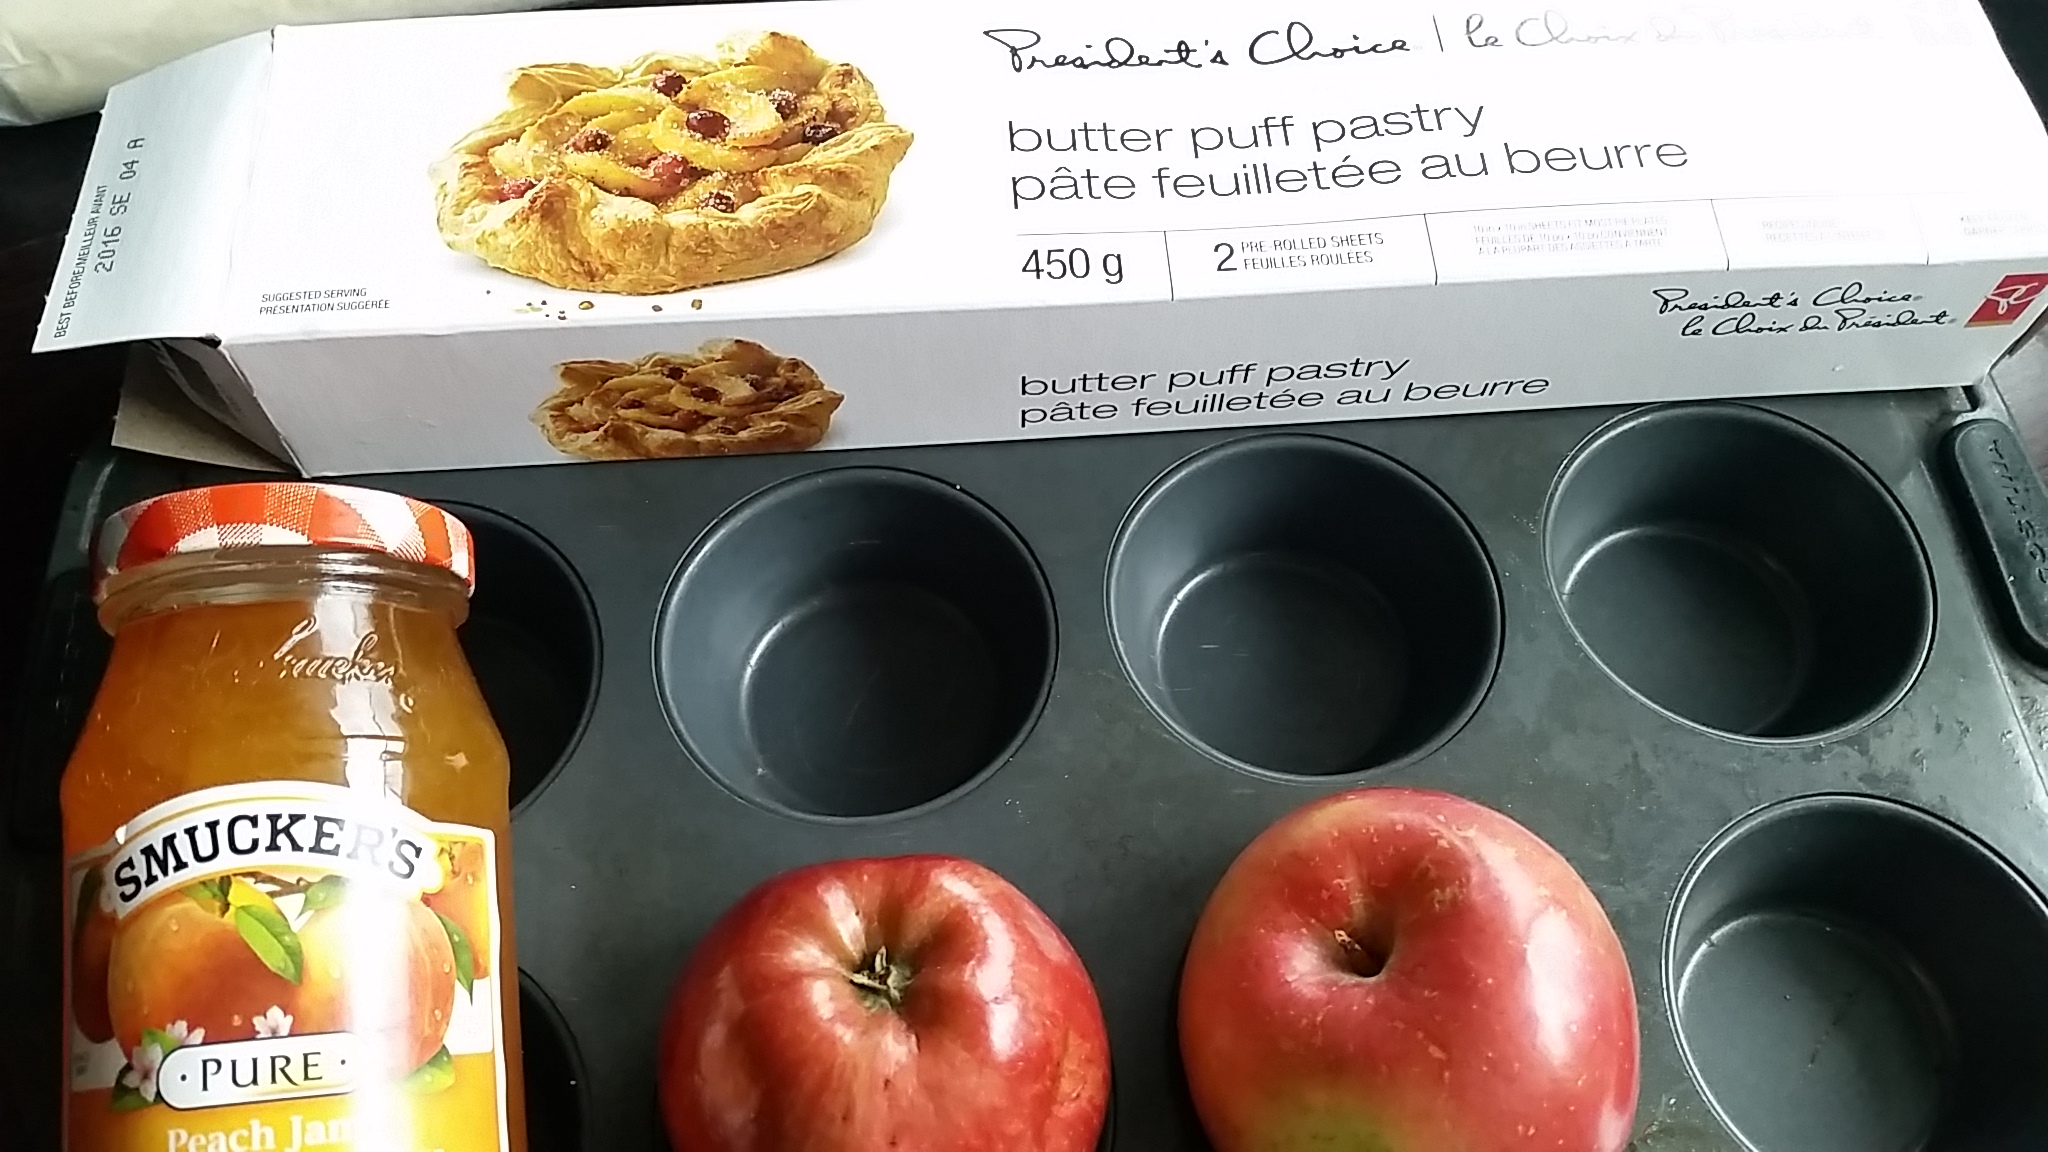
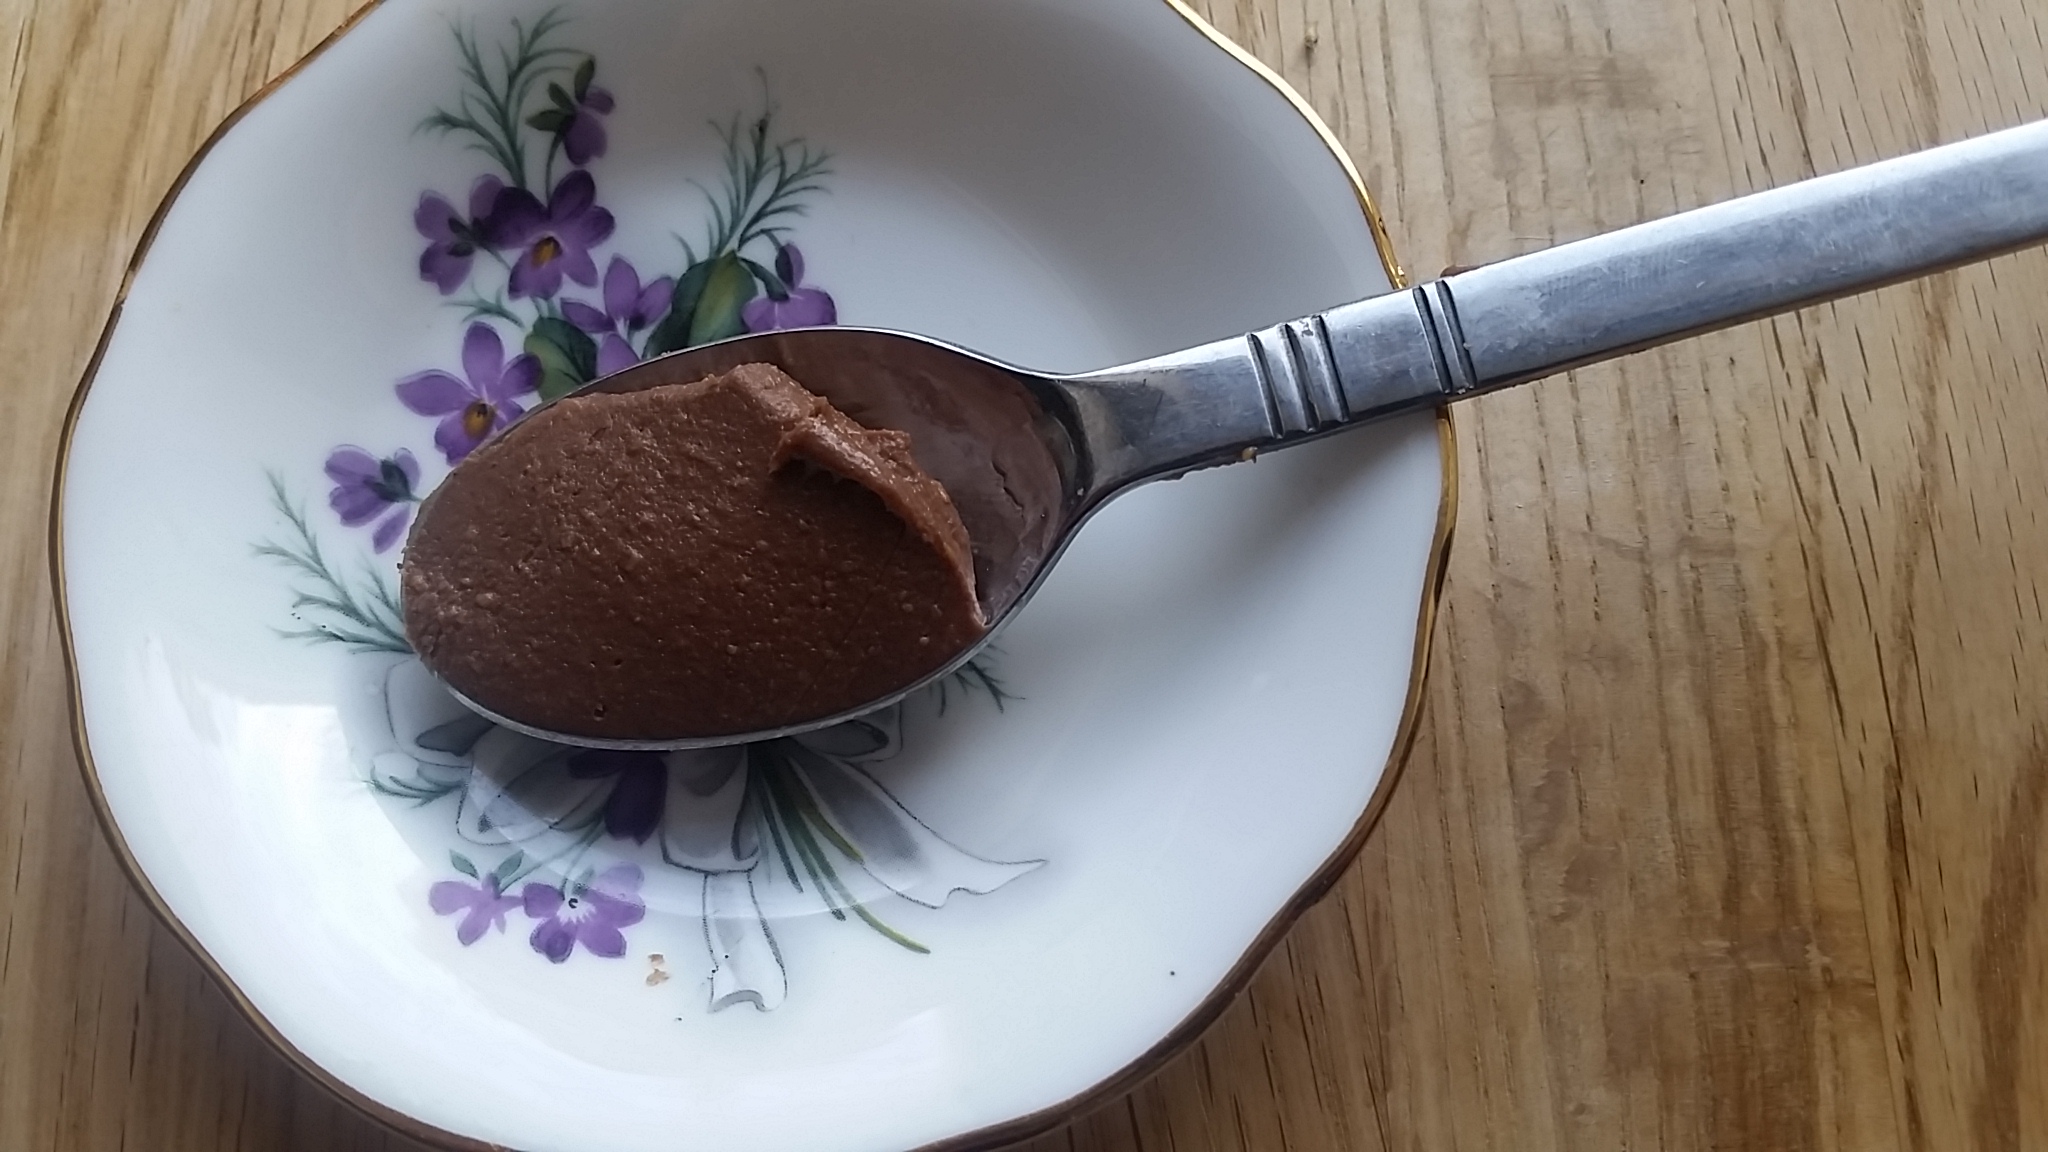
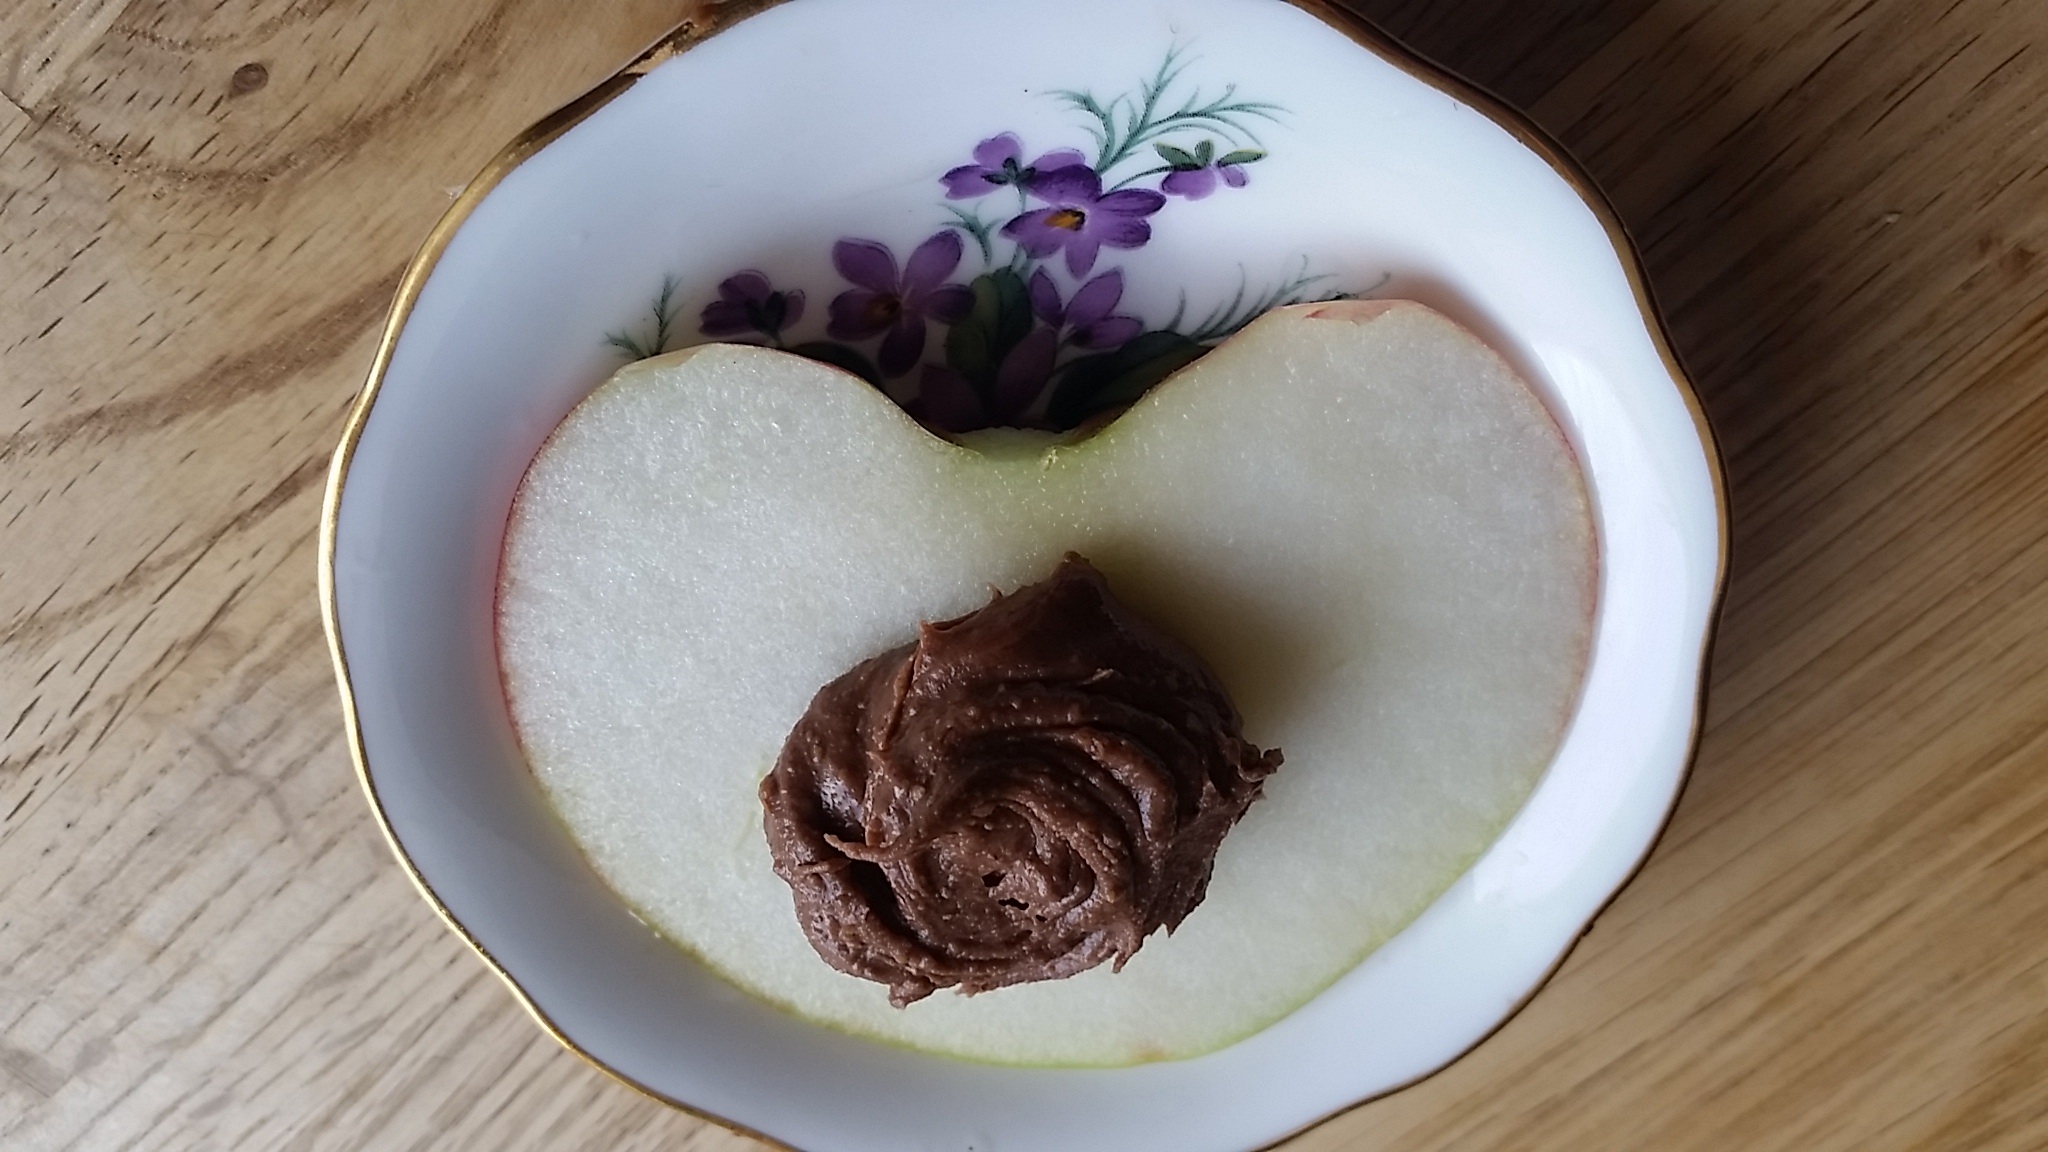
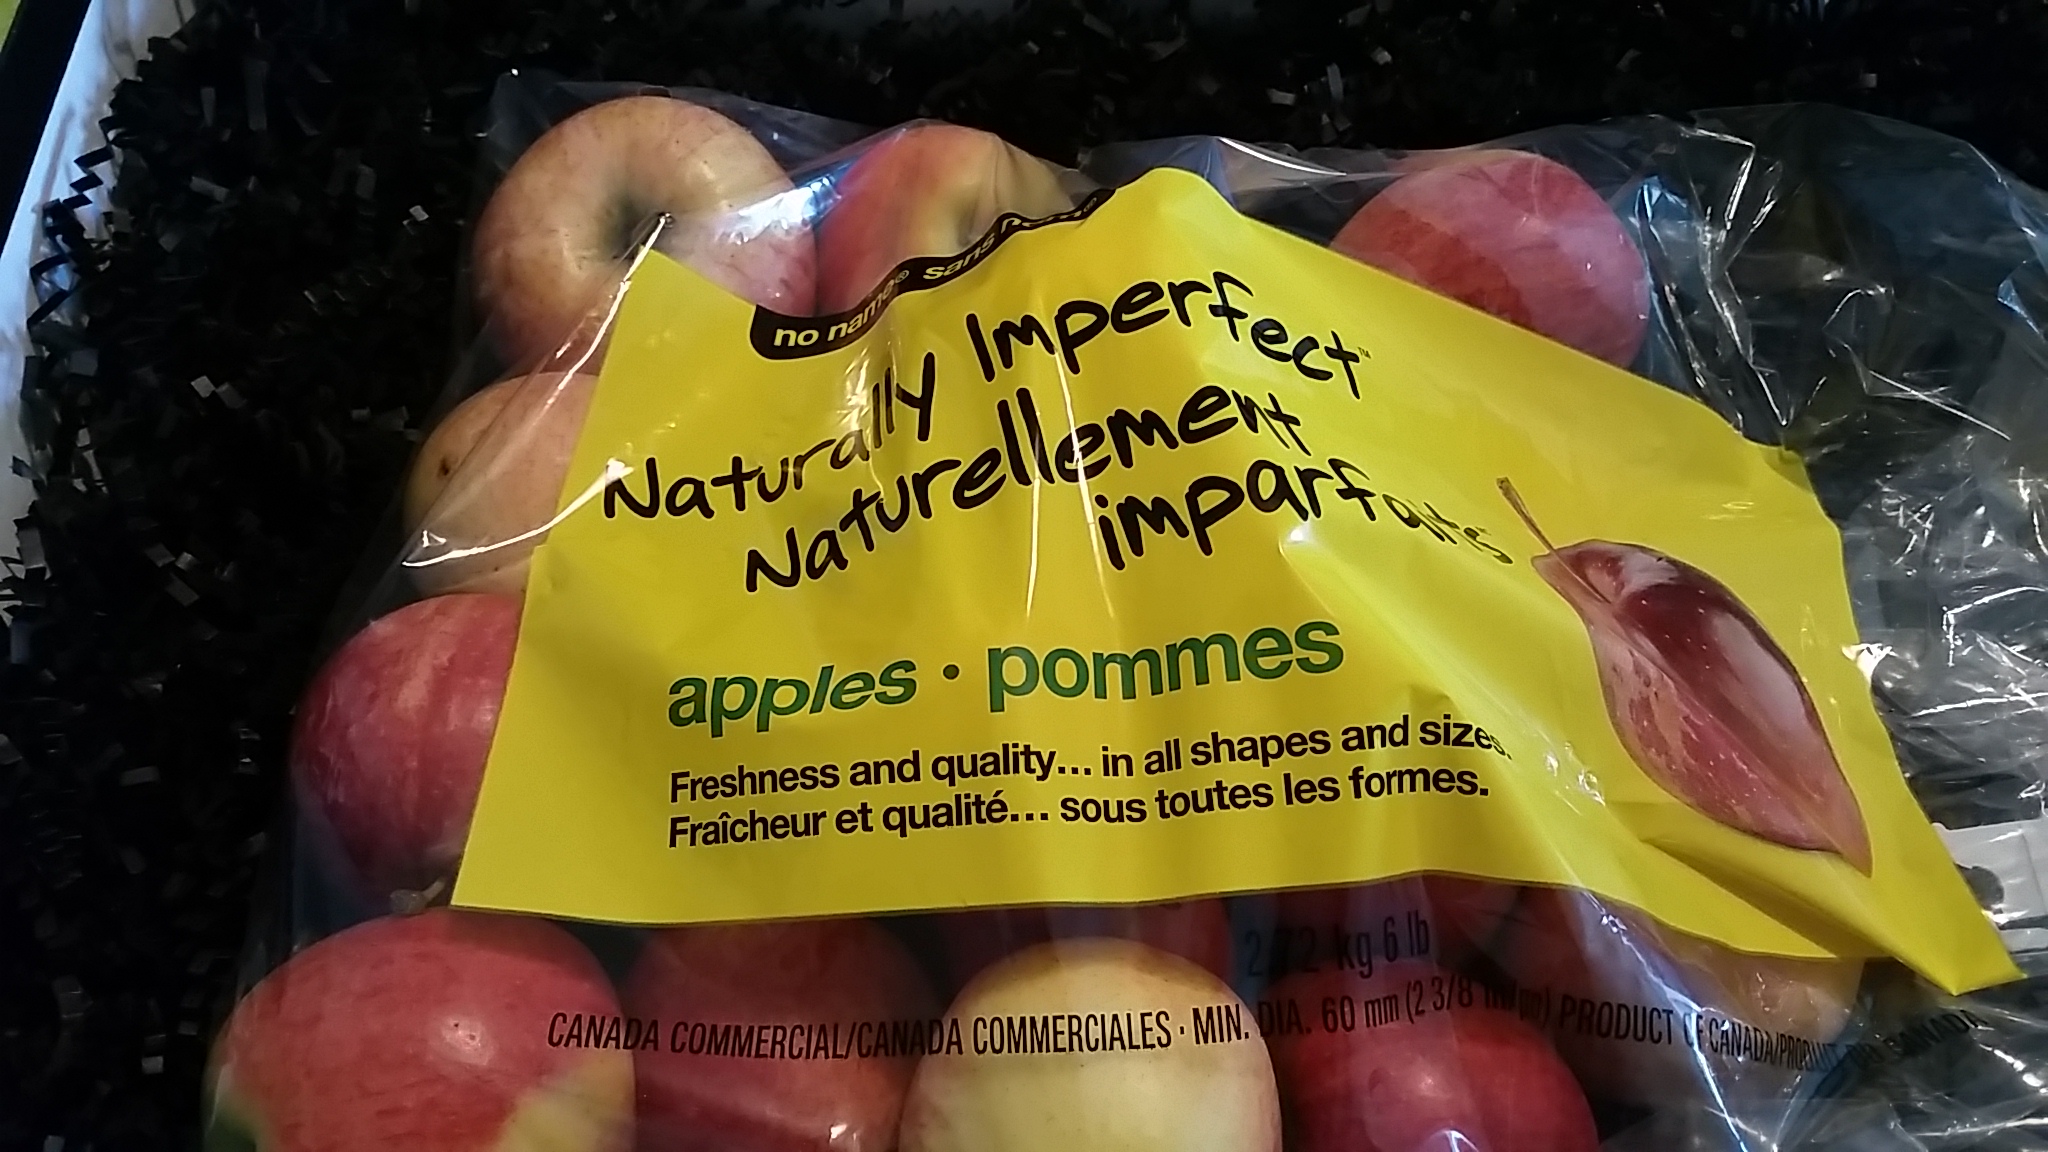
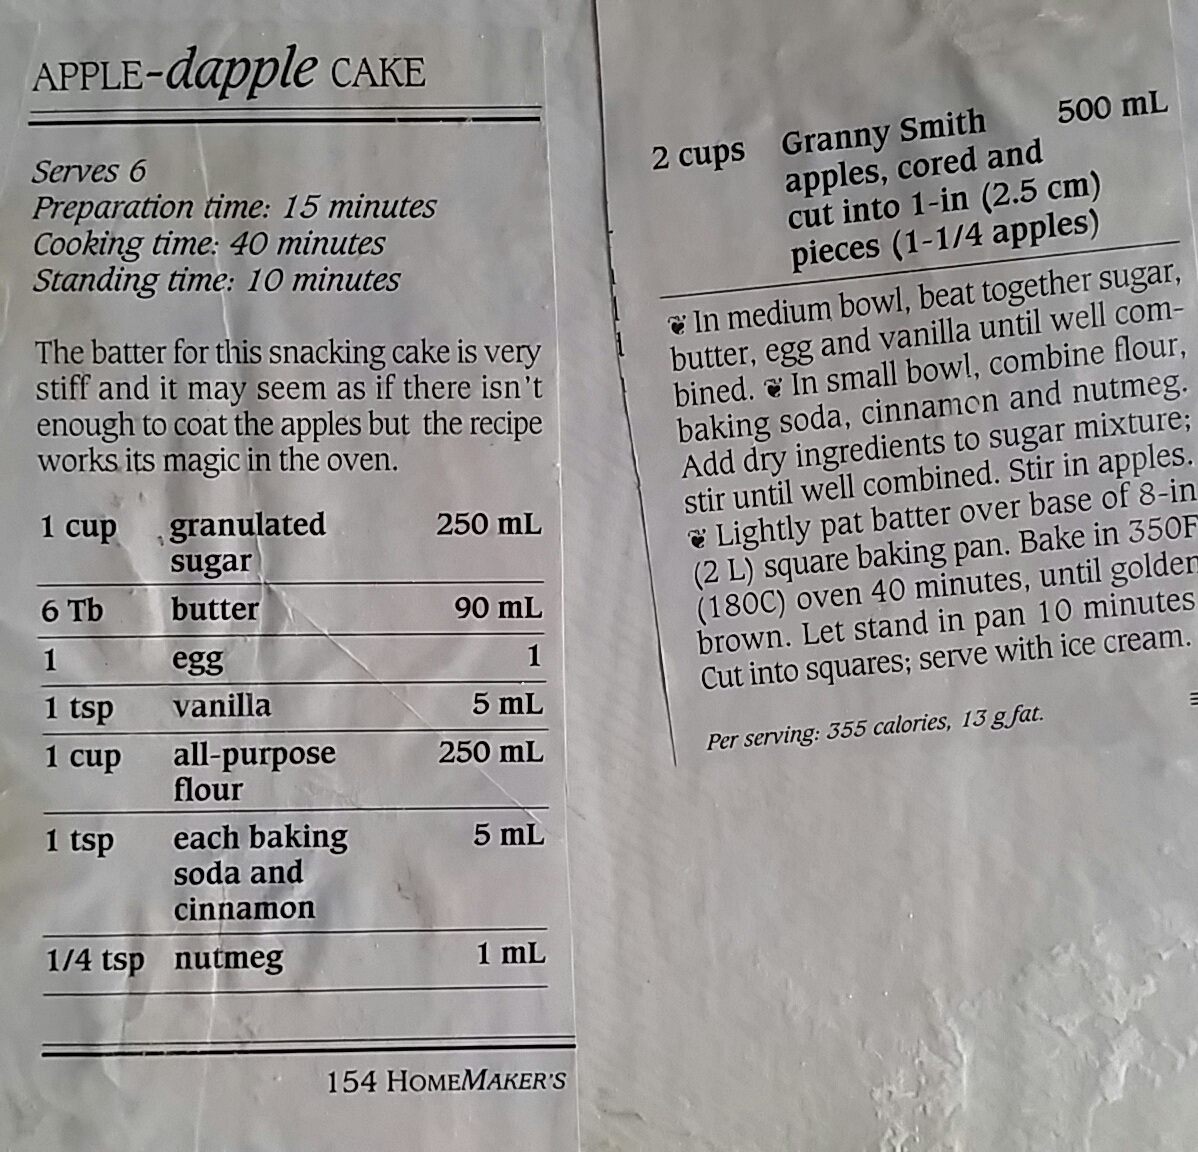
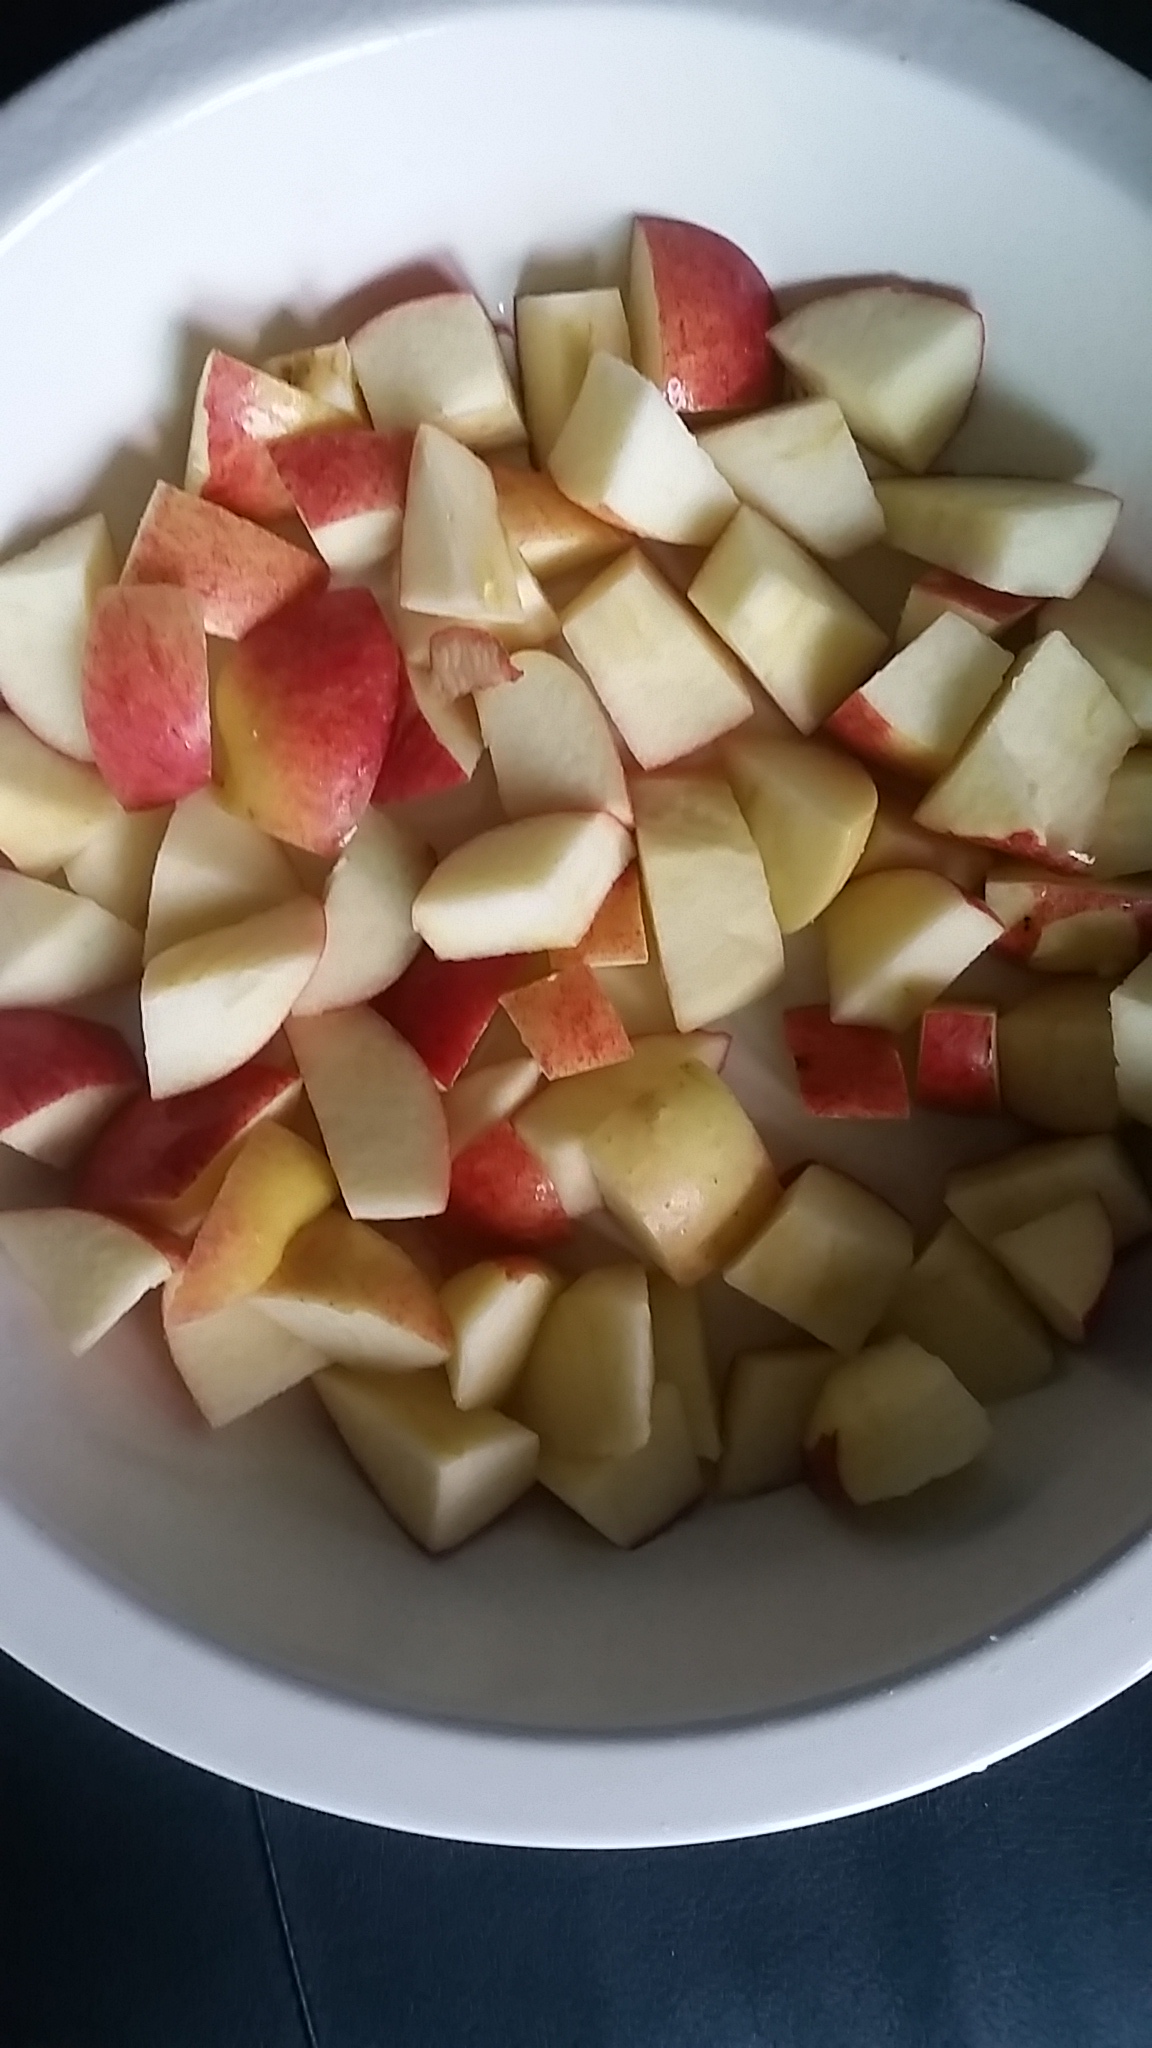
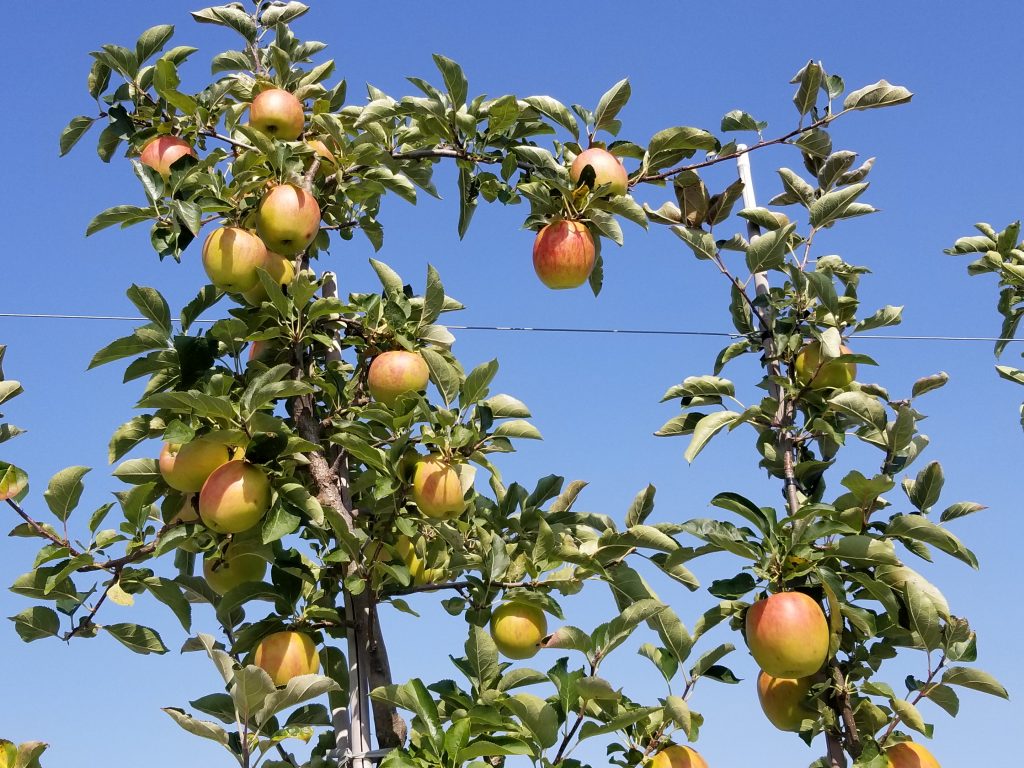
c) We filled up a bag of apples and then went home to make a delicious dessert that I discovered on Tip Hero. Promise to share this recipe with you in more detail in a future blog post. PROMISE.

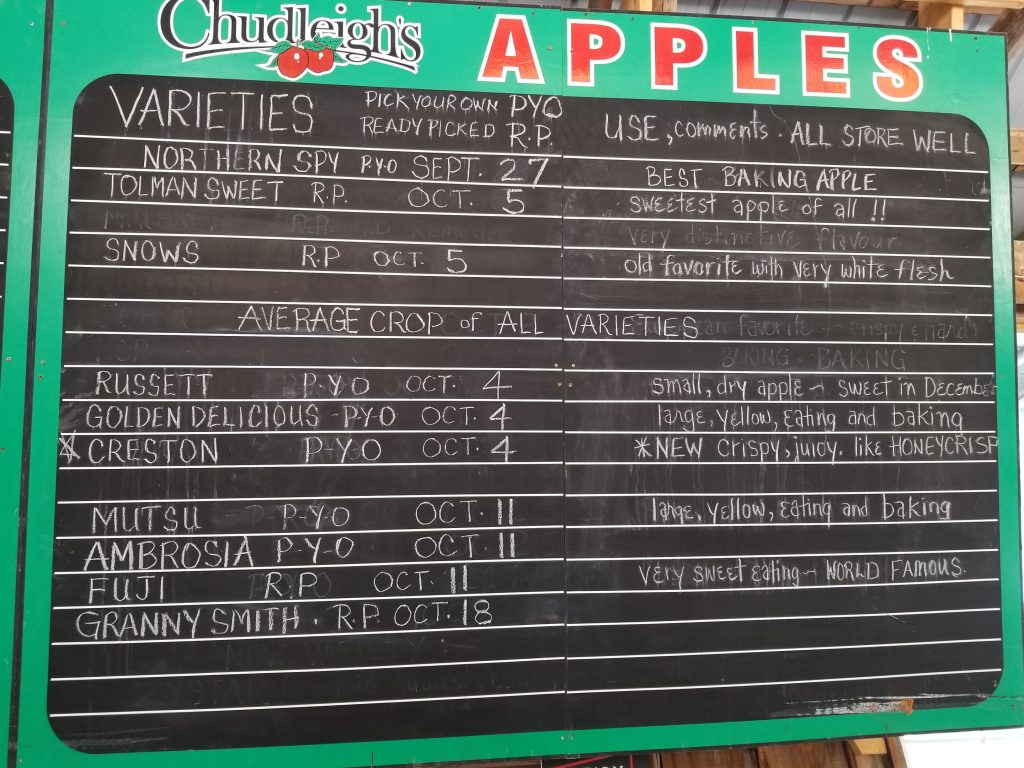
Seeing as we went early in the season, there were only two varieties available. However this DID NOT stop us from enjoying our experience.

There’s plenty of apple varieties (throughout the season) to keep everyone happy.

We are still enjoying a warm Fall so don’t hesitate to consider a trip to Chudleigh’s. Here’s proof.


Happy Apple Picking!

PS Chudleigh’s is open till Oct 31st!

For more information:

Website: www.Chudleighs.com

Address: 9528 Regional Road 25
Halton Hills, ON L9T 2X7

Twitter/Instagram: @chudleighsfarm

Facebook: https://www.facebook.com/chudleighs/

Disclosure: I was provided with complimentary passes, however all opinions are my own

Share this:
Share this page via Email Share this page via Stumble Upon Share this page via Digg this Share this page via Facebook Share this page via Twitter

, , , , ,

Dec
04

Need a Dessert?


I’m a big fan of making individual desserts. I truly believe if you serve a big cake to your guests everyone will say “I will pass”. But if you present them with their own dessert on a plate – they will accept it. Do you agree?

The dessert I served at a dinner party this past week was indeed “blog worthy” so here it is.

APPLE PIE BAKED APPLES (original recipe from Sally’s Baking Addiction can be found here)

Ingredients:

1/2 recipe homemade pie crust (ok I cheated and bought ready made pie crust)
1 teaspoon cornstarch
1 Tablespoon  warm water
8 firm apples  (Granny Smith, Honey Crisp, Gala) – 2 apples will be used for the apple filling)
1 teaspoon cinnamon
1/2 cup granulated sugar
1 teaspoon vanilla extract
1 large egg
1 teaspoon milk
homemade salted caramel sauce, for drizzling (optional)

Directions

Prepare the pie crust, including allowing it to chill for at least 2 hours. Or if you are short of time (story of my life) – take the pie crust out of the box and cut it into 1/4 inch wide strips.

Make the apple filling: In a very small bowl, mix the cornstarch and warm water together until smooth, creamy, and the cornstarch has disolved. Set aside. Peel and dice 1 apple. In a medium saucepan over medium heat, cook the apple pieces, cornstarch/water mixture, cinnamon, and sugar. Stir constantly for 5 minutes. Switch to low heat and allow to simmer for 5 minutes. Remove from heat, stir in the vanilla, and allow to cool off for 20 minutes.

apple-filling

TWO APPLES GO A LONG WAY!

Assemble: Slice off the tops of the 4 remaining apples. Using a spoon (or melon baller), dig out the core. This takes some effort but its worth it.

apples-core

Spoon the prepared apple filling into the cored-out apples.

apples-fill

Lay 3-4 strips of the pie dough on top of the apple. Then, working with one new strip at a time, alternate weaving it over and under the dough strips already in place. Repeat until the top of the apple has been covered in this lattice style crust. Using a sharp paring knife, trim excess pie crust around the edges. Repeat with remaining apples and pie dough strips.

apple-before-oven

Bake:
Place apples into an 8-inch or 9-inch square baking pan or pie dish– really any size baking pan works. In a small dish, whisk the egg and milk together. Lightly brush the tops with egg wash. I sprinkled a little bit of cinnamon on top of the egg wash before going into the oven.  Bake for 25-30 minutes in a 375 degree oven or until the crust is browned and the filling is bubbly.
If desired, drizzle each with salted caramel. Serve with ice cream!!

FINAL PRODUCT:

apples-final

Happy Baking!!

Share this:
Share this page via Email Share this page via Stumble Upon Share this page via Digg this Share this page via Facebook Share this page via Twitter

, , , ,

Oct
12


Often when I bake or cook, I find myself posting a photo of the “final result” on Facebook. I then receive comments like “Recipe, please!!”.

Then it occurs to me that I should blog about these recipes and not just post photos of the final result. Here’s two recipes that I tried recently that are definitely worth making!

Recipe #1: I saw this recipe somewhere on the internet (for a change) and decided it would make a great vegetable side dish for a meat meal that was being served over the Jewish New Year. Several of my facebook friends also made it and we all had winning results

green-beans

Green Bean with Honey Tahini Glaze (recipe taken from www.MyJewishLearning.com by Leah Koenig)

Ingredients
1 Tablespoon Tamari or soy sauce
2 Tablespoons honey
2 Tablespoons tahini (sesame paste)
Kosher salt and freshly ground black pepper
1 Tablespoon olive oil
1 lb trimmed green beans
1 Tablespoon minced garlic
2 teaspoons orange juice
1 teaspoon finely grated ginger

Directions
Preheat oven to 425. Spread beans in a 9×13-inch baking dish; drizzle with olive oil and sprinkle with salt and pepper to taste. Toss to coat beans evenly. Roast for 10 minutes.

Meanwhile, whisk together the tahini, honey, tamari, garlic, orange juice, and ginger in a small bowl.

Remove beans from oven. Pour honey-tahini mixture over beans and toss to coat evenly. Return beans to oven and roast for 10-12 additional minutes, until brown and starting to shrivel. Transfer to serving plate and sprinkle with additional salt and pepper to taste.

PS I steamed the green beans and then poured the tahini glaze over them and it was still delicious.

Recipe #2: Apple Crisp Cookie Cups (original recipe on this video by www.delish.com). This video showed up so many times on my facebook feed that I just had to try it. Guess what? I will be making it again!!

recipes-oatmeal-cookie-cup

This week, I’m going to make something I’ve never made before. Once again, I found it on Pinterest.

So stay tuned for a more detailed blog post about my experience making Salmon Wellington!


Share this:
Share this page via Email Share this page via Stumble Upon Share this page via Digg this Share this page via Facebook Share this page via Twitter

, , , , , , , , ,

Dec
15


The recipe for “Baked Apple Roses”  seems to be all over the internet these days.

I mean, the recipe was  e-v-e-r-y-where: on my facebook feed, on Pinterest, etc etc.

“Baked Apple Roses” appealed to me for these three reasons:

1. It didn’t require a lot of ingredients

2. It looked simple to assemble

3. The final results looked gorgeous

Here’s what you need to make this fast and simple dessert.

Ingredients:

-2 apples

-juice from half a lemon

-1 sheet of PC Butter Puff Pastry (my new fave)

-3 tbsp. Peach or Apricot Jam/Preserves mixed with a bit of water

roses - ingredients

Instructions: (taken from Tip Hero)

1. Preheat Oven to 375 degrees

– Put apple slices in microwave safe bowl. Fill bowl with a bit of water and juice from half a lemon. Use enough water to make sure apple slices are covered by water. Microwave for 3 minutes. This will soften the apple slices and make them more pliable for rolling up. (AN IMPORTANT STEP)

– Next. grab a sheet of puff pastry. Flour your board and roll out the puff pastry enough to make 4 strips at 3 inches wide. (I actually took out a measuring tape for this step. Seriously)

– In a bowl mix your favorite fruit preserves with a couple tablespoons of water. Then spoon out the preserves in the center of the strip of puff pastry.

– Next place the apple slices long ways halfway on the strip. Keep adding slices until you reach the end. Then fold the puff pastry over the bottom of the apple slices. (sorry for the crappy photo but it’s winter and I can’t always cook/bake before 4:30 pm. #foodbloggerproblems)

roses - apples on dough

– Roll up the puff pastry and place in a greased muffin tin.

– Bake the apple roses for 35-45 minutes.

– Pull out of oven and let cool for 5 minutes.

FINAL RESULT!!

roses - final

They didn’t come out exactly like the ones I’ve seen on Pinterest or Tip Hero (my new obsession), however I was pretty happy with the results!!

Happy Baking.

Share this:
Share this page via Email Share this page via Stumble Upon Share this page via Digg this Share this page via Facebook Share this page via Twitter

, , , , ,

Sep
27


Great news, Reese Spreads are now available in Canada!!

Based on the iconic Reese Peanut Butter Cup, new Reese Spreads deliver the one-of-a-kind combination of chocolate and peanut butter taste to any food. Whether you spoon it or spread it, these delicious spreads can transform the ordinary into something extraordinary.

From the simple pairing of Reese Spreads on an apple, banana, or a pretzel, to taking your dessert recipes to the next level, the snacking opportunities are endless.

 I don’t know about you, but the combination of Peanut Butter and Chocolate has always been one of my favourites.

Here are 5 ways how you can enjoy Reeses Spreads:

a) Simply spread it on a waffle!

reese - waffle

b) Dip Pretzels into Reese Spreads.

reese - pretzel

c) Dip a spoon into the jar. (no fancy recipe required)

reese - spoon

d)  Freeze a bit of Reese’s Spreads and then crumble it onto ice cream!!

reese - icecream

5. Use Reese Spreads on a slice of apple.

reese - apple

As you can see from the photos, I had a lot of fun using Reese Spreads in a variety of snacks.

What’s your favorite snack using Reese Spreads? For more amazing recipe ideas, please click here  or head to their facebook page.

Disclosure: I was compensated for this blog post, however all opinions are my own.

Share this:
Share this page via Email Share this page via Stumble Upon Share this page via Digg this Share this page via Facebook Share this page via Twitter

, , , , , , , ,

Mar
25


Recently I’ve come across FOUR Fabulous Food Entrepreneurs on Twitter! Drum Roll please….

1. LOLAS CLOUD:

The owner of this company was tired of seeing only your typical pink and blue carnival candy floss. Instead, Lolas Cloud serves organic clouds of candy, produced with cane sugar and natural extracts. Flavours include coconut, mango, watermelon and more. #brilliant. Please follow them on twitter and instagram: @lolascloud and take a peek at their website too. ..www.lolascloud.com 

lola

2. ALL MINE CARAMEL

ALL MINE CARAMEL began as many small home based business do…by accident. Shannon Hitchon, who has always been proficient at cooking and making her own recipes, decided to try her hand at making her own caramels. She began slow churning her now signature buttery caramel as Christmas gifts for family and friends one year. They were a hit and soon co-workers and neighbours began requesting treats of their own. All Mine Caramel was born. Now, 4 years later, her caramel treats have become a must have delicacy. What a great story, non? I was pleased to see that Shannon is also making caramel corn too.  Can’t wait to try the Cayenne Infused Caramel Corn,…seeing as I’m all about flavour!

Please follow them on Twitter: @AllMineCaramel. Here’s their website: www.allminecaramel.ca

allmine

3. SHOTBERRY

What is a Shotberry? Well, imagine a HUGE chocolate covered strawberry that’s customized with your favourite toppings and decorations and then paired with a shot of your favourite alcohol (or non alcoholic beverage). OMG – BRING IT ON.

shot2I simply adore this concept. For more information, please visit their website: www.shotberrystore.com, Twitter: @shotberrys416 Instagram: Shotberry

4. Walter Caesar and Kelvin Slush

I blogged about Kelvin Slush when I discovered them in  NEW YORK in 2011 (see blog post by clicking here). Then I was introduced to Walter All -Natural Craft Caesar last year (see blog post by clicking here. However what I didn’t know was that these two brilliant products involve the same business partners…Zack Silverman and Aaron Harowitz. Not to mention I discovered this fact randomly by visiting a booth at the recent Restaurant Show!!

For more information: www.walteraesar.com and www.kelvinslush.com

Please note, that Walter Caesar has just launched a Royal Caesar mix which is now available at the Fairmont Royal York Hotel. With it’s smoky chipotle and cumin flavours…this cocktail will surely be a hit with guests.

walter2Clearly, you can tell that I’m in awe of the above mentioned food entrepreneurs who are making their dreams come true.

Share this:
Share this page via Email Share this page via Stumble Upon Share this page via Digg this Share this page via Facebook Share this page via Twitter

, , , , , , , , , , , , , ,

Mar
23


Disclosure: In the past, I’ve been known to buy imperfect fruit and vegetables. Yes – I’m that woman lurking around the stand for over ripe bananas and slightly bruised apples. You see, I really like using them when I bake.

Now Loblaws has made this easy for me as they have recently introduced no name® Naturally Imperfect line of fruits and vegetables.. Starting with apples and potatoes, no name Naturally Imperfect produce costs up to 30 per cent less than traditional produce options found in store. You gotta love it!!

dapple - bag

Smaller misshapen produce that tastes great and is good for you, is now available at Real Canadian Superstore® and select no frills® locations in Ontario and select Maxi® stores in Quebec. Furthering its commitment to offer affordable, quality products to customers. YAY.

Please note that my bag contained smaller apples – not one was bruised – and they were delicious! Naturally I was excited to bake with them, so I pulled out my handy APPLE DAPPLE recipe that I’ve been making for years.  Notice where this recipe comes from? HOMEMAKERS! (see bottom of the recipe for proof). How funny is that?

apple

APPLE DAPPLE CAKE (taken from HomeMakers)

1 cup sugar (I always use less)

6 tablespoons butter or margarine

1 egg

1 tsp vanilla

1 cup of all purpose flavour

1 tsp baking soda

1 tsp cinnamon

1/4 tsp nutmeg (if you want)

2 cups of apples (of course, I used the Naturally Imperfect apples)..peeled and cored and cut up into pieces. I didn’t peel them but I think I will next time!!

dapple - apple

DIRECTIONS

1. In a medium bowl, beat together sugar, butter, egg and vanilla until well combined.

2. In a small bowl, combine flour, baking soda, cinnamon and nutmeg.

3. Add dry ingredients to sugar mixture and stir until well combined.

4. Stir in Apples.

5. Lightly pat batter in a square baking pan.

6. Bake in a 350 degree oven for 40 minutes.

SERVE WITH ICE CREAM.

dapple - final

Happy Baking.

Disclosure: This was a compensated post however all opinions are my own

Share this:
Share this page via Email Share this page via Stumble Upon Share this page via Digg this Share this page via Facebook Share this page via Twitter

, , , , , , ,

Feb
07


I grew up in a family that loved apples. I grew up eating McIntosh, Granny Smith, Empire, Cortland and even Russet apples.

My love for apples continues…it’s a quick healthy snack and apples can be turned into healthy desserts too. (keep reading)

Recently I became aware that the McIntosh Apple is celebrating it’s 200th anniversary in style!!

The Ontario Apple Growers will be hosting the  Winter Apple Ball! This event  is going to take place on Monday Feb 21 from 11 – 2 at the Westin Harbour Castle in the Metropolitan Ballroom.

For further info click on the link. All the info about this fabulous event will be there.

In honour of the McIntosh Apples’ birthday, I decided to make baked apples for dessert tonite.

I think my family is kinda tired of yoghurt and blueberies with sprinkled granola.

Here’s how simple the recipe is:

INGREDIENTS:

Apples (I used McIntosh but I’m sure this would work with other varieties. Infact other varieties might work better)

butter or margarine (a few tablespoons)

cup brown sugar (a few tablespoons)

cinnamon

pecans and walnuts (optional)

(sorry I didn’t measure…I grew up in a kitchen that didn’t measure anything. My mom is awesome though).

RECIPE:

1. Core apples (simple..well kinda. LOL) I have a apple corer to assist with this step.

step #1

2. Mix the butter, brown sugar and cinnamon (nuts are optional)

Step #2

3. Stuff the apples with the mixture.

Step #3

4. Bake in a preheated 350 degree oven for 40 minutes

VOILA…a dessert that barely took 5 minutes of preparation, required barely any ingredients and is YUMMY.

If you notice in the photos, there’s little bits of orange sticking out. A few years ago, I brought back from Israel, dried orange peel from an incredible store called Eden Teva. I’ve been storing it in my freezer and every once in a while I add it to a few dishes that I make for color and flavor.

Happy 200th Anniversary to the McIntosh Apple!!

Share this:
Share this page via Email Share this page via Stumble Upon Share this page via Digg this Share this page via Facebook Share this page via Twitter

, , , , , , , , ,