Posts Tagged ‘Cuisinart’

Dec
17


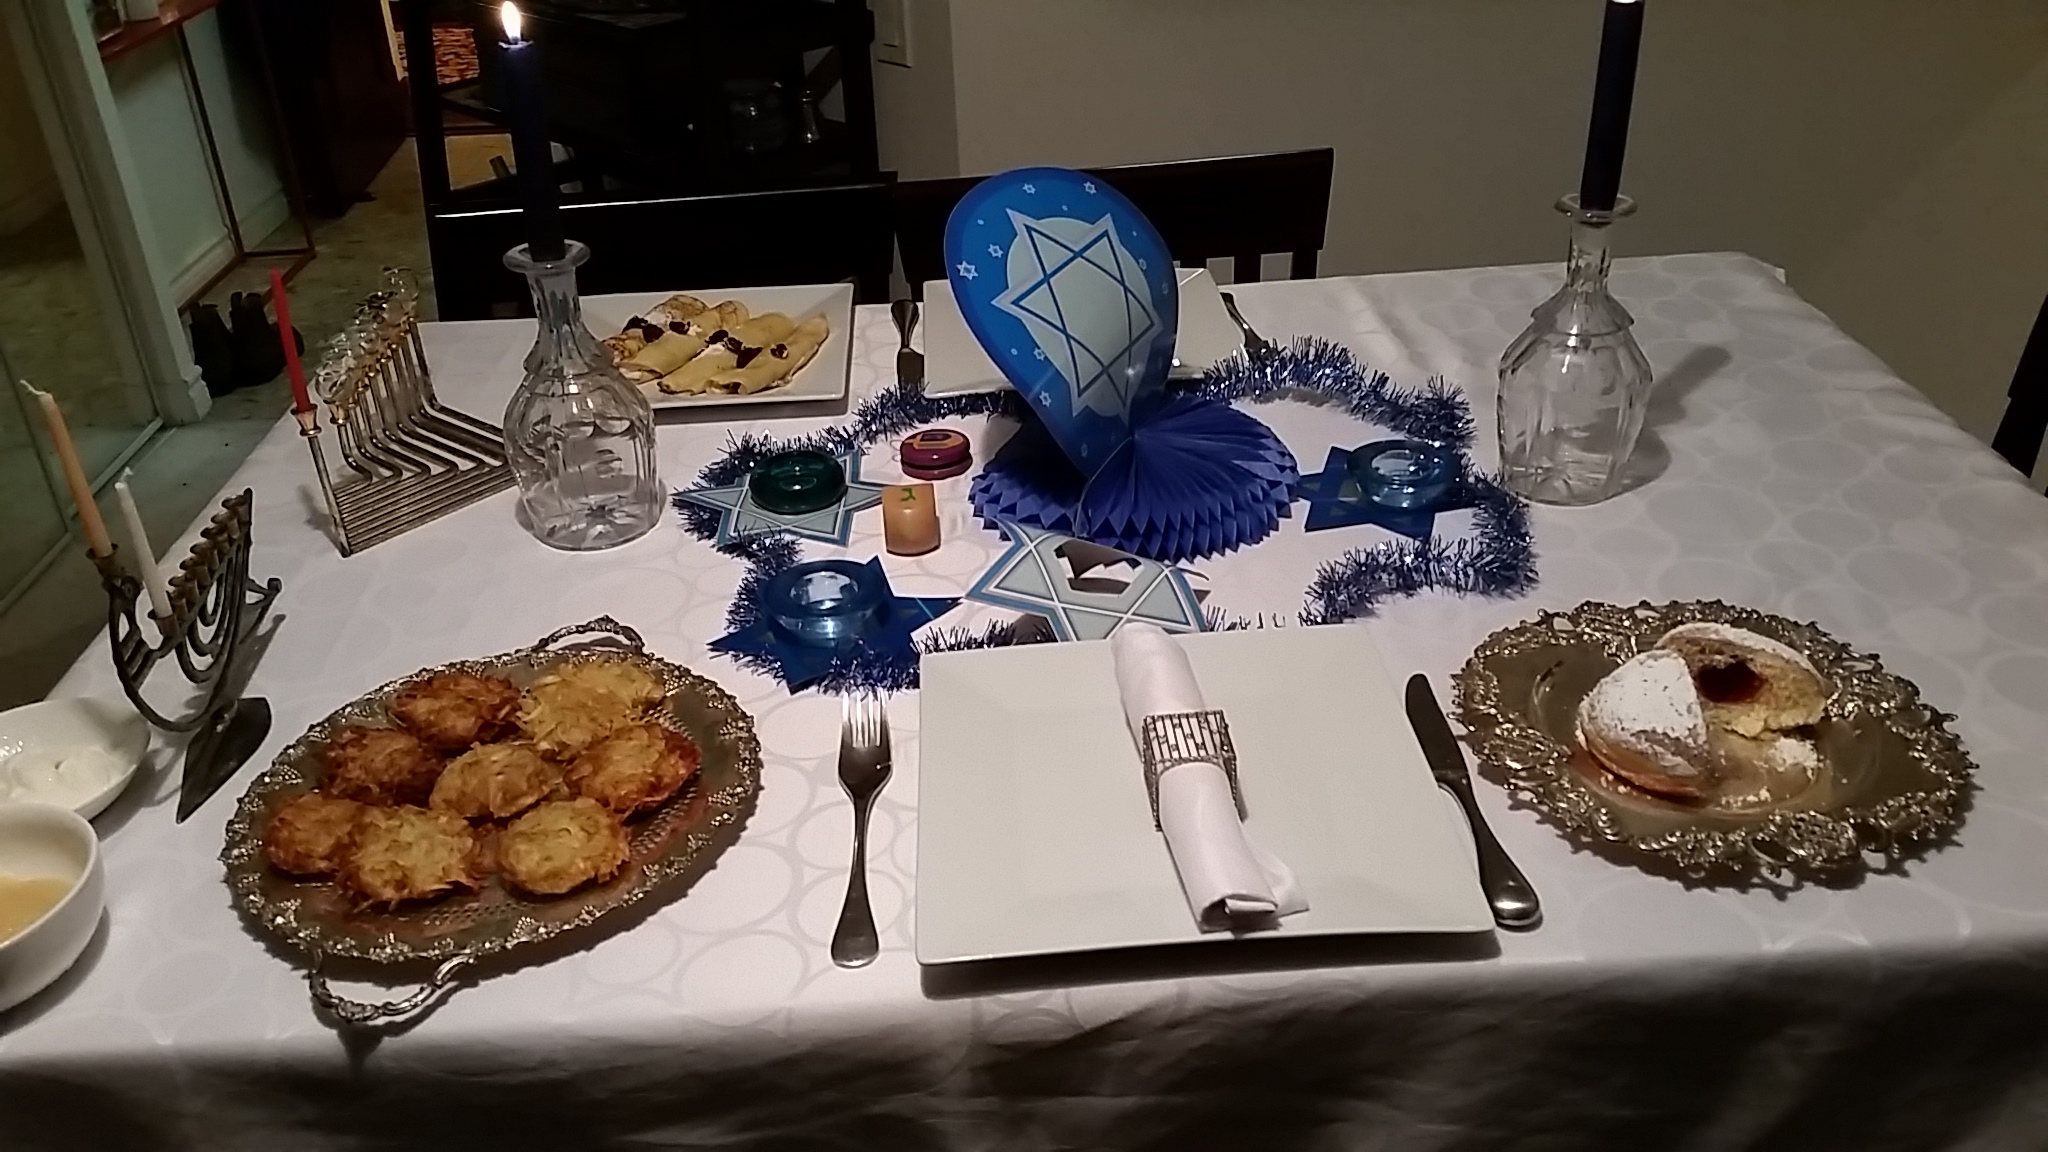
It’s Chanuka, which means it’s time to eat a few (just a few) potato latkes. I’ve been using the same recipe for Potato Latkes for years but this year I came across a new recipe (via Facebook) from Tori Avey  that I thought I would try.

The secret to my success was actually READING the entire blog post! Generally I just skim a recipe and this time I actually read it twice.

These tips really made a difference:

•I used Peanut Oil. Believe it or not , it was the first time I’ve bought Peanut oil!!

• I made sure the oil was actually the right temperature (I placed a popcorn kernel in the oil and it popped – so I knew the oil was ready).

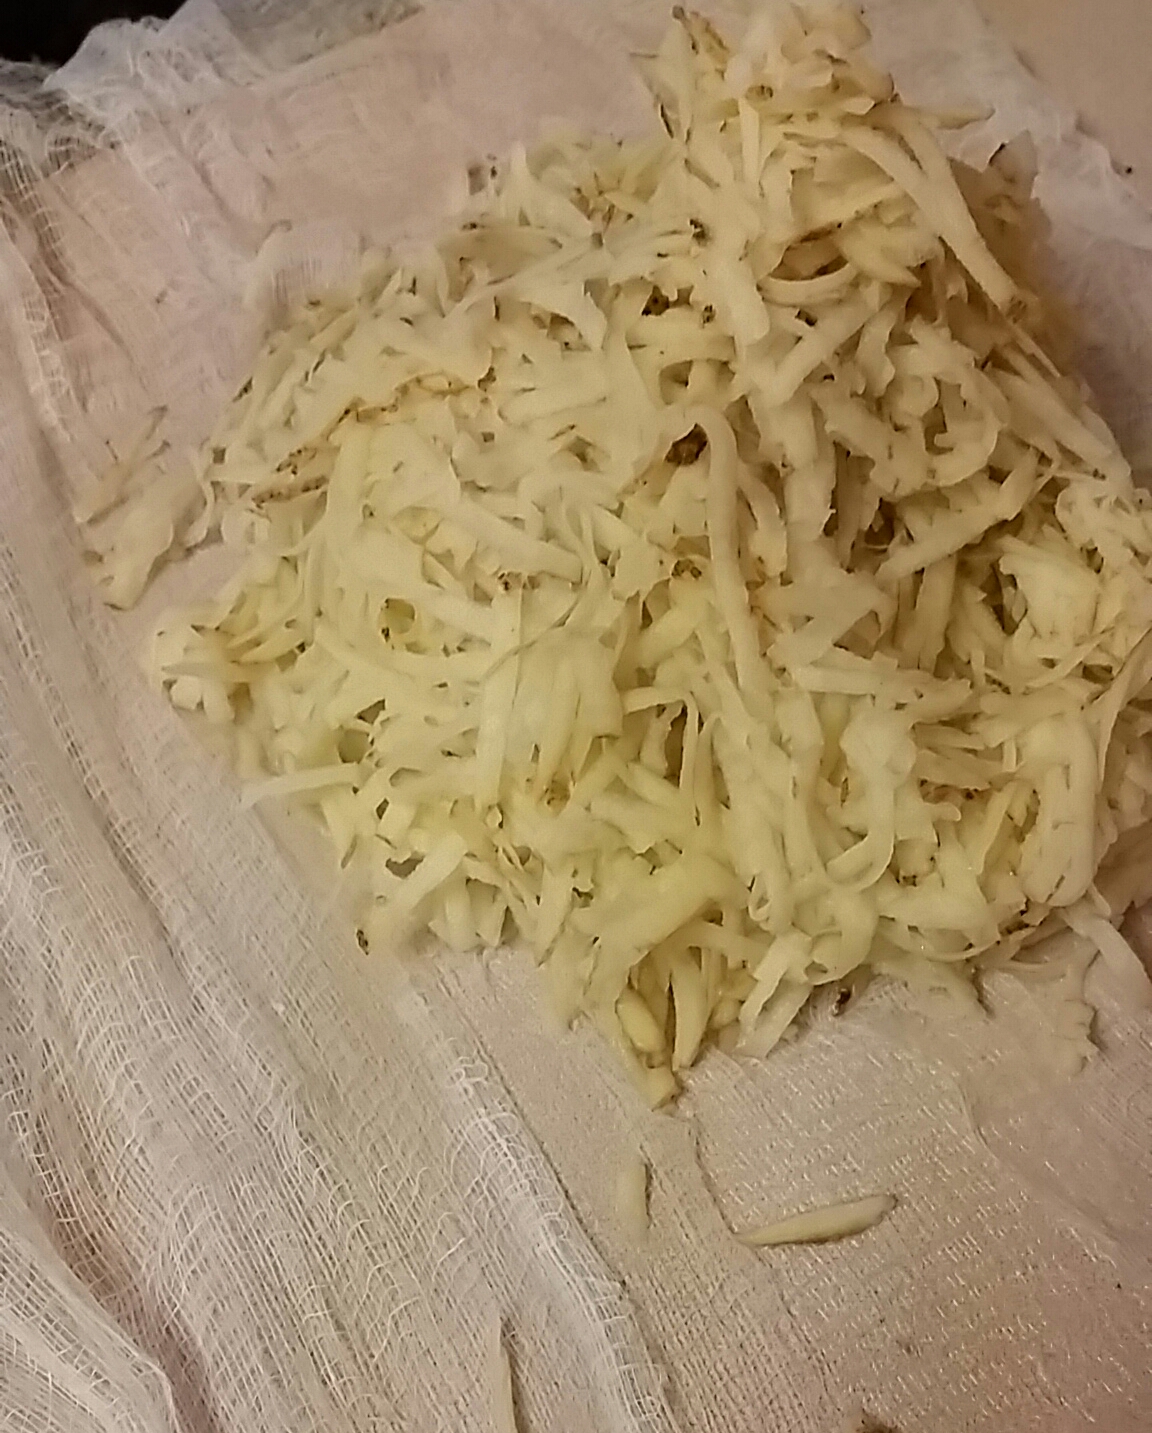
• I grated the potatoes by hand. (not sure this made a difference but….LOL). Usually I take out my beloved Cuisinart for this job but since I moved I can’t find the blade. Don’t ask. ARGHH

• I used a cheesecloth (purchased from the dollar store) to really wring out the excess water.

Recipe for Classic Potato Latkes (from Tori Avey)

INGREDIENTS

  • 2 1/2 lbs. Yukon Gold potatoes
  • 1 large white or brown onion, shredded  (I left this out – not sure why)
  • 3/4 cup matzo meal or bread crumbs (I used bread crumbs)
  • 2 eggs, beaten
  • 1 tbsp potato starch ( I used baking powder)
  • 1 1/4 tsp salt, or more to taste
  • 1/2 tsp pepper
  • Peanut or grapeseed oil for frying (about 1 1/2 cups) (I used peanut oil)

DIRECTIONS:

1. Grate the potatoes and immerse into cold water to prevent discolouring.  Drain and put the grated potatoes on a cheesecloth and then wring it out like there’s no tomorrow.

latke - cheesecloth

2. Grate the onions (again, I skipped this part – not sure why)

3. Add the squeezed out grated potatoes, onions and the rest of the ingredients into a bowl and mix the ingredients till everything is well blended.

4. Heat the oil in a large pot. I was really generous this time  with the oil and it made a difference. After a few minutes, I then placed a popcorn kernel in the oil. It popped which meant it was the right temperature. You could also use a piece of bread and when it turns golden brown ..then you know the oil is ready.

5. Form latkes into patties and then gently drop into the hot oil with a slotted spoon. After 2-3 minutes – flip over. Take them out of the oil and place them on a paper towel to absorb the oil.

5. Serve….with applesauce, sour cream or both!!

latkes -final

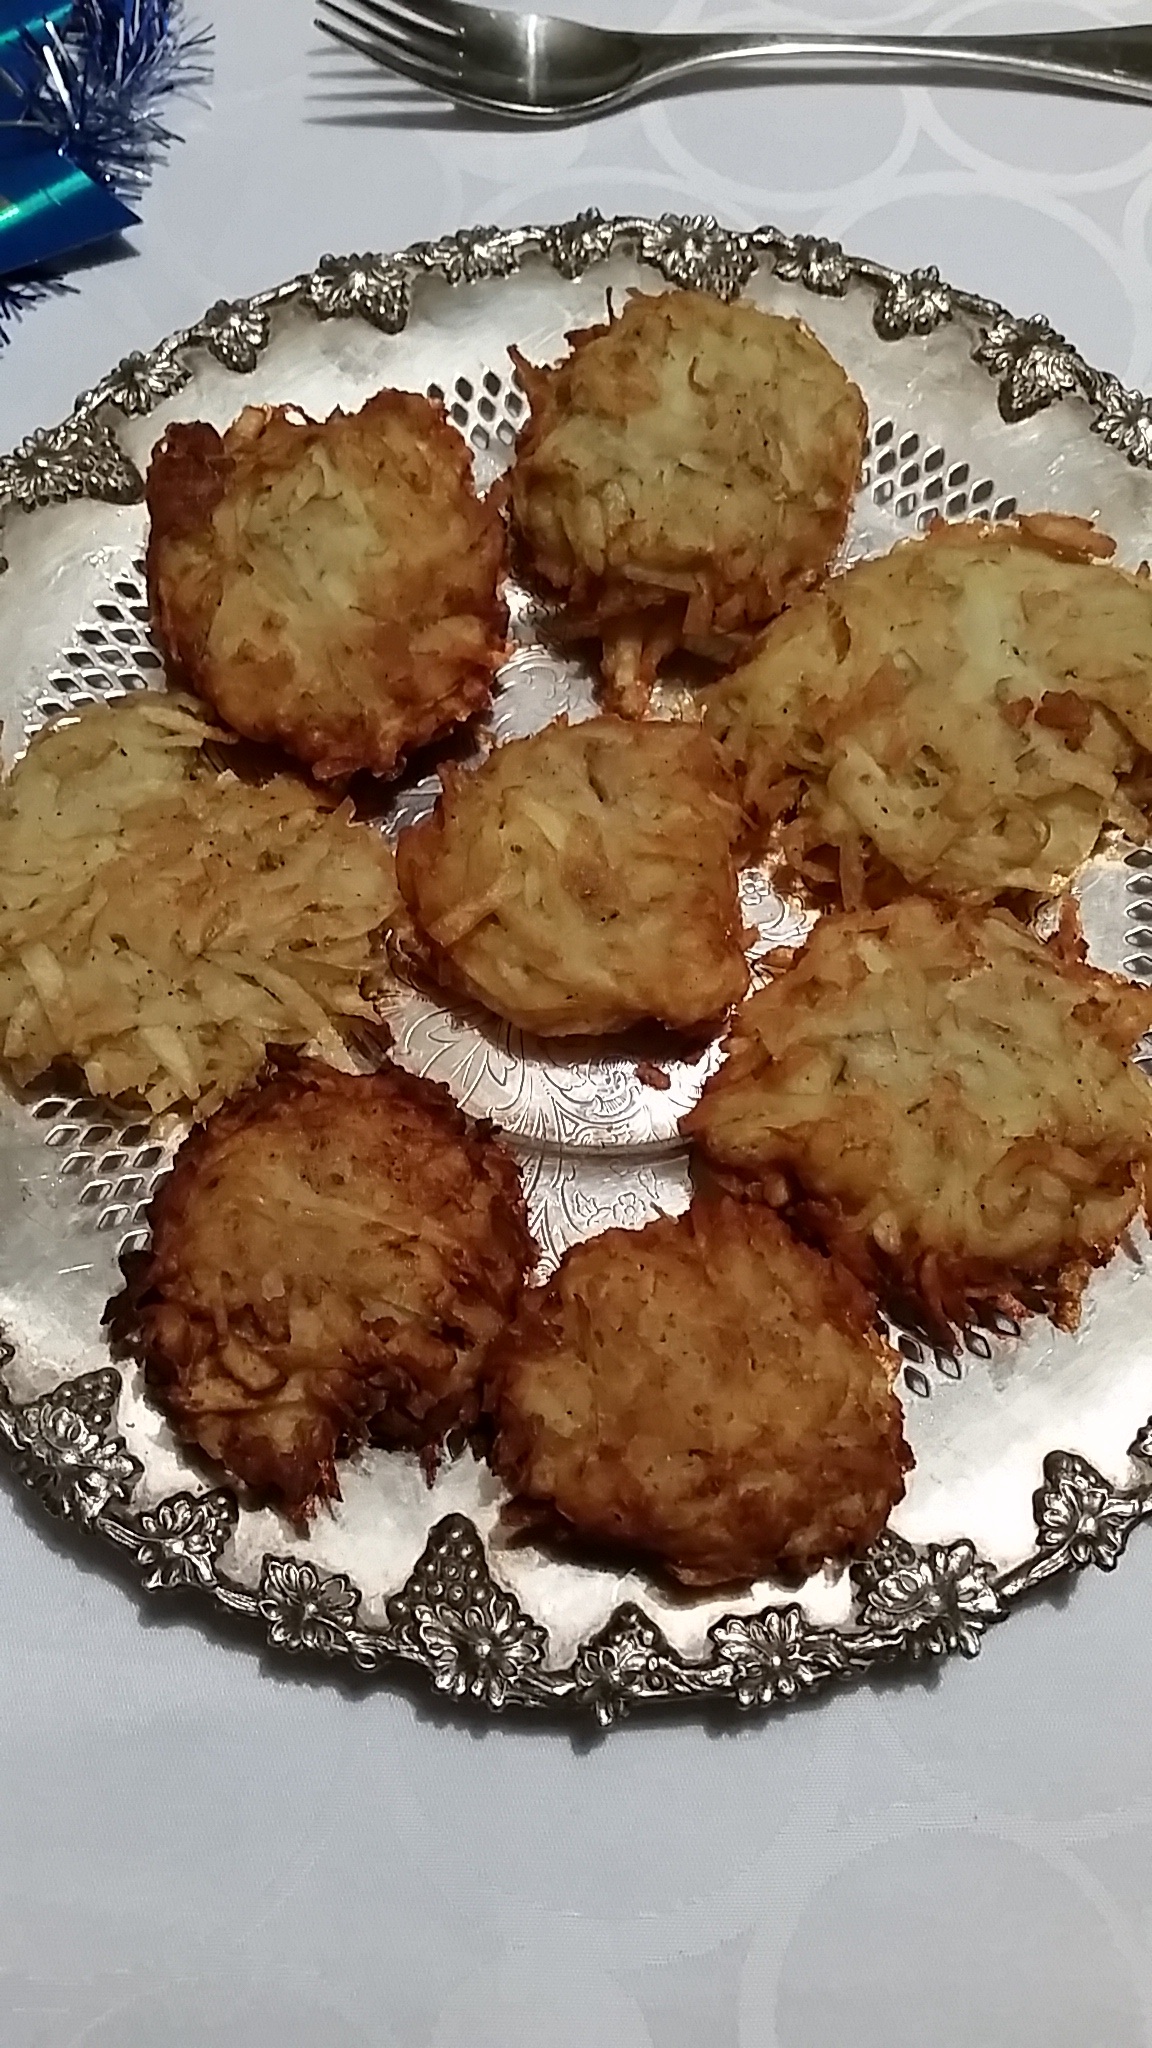
Happy Chanuka…to all who celebrate! ps these latkes are traditionally served at Chanuka but I have no idea why I don’t make them all year round. They are DELICIOUS.

latkes -table

Share this:
Share this page via Email Share this page via Stumble Upon Share this page via Digg this Share this page via Facebook Share this page via Twitter

, , , , , ,

Sep
03


I’m always looking for new fish recipes, seeing as I haven’t had any meat in my kitchen for the last two decades!!

Lately I’ve been using Panko Crumbs but I was getting bored of using them so I went over to Pinterest to get some inspiration. (which I’ve been doing a lot of lately).

I found a Popchips Recipe Board and saw that one recipe featured  Popchips crusted baked buffalo chicken tenders! I said to myself: “hmm..bet I could recreate this with fish”. So I did. Bye Bye Panko Crumbs. Hello Popchips!!

Here’s what you need:

pop chips - ingredients


INGREDIENTS

2 pieces of sole, thawed

2 egg whites

2 small bags of Popchips (I used the nacho cheese flavour)

a few dashes of Tobasco Buffalo  Sauce (optional)

DIRECTIONS:

1. In a food processor, pulverize the Popchips. Add a few dashes of Tobasco Buffalo Sauce for additional flavour (optional)

pop chips - cuisinart

2. Put out two plates: one for the Popchips. One for the egg whites. Dip the fish into the egg whites and then dip into the crushed Popchips until well coated.

pop chips - two plates

3. In a heated frying pan, add some oil. (I used coconut oil for my first time…yay for coconut oil)

4. Place the fish into the frying pan and cook for a few minutes.

FINAL RESULT

pop chips - final

Hope you get a chance to snack on some Popchips soon or use them in a recipe like I did!! These chips will soon become a favorite. Promise.

Share this:
Share this page via Email Share this page via Stumble Upon Share this page via Digg this Share this page via Facebook Share this page via Twitter

, , , , , , , , ,

Jan
13


Once again, I pulled out the Original Moosewood by Mollie Katzen, and made a favorite side dish called Vegetable Almond Medley. I love that you can use any combo of vegetables that you like (or have in your fridge!!)  plus its’ healthy healthy healthy.  (I think you get it)

VEGGIE ALMOND MEDLEY: (From Moosewood Cookbook) 

3 lbs mixed vegetables (your favorites!!)

1 cup chopped onion

2 cloves garlic, minced

1 cup chopped almonds

2 cups water

5 tablespoons butter (or margarine)

5 tablespoons flour

1 tsp prepared horseradish (I didn’t have any on hand)

dash or two (or three) of tobasco sauce

1/2 tsp dry mustard

1 tablespoon tamari

salt and pepper to taste

1/2 cup chopped toasted almonds

1/3 cup breadcrumbs (fresh..if you can!!)

DIRECTIONS:

Sautee onion and garlic in tablespoons of butter, salting them lightly. When onions are translucent add vegetables. Saute until all are cooked or to your liking.

Take almonds and place in a blender (or Cuisinart) with water. Blend until smooth. This is the “almond milk”

Melt 3 tablespoons of butter and whisk in 3 tablespoons of flour. Add almond milk and seasonings. Stir CONSTANTLY over low heat until thickened (it works..just be patient)

Combine sauteed vegetables with the almond sauce. Add salt and pepper.

Put into a large buttered casserole dish. Sprinkle with breadcrumbs and chopped toasted almonds.

Bake in a 400 degree oven for 15 minutes, uncovered.

FINAL RESULT:

Hope you enjoy this side dish as much as I do. I tend to serve this dish with a fish dish and some type of carb like a baked potato.

Happy Cooking!!


Share this:
Share this page via Email Share this page via Stumble Upon Share this page via Digg this Share this page via Facebook Share this page via Twitter

, , , , , ,

Mar
20


Usually I enjoy making soup, but with these types of temperatures…. soup is NOT on my mind. Instead, I was inspired to make frozen yogurt as a result of this tweet I saw on twitter:

@FamilyBites: I am totally making this tomorrow! RT @dinnerwithjulie: Liberté Lemon Fro-Yo y’all. http://t.co/4rqy1SSv

I clicked on the link and said to myself “I MUST TRY THIS. STAT”….so I did. (this doesnt suprise you does it?).

As you know, I bought a Cuisinart ice cream maker/frozen yogurt machine last year. It was in “hibernation mode” over the last 6 months so it was time to bring it out. Plus, I was having guests for dinner and thought this would make the perfect dessert.

I followed these smple instructions:

a) bought Liberte yoghurt  (that’s a step, right?)

Step One: Go to the Grocery Store!!

b) put the entire container into the Cuisinart ice cream/frozen yogurt machine.

Let the Frozen Yoghurt Machine do its magic!!

c) flicked the button on. (oh what effort) and waited 10 minutes while it did it’s magic

d) served it to my guests!!

How simple! How healthy! How Perfect.

Summer is going to be great AND summer is going to be TASTY too.

One final note: I am now very curious to compare different brands of yogurts and different flavors as well. Stay tuned for a report.


Share this:
Share this page via Email Share this page via Stumble Upon Share this page via Digg this Share this page via Facebook Share this page via Twitter

, , ,

Dec
04


Let’s talk about soup. Every one loves soup right? Seriously, have you ever met someone who doesn’t like soup?

I’ve been enjoying a variety of soups from the Moosewood cookbooks for the last two decades. In particular:

  • Split Pea
  • Russian Cabbage Borsht
  • Creamy Squash (New Recipes From Moosewood)
  • Armenian Lentil
  • Potato Leek (New Recipes from Moosewood)
  • Minestrone

However sometimes (only sometimes) I’m short on time and want to make a soup that’s really quick. Guess what? I found a soup that takes NO TIME at all and its delicious. Once again, I found it on the internet (thanks to FoodLoversWebsite)

Here’s the recipe for Spicy Tomato Soup (which I modified a lot cause I bought the wrong can of tomatoes)

INGREDIENTS:

1 tablespoon oil

1 tablespoon butter

1 1/2 cups minced onion

3-4 cloves of garlic cloves

1/2 tsp salt

1 tsp dill

lots of ground black pepper

12 oz crushed tomato concentrate (I bought canned diced tomatoes by accident)

2 cups water

1 tablespoon honey

1 tablespoon of mayo or sourcream (I used milk)

2 medium sized tomatoes, diced

INSTRUCTIONS:

1. Heat olive oil and butter in a saucepan.

2.Add onion, garlic, salt, dill, black pepper and stir till onions are translucent (about 6-8 minutes)

3. Add canned tomatoes, water and honey

4. Cover and simmer over low heat for 20-30 minutes.

Because I screwed up buying the wrong tomatoes, I then took a sieve and separated the tomato chunks from the liquid.

Then I took the solids, whizzed it in the Cuisinart while slowly adding the liquids. To make it creamy – I added a touch of milk.

Voila

I love soup. In fact my freezer is full of soups at the moment. I crave soup during the winter – don’t you? What’s your favourite soup? Would love to know.

Share this:
Share this page via Email Share this page via Stumble Upon Share this page via Digg this Share this page via Facebook Share this page via Twitter

, , , , , ,

Dec
01


I was lucky enough to obtain a ticket to the Cuisinart Warehouse house sale before it opened to the general public. I had never been before and thought that this would be a great opportunity to “check it out”. I was also super curious to see the selection and the prices.

I got into my van, and off I went to 100 Conair  Parkway in Woodbridge ON. This was a trek, but in the end I discovered it was worth the trek. Let’s go into some detail, shall we?

1. SIZE OF THE BUILDING.

It’s enormous. It’s probably the biggest space I have seen for a sample sale and trust me I have been to a few over the years. The manager I spoke to, told me that they have 20 cashiers on hand and that even if there’s a line up – they are efficient. (i.e TONS of staff). Cuisinart has been doing this for years and years.

IT"S MASSIVE!!

2. PRODUCT SELECTION

You name it – Cuisinart makes it: toaster ovens, juicers, plate sets, bread makers, coffee make, deep fryers, mini choppers, knive sets, ice cream makers, rice cooker & steamer, food processor, roasters, pots and pans, blenders. Plus Connair has a selection of products at the sale too: trimmers, hair dryers, heating pads, clothes steamers, irons etc.

3. PRICE

Here’s a few photo’s that will convince you that the Cuisinart Sale is worth the drive. Whether you are looking for something for yourself or to give away as a gift (housewarming, engagement, wedding, christmas, etc).

Blender: $30

Deep Fryer: $60 (I bought one by the way)

Food Processor: $125

Ice Cream Maker: $25 (I bought it at Costco for $40 in the summer)

Rice Steamer: $30

I came home with: a deep fryer (my waistline is in HUGE trouble), a knive set ($25 with the butchers block), 2 juicers ($15) and a few other knick knacks from Connair. I could have bought WAY more i.e I had my eye on the pots and pans( $60) and another ice cream maker as a gift.

The sale will continue FRIDAY DEC 2 from 9 to 9 and SAT. DEC 3 from 9 to 6 at 100 Connair Parkway in Woodbridge. GO GO GO. You wont be disappointed.

PS stay tuned for a blog post about the deep fryer. What do you think I should make?


Share this:
Share this page via Email Share this page via Stumble Upon Share this page via Digg this Share this page via Facebook Share this page via Twitter

, , , ,

Aug
09


I received this salad recipe via email from a mom in the school yard back in 2007. The email was printed and has been in my “recipe binder” (do you have one of those? or am I the only one!!) and it’s a keeper. Promise you – this salad is a real winner.

I like this salad as it has the perfect combination of nuts, cheese, greens and  I love that the zucchini is slightly sauteed.

It’s called ANTIPASTI SALAD.

Ingredients:

Mixed Greens

3 zucchini – unpeeled, julienned

2 tomatoes – finely diced

1 small red onion – finely chopped

1/2 crumbled feta

1/4 cup toasted almonds

1/4 cup toasted sunflower seeds

1/4 cup pistachios

1/4 cup toasted pine nuts

Instructions:

1. Place mixed greens in a large salad bowl

2. Heat frying pan. Add oil and lightly sautee the zucchini till tender (but not soft). Place the zucchini in the fridge to cool.

3. Heat another frying pan. Add nuts (all 4 varieties) and toast till aromatic.

4. Add the zucchini, the toasted nuts and the crumbled feta to the mixed greens.

Dressing:

2 cloves of garlic

1/4 cup red wine vinegar

1/4 cup olive oil

salt and pepper

Instructions:

Add the garlic into a cuisinart. Then add the olive oil, red wine vinegar and the salt and pepper. The cuisinart really emulsifies the ingredients and your end result will be a much better dressing.

Add the dressing to the salad and toss.

ENJOY.

PS if you are looking for a website with more great recipes – check out Life Made Delicious!

Disclosure: I am part of the Life Made Delicious Connector Program and I receive special perks as part of the affiliation with this group. The opinion on this blog are my own.

Share this:
Share this page via Email Share this page via Stumble Upon Share this page via Digg this Share this page via Facebook Share this page via Twitter

, , , , ,

Jun
07


I will admit it, I own too many kitchen appliances. I need another one like another navel. BUT…the bright colors WERE CALLING MY NAME (Cuisinart knows how to get my attention) and I just had to have one when I saw this Cuisinart Ice Cream Maker at Costco for $49.99.

Purple or Green!!

I was reading so many tweets last year from @kalofagas last summer about his ice cream making adventures that I’m almost ready to blame him!!  But I won’t. He truly inspired me and as a result I’m now making FRESH ICE CREAM.  A huge thank you to to @kalofagas for his inspirational tweets.

Here’s how easy it is:

RECIPE FOR FRESH STRAWBERRY ICE CREAM (taken from the manual)

2 cups fresh strawberries, stemmed and sliced

3 tablespoons freshly squeezed lemon juice

1 cup sugar, divided

1 cup whole milk – well chilled

2 cups heavy cream – well chilled

1 tsp pure vanilla extract

STEP ONE:

Combine the strawberies, with 1/2 cup of sugar and the lemon juice. Let sit for about two hours. Strain the berries, reserving the juices. Mash or pureee the strawberries (I used a blender for this step).

STEP TWO:

Use a mixer and on low speed, combine the milk and the remaining sugar until the sugar is dissolved, about 1 -2 minutes. Stir in heavy cream, reserved juice, mashed strawberries and vanilla.

Pretty Easy...

STEP THREE:

Pour the mixture into the freezer bowl of  the Cuisinart – and press a button.

Twenty five minutes later…. I have unbelievable creamy fresh strawberry ice cream.

Not bad eh?

Hope you visit your local Costco soon – so you too can buy a Cuisinart Classic Frozen Yogurt – Ice Cream and Sorbet Maker.

I can’t wait to experiment with flavors: Coffee, Ginger, Rhubarb, Lemon, Watermelon,….It’s going to be a delicious summer!

PS Can someone now inspire me to use the Cuisinart Yogurt Machine that has been sitting in my basement (in a box) for the last year?

Share this:
Share this page via Email Share this page via Stumble Upon Share this page via Digg this Share this page via Facebook Share this page via Twitter

, , , , , ,

Nov
28


It’s that time of year again, when my family inhales consumes latkes. Trust me, I’m not complaining. I love latkes. Everyone does! Here’s the recipe that I have been using for close to 20 years. It’s adapted from Still Life with Menu Cookbook by Molly Katzen.

The reason I prefer this recipe is due to her secret trick: you parboil the pototoes.

Let’s start from the beginning K?

(my mom would be proud that I really tried hard to get peel off ALL of the skin!

9 yellow potaotes – peeled

the cusinart does a great job of grating - no fuss, no muss

Grate them in a cusinart. (or by hand)

Then, take the grated potatoes and put them in boiling water and par boil for 10 minutes.

RINSE under cold water – (this takes a bit of time cause you want the potatoes to be cool for the next step) and squeeze out the excess water.

Place the grated par boiled potatoes in a bowl, along with 4 eggs and 3/4 flour, and salt.

Last step..simple eh?

Place dollops of  the mixture on a heated griddle with vegetable oil. I love using my griddle for latkes for two reasons 1. you  dont have to use a lot of oil 2. you  get to make a lot of latkes at a time.

so simple...I swear.

FINISHED RESULT..

ready to be inhaled...with sour cream or applesauce.

I love Chanuka don’t you?

For those of you looking for last minute gifts, please check out this guest blog entry I wrote for Everything Mom.

Happy Chanuka and Happy Cooking.

Share this:
Share this page via Email Share this page via Stumble Upon Share this page via Digg this Share this page via Facebook Share this page via Twitter

, , , , , ,