Posts Tagged ‘Recipe’

May
25


I stumbled across this banana cake recipe online and it intrigued me for these two reasons:

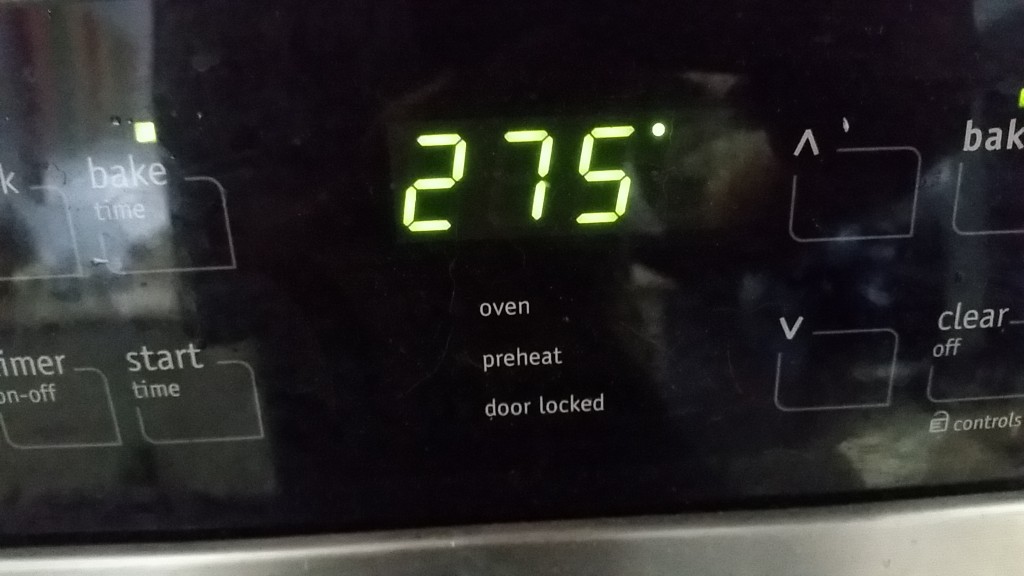
a) You bake it at 275 degrees for 1 hour and 10 min.

banana cake - 275

b) You transfer the cake right from the oven into the freezer for 45 minutes.

So I tried it and it was SO good that I made it three times in one week. Not to mention I had these two compliments;

a) my mom said it tasted similar to the Sara Lee Banana Cake (that we use to eat decades ago)

b) my aunt actually tried it and then made the recipe the following week. She’s an amazing baker so this was a huge compliment!

Here’s the recipe for you to try (in your spare time ..of course)

CRAZY BANANA CAKE WITH CREAM CHESE ICING (credit: www.happyhooligans.ca)

  • 1.5 cups very ripe bananas (3 fresh bananas or 4 thawed, previously frozen bananas)
  • 2 tsp lemon juice
  • 3 cups all-purpose flour
  • 1.5 tsp baking soda
  • 1/4 tsp salt
  •  3/4 cup soft butter
  • 2 cups sugar
  • 3 eggs
  • 2 tsp vanilla
  • 1.5 cups buttermilk (OR milk soured with one tbsp vinegar or lemon juice….I used this method as I didn’t have buttermilk hanging around my fridge)

DIRECTIONS

Pre-heat oven to 275º F, and grease and flour (or spray), a 9×13 cake pan.

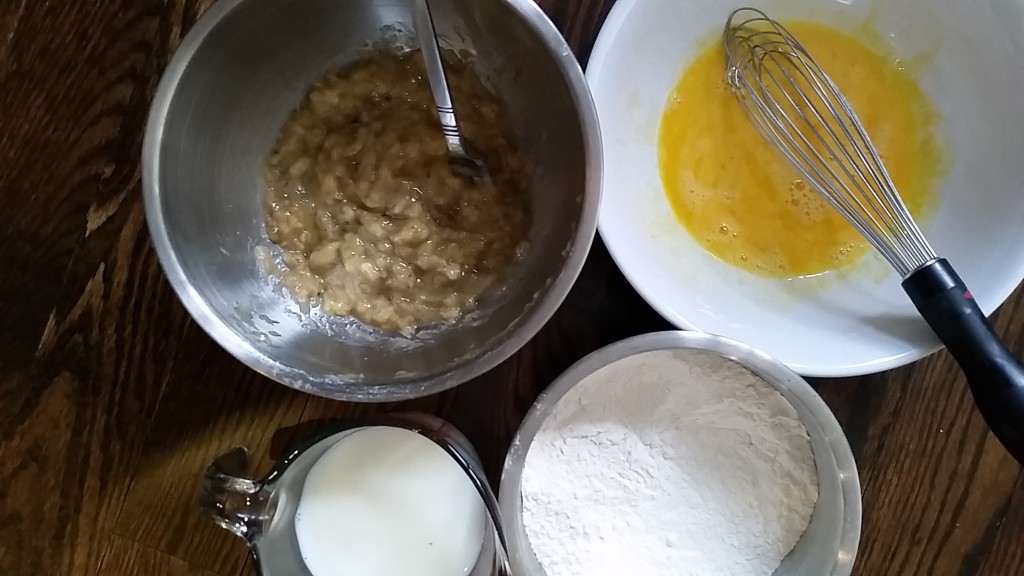
Mash banana and mix with lemon juice and set aside.

In a med bowl, mix flour, baking soda and salt.  Set aside.

If you’re making your own buttermilk, combine milk and vinegar (or lemon juice) in a small bowl, and set aside.

banana cake - ingredients

In a large bowl, cream butter and sugar. ( I used a mixer for this step to make it light and fluffy)
Beat in eggs, one at a time.  Stir in vanilla.

Beat in flour mixture alternately with buttermilk.

Stir in bananas.

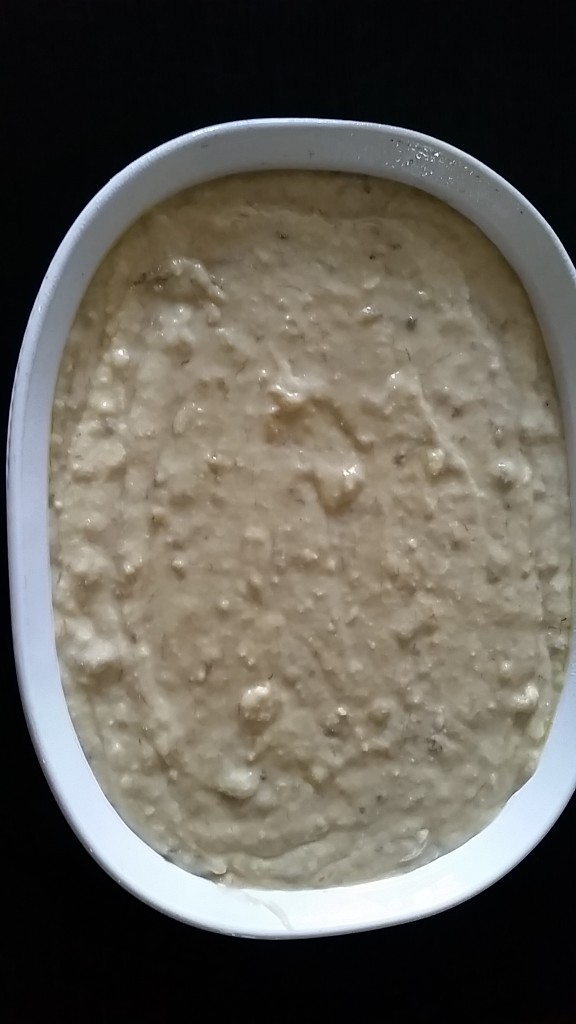
Pour into greased/floured (or sprayed) cake pan and bake at 275º F for 1 hour and 10 mins (or until knife comes out clean).

banana cake - in pan

HERE’S THE INTERESTING STEP:

Immediately place in the freezer for 45 minutes. (if not completely cool upon removal from freezer, let cool further before icing).

No need to cover the cake, but you’ll want to place it on a thick, folded towel to protect items underneath.

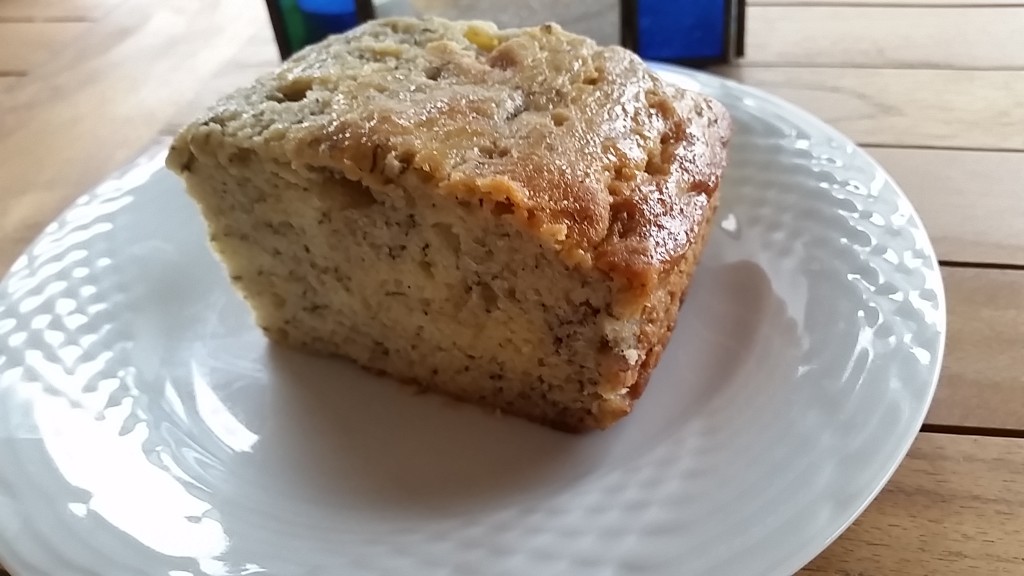
FINAL RESULT:

banana cake - final

Cream Cheese Icining: (which as you can see from the photo I did’t make as I think it’s amazing on it’s own)

  • 1/2 cup softened butter
  • 8 oz cream cheese, room temp.
  • 1 tsp vanilla
  • 3.5 cups icing sugar (also known as powdered sugar or confectioner’s sugar)
  1. Cream butter and cream cheese.
  2.  Beat in vanilla and icing sugar on low until combined, then high until smooth.

Note: This makes a ton of icing so you might want to halve the recipe.

Happy Baking!!


Share this:
Share this page via Email Share this page via Stumble Upon Share this page via Digg this Share this page via Facebook Share this page via Twitter

, , , , ,

Mar
25


Recently I’ve come across FOUR Fabulous Food Entrepreneurs on Twitter! Drum Roll please….

1. LOLAS CLOUD:

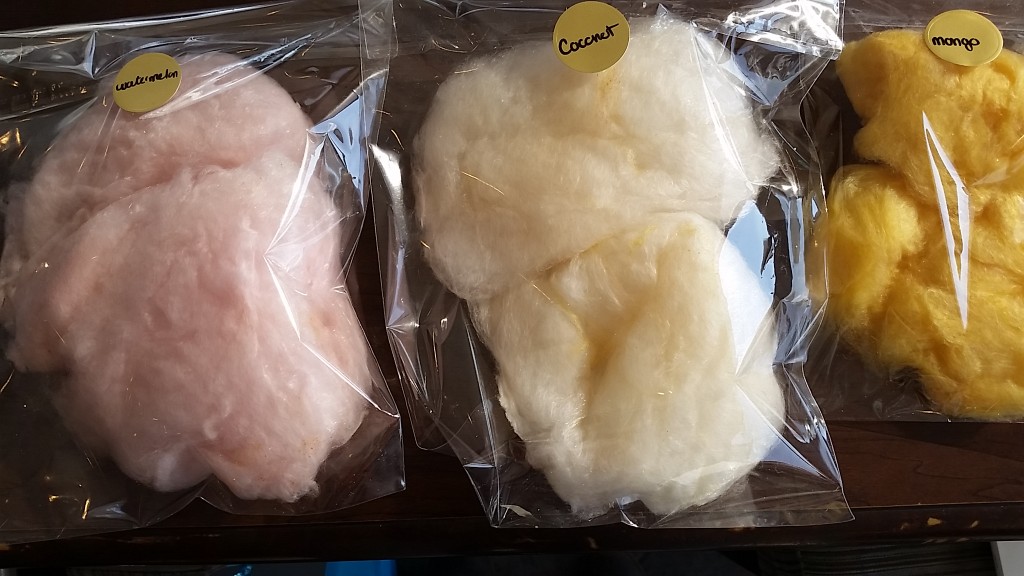
The owner of this company was tired of seeing only your typical pink and blue carnival candy floss. Instead, Lolas Cloud serves organic clouds of candy, produced with cane sugar and natural extracts. Flavours include coconut, mango, watermelon and more. #brilliant. Please follow them on twitter and instagram: @lolascloud and take a peek at their website too. ..www.lolascloud.com 

lola

2. ALL MINE CARAMEL

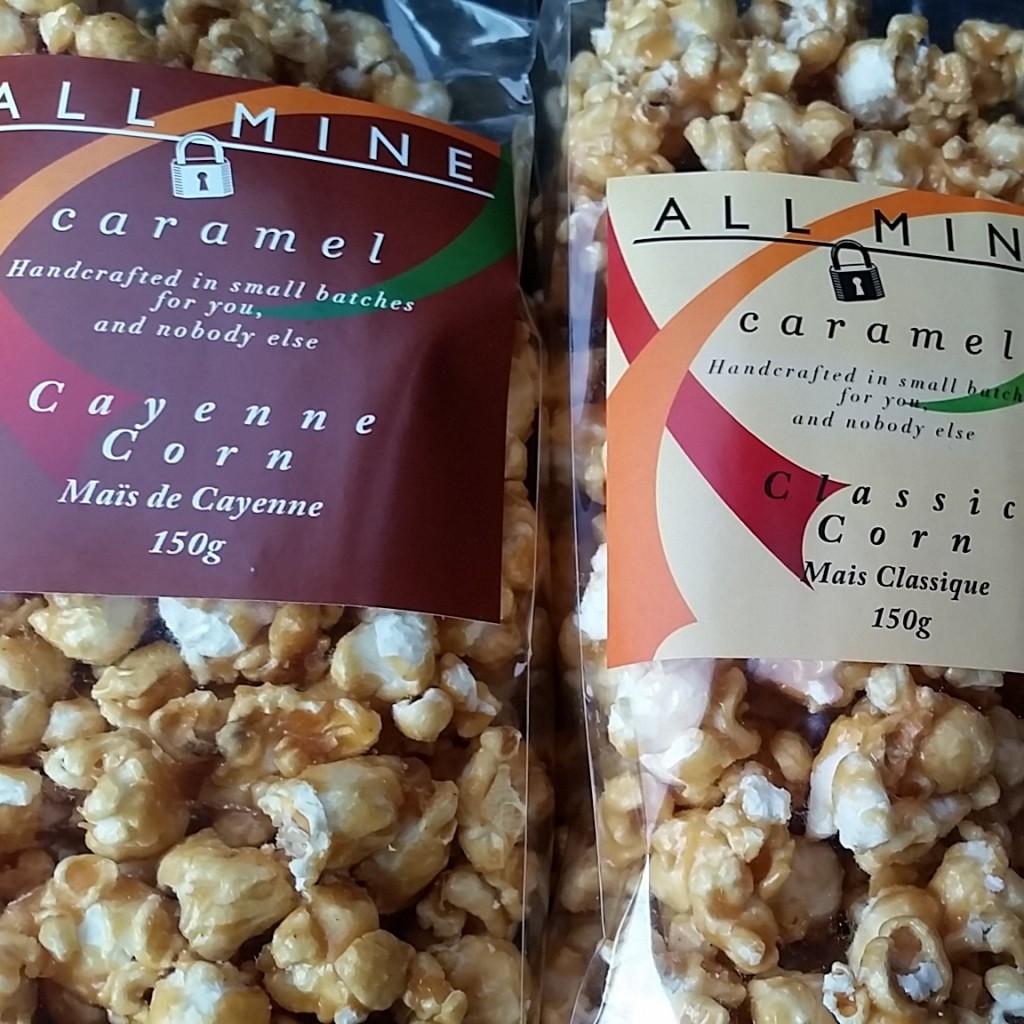
ALL MINE CARAMEL began as many small home based business do…by accident. Shannon Hitchon, who has always been proficient at cooking and making her own recipes, decided to try her hand at making her own caramels. She began slow churning her now signature buttery caramel as Christmas gifts for family and friends one year. They were a hit and soon co-workers and neighbours began requesting treats of their own. All Mine Caramel was born. Now, 4 years later, her caramel treats have become a must have delicacy. What a great story, non? I was pleased to see that Shannon is also making caramel corn too.  Can’t wait to try the Cayenne Infused Caramel Corn,…seeing as I’m all about flavour!

Please follow them on Twitter: @AllMineCaramel. Here’s their website: www.allminecaramel.ca

allmine

3. SHOTBERRY

What is a Shotberry? Well, imagine a HUGE chocolate covered strawberry that’s customized with your favourite toppings and decorations and then paired with a shot of your favourite alcohol (or non alcoholic beverage). OMG – BRING IT ON.

shot2I simply adore this concept. For more information, please visit their website: www.shotberrystore.com, Twitter: @shotberrys416 Instagram: Shotberry

4. Walter Caesar and Kelvin Slush

I blogged about Kelvin Slush when I discovered them in  NEW YORK in 2011 (see blog post by clicking here). Then I was introduced to Walter All -Natural Craft Caesar last year (see blog post by clicking here. However what I didn’t know was that these two brilliant products involve the same business partners…Zack Silverman and Aaron Harowitz. Not to mention I discovered this fact randomly by visiting a booth at the recent Restaurant Show!!

For more information: www.walteraesar.com and www.kelvinslush.com

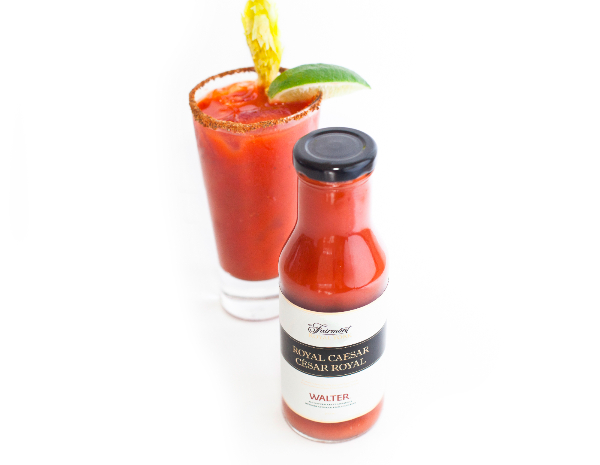
Please note, that Walter Caesar has just launched a Royal Caesar mix which is now available at the Fairmont Royal York Hotel. With it’s smoky chipotle and cumin flavours…this cocktail will surely be a hit with guests.

walter2Clearly, you can tell that I’m in awe of the above mentioned food entrepreneurs who are making their dreams come true.

Share this:
Share this page via Email Share this page via Stumble Upon Share this page via Digg this Share this page via Facebook Share this page via Twitter

, , , , , , , , , , , , , ,

Mar
23


Disclosure: In the past, I’ve been known to buy imperfect fruit and vegetables. Yes – I’m that woman lurking around the stand for over ripe bananas and slightly bruised apples. You see, I really like using them when I bake.

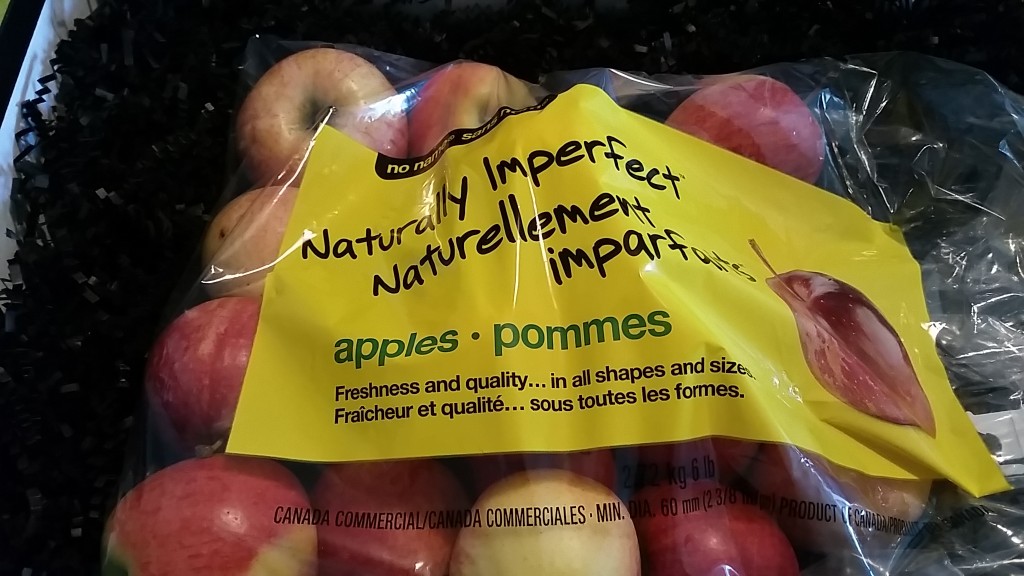
Now Loblaws has made this easy for me as they have recently introduced no name® Naturally Imperfect line of fruits and vegetables.. Starting with apples and potatoes, no name Naturally Imperfect produce costs up to 30 per cent less than traditional produce options found in store. You gotta love it!!

dapple - bag

Smaller misshapen produce that tastes great and is good for you, is now available at Real Canadian Superstore® and select no frills® locations in Ontario and select Maxi® stores in Quebec. Furthering its commitment to offer affordable, quality products to customers. YAY.

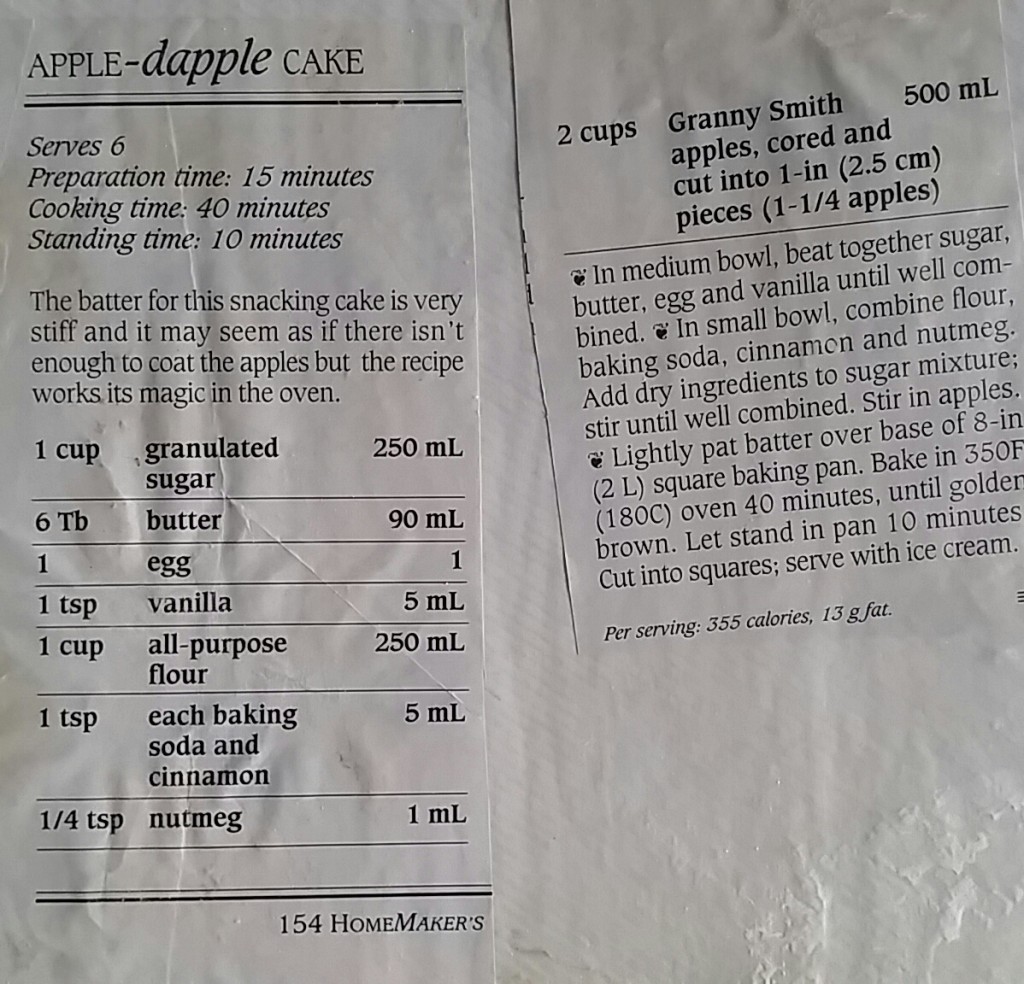
Please note that my bag contained smaller apples – not one was bruised – and they were delicious! Naturally I was excited to bake with them, so I pulled out my handy APPLE DAPPLE recipe that I’ve been making for years.  Notice where this recipe comes from? HOMEMAKERS! (see bottom of the recipe for proof). How funny is that?

apple

APPLE DAPPLE CAKE (taken from HomeMakers)

1 cup sugar (I always use less)

6 tablespoons butter or margarine

1 egg

1 tsp vanilla

1 cup of all purpose flavour

1 tsp baking soda

1 tsp cinnamon

1/4 tsp nutmeg (if you want)

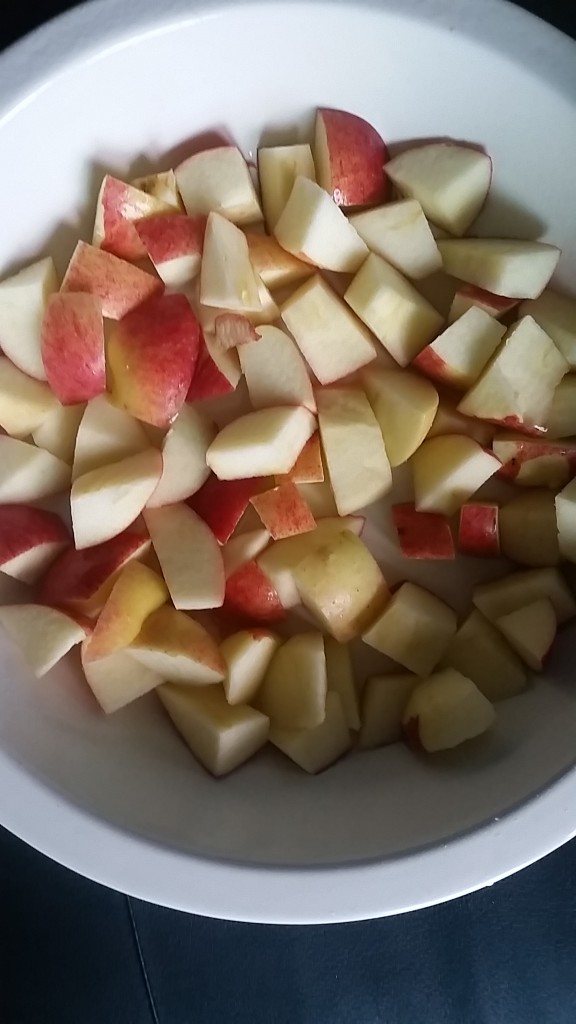
2 cups of apples (of course, I used the Naturally Imperfect apples)..peeled and cored and cut up into pieces. I didn’t peel them but I think I will next time!!

dapple - apple

DIRECTIONS

1. In a medium bowl, beat together sugar, butter, egg and vanilla until well combined.

2. In a small bowl, combine flour, baking soda, cinnamon and nutmeg.

3. Add dry ingredients to sugar mixture and stir until well combined.

4. Stir in Apples.

5. Lightly pat batter in a square baking pan.

6. Bake in a 350 degree oven for 40 minutes.

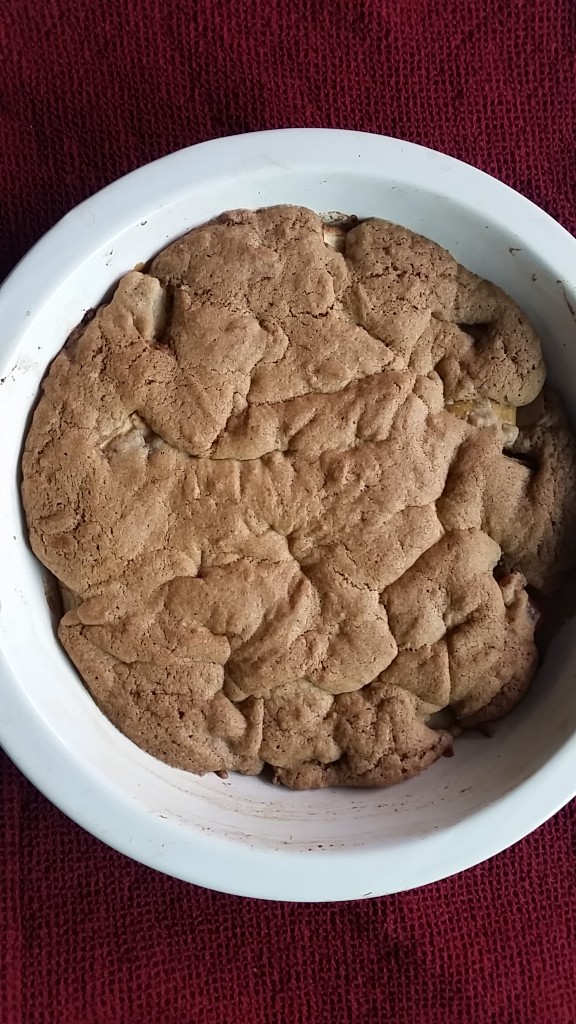
SERVE WITH ICE CREAM.

dapple - final

Happy Baking.

Disclosure: This was a compensated post however all opinions are my own

Share this:
Share this page via Email Share this page via Stumble Upon Share this page via Digg this Share this page via Facebook Share this page via Twitter

, , , , , , ,

Jan
13


On Sunday morning, I made a perfectly good lookin’ French Toast to serve to my daughter. However I was still staring at half a loaf of challah and then said to myself: “Vicky…now is the time to try that recipe for Individual French Toast Muffins that you saw on Pinterest 3 years ago!!”.

french toast - rebecca

Here’s the recipe that I used from the website: Two Peas and Their Pod

INGREDIENTS:

1 loaf French bread, cut or torn into 1/2 inch cubes  (I used half a loaf of a whole wheat challah)
2 1/2 cups milk
6 large eggs
1/2 cup granulated sugar
1 tablespoon vanilla extract
1 teaspoon ground cinnamon

For the Cinnamon Streusel Topping:

1/4 cup cold butter
1/4 cup light brown sugar
1/4 cup all-purpose flour
1/8 teaspoon ground cinnamon
Pinch of salt

Butter and Maple Syrup, for serving, optional

DIRECTIONS

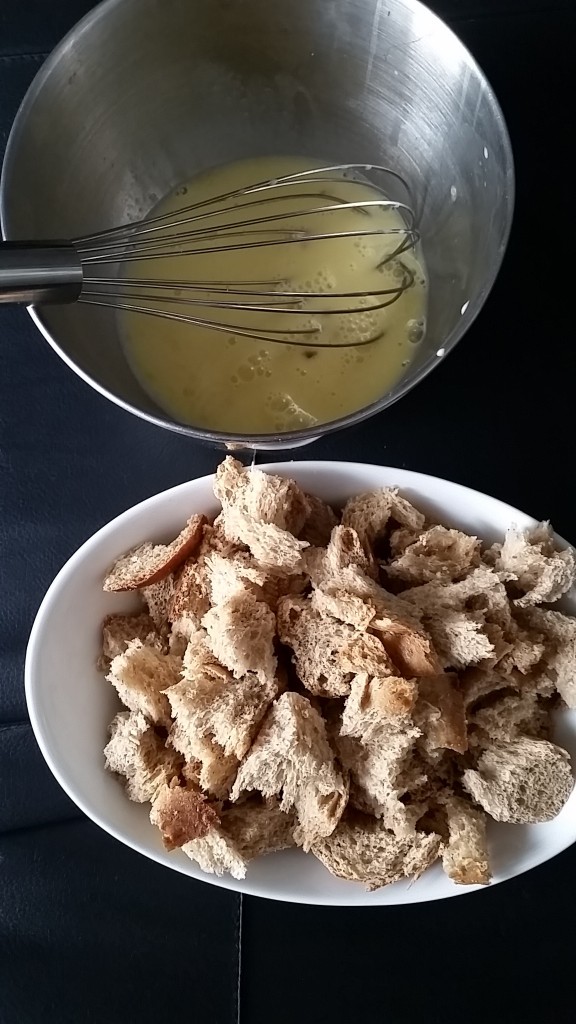
1. In a medium bowl, whisk together the milk, eggs, sugar, vanilla, and cinnamon.

french toast - bread and eggs

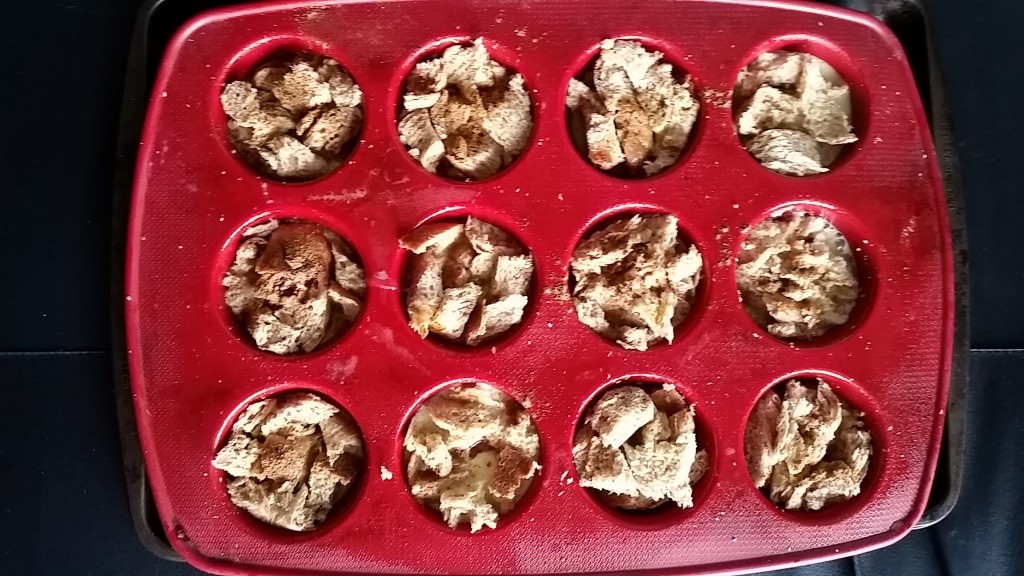
2. Grease a 12 cup muffin tin. Add a handful of bread cubes to each muffin cup. Carefully pour egg and milk mixture evenly over each muffin tin. You may need to press down on the bread cubes after you pour a little mixture and then pour more. Pour slowly or you will have a mess. Cover the muffins with plastic wrap and refrigerate for 2 hours or up to overnight. (I refrigerated it for 2 hours)

french toast - muffin

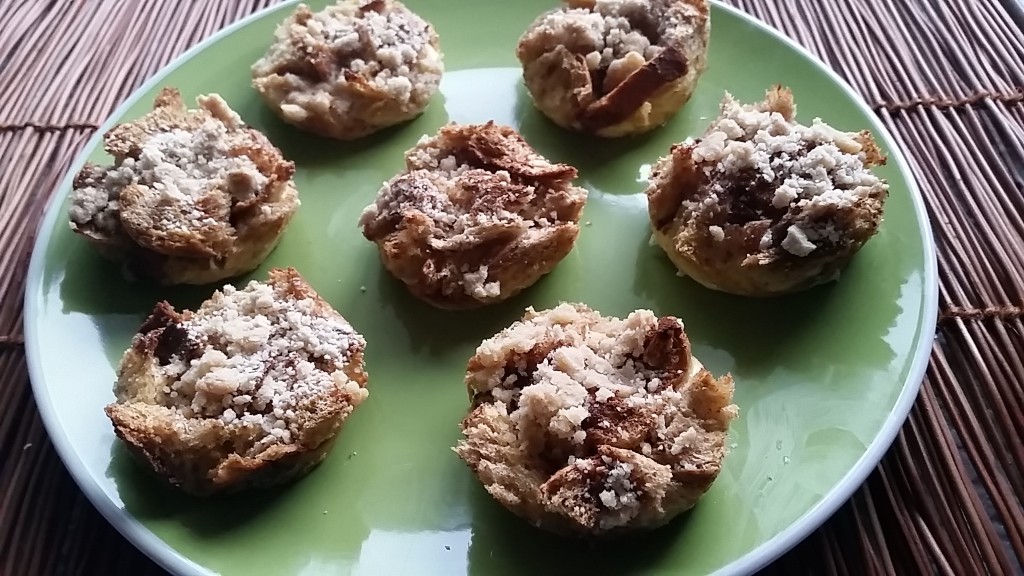
3. When ready to bake, preheat the oven to 350 degrees F. To make the cinnamon streusel, in a small bowl, combine butter, brown sugar, flour, cinnamon, and salt. Mix together with your hands, until you have a crumbly mixture. Remove the muffins from the refrigerator and sprinkle the muffins evenly with the streusel topping.

4. Bake for 25 minutes or until tops are golden brown. Let muffins cool for 5 minutes. Remove from pan and serve with butter and maple syrup, if desired.

FINAL PRODUCT

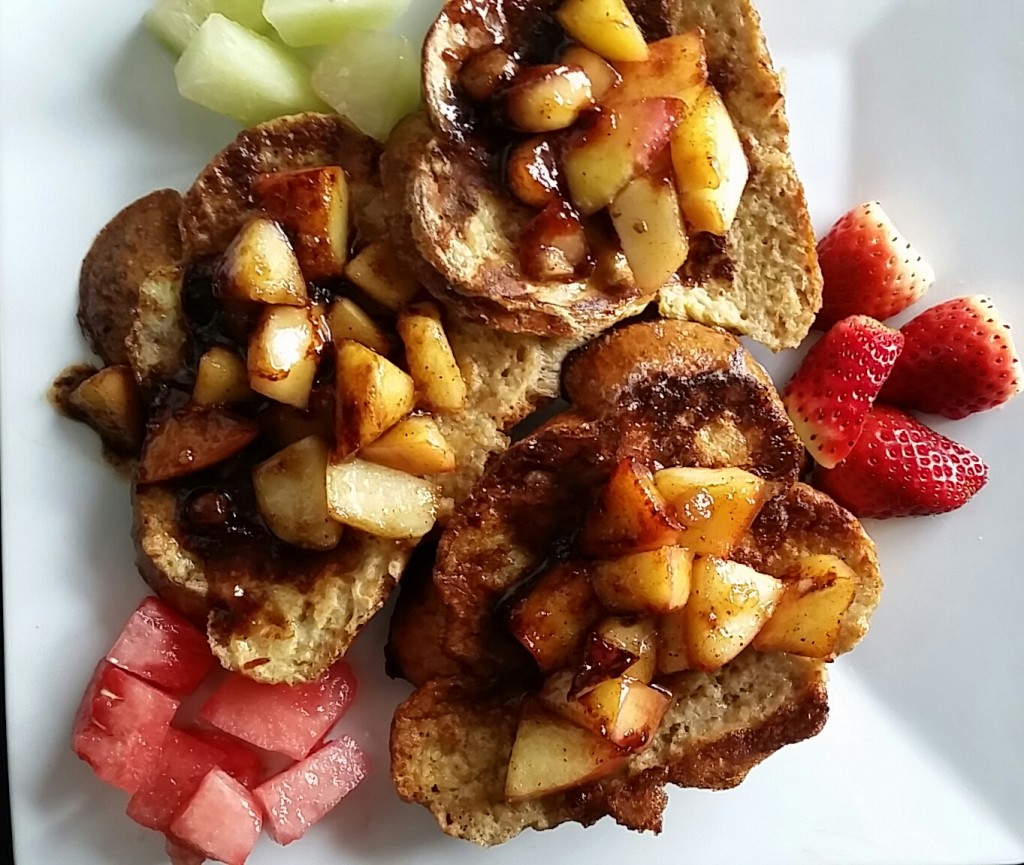
How cute? I can’t wait to serve these at a brunch one day soon. I have a feeling they will be a hit!

french toast - final2

Happy Brunching!!


Share this:
Share this page via Email Share this page via Stumble Upon Share this page via Digg this Share this page via Facebook Share this page via Twitter

, , , , , , , ,

Jan
05


It’s a new year which is code (for me) for checking out some new recipes! So here are 3 recipes that I want to share with you that I recently tried. I hope you like them as much as I did.

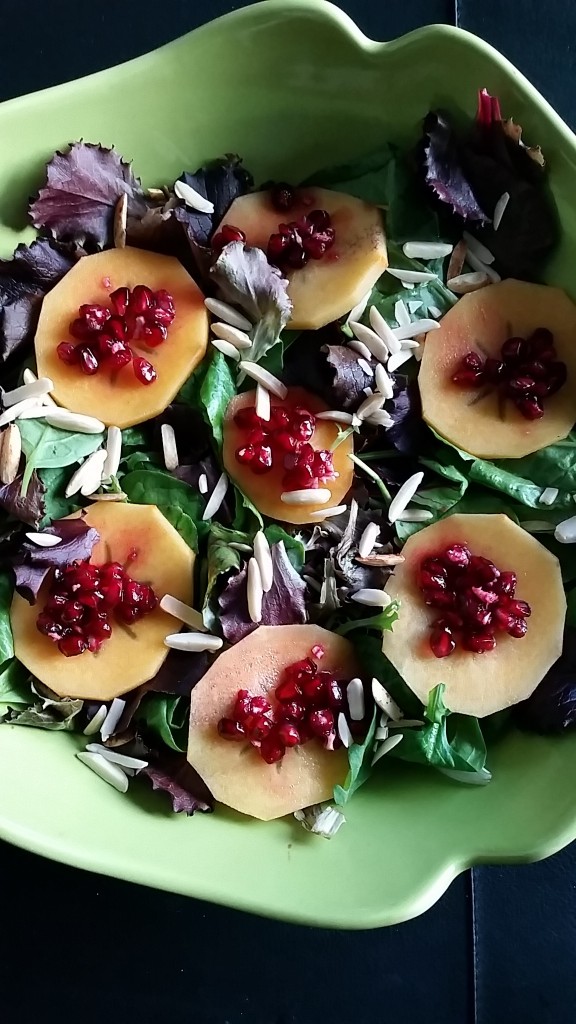
a) PERSIMON MIXED SALAD:

I was recently introduced to PERSIMONS for the first time in decades. This particular variety from Spain has completely changed my mind about this gorgeous looking fruit. They have a sweet, delicate flavour similar to a peach or a mango and are only available for a short period; usually from mid-October until January/February. I think their limited availability makes them even more special, which is why you must seize the opportunity when they are in market!

Here’s a fabulous salad that I whipped up one night wtih just a few ingredients that were hanging around my fridge.

For more information about this fabulous fruit: www.persimonsays.com, Twitter: @PersimonSays

INGREDIENTS:

-Salad Mix

Persimon

-Toasted almonds

-Pomegranate

DIRECTIONS

1. Mix all ingredients in a bowl.

2. For the dressing: take the pomegranate juice, add oil, dijon mustard and salt and pepper. Whisk together.

FINAL PRODUCT

recipe - salad

b) APPETIZER: Mediterranean Ricotta fritters

I couldn’t believe how easy this recipe was to make. I will be making these again but probably going to add a different topping. ie fresh sasla or a spicy ailoli or mango chutney or a pesto. Clearly this a versatile recipe!! ps if you are looking for more amazing recipes please check out www.dairygoodness.ca

INGREDIENTS

1 egg

1 cup Canadian Ricotta

1/4 cup flour

1/2 tsp nutmeg

salt and pepper

1 cup Canadian Swiss Cheese, grated

1/2 cup tomato sauce

1 tsp black or green olive tapenada

2 tablespoons fresh herbs..ie parsley and/or chives

DIRECTIONS:

1. Preheat oven to 425 F

2. In a bowl, whisk egg with Ricotta, flour and nutmeg. Season generously with salt and pepper. Incorporate Swiss Cheese and half the herbs

3. Drop small spoonfuls of dough onto a parchment lined baking sheet. Bake in the oven on top rack for 10 to 12 minutes or until fritters are puffed up and golden brown.

4. Place fritters in wonton soup spoons (which I own of course..LOL), with hot tomato sauce, tapenade and remaining herbs.

FINAL PRODUCT

recipe - fritter

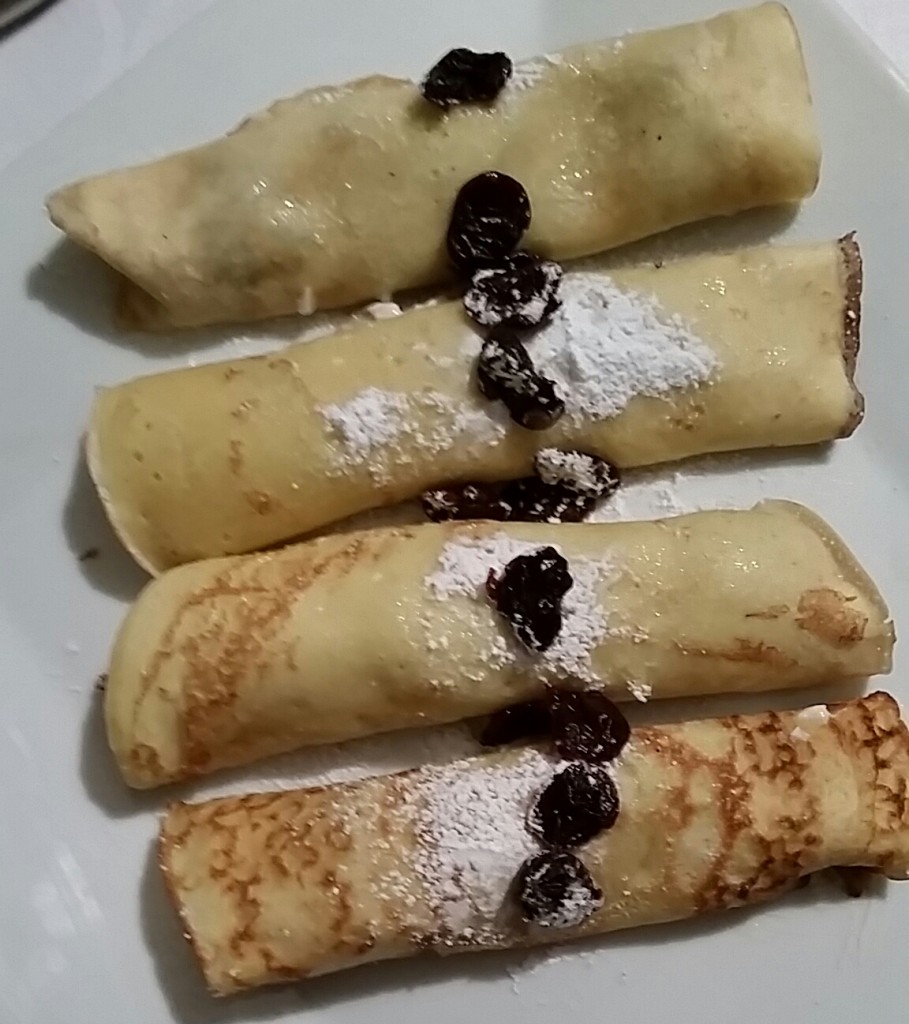
c) DESSERT: Cherry Vanilla Blintzes (recipe from Food Network courtesy Wayne Harley Brachman)

I generally buy blintzes from a box but I was in the mood to make something from scratch and came upon the recipe while searching on the internet. It’s a winner. Next time I’m going to make a blueberry filling though!

INGREDIENTS:

1/2 cup milk
1/2 cup water
3 large eggs
1 cup all-purpose flour
2 tablespoons melted butter
Nonstick vegetable spray

Cherry Filling:

1/2 cup dried cherries
1/4 pound cream cheese, at room temperature
1 -teaspoon vanilla extract or 1/2 scraped vanilla bean
2 tablespoons sugar
1 large egg
1 pound (2 cups) farmer’s cheese, pot cheese or cottage cheese

DIRECTIONS

Put the milk, water, eggs, and flour into a food processor or blender and process until smooth, about 10 seconds. If necessary, scrape down any solids that stick to the sides. Add the butter and process for a few more seconds to blend. Refrigerate, covered, for at least 2 hours or overnight. (I let it sit overnight)

Set a 10-inch, non-stick crepe pan over moderately high heat, then spray with non-stick vegetable spray. When the pan is hot, remove the pan from the heat and add 2 tablespoons of batter, swirling to coat the bottom of the pan. Cook for 1 1/2 minutes and lightly browned. Set aside on a plate, cooked side up, and continue with the remainder of the batter.

To make the Cherry Filling:
In a small saucepan, cover the cherries with water and bring to a boil. Remove from the heat and let rest. In a bowl, mix together the cream cheese, vanilla, sugar and egg until blended. Gently mix in the pot, farmer or cottage cheese. Drain the cherries and fold in.

Place 2 tablespoons of Cherry Filling in the lower center of the blintz. Fold up once from the bottom then fold over the sides. Roll up the rest of the way. Repeat with the rest. Heat 1 tablespoon of canola oil and 1 tablespoon of butter in a pan. In 4 small batches, fry the blintzes fold side down until golden brown. Gently flip to fry the other side. Serve with sour cream or yogurt.

FINAL PRODUCT:

recipe - blintz
Happy Cooking!!

Share this:
Share this page via Email Share this page via Stumble Upon Share this page via Digg this Share this page via Facebook Share this page via Twitter

, , , , , , , , ,

Nov
13


I’ve been eating Pasta with Burnt Butter and Mizithra Cheese at the Old Spaghetti Factory for almost four decades (see blog post here). I’ve never made it before it as Mizithra cheese is an ingredient that I don’t often come across. But when I saw it at the Global Cheese Shop in Kensington Market (78 Augusta), I knew I had to buy it so I could make this recipe:

pasta - cheese

RECIPE FOR PASTA WITH BURNT BUTTER AND MIZITHRA CHEESE …adapted from www.cdkitchen.com

Ingredients:

Pasta

Butter

Mizithra Cheese

Instructions: 

To make the brown butter: Cut the butter into tablespoon sized pieces and place in a 2 quart sauce pan and put on a medium heat. Bring butter to a slow boil (about 5 minutes)/

Once the butter begins to boil, stir constantly to prevent residue from sticking to the bottom of the pan. As the butter cooks, it will start to foam and rise. Continue stirring..otherwise the butter foam could overflow and catch fire!

Turn off the heat and remove pan from the burner. Let the sediment settle to the bottom of the pan for a few minutes. Then pour the brown butter thru a strainer and into a small bowl. (this is an important step)

The butter will look like this!

pasta - butter

Boil the pasta of your choice.

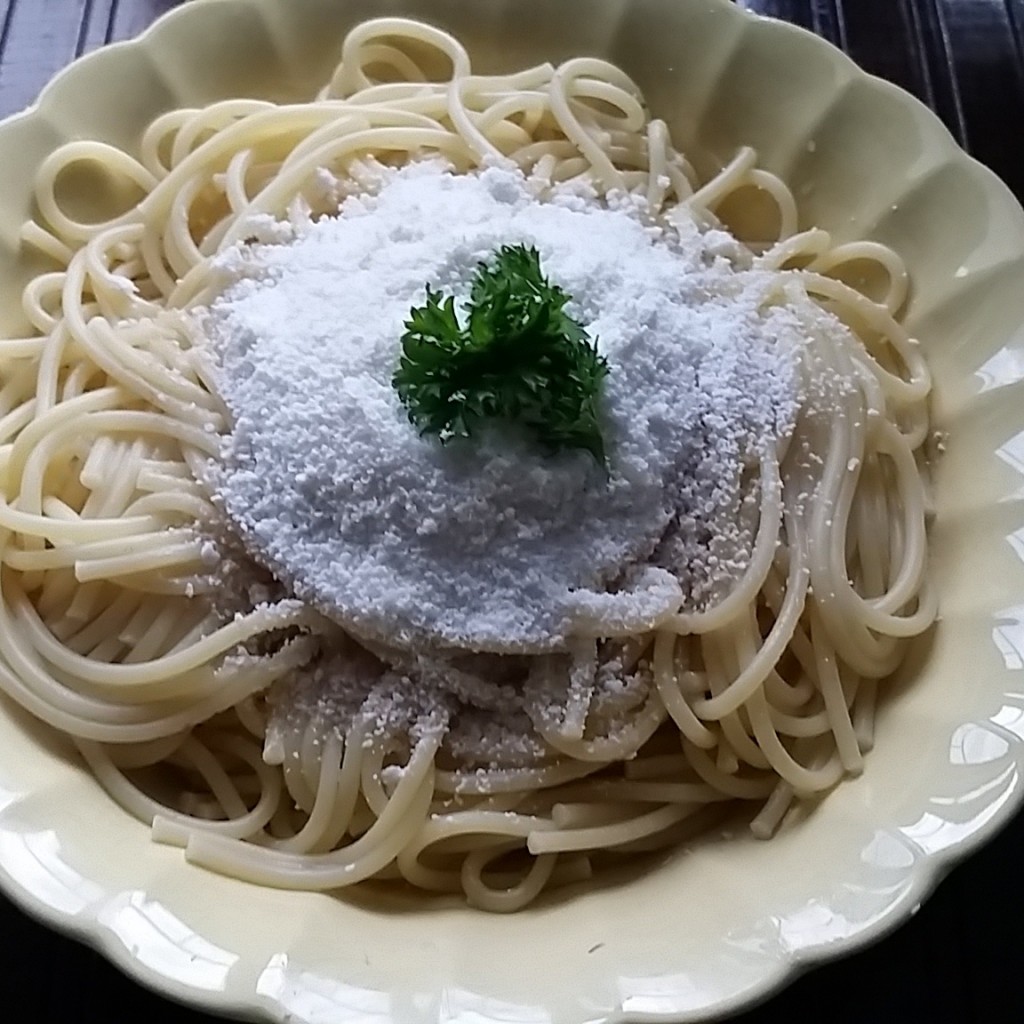
Spread the cheese over the pasta and top with hot brown butter.

CAN YOU SAY – “COMFORT FOOD”?

pasta - final

Happy Cooking!

Share this:
Share this page via Email Share this page via Stumble Upon Share this page via Digg this Share this page via Facebook Share this page via Twitter

, , , , , , ,

Oct
05


I entertain a lot! But I really really enjoy it. I’m passionate about all aspects of entertaining….planning the menu, buying the flowers, setting the table, and cooking too! The only part I don’t enjoy is cleaning up and I’m quite sure that I will never enjoy that part!

table

Entertaining can be expensive but it doesn’t have to be! Here are some tips for Holiday Entertaining.

a) Try and not buy prepared foods. In fact, try and make everything from scratch. Trust me it will taste better AND it will be cheaper. I even make my own pita crisps!

b) Prepare a menu with vegetables that are in SEASON. This will really reduce the cost of your meal.

c) When I shop at No Frills, I’m confident that my grocery bill is going to be lower than shopping at competitors. Not to mention I can use my PC  points to help offset the costs of my meal! Im positively thrilled that PC Plus is now available at No Friils. It’s so easy to earn points toward dollars off your grocery bill and that’s right up my alley!!
no frills - sign

c) Develop a menu where you get a lot of bang for your buck. For example, this apple crisp recipe or these two ingredient desserts.

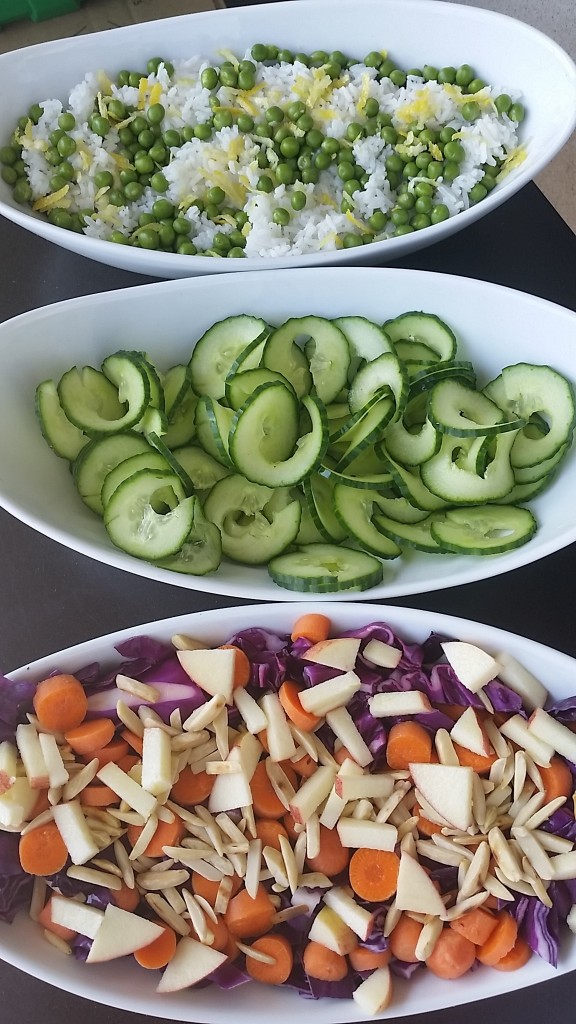
d) My rule of thumb: soup/salad….one main course with three side dishes, and dessert.

salads

I would like to end this blog post with a personal story: No Frills comes to my rescue EVERY year around Passover. I save up all my points for that one holiday where my grocery bill is going to be triple what it usually is. I received this “tip” from a friend years ago and have been following her advise every since.  (Thanks D.K)

For more information about the PC Plus Program, please click here.

Twitter Hashtag: #PCPlus

Disclosure: I am a blogger who is participating in a PC Plus No Frills program and have received compensation for my participation. However all opinions are my own. 

Share this:
Share this page via Email Share this page via Stumble Upon Share this page via Digg this Share this page via Facebook Share this page via Twitter

, , , , , , , , ,

Sep
05


I saw a friends facebook update about “Smore’s Popcorn Balls” and when I saw the recipe I knew that I HAD to try it. Anything that doesn’t require baking and has only a few ingredients – is right up my alley.

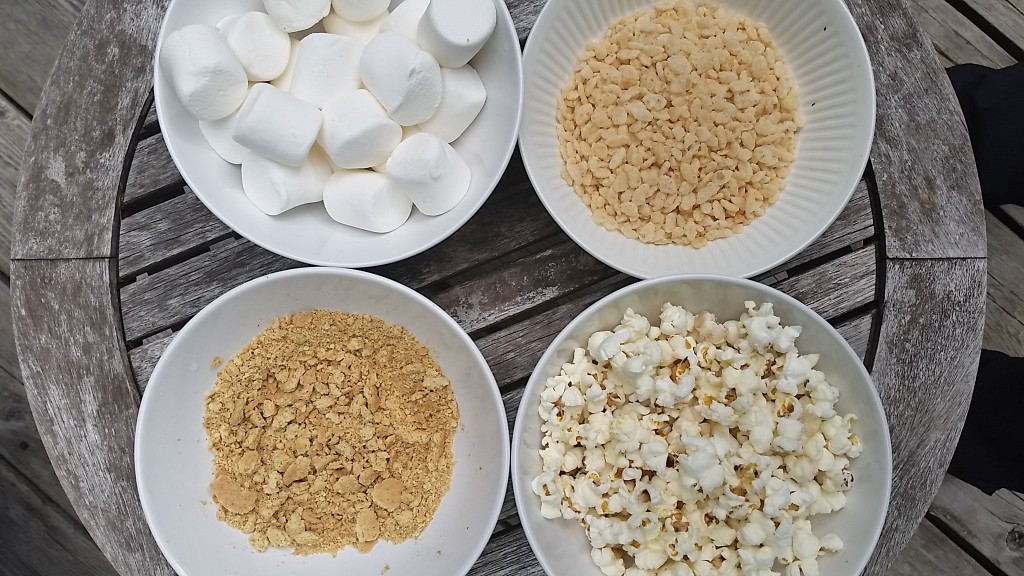
4 ingredients

When I made it the first time – I didn’t read the recipe entirely (this is pretty typical of me) and discovered that I added an extra ingredient. OOPS!! But hey it worked.
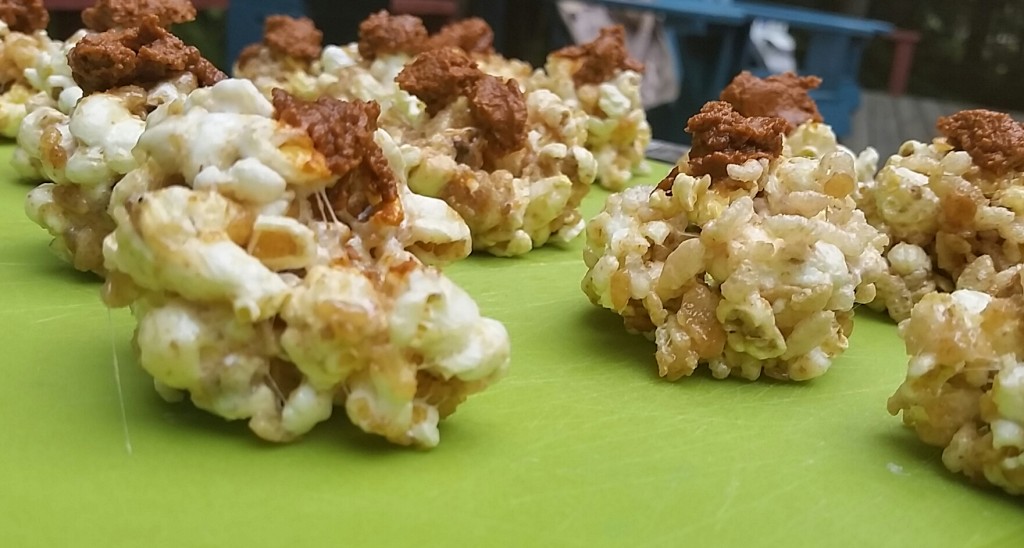
Here’s my version of S’mores Popcorn Balls.

Ingredients

3 cups of popcorn

1 cup of Kellogs Rice Krispies

1 cups of graham crackers ground up (I just used my hands…nothing fancy)

2 cups of marshmallows

1/4 cup of butter

Directions

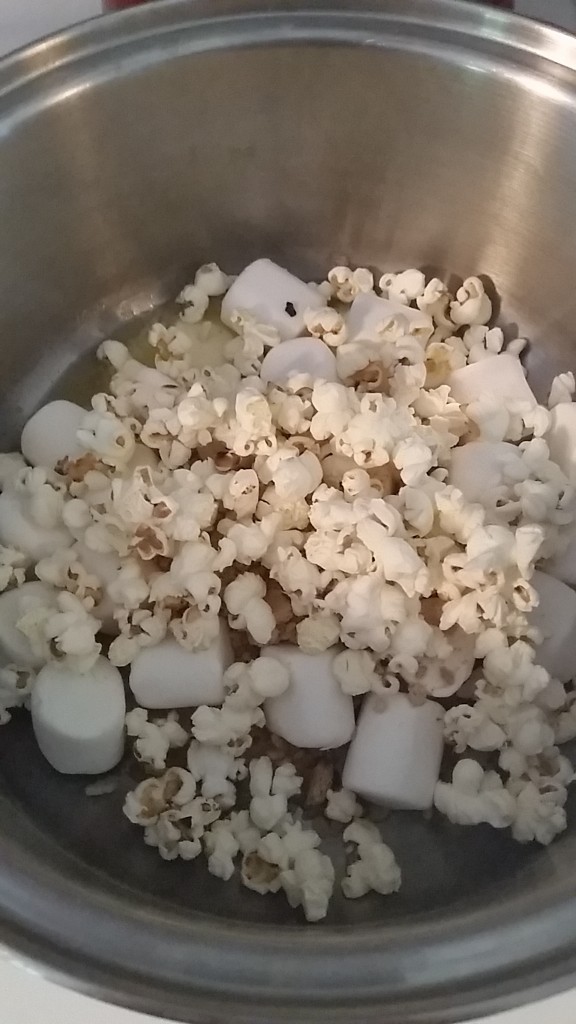
1. Melt the butter and the marshmallows on medium heat in a large saucepan. The goal here is to get the marshmallow to break down which means you need to stir constantly!!

2. Add the Rice Krispies and popcorn and the graham crackers.  Again – stir constantly!!

bowl

3. Remove from heat and let it cool slightly. Form into balls.

4. Melt some chocolate and drizzle on top (optional)

FINALY PRODUCT

final

I swear these will disappear before you can say “why haven’t I made these before”.

I’ve now made them 3 times and I have a feeling I will be making them pretty regularly!

Happy Baking!

Share this:
Share this page via Email Share this page via Stumble Upon Share this page via Digg this Share this page via Facebook Share this page via Twitter

, , , , ,

Jun
17


My lovely neighbor clipped out an article for me the other day from the Toronto Star and left it on my door step. I scrolled through the article and then noticed a recipe that caught my eye, called Indian Slaw. As always, Star Tested recipes are usually winners and this one was no exception.

The recipe was also a great way for me to incorporate peanuts into my diet as I’m always looking for additonal sources of protein. There’s more great news about peanuts too:

A serving of dry roasted, unsalted peanuts contains no sodium or cholesterol and is:
• a source of fibre, potassium, zinc, iron, thiamin, vitamin B6, phosphorus and selenium
• a good source of folate
• an excellent source of magnesium, vitamin E and niacin

This is great news for momwhoruns!!

Ok back to the recipe! Here ya go….

RECIPE: INDIAN SLAW (from Indian Cooking Unfolded by Raghavan Iyer)

1/4 cup dry roasted unsalted peanuts

14 oz coleslaw mix or 1 lb green cabbage shredded (I used a cabbage)

1 to 2 serrano chilies or 1 jalapeno (I used jalapeno)

1/4 of a large red pepper, cut in thin strips

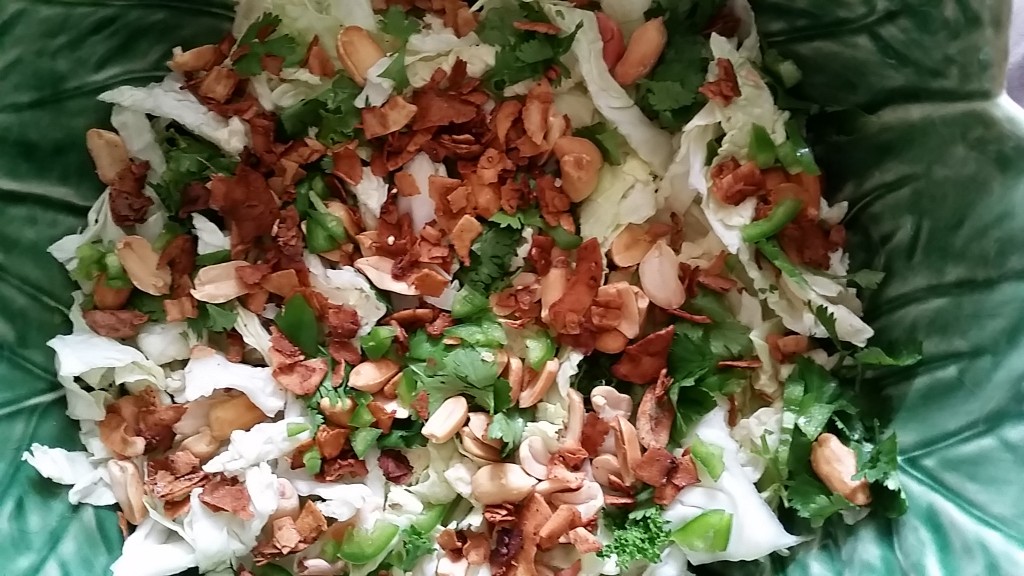
1/4 cup unsweetened dried coconut (I used Co-Conut Bacon from YamChops)

1/4 cup finely chopped cilantro

Juice from 1 lime

1-1/2 tsp kosher salt

2 tablespoons oil

1 tsp mustard seeds

1/4 tsp tumeric

DIRECTIONS:

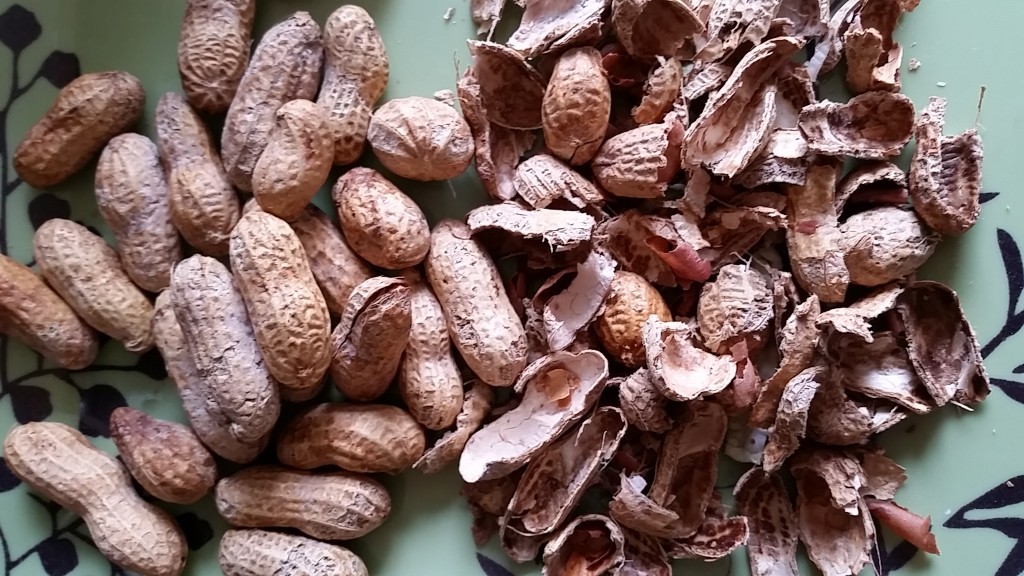
1. In a mini food processor or spice grinder, pulse nuts to a consistency of coarse bread crumbs (of course, I did not do this step and kept my peanuts whole). Infact, I used fresh peanuts and unshelled them – one by one. Here’s proof!

20140613_163330

2. In a large mixing bowl, combine coleslaw or cabbage, peanuts, chilies, red pepper, coconut, cilantro, lime juice and salt.

3. In a small skillet, heat oil over medium high until shimmering. Add mustard seeds. Cover skillet. Cook until seeds stop popping – about 10 to 20 seconds. Remove from heat. Add tumeric. Stir. Pour over coleslaw mixture.

4. Toss slaw thoroughly until well coated.

20140613_163653

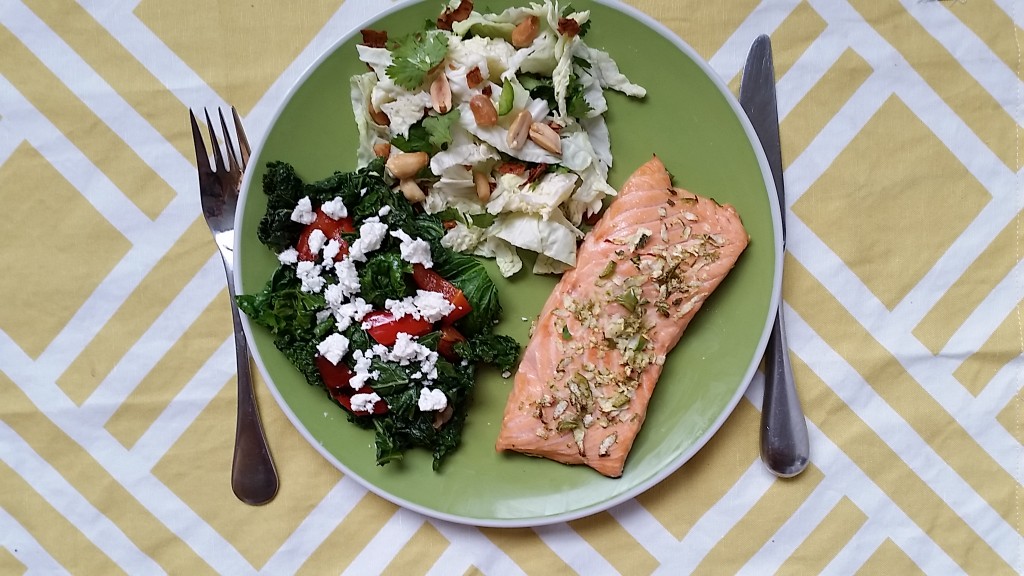
MY DINNER LOOKED LIKE THIS! 

20140613_164304

Note: the lovely looking placemat is designed by the very talented Kate Thornley Hall (www.katethornleyhall.com) who has the most impressive line of fabrics, pillows, wallpaper and more.

Many thanks to the Peanut Bureau of Canada for inviting to me to an event so that I could learn more about peanuts!

Share this:
Share this page via Email Share this page via Stumble Upon Share this page via Digg this Share this page via Facebook Share this page via Twitter

, , , , , , ,

Apr
24


I love using recipes but sometimes it’s just fun to look into my fridge/freezer and figure out if I can get creative and create my own recipe!

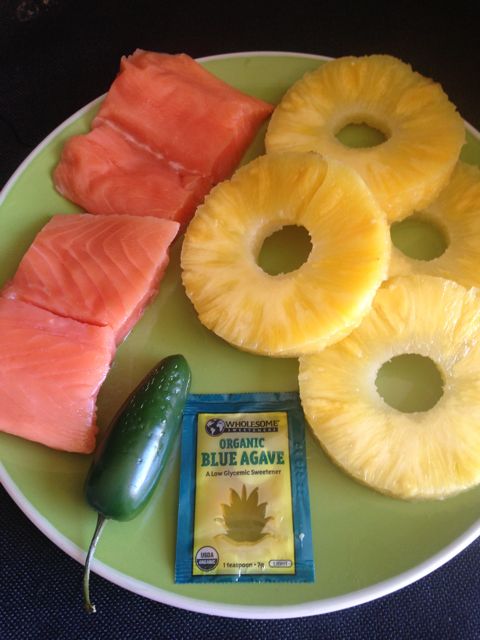
Specifically I had some pineapple and a piece of salmon….plus a jalapeno.

philips - plate

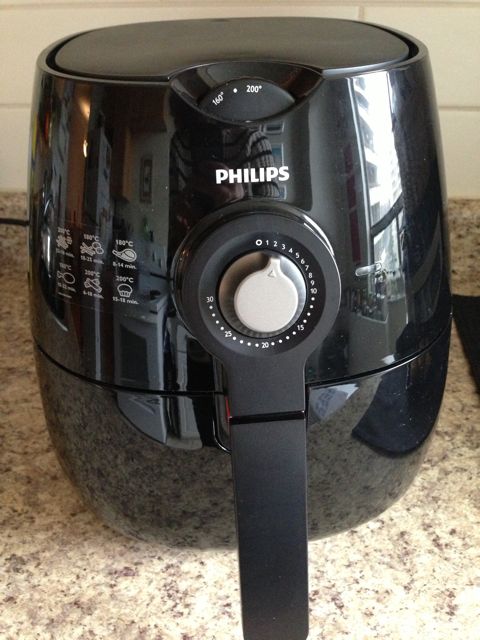
I decided to bring out my Philips AirFryer to create my meal as I knew it was going to be the fastest way to cook this dish. Not to mention, no odour and minimal cleanup. #winwin

Philips - photo

1. First, I cooked the salmon. (see previous post).

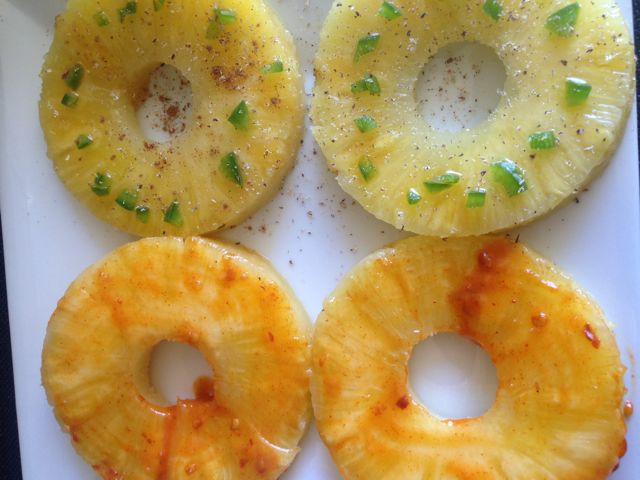
2. Then I shmeared (is that a word?) 2 slices of pineapple with the agave, and then sprinkled it with some finely diced jalapeno. Notice the brown specks? That’s grated nutmeg on it.  I also decided to take the other 2 slices of pineapple and shmeared it with Nando’s Piri Piri Sauce.

philps - pineapple

3. I popped the pineapple slices into the Philips Airfryer and 6 minutes later  (at 200 degrees) it was golden and cooked!!

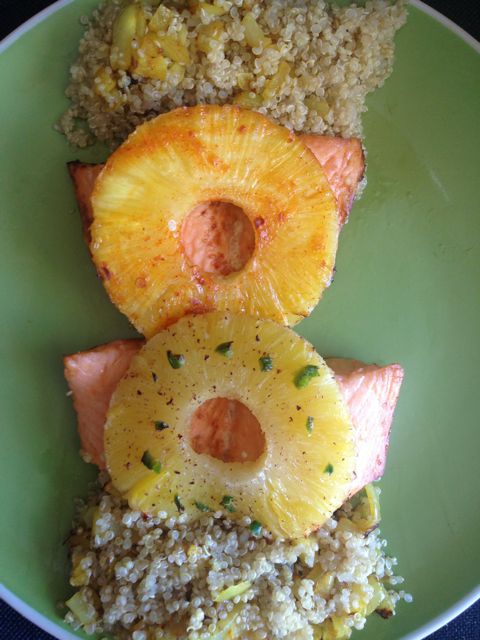
4.To complete the meal I made some some quinoa with fried onions and some spices from Jaswant’s Kitchen.

philips - final

Voila. LUNCH.

Disclosure: The Philips Airfryer was provided to me however all opinions are my own.

Share this:
Share this page via Email Share this page via Stumble Upon Share this page via Digg this Share this page via Facebook Share this page via Twitter

, , , , , , , ,