I saw this recipe back in February (from Pinterest? Twitter?) and finally got around to making it. Naturally I didn’t follow the recipe exactly so I encourage you to look at this blog post first….click here).
I adore recipes that take an original recipe and just by baking it in a muffin tin – presto – you have a total new appreciation of lasagna!
LASAGNA CUPCAKES (adapted from www.howtosurvivelifeinthesuburbs.com)
1 package of Olivieri® lasagna sheets
1 cup of ricotta
2 eggs
1 cup of shredded mozarella
1 cup of your favorite pasta sauce
1 package of frozen spinach, thawed (optional)
1 tablespoon of dried basil
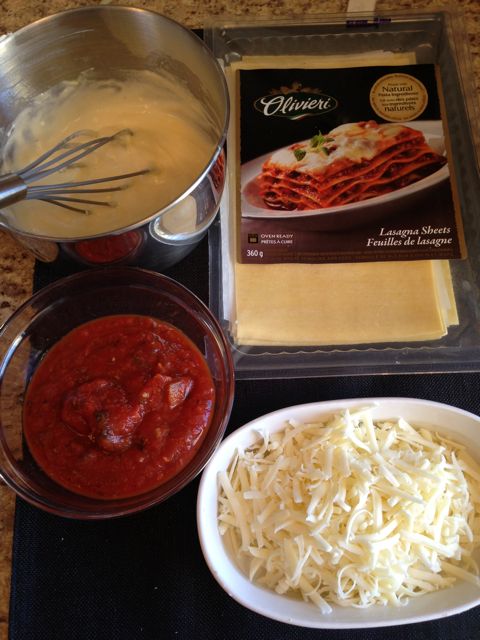
Just a few ingredients needed!!
INSTRUCTIONS
1. Preheat oven to 375. Spray your Muffin Pan with Pam® (this will allow your lasagna cupcakes to come out with ease and help with clean up afterwards).
2. Cut the lasagna sheet into squares that will fit your muffin pan.(I used scissors for this step). Place the lasagna “squares” into the muffin tray.
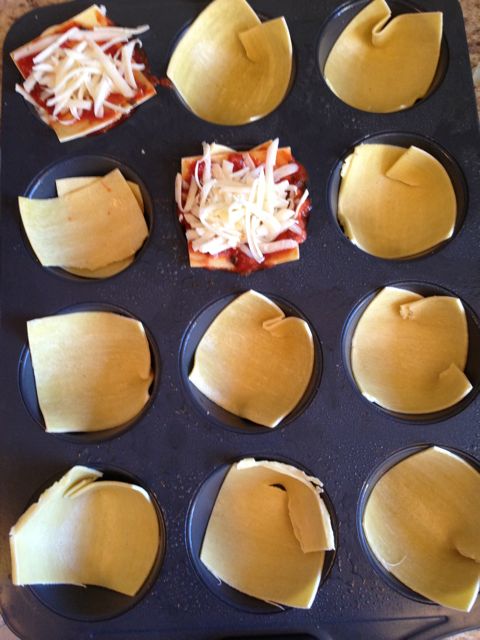
3. Whisk the ricotta cheese and eggs together till it’s nice and smooth.
4. Add a generous dollop of pasta sauce into the muffin pan (spread generously). Then add the ricotta cheese mixture. Then sprinkle the mozzarella cheese on top. Then add another lasagna square. Repeat – dollop of pasta sauce, then ricotta cheese, then mozzarella. Add another lasagna square. Add tomato sauce. Sprinkle with mozzarella and dried basil.
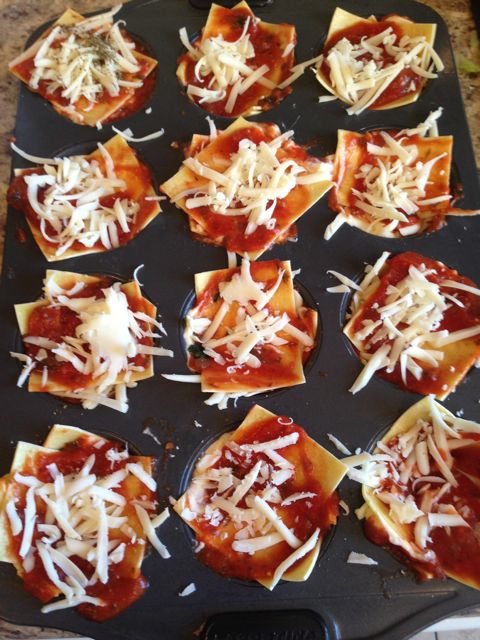
5. Bake 25 minutes in a pre heated 375 degree oven.
FINAL PRODUCT:
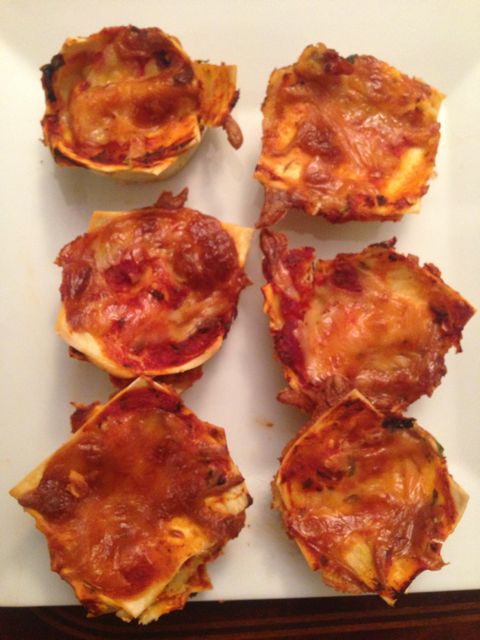
I served these lasagna cupcakes to guests on a Sunday night along with Asparagus Soup and a Curly Cucumber Salad. Everyone was pretty happy. Naturally the leftovers went into the freezer and will come in handy one day when I’m low on groceries or have no time to make dinner!! (it happens to all of us, right?).
Cupcakes, freezer, How to Survive LIfe in the Suburbs, Lasagna, muffin, Olivieri, Recipe
I love entertaining…the menu planning, the cooking and even setting the table. But I won’t include the “cleaning up” part! (we can save that for another blog post.)
Most of the menu I had made before but there were 2 new recipes (*) that I was checking out and guess what? They were a hit.
-A Deconstructed Salad.
–Spinach Pesto Tilapia
-Roasted Brussel Sprouts (recipe: Barefoot Contesssa)*
-Tomato/Bocacini/Roasted Garlic/Basil Skewers
-Quinoa salad with Apples and a Curry Dressing* (recipe: Martha Stewart)
Dessert: Meringue Nests with Fresh Raspberries
These photos might help you visualize the menu!
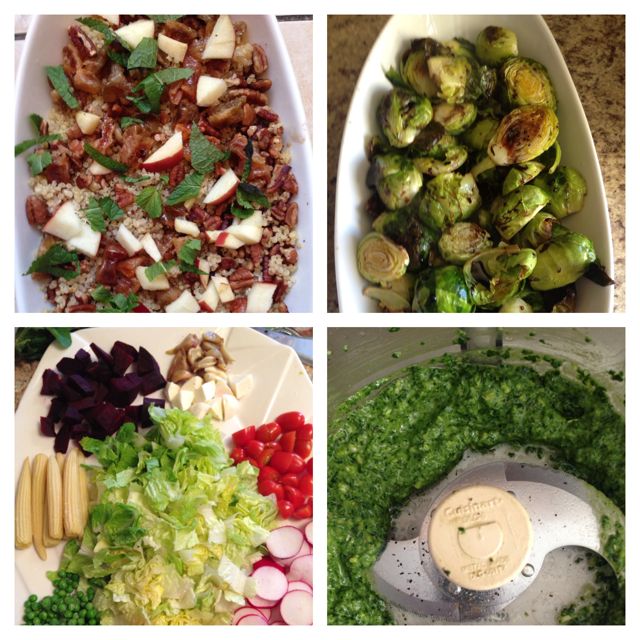
-Dessert: Meringue Nests with Whipped Cream and Fresh Raspberries.
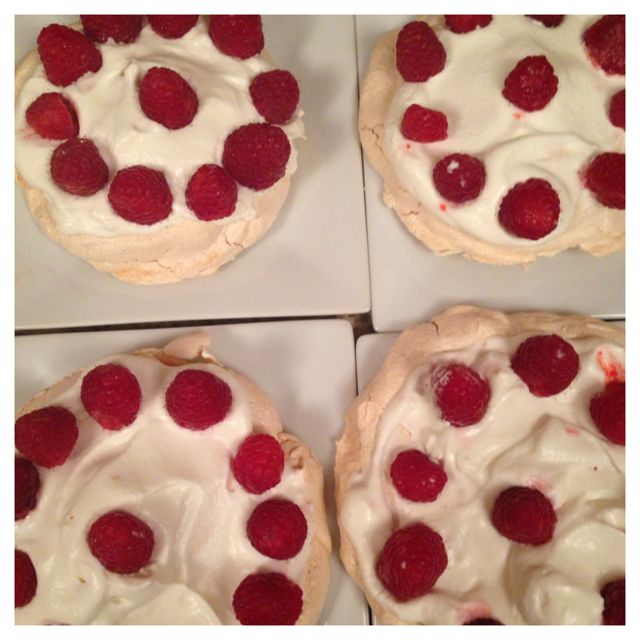
The nests came out more like discs. #ohwellstilltasty
As for the table: I thought it would be a great time to buy white tulips, white roses and babies breath. (source: any of the flower stores at Avenue/Davenport)
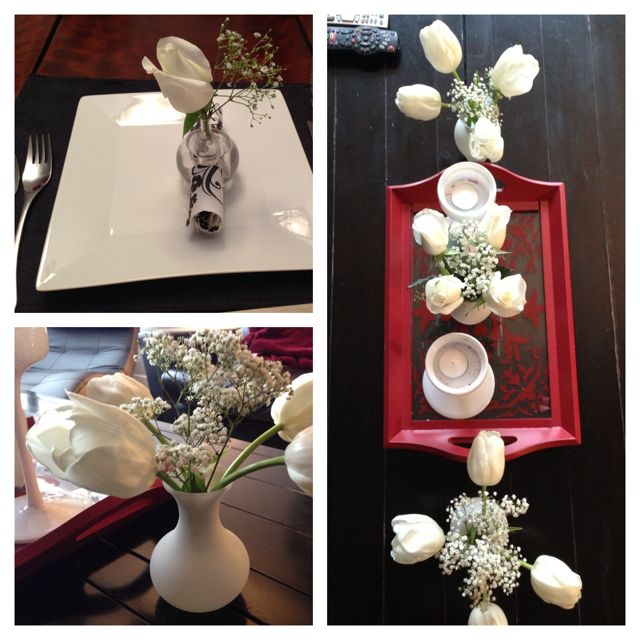
Hope this blog post inspires you to host a dinner party one day soon as well!
Note: Stay tuned for another blog post as I had more company over last night and made lasagna cups for my first time!
Barefoot Contessa, Brussel Sprouts, Curry Dressing, entertaining, flowers, Ina Garten, Martha Stewart, menu, Meringue Nests, quinoa, Recipe, spinach, tilapia
I knew that there would be a snow storm on Wednesday and it would be the perfect reason to STAY HOME and cook/bake/clean and work!! It wasn’t hard to figure out what to bake, seeing as I received a recipe that peeked my interest in my inbox the other day. This is what happens when you subscribe to a food blog!! The recipe is from Sally’s Baking Addiction and it’s called ” Banana Chocolate Chip Crumb Cake”.
It’s easy to make, moist and a great way to use up those ripe bananas!!
Banana Chocolate Chip Crumb Cake – from Sally’s Baking Addiction
INGREDIENTS:
- 1 and 1/2 cups (190g) all-purpose flour
- 1/2 teaspoon ground cinnamon
- 3/4 teaspoon baking soda
- 3/4 teaspoon baking powder
- 1/4 teaspoon salt
- 5 Tablespoons (75g) unsalted butter, softened to room temperature
- 1/2 cup (100g) granulated sugar
- 1 large egg
- 1 teaspoon vanilla extract
- 1 and 1/2 cup mashed bananas, very ripe (about 3 large bananas)
- 1/4 cup (60g) yogurt – I used Greek yogurt but you can use any type of plain yogurt
STREUSEL
- 1 tablespoon ground cinnamon
- 1/4 cup (50g) light brown sugar (or dark brown sugar)
- 3/4 cup (135g) semi-sweet chocolate chips
- 1/2 cup (70g) chopped pecans or walnuts, optional (I did not use any nuts as I wanted to make this as a lunch box snack)
Directions
1.Preheat oven to 350F degrees. Spray an 8×8 or 9×9 baking pan with nonstick spray. p.s I don’t own an 8×8 baking pan (can u believe) but my oval CorningWare worked out just fine.
2. In a medium bowl, toss the flour, cinnamon, baking soda, baking powder, and salt together. Set aside.
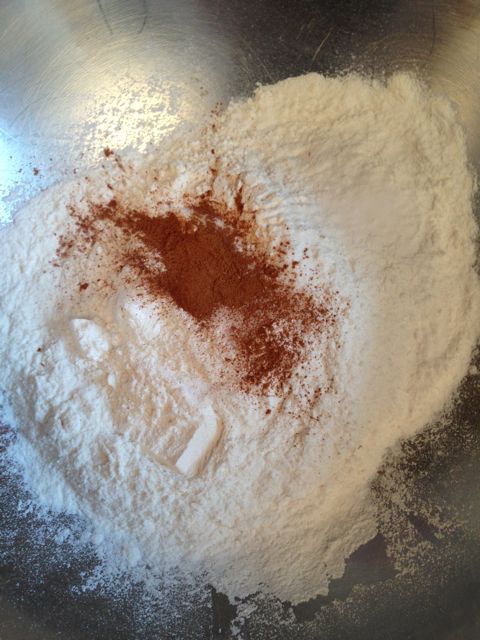
first step – easy enough
3. Using a handheld or stand mixer with a paddle attachment, beat the butter on high speed until creamy, about 1 minute. Switch the mixer to medium speed and beat in the sugar until combined. Beat in the egg and vanilla extract, scraping down the sides and bottom of the bowl as needed. Add the mashed banana and yogurt and turn the mixer on high and beat until creamy, about 1 minute.
4. Turn the mixer off and pour the dry ingredients into the wet ingredients. (repeat – put the DRY INGREDIENTS INTO THE WET INGREDIENTS) .Turn the mixer on low and slowly beat until combined. Do not overmix.
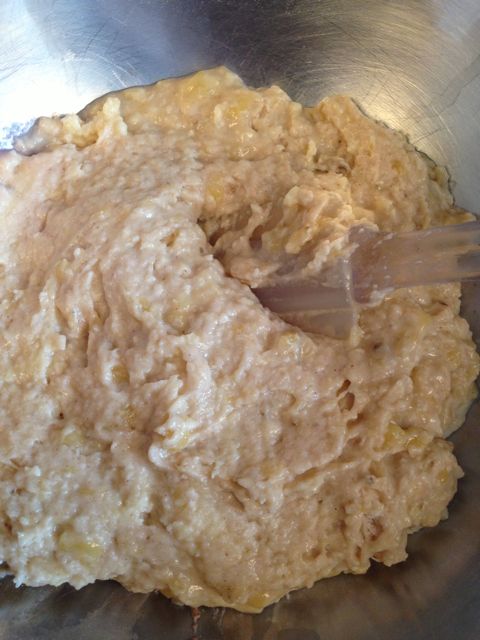
5. Make the streusel by combining all of the streusel ingredients into a small bowl.
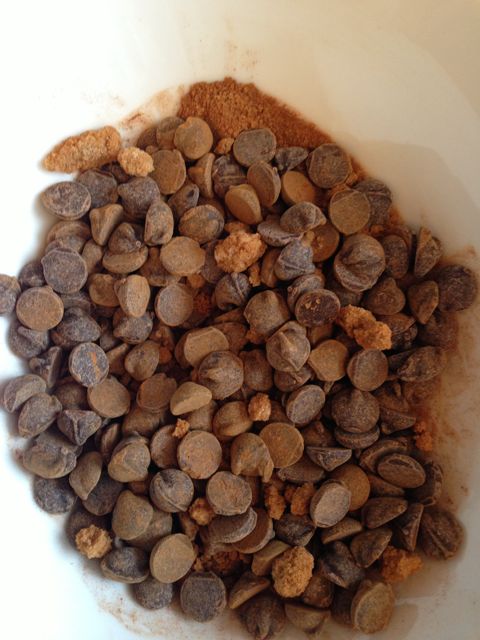
I made a “nut free” version
6. . Layer half of the batter into the prepared baking pan. Top with half of the streusel. Repeat with the rest of the batter and streusel.
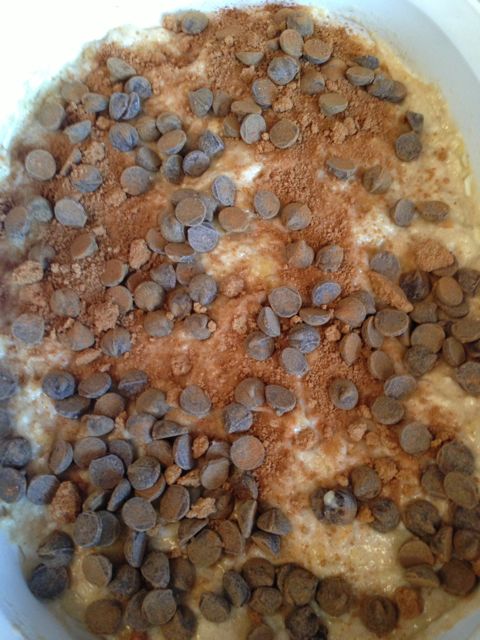
7. Bake for 40 minutes, covering the cake with aluminum foil after 25 minutes to prevent the edges from browning too quickly. Bake until the center is baked through.
FINAL RESULT
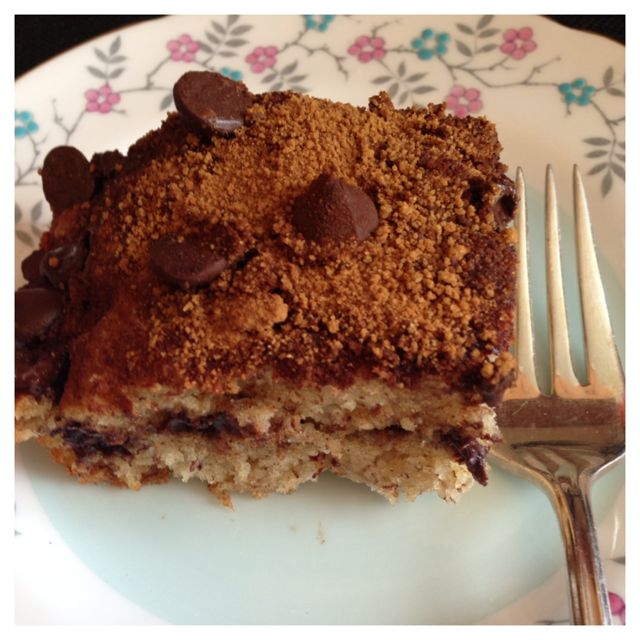
Allow to slightly cool for ten minutes before cutting and serving. Not that this cake stays fresh if you cover it tightly at room temperature for up to 4 days.
I also put half of it in the freezer as I’m sure it freezes well too. (time will tell).
This is the second time I’m baking a recipe from this blog however I’m sure it won’t be the last time!!
Happy Baking!!
Banana, blog, chocolate chip, Recipe, Sallys Baking addiction, Snow
Out of nowhere…I’m noticing a lot of Cauliflower recipes. I strongly believe that Cauliflower is the new Kale!! I’ve noticed on Facebook this week, not just one cauliflower recipe but two.
For some reason, I’m wired to try new recipes..so I did. I liked the fact that I didn’t have to chop anything AND it was uber healthy. Not to mention pretty too!
Give it a try. You won’t be disappointed.
SPICY WHOLE ROASTED CAULIFLOWER (from www.purewow.com)
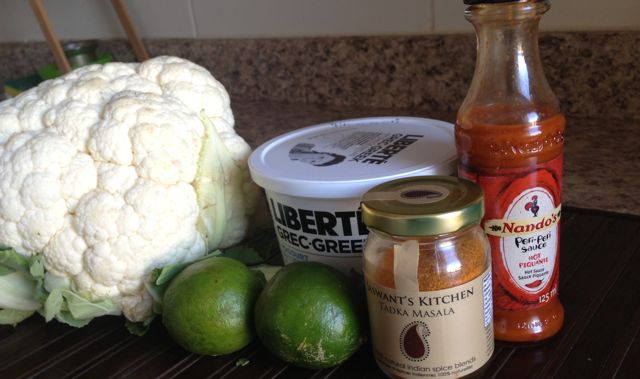
Ingredients
1 tablespoon vegetable oil
1 head cauliflower
1½ cups plain Greek yogurt
1 lime, zested and juiced
2 tablespoons chile powder
1 tablespoon cumin
1 tablespoon garlic powder
1 teaspoon curry powder
2 teaspoons kosher salt
1 teaspoon black pepper
Directions
1. Preheat the oven to 400° and lightly grease a small baking sheet with vegetable oil. Set aside.
2. Trim the base of the cauliflower to remove any green leaves and the woody stem.
3. In a medium bowl, combine the yogurt with the lime zest and juice, chile powder, cumin, garlic powder, curry powder, salt and pepper. NOTE: I used Nando’s PERI-PERI as I’m in love with this sauce plus I think most of my spices are stale!
4. Dunk the cauliflower into the bowl and use a brush or your hands to shmeer the marinade over its surface. I had so much fun with this step. When I was finished having fun, I sprinkled spice from Jaswant’s Kitchen for additional colour #smartmove.
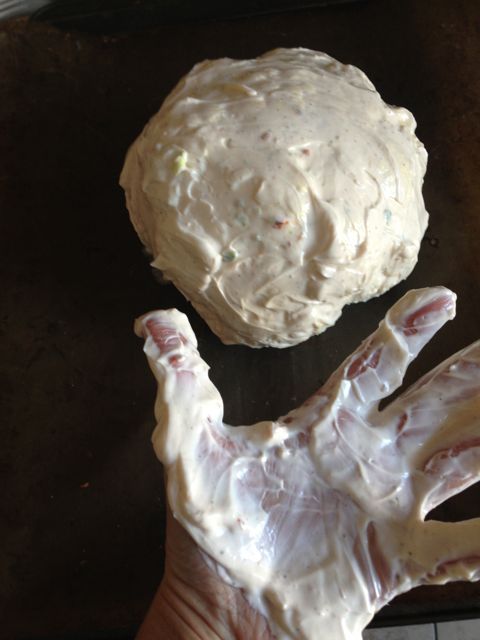
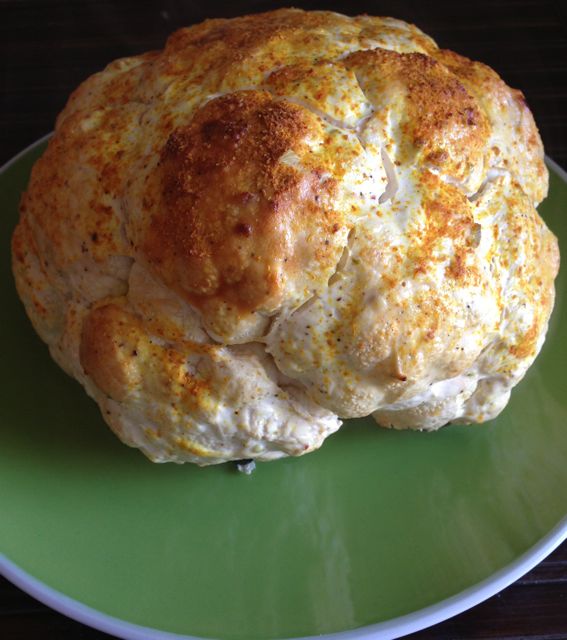
5. Place the cauliflower on the prepared baking sheet and roast until the surface is dry and lightly browned, 30 to 40 minutes. The marinade will make a crust on the surface of the cauliflower.
6. Let the cauliflower cool for 10 minutes before cutting it into wedges. This would make a great side dish with a piece of salmon, non?
FINAL RESULT:
Happy Cooking!!
Cauliflower, Healthy, Jaswant's Kitchen, kale, Nando's, PERI-PERI, Purewow, Recipe, salmon
At this time of year, I love any recipe that involves only 4 ingredients!! Not to mention I love chocolate and cheese. Therefore this recipe really appeals to me!!
Here’s a quick story about my love for these two ingredients: A few years ago, I came across a blue cheese chocolate chip cookie and blogged about it. Click here in case you are curious about the cookie.
The store where I purchased that cookie is now closed but this recipe is a close replacement! I think that the combination of cheese and dark chocolate is sure to catch everyone’s attention! It certainly did catch mine.
Infact, this recipe features the 2013 Canadian Cheese Grand Prix winner in the Blue cheese and Organic cheese categories. Did you know that their is a Canadian Cheese competition? Well there is!!
Here’s the recipe for Bleu D’Elizabeth, Dark Chocolate and Date Bites
Ingredients
6 oz (180 g) dark chocolate
6 oz (180 g) pitted Medjool dates
3 oz (90 g) Bleu d’Élizabeth cheese, coarsly chopped
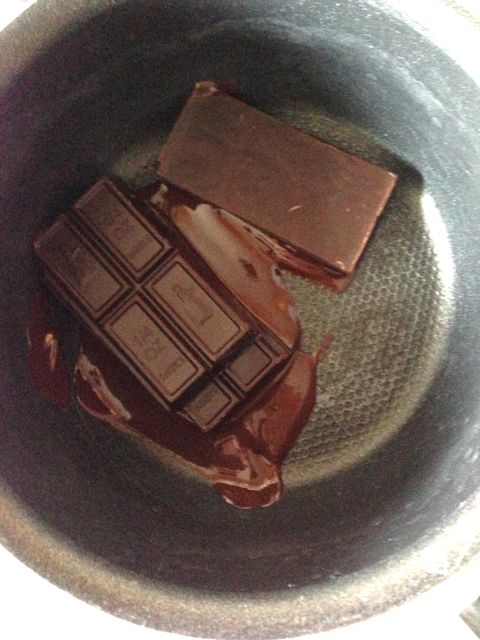
1. Melt chocolate in a double boiler. Let cool.
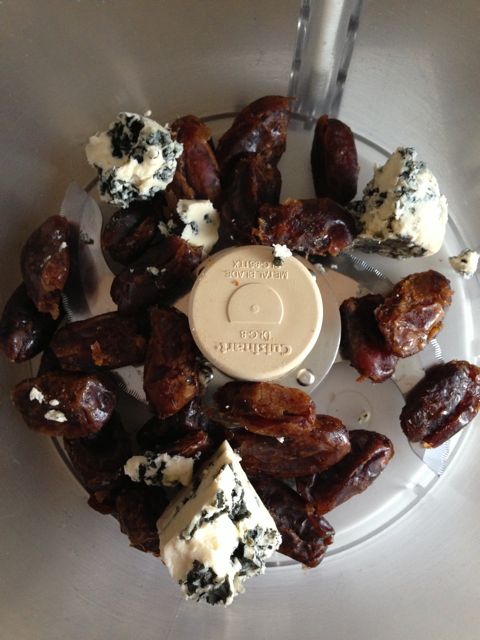
2. Process dates and cheese in a food processor.
3. Add melted chocolate and process until well combined.
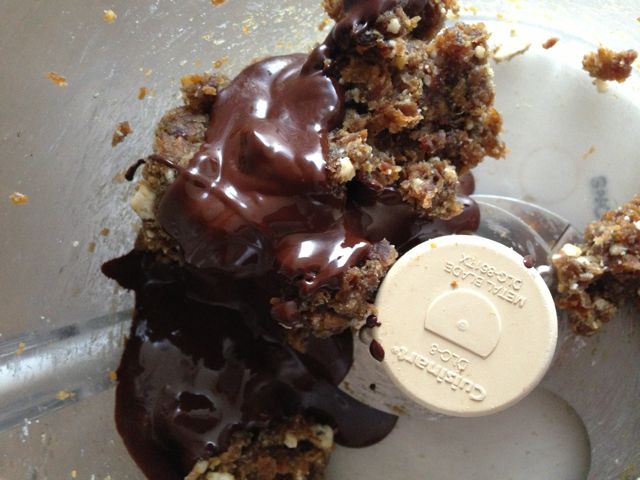
Not so pretty – but oh so tasty!
4.Spoon mixture into a pyrex dish, lined with plastic wrap.
5. Refrigerate at least 30 minutes, then cut into bite-sized pieces.
6. Sprinkle with cocoa, then serve.
FINAL RESULT:
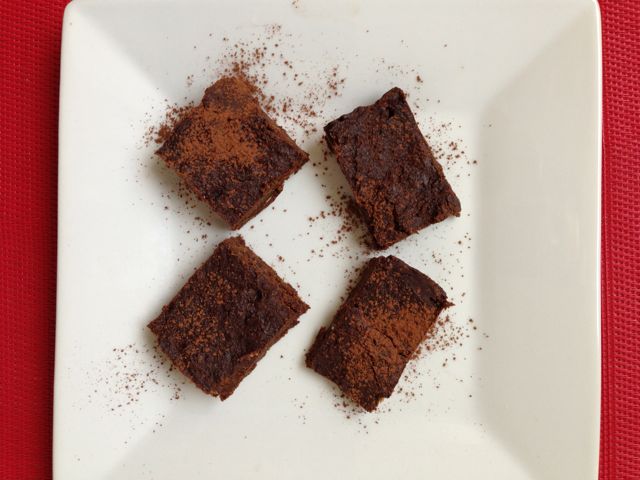
For more amazing recipes please visit www.allyouneedischeese.ca.
Note: Thanks to the Dairy Farmers of Canada for providing me with the ingredients to make this unique recipe.
All you need is cheese, Blue D'Elizabeth Dark Chocolate and Date Bites, Cheese, chocolate, Dairy Farmers of Canada, Recipe
Many years ago, I was making pancakes and realized that I didn’t have any maple syrup in the fridge. I then had a “MacGyver Moment” and pulled out three ingredients that would replace the need for maple syrup: a banana, some brown sugar and butter.
Not only did it work, but I swear this sauce has totally replaced the need to have Maple Syrup in my fridge.
Ingredients:
one banana
1/4 cup brown sugar
2-3 tablespoons butter
cinnamon (optional)
Directions:
1. Melt the butter and the brown sugar.
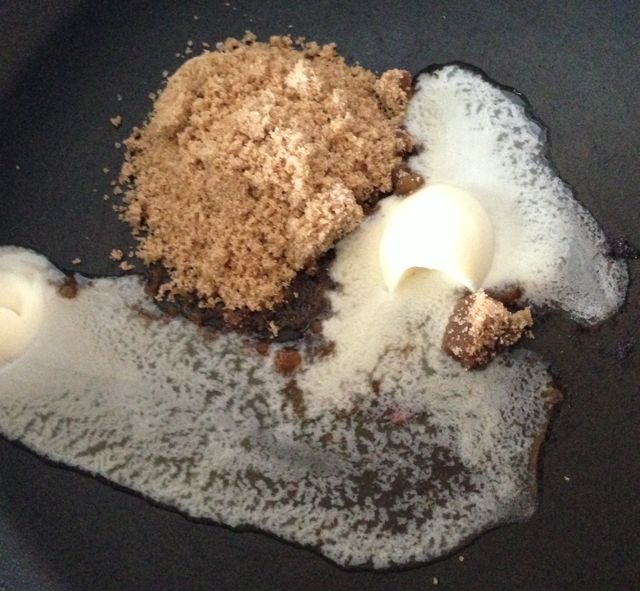
2. Add the sliced banana. *the hotter the pan…..the better, so take your time to ensure that everything will caramelize (this is a good thing!!)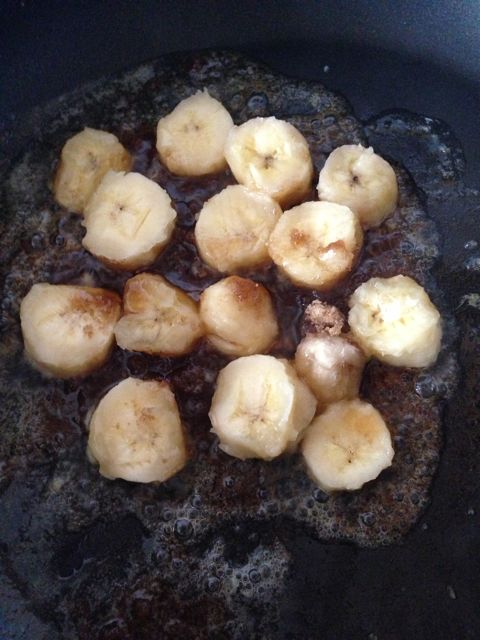
FINAL PRODUCT
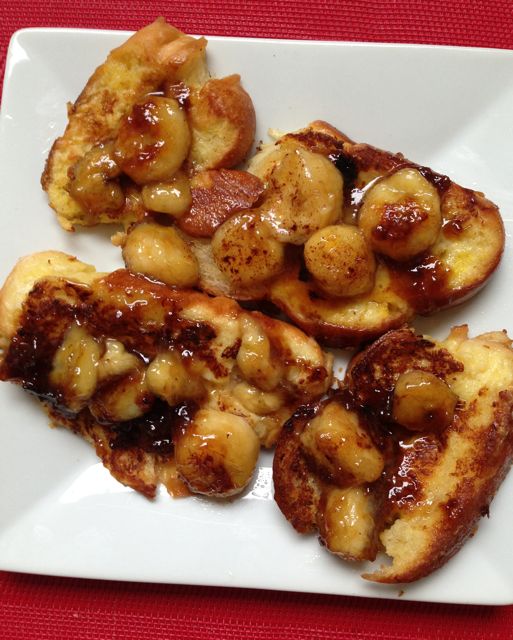
Sprinkle with cinnamon if you want!!
I serve this sauce with french toast or pancakes and without fail it’s always a hit.
Happy Cooking.
Banana, cooking, French Toast, MacGyver, Maple Syrup, pancakes, Recipe
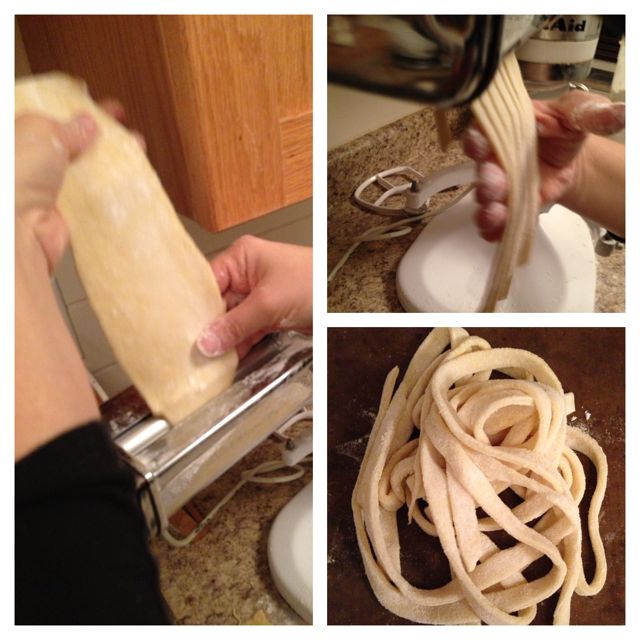
Recently, I made a new friend on Twitter. When I saw that she had a blog called Fables and Focaccia, I knew that she would be the perfect person to invite over to help me use my Kitchen Aid Pasta Attachment. Sadly the Pasta Attachment had been sitting in a box for MONTHS. I was all too thrilled that Jenny agreed to come over and share her expertise with me.
The evening started off with wine. (of course).
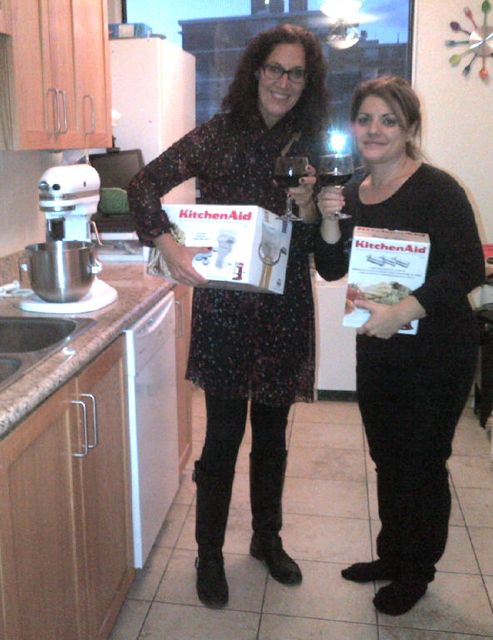
Then Jenny started to mix a few ingredients together and do her magic. As for me….I was too busy taking photos and drinking wine to actually participate.!
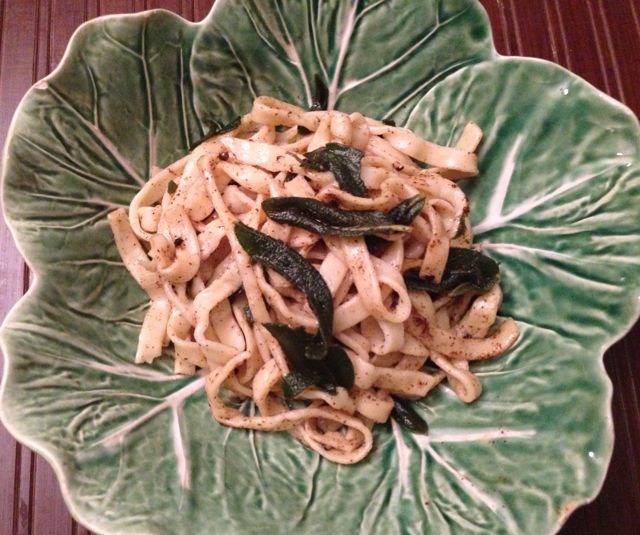
Before you knew it – we had an amazing meal of pasta in browned butter with fresh sage. Even though I’m on a carb free diet, I couldn’t resist and dug into this bowl of fresh pasta.
Jenny was even kind of enough to share her recipe with me:
INGREDIENTS TO MAKE FRESH PASTA (we doubled this recipe)
1 whole egg
100g all purpose flour (if “00” flour can be found it makes a much lighter pasta dough)
Pinch of salt (1/4 tsp approx.)
1 teaspoon olive oil
DIRECTIONS: Mix by hand, or pulse in a food processor with “s” blade till the flour becomes yellow and moistened, then knead by hand till completely incorporated, (5 mins)
Then cover and let rest for 20 mins.
Them divide into manageable pieces, and start rolling it out with a rolling pin, or with a pasta machine.
* Jenny has made fresh pasta before and was totally in love with the Kitchen Aid Pasta Attachement. She loved how quickly and effortlessly it was to make fresh pasta!!
SAUCE – SAGE IN MELTED NUTTY BUTTER
Fine sea salt
1 1/2 sticks (12 tablespoons) unsalted butter, cut into small pieces
1/4 pound prosciutto, sliced 1/8-inch thick, cut into 1/8-inch dice (optional)
12 small sage leaves plus more for garnish
14 ounces fresh or dried tagliatelle
Flaky coarse sea salt
DIRECTIONS: In a small skillet, combine butter and prosciutto; heat over medium heat, stirring, until butter is foaming. Continue to heat until butter just begins to turn a pale, golden color, then add sage and cook 1 minute more. Remove pan from heat.
Cook pasta in the boiling water until al dente (about 3 minutes for fresh pasta). Reserving 2/3 cup of the pasta cooking liquid, drain pasta and immediately transfer to a large bowl.
Add reserved pasta cooking liquid and butter sauce and toss to combine well. Season to taste with crushed flaky coarse sea salt. Garnish with sage and serve immediately
We had a blast with our “Pasta Project” and can’t wait to collaborate in the kitchen again!
A huge thanks to Kitchen Aid for this amazing Pasta Attachment and a huge thanks to Jenny for taking the time to teach me how to finally make fresh pasta.
Happy Cooking!!
Food and Foccacia, Food Blogger, FoodFables, Fresh, Kitchen Aid, Kitchen Aid Pasta Attachment, Pasta, Recipe
ContestsOctober 1st, 2013
These days, I have been busy using my KitchenAid Diamond Blender. I simply can’t sop making smoothies and pureeing soups. Life is good.
One evening I got creative and put together a smoothie using some of my favorite ingredients; Chocolate, Banana and Peanut Butter.
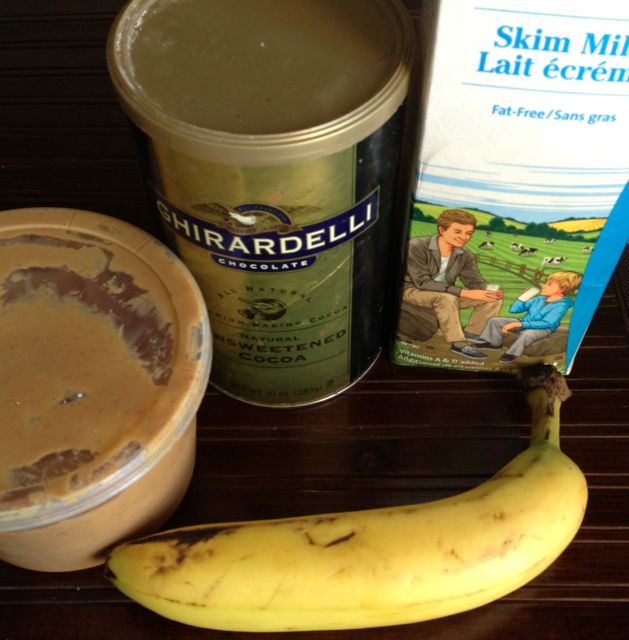 In less than a minute I had a pretty satisfying snack. The list of smoothies I intend on making are endless and infact I have a list on my fridge as a reminder that I don’t have to make the same smoothie every day!!
I’m so excited about using my KitchenAid Diamond Blender on a regular basis that I’m running a contest to give away a KitchenAid Diamond Blender to one of my readers.
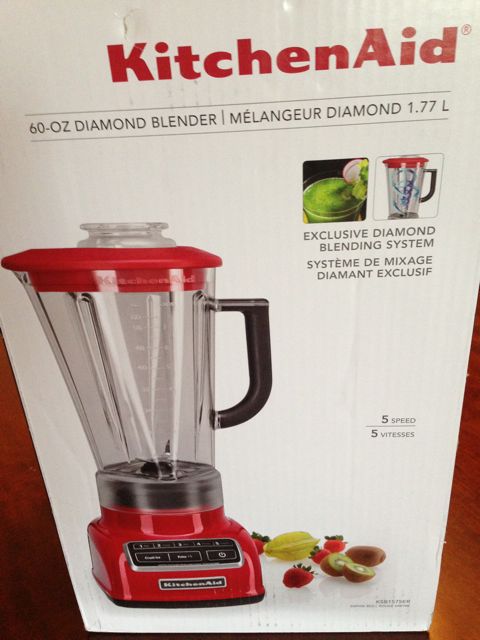 Here’s what you need to know about the KitchenAid Diamond blender!!
- Just became available in September
- Retails for $199.99
- 1 touch ice crush with auto stop
- 20 second smoothie
- Diamond-shaped pitcher that’s has a capacity of 1.77 L
- Available in 7 colours
Here’s what you need to know about the Contest:
-the contest is open to all Canadian Residents
-the contest will run from Oct 1 to Oct 15th at midnite. A winner will be selected using www.random.org.
-the winner will have 7 days to contact me otherwise I will be pick another winner.
-all you have to do is answer the following question: If you win the KitchenAid Diamond Blender,…..what will you be using it for? Leave a comment below.
Good Luck Everyone!!
Banana, Blender, chocolate, Contest, KitchenAid, KitchenAid Diamond Blende, Peanut Butter, Recipe, Smoothie
I’ve been using the same chocolate chip recipe that I cut out from the Toronto Star for years. It served me well however the results were never consistent. One day, I googled “chocolate chip cookie” recipe and a few recipes came up. (just a few..HA). I realized that many of the recipes had the same ingredients but the measurements are slightly different. Plus the technique can be different too!!
After clicking on a few websites, I came across a recipe that was posted on a blog called: Sally’s Baking Addiction!
Her recipe stood out for these three reasons:
1. the photos (seriously…they couldn’t get any better)
2. she explained each component of the recipe.
3. the addition of CORNSTARCH intrigued me.
I tried out the recipe and then continued to make about 5 batches. I COULD NOT STOP MAKING THIS RECIPE!! Thank you Sally’s Baking Addiction for this perfect recipe.
INGREDIENTS
- 2 and 1/4 cups (280 grams) all-purpose flour
- 1 teaspoon baking soda
- 1 and 1/2 teaspoons cornstarch
- 1/2 teaspoon salt
- 3/4 cup (1.5 sticks or 170 grams) unsalted butter, melted
- 3/4 cup (150 grams) light brown sugar, loosely packed
- 1/2 cup (100 grams) granulated sugar
- 1 large egg + 1 egg yolk (preferably at room temperature)
- 2 teaspoons vanilla extract
- 1 cup (180 grams) chocolate chips or chocolate chunks
DIRECTIONS
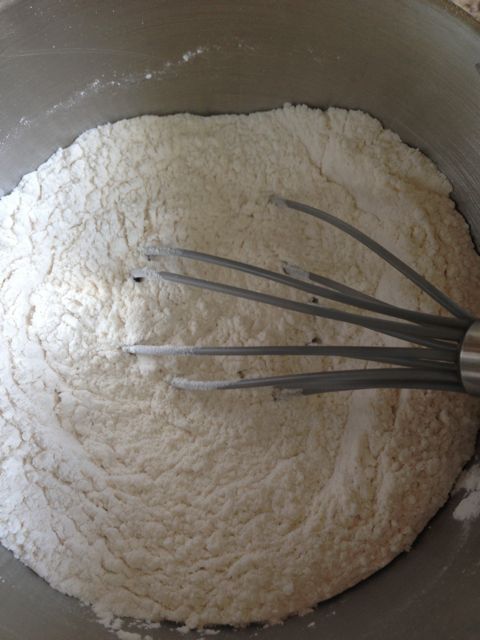
- Mix together the flour, baking soda, cornstarch and salt in a large bowl. Set aside. (simple enough, right?)
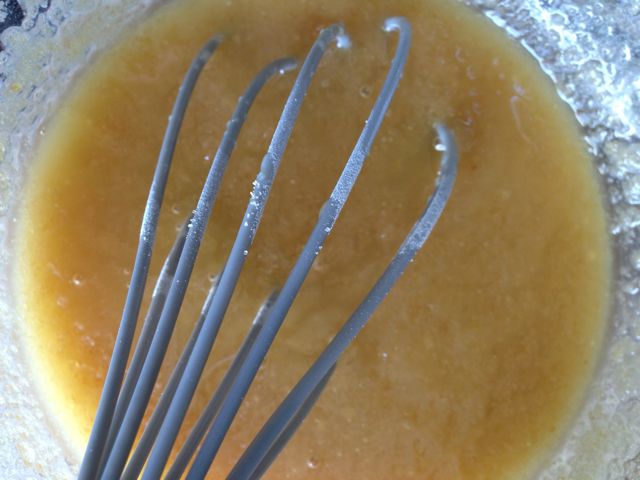
- In a medium size bowl, whisk the melted butter, brown sugar, and white sugar together until the lumps disappear. Whisk in the egg, then the egg yolk. Finally, whisk in the vanilla.
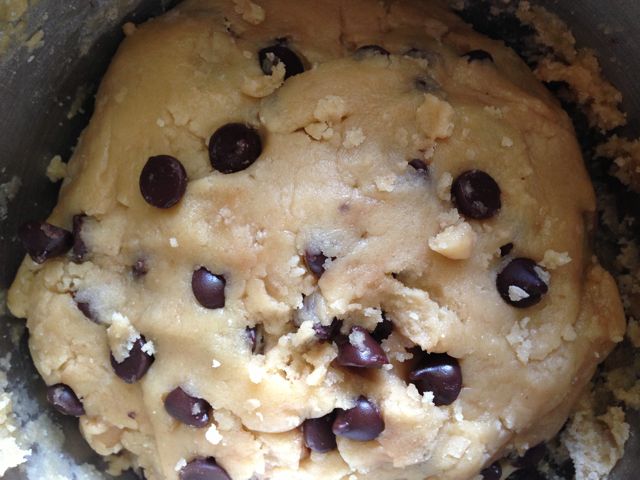
- Pour the wet ingredients into the dry ingredients and mix together with a large spoon. THIS IS AN IMPORTANT STEP and MUST BE DONE CORRECTLY. (I’m talking from experience!!)
- The dough will be somewhat soft. Fold in the chocolate chips. They may not stick to the dough because of the melted butter, but most of them managed to stick into the dough.
- Cover the dough and chill for 2 hours, or up to 3 days. THIS STEP IS MANDATORY.
- Take the dough out of the refrigerator and allow to soften at room temperature for 10 minutes.
- Preheat the oven to 325F degrees. Line two large baking sheets with parchment paper or silicone baking mats. Set aside.
- Roll the dough into balls, about 3 Tablespoons of dough each. The dough will be crumbly, but the warmth of your hands will allow the balls to stay intact. (I used a cookie scooper for this part). Place them evenly on the baking sheet.
- Bake the cookies for 11-12 minutes. The cookies will look very soft and underbaked. IMPORTANT: Do not bake longer than 12 minutes. They will continue to bake on the cookie sheet. Allow to cool on the cookie sheet for 10 minutes before moving to a wire rack to cool completely.
- FINAL RESULT:
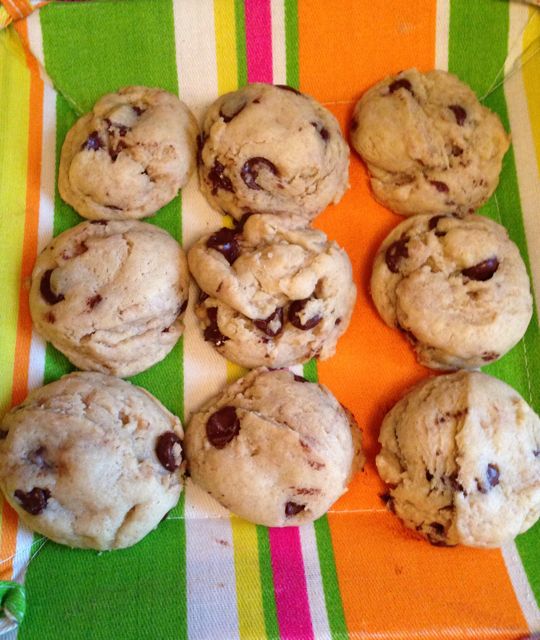
Now go grab yourself a glass of cold milk and enjoy a cookie (or two).
Happy Baking.
blog, chocolate chip, Chocolate chip cookie, cookie, cornstarch, milk, Recipe, Sallys Baking addiction, Toronto Star
I’m always looking for new fish recipes, seeing as I haven’t had any meat in my kitchen for the last two decades!!
Lately I’ve been using Panko Crumbs but I was getting bored of using them so I went over to Pinterest to get some inspiration. (which I’ve been doing a lot of lately).
I found a Popchips Recipe Board and saw that one recipe featured Popchips crusted baked buffalo chicken tenders! I said to myself: “hmm..bet I could recreate this with fish”. So I did. Bye Bye Panko Crumbs. Hello Popchips!!
Here’s what you need:
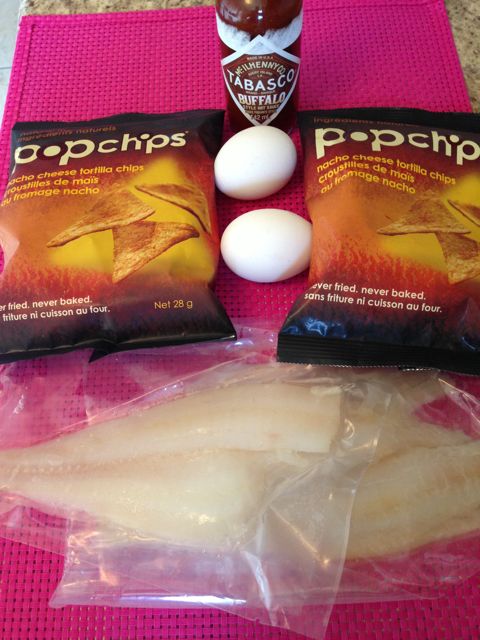
INGREDIENTS
2 pieces of sole, thawed
2 egg whites
2 small bags of Popchips (I used the nacho cheese flavour)
a few dashes of Tobasco Buffalo Sauce (optional)
DIRECTIONS:
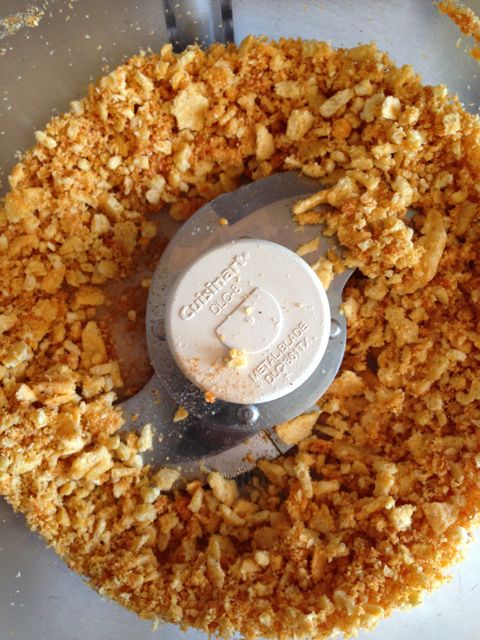
1. In a food processor, pulverize the Popchips. Add a few dashes of Tobasco Buffalo Sauce for additional flavour (optional)
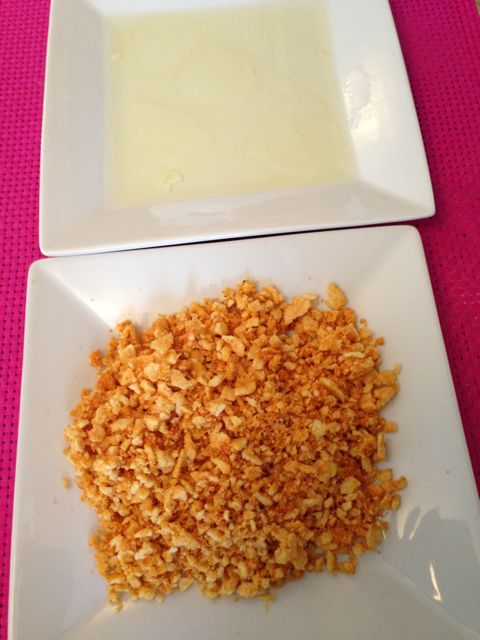
2. Put out two plates: one for the Popchips. One for the egg whites. Dip the fish into the egg whites and then dip into the crushed Popchips until well coated.
3. In a heated frying pan, add some oil. (I used coconut oil for my first time…yay for coconut oil)
4. Place the fish into the frying pan and cook for a few minutes.
FINAL RESULT
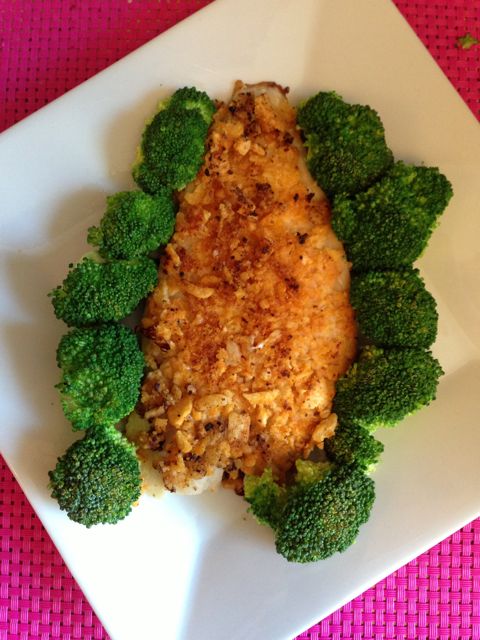
Hope you get a chance to snack on some Popchips soon or use them in a recipe like I did!! These chips will soon become a favorite. Promise.
Coconut Oil, Cuisinart, Fish Recipe, Gluten Free, Panko, Pinterest, Popchips, Recipe, Sole, Tobasco

