I love entertaining…the menu planning, the cooking and even setting the table. But I won’t include the “cleaning up” part! (we can save that for another blog post.)
Most of the menu I had made before but there were 2 new recipes (*) that I was checking out and guess what? They were a hit.
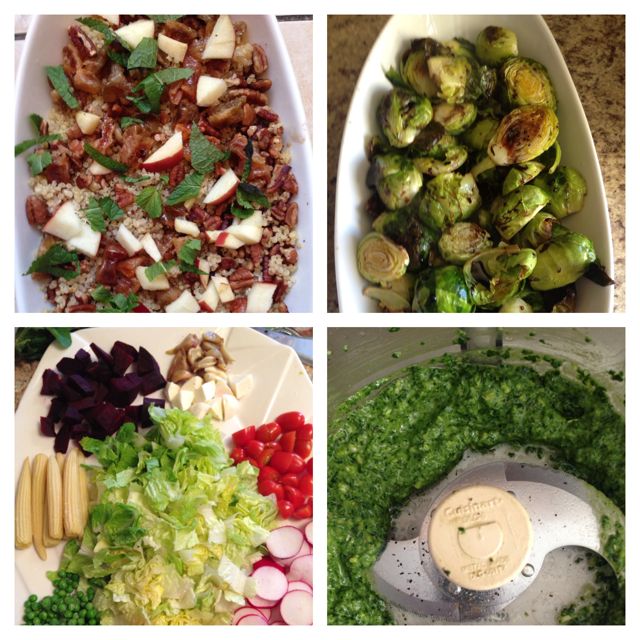
-A Deconstructed Salad.
-Roasted Brussel Sprouts (recipe: Barefoot Contesssa)*
-Tomato/Bocacini/Roasted Garlic/Basil Skewers
-Quinoa salad with Apples and a Curry Dressing* (recipe: Martha Stewart)
Dessert: Meringue Nests with Fresh Raspberries
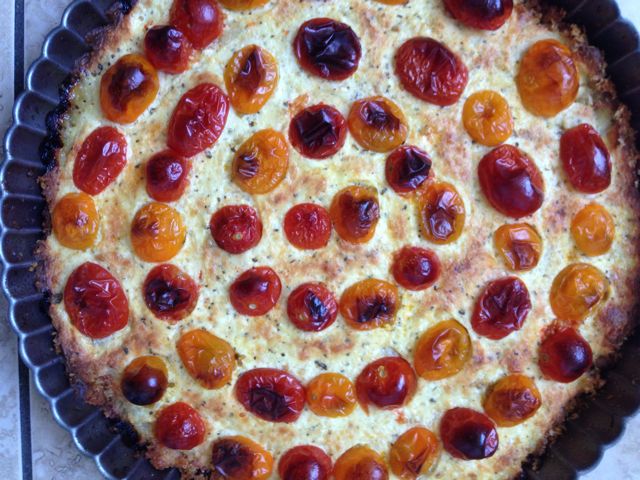
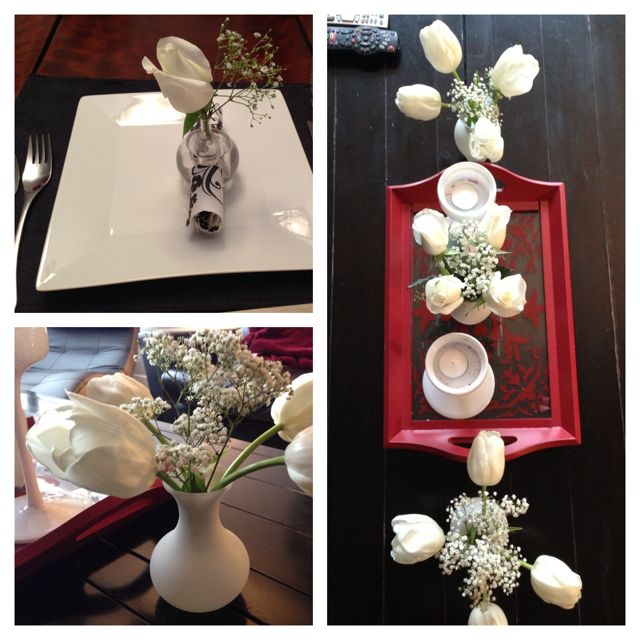
These photos might help you visualize the menu!
-Dessert: Meringue Nests with Whipped Cream and Fresh Raspberries.
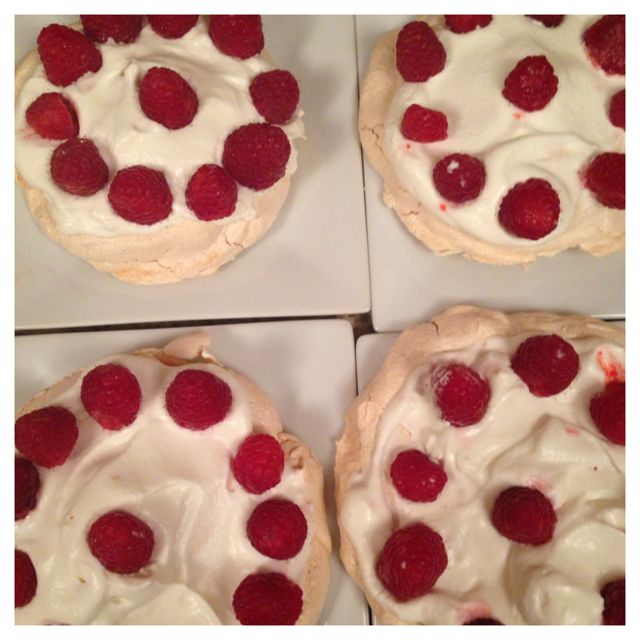
The nests came out more like discs. #ohwellstilltasty
As for the table: I thought it would be a great time to buy white tulips, white roses and babies breath. (source: any of the flower stores at Avenue/Davenport)
Hope this blog post inspires you to host a dinner party one day soon as well!
Note: Stay tuned for another blog post as I had more company over last night and made lasagna cups for my first time!