I’ve been busy in the kitchen lately which is code for “I have some recipes to share with you”.
I must admit, I was nervous when I was making this dish as I wasn’t quite sure it would work out but it did! (hip hip hooray).
This recipe only requires a few ingredients and wasn’t hard to make at all. My biggest tip to share with you is to invest in a cheesecloth (available at any dollar store) to ensure that your grated potato is DRY!
Wringing out the grated potato in a dish cloth just isn’t the same. Trust me. So here’s what you need to know to make this fabulous side dish.
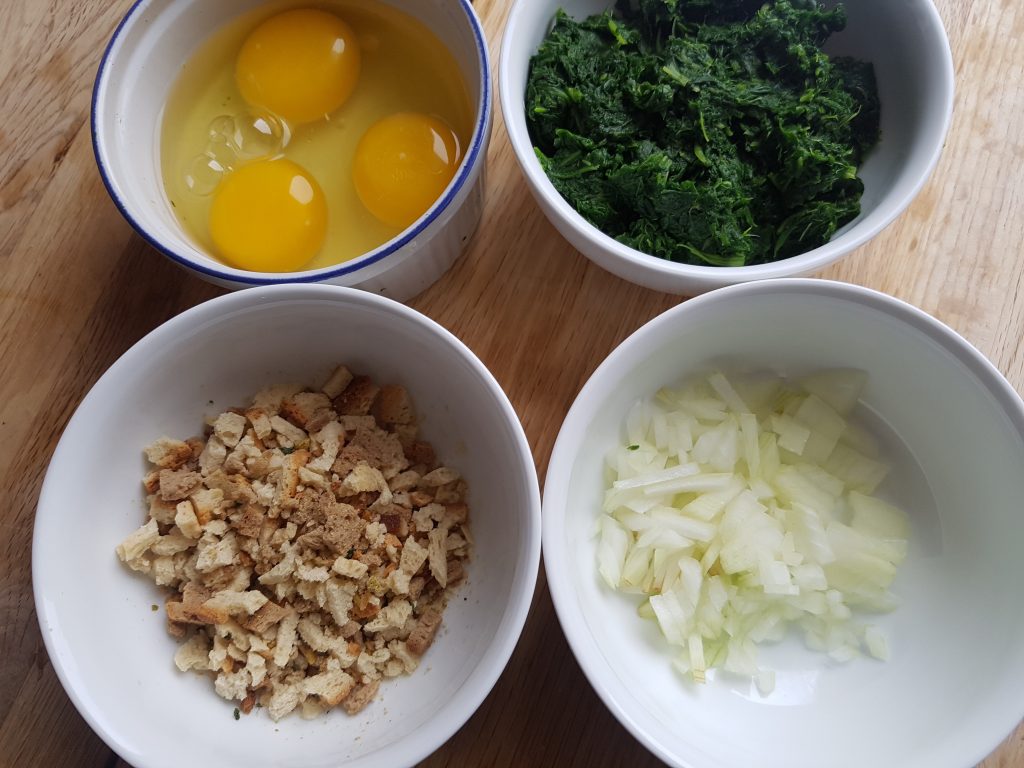
Recipe: Spinach Potato Nest (original recipe found here www.MayIHaveThatRecipe.com)
4 large Yukon Gold Potatoes
1 tsp salt
¼ – ½ tsp pepper
2½ tsp garlic powder
2½ tsp onion powder (I went to Bulk Barn to grab this ingredient)
4 tsp vegetable oil
Cooking Spray
4 cups of frozen spinach thawed (I bought 2 packages and it was more than enough)
4 tbs extra virgin olive oil
4 large eggs
Instructions
Preheat oven at 400F
1. Grate the potatoes, add ½ tsp of salt, mix well and let them sit in a colander with a bowl under it for 20 minutes. Squeeze as much water out of the grated potatoes as you can. (I used a cheesecloth and you should too!!) Season with ½ tsp garlic powder, ½ tsp. onion powder, ½ tsp pepper. Add 4 tsp vegetable oil and mix well.
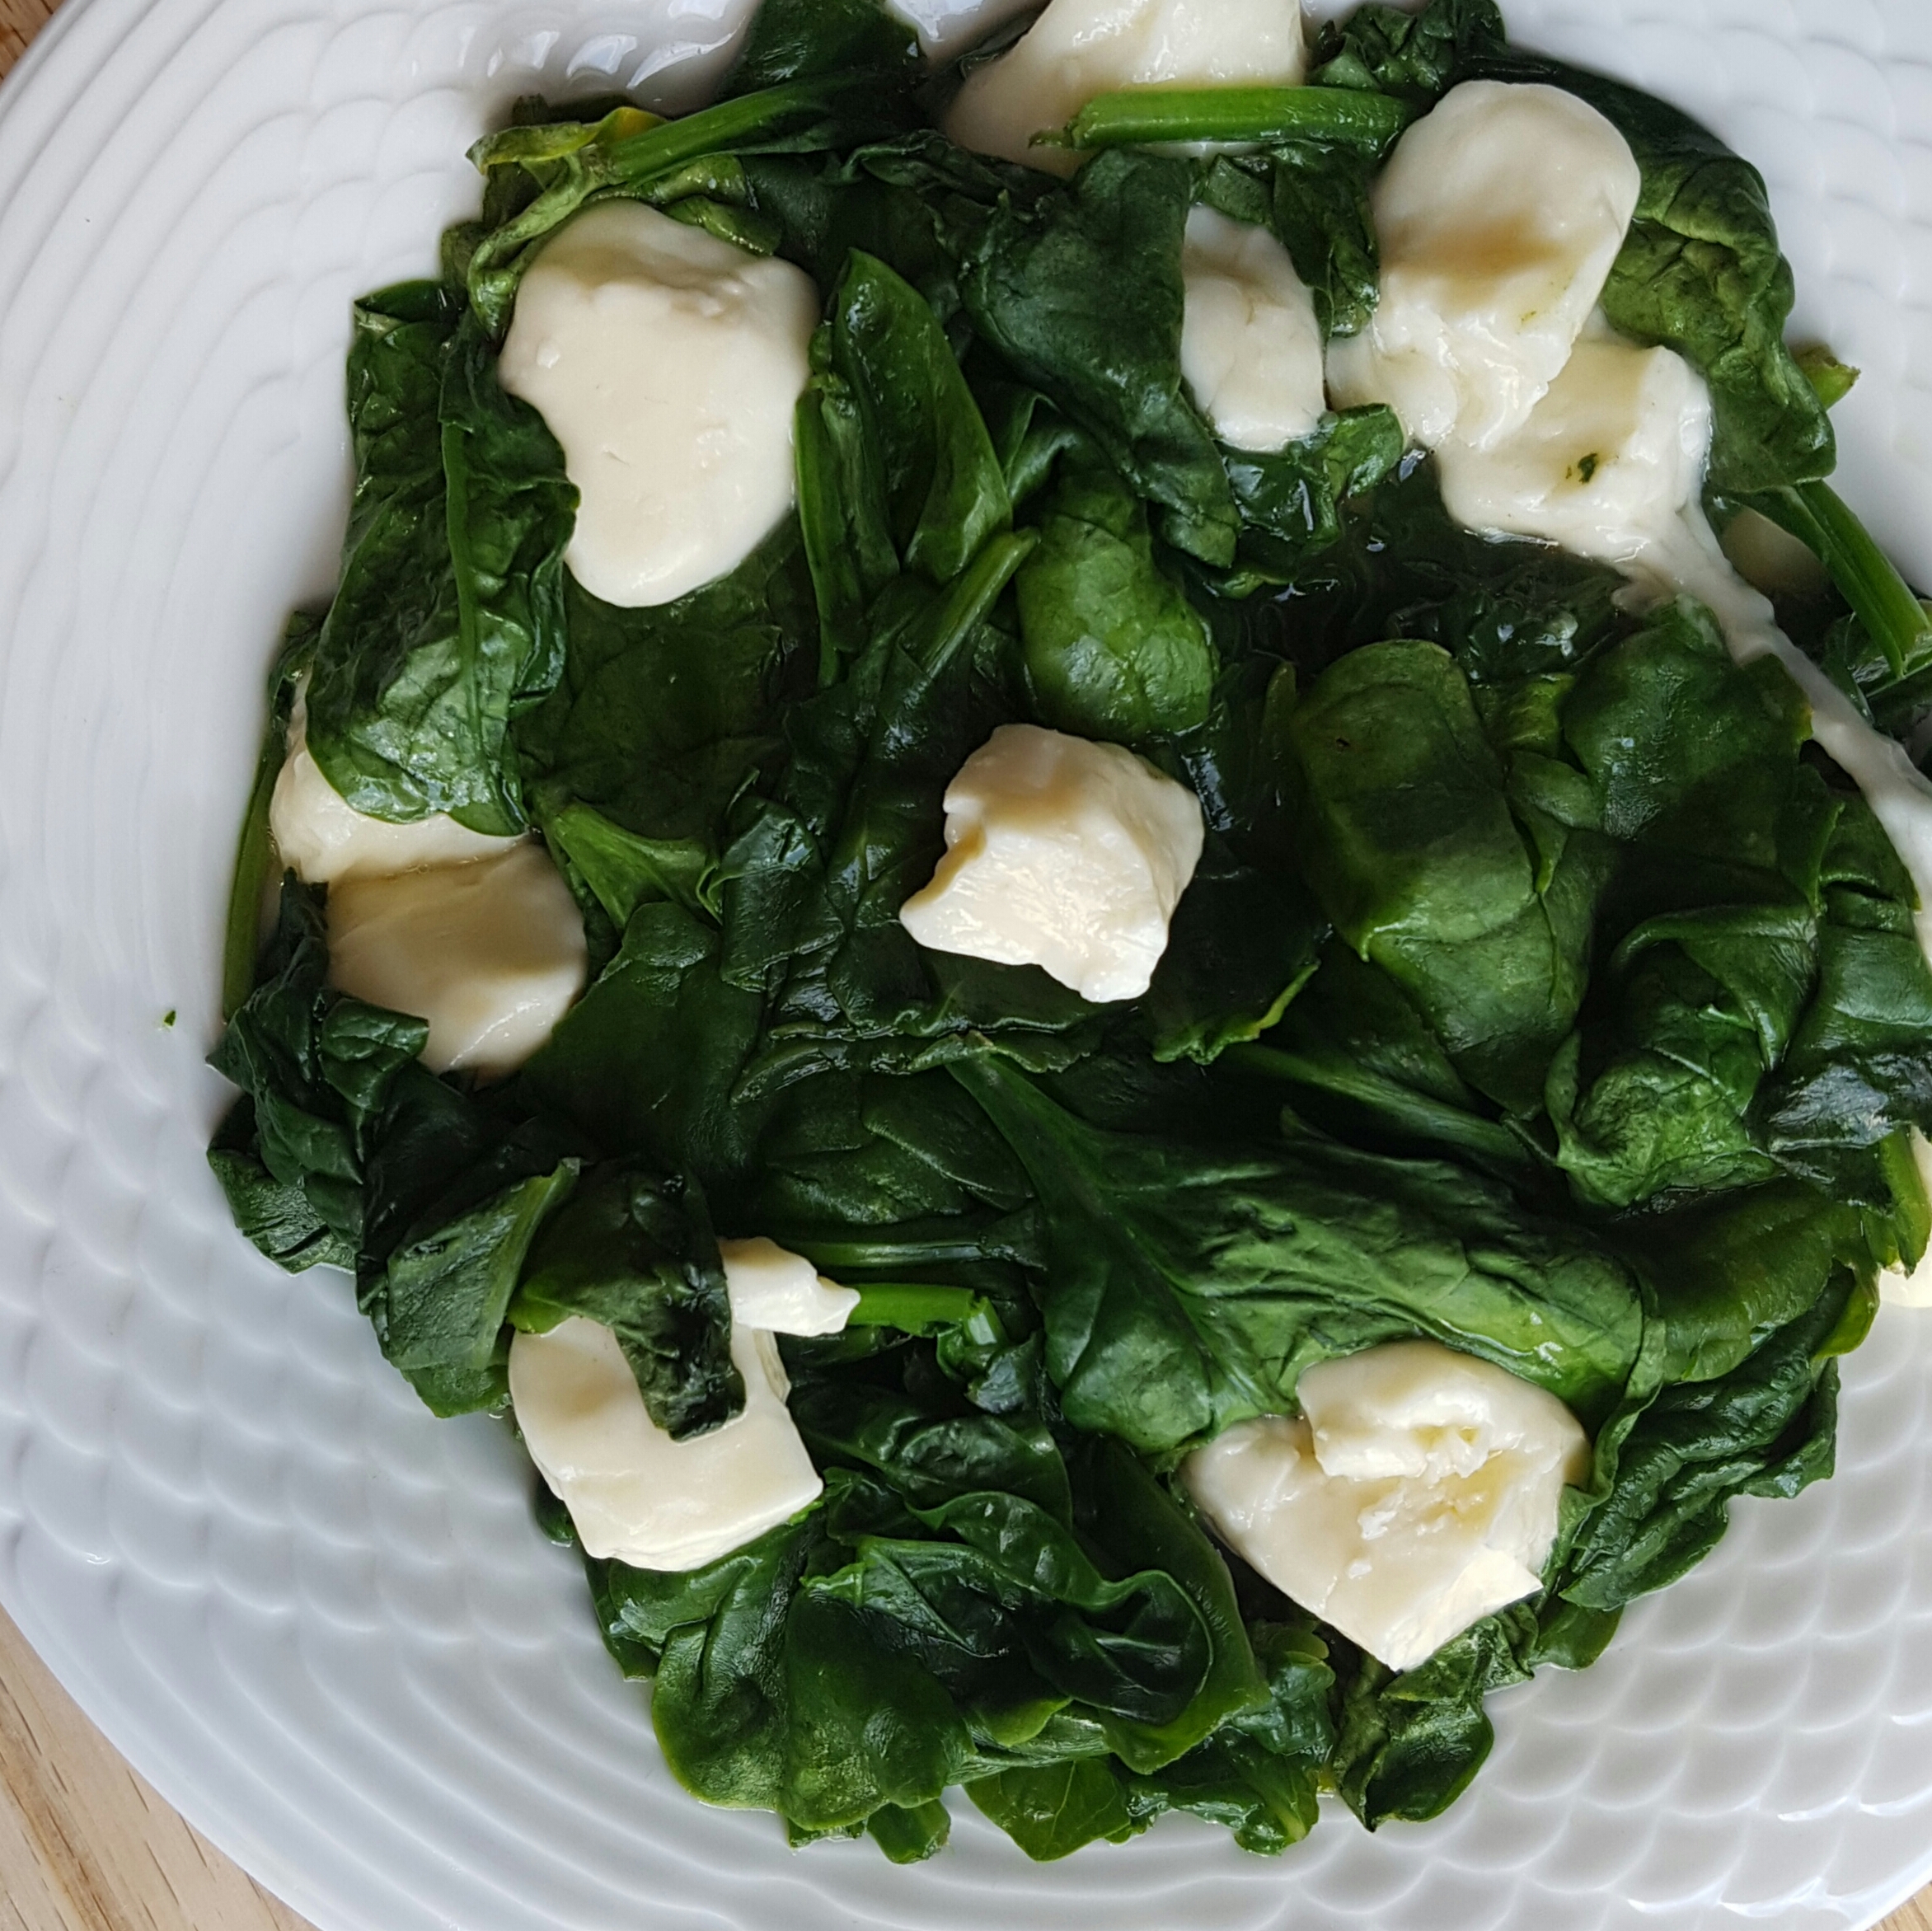
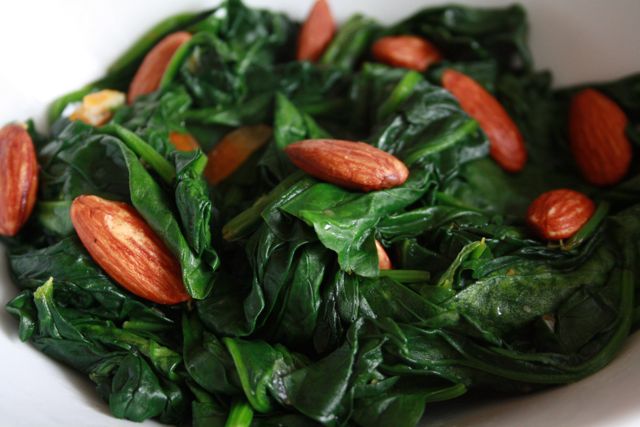
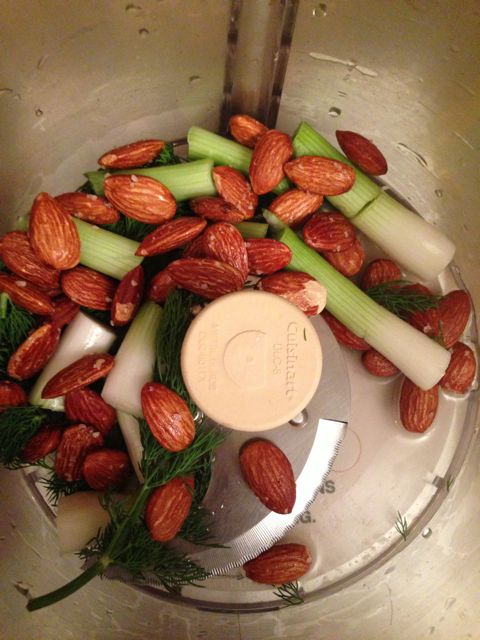
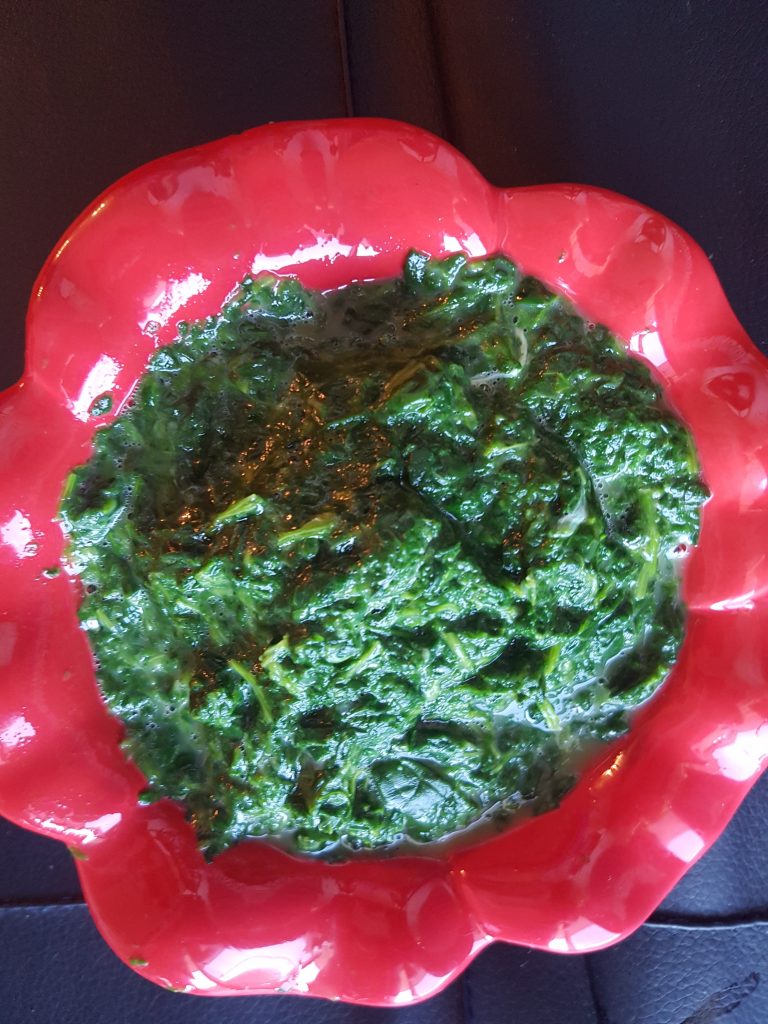
2. In a large skillet, sauté spinach in olive oil. Season with 2 tsp garlic powder, 2 tsp onion powder and ½ tsp salt. Cook until most of the water had evaporated, 6-8 minutes. Set aside. (Note: I squeezed out the water with my hands just to make sure it was dry)
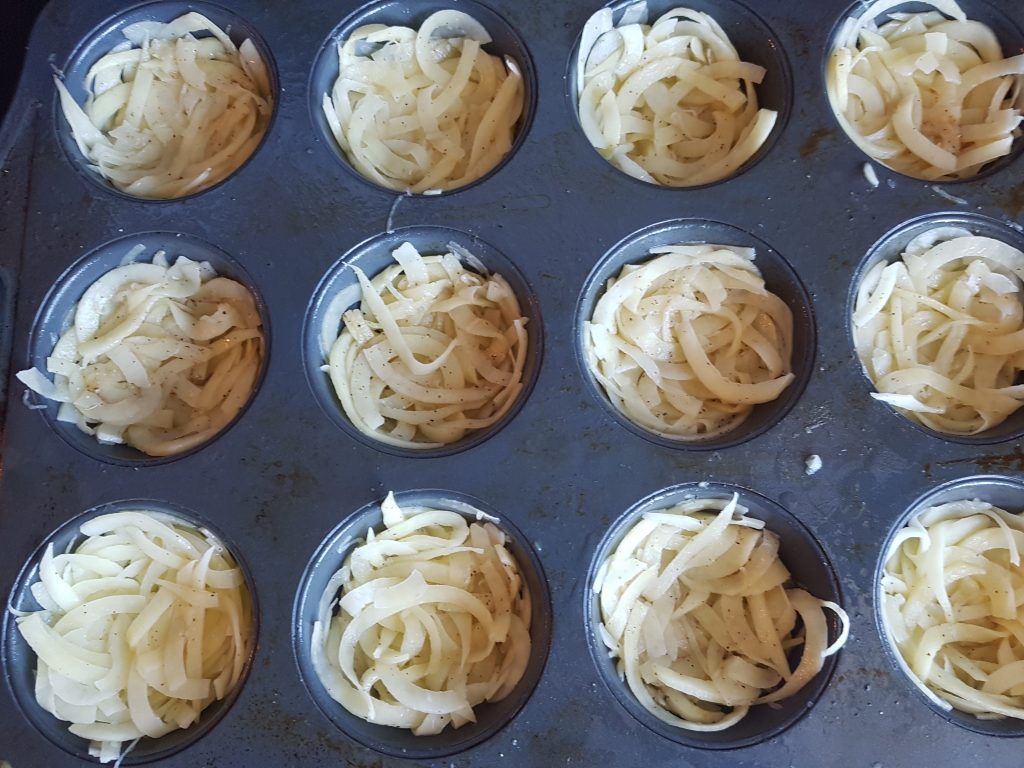
3. Generously spray a 12 muffin tin pan with cooking spray.
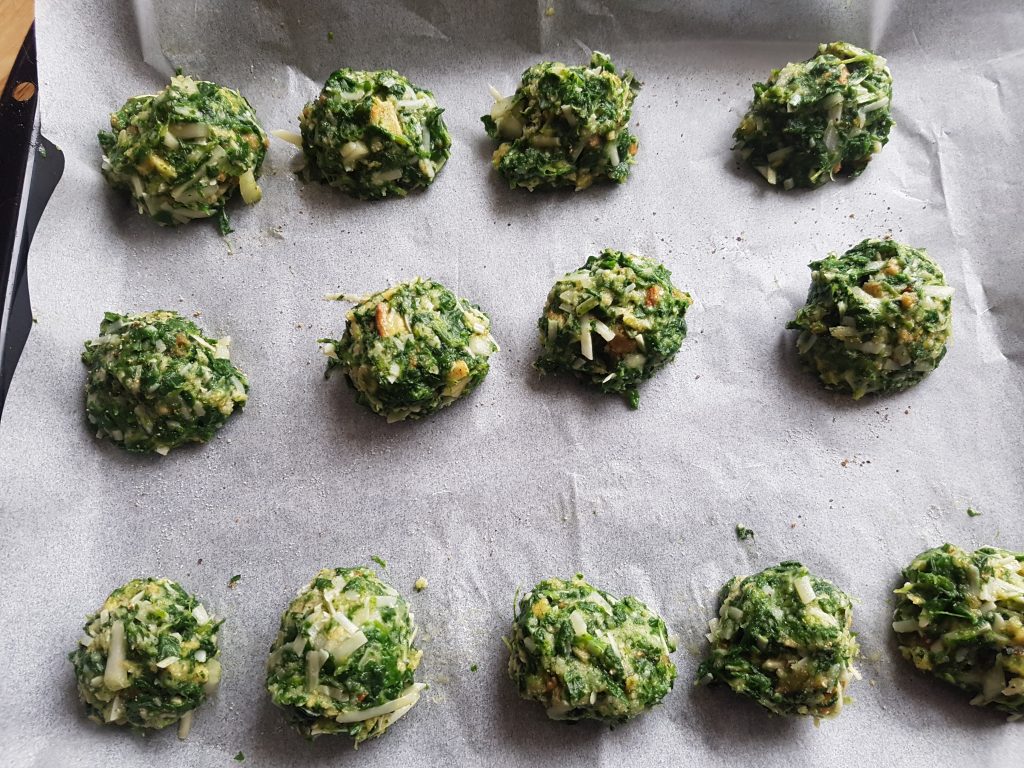
4. Arrange grated potatoes into each muffin cup, pressing against the bottom and up the sides. (Another Tip: I spent a bit of time, pressing the potatoes down)
5. Bake in the oven for 15 minutes or until they start to brown slightly . Remove from the oven.
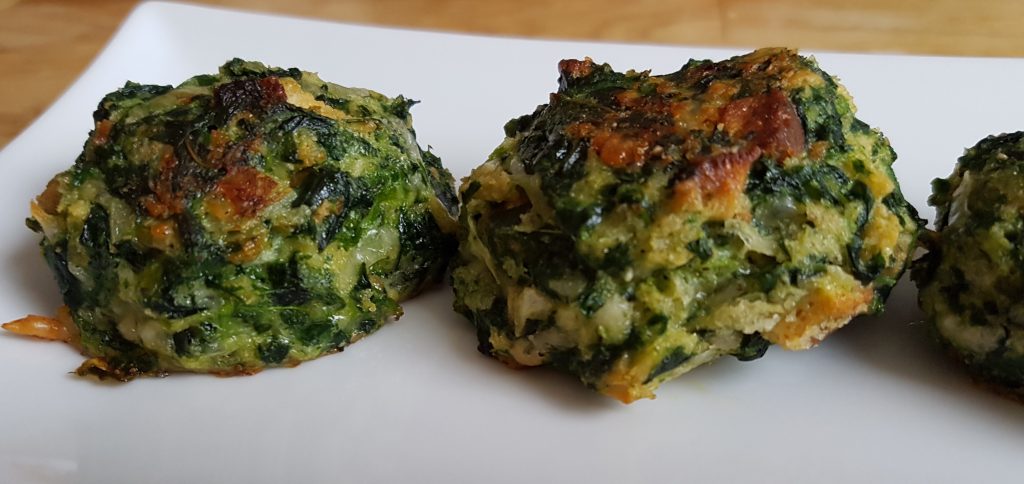
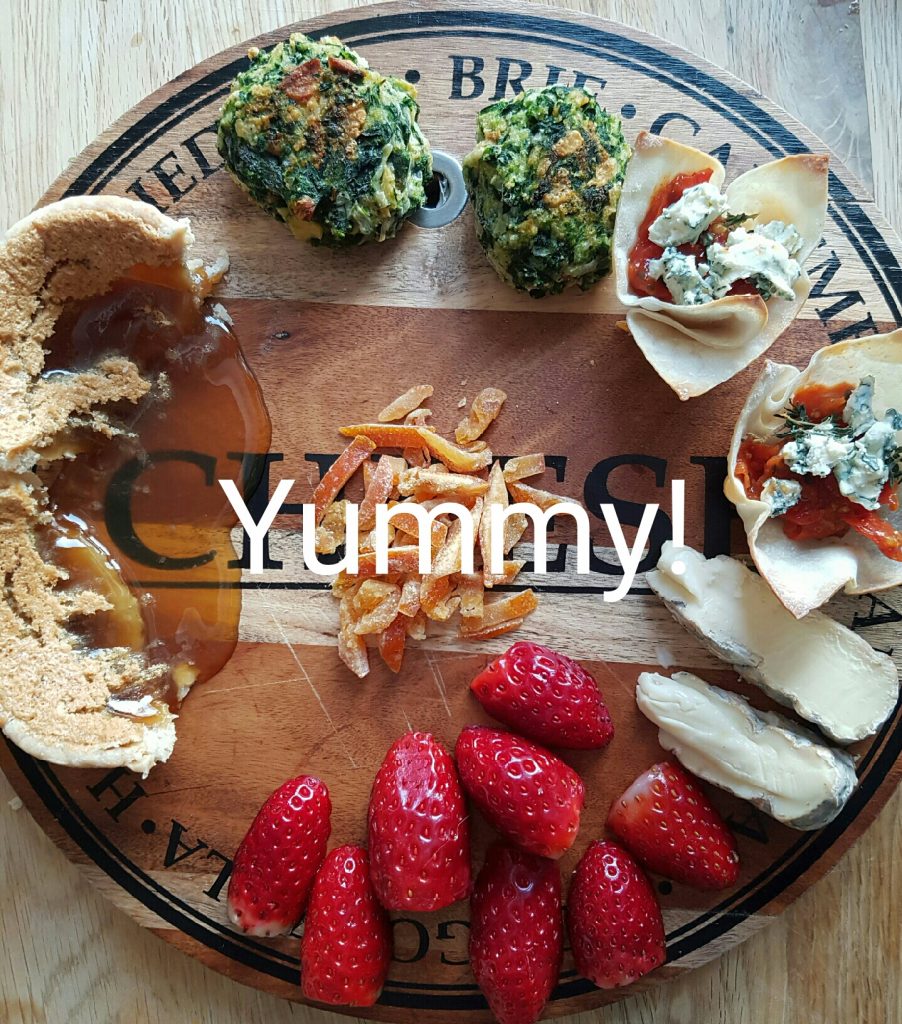
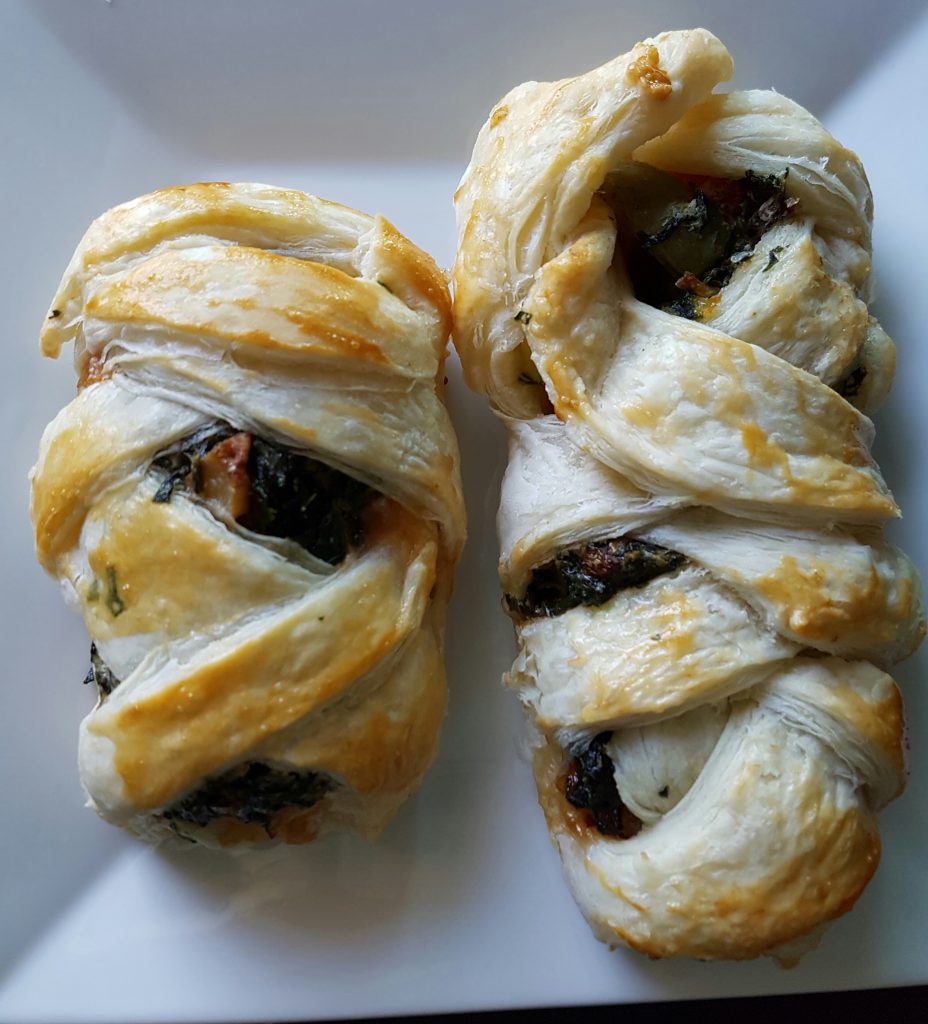
Final Product:
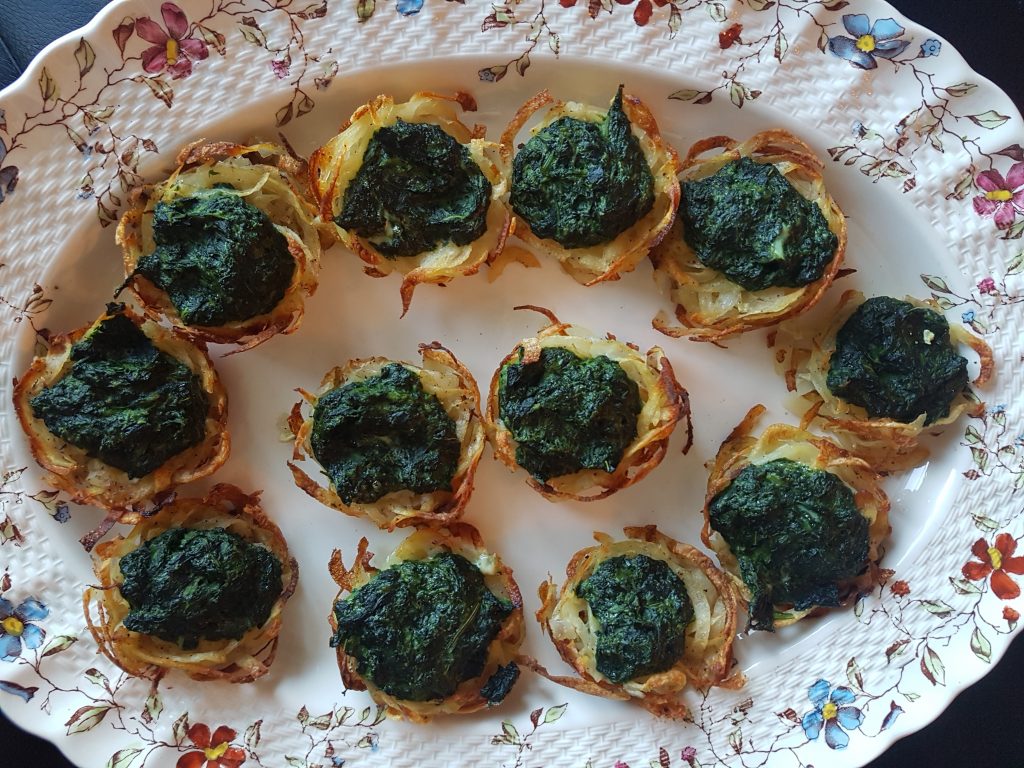
Happy Cooking!


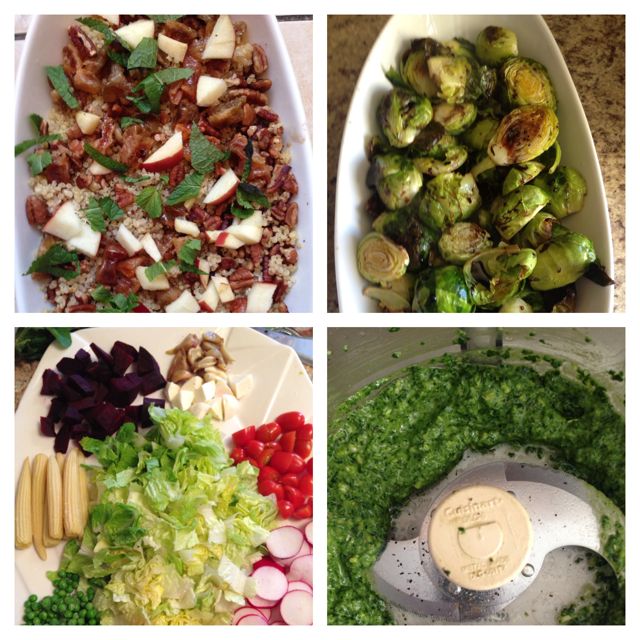
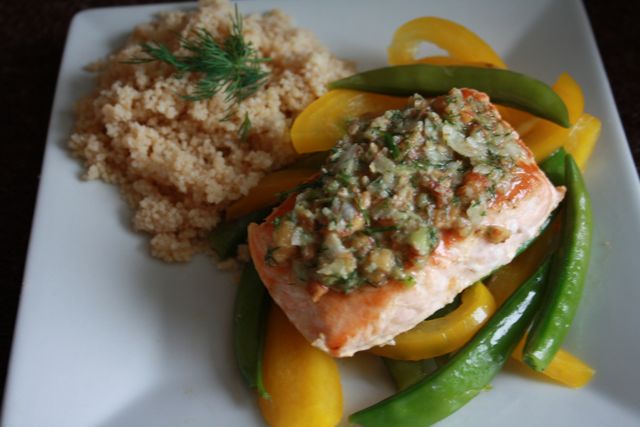
 I served this along with a salad, vegetarian stew and couscous. The stew was prepared in the slow cooker while I was asleep. Oh how I love my
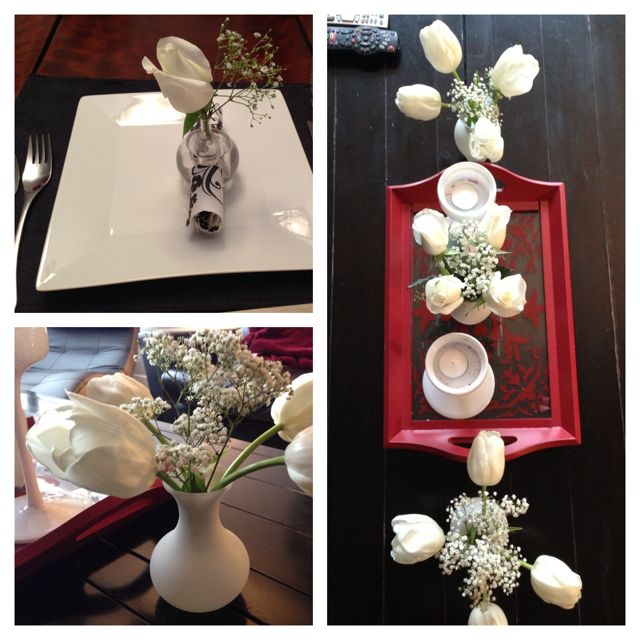
 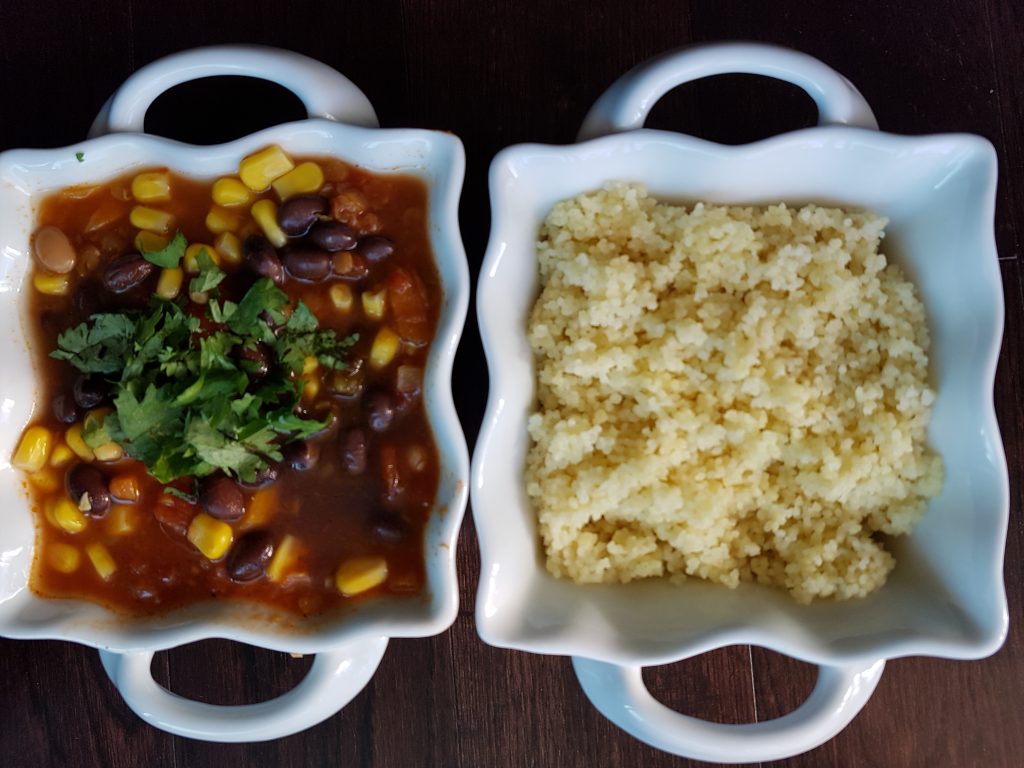 Naturally I had fun setting a “fall inspired” table.
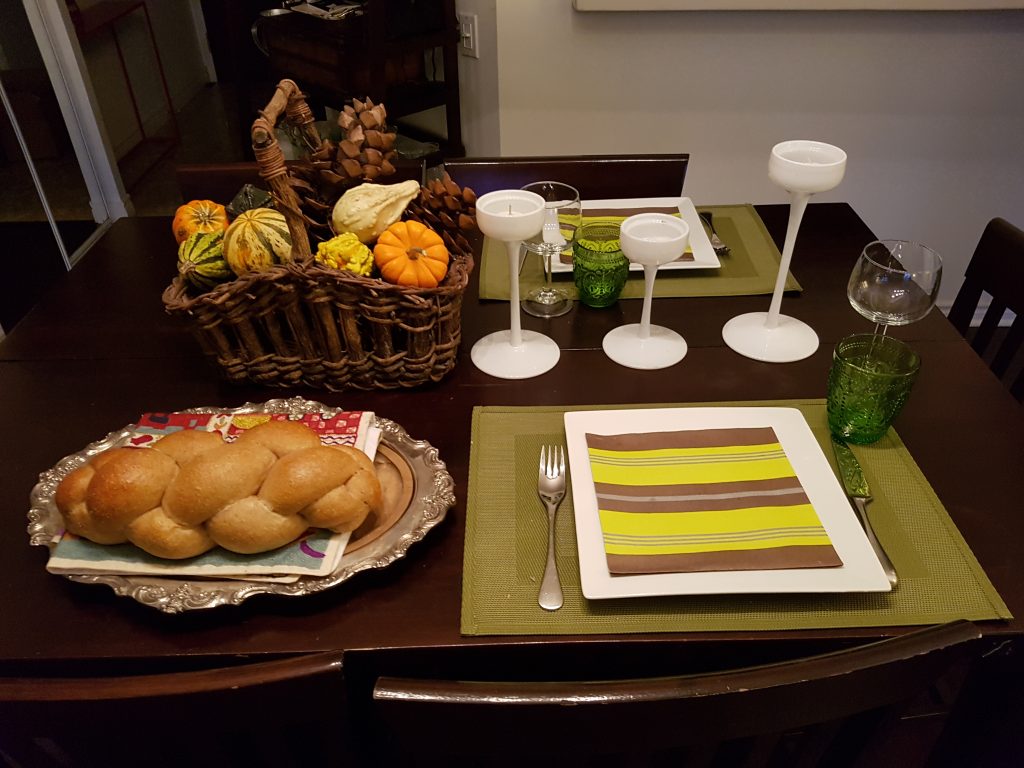 Happy Cooking!!