Food


Mom Who Runs...runs so she can consume some extra calories. I am passionate about entertaining, trying new recipes, tasting new products, exploring new restaurants and of course...I will be telling you about it RIGHT HERE. So if you are a foodie like I am, keep clicking on this column.

Nov
17

I’d like to take a bet that it would be hard to find someone who doesn’t like macaroni and cheese. It’s comfort food at it’s best.

Plus it’s easy to make. I think it was probably the first thing I learned to make on my own when I was a teenager coming home at lunch time!!

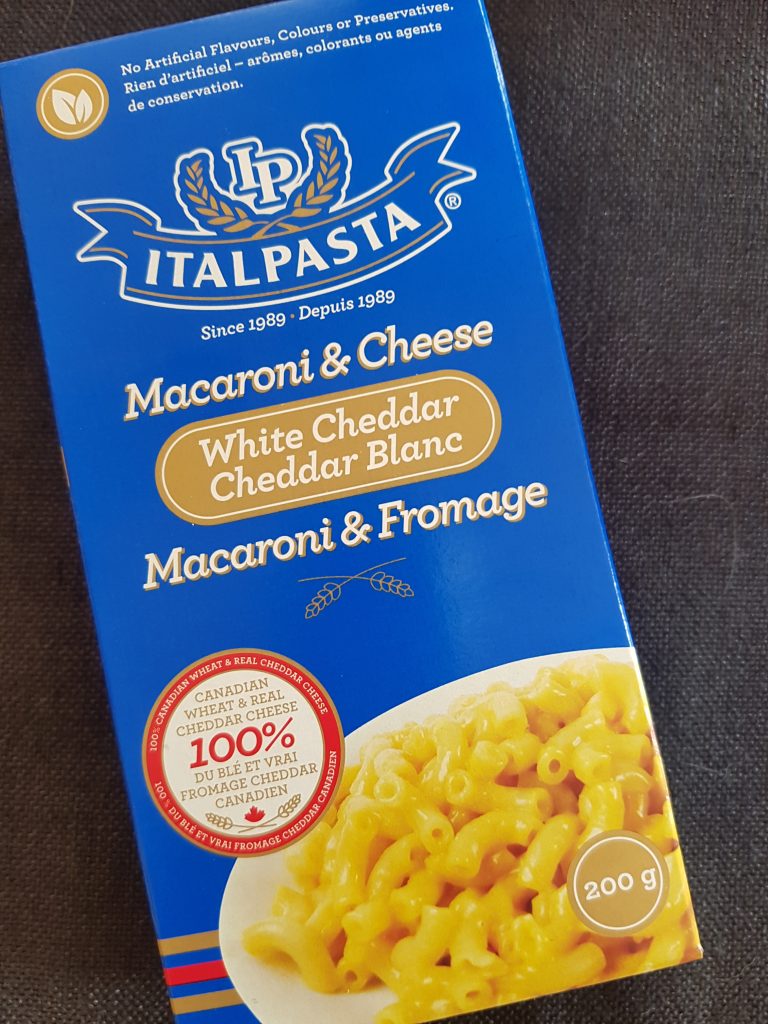
These days, Italpasta has introduced a macaroni and cheese that has 100 percent Canadian wheat and real Canadian cheese. Added bonus: No artificial flavours, colours or preservatives. I’m all too happy to support this concept of using Canadian ingredients. Wouldn’t you agree?

italpasta-box

The other night I made macaroni and cheese and brought it to another level of yummy-ness.

Heres’ four secret ingredients: (which clearly aren’t a secret anymore{

  1. Add 5% cream instead of milk. What a difference. (or use both!!)
  2. Add panko and more grated cheese on top of the mac and cheese and bake in the oven for 10 minutes
  3. Add a touch of cream cheese.

Bingo, you will have a freakin’ delicious macaroni and cheese to serve.

italpasta-final

Trust me. Everyone will be digging into this dish.

Another tip I received on facebook when I posted the above photo included:

-try making the mac and cheese in a slow cooker. Apparently it comes out really really creamy. (which I’ve never done before)

The other tip I would like to share is that this dish freezes beautifully. This means, I always make a big batch and then freeze it for those nights when I come home and I’m too tired to cook (you know what I mean, right?)

Happy Cooking!

For more information: www.Italpasta.com

Disclosure: I was compensated for this blog post however all opinions are my own.


Share this:
Share this page via Email Share this page via Stumble Upon Share this page via Digg this Share this page via Facebook Share this page via Twitter

, , , , , ,

Nov
13

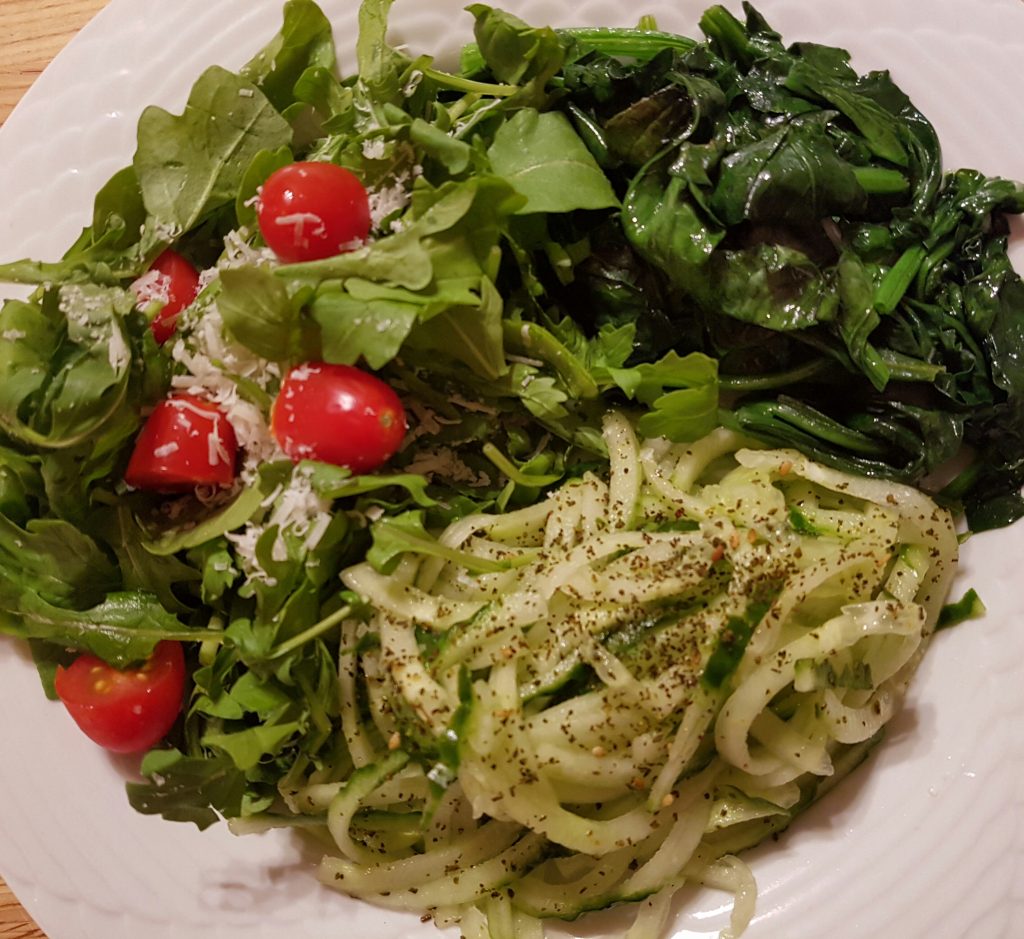
I try hard to participate in Meatless Mondays and thought I would share what I made last week. This plate contains; arugula salad with shaved parmesan and tomatoes, wilted spinach, and cucumber noodles topped with sesame seeds. Not bad for Meatless Monday eh?

banana-healthy-meal

This meal should be called: Three Shades of Green!!

An hour later, I had a “not-so-healthy” moment as I had discovered a recipe on Pinterest (click on the link to see my Food Board. Hint)  that I always wanted to try: Banana Fritters.

Before I knew it, I was whipping up dry ingredients and mixing them into the wet ingredients. Then I was DEEP FRYING. I even brought out a thermometer to make sure the oil was hot enough!

banana-final

Here’s the recipe for this super easy but not-so-healthy-dessert:

Banana Fritters (recipe courtesy of OMG Chocolate Desserts)

Ingredients

Approximately 4 large bananas

1 cup all-purpose flour

1 1/2 teaspoon baking powder

1 teaspoon cinnamon

1/4 cup sugar

Pinch of salt

1 cup plain greek yogurt

1 egg white

Vegetable oil for frying

Powdered sugar for dusting…(I used cinnamon)

Instructions

  1. Peel bananas and cut into 1.5 inch long pieces .
  2. In a bowl mix together flour, baking powder, sugar, salt and cinnamon.
  3. Add egg white and yogurt into dry ingredients and stir well with a wooden spoon until it’s smooth.
  4. Heat about 2 inch oil in a frying pan.( Be careful not to over heat the oil or the fritters will be too brown, it should be about 350F). This is an important step!!
  5. Using a fork dip each banana slice into to batter to coat it well and transfer it into oil and fry until it’s golden brown. Work in small batches because you have to work fast. (agreed – I had to work fast. Do not answer the phone or do anything else)
  6. Remove fried fritters to a paper towel lined plate to drain .
  7. Sprinkle with powdered sugar and serve

Happy Meatless Monday Everyone!!

Share this:
Share this page via Email Share this page via Stumble Upon Share this page via Digg this Share this page via Facebook Share this page via Twitter

, , , , , , ,

Nov
04

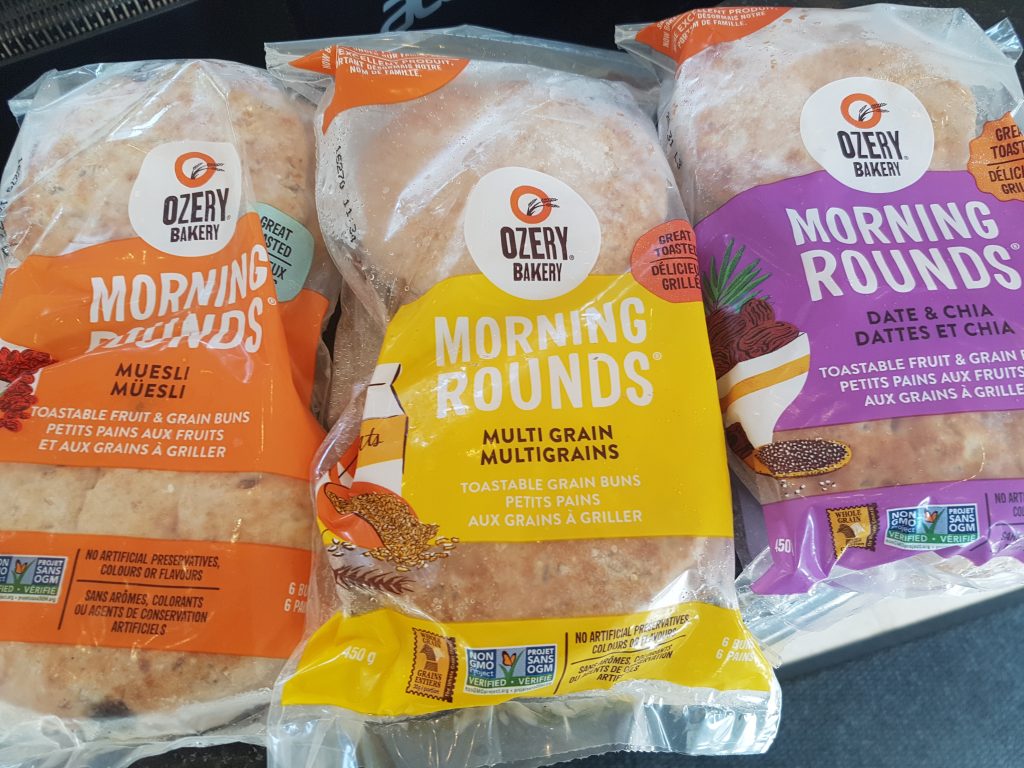
Have you heard of Ozery Bakery?  Since 1996, the Ozery family has been inventing alternatives to traditional bread products that are made from hearty whole grains, fruits, and seeds.

I’m particular fond of their Morning Rounds which have been a regular part of our breakfast routine and can be found in my daughters lunch box too! They come in a variety of delicious flavours too: Muesli, Cranberry Orange, Apple Cinnamon, Date and Chia, and Multi Grain.

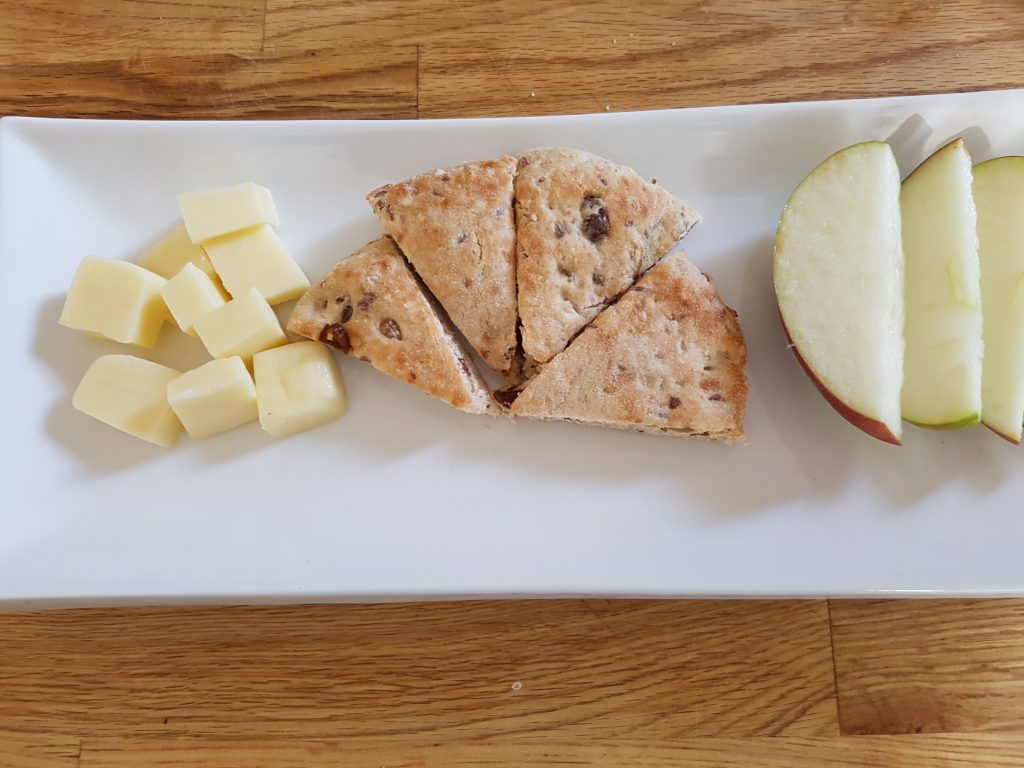
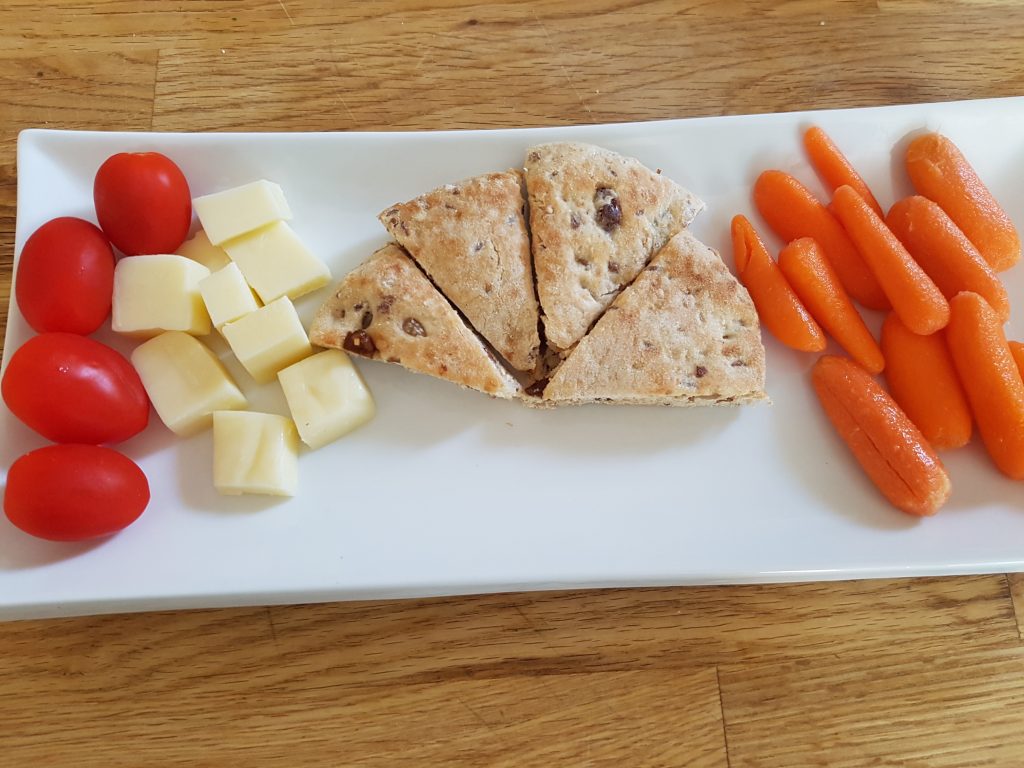
ozery-flavoursI’ve also been known to prepare myself a little snack which might look like this…

ozery-snack-1

Or like this.

ozery-snack-2

As you can see, I like to snack and these Morning Rounds by Ozery Bakery does the trick.

They are also “just the right size”. Do you know what I mean? Not too small and not too big…just right! Not to mention they freeze well in their reusable bag.

For more information:

Website: www.ozerybakery.com

Facebook: https://www.facebook.com/ozerybakery.pitabreak/
Twitter/Instagram: @OzeryBakery

Disclosure: I was compensated for this blog post however all opinions are my own

Share this:
Share this page via Email Share this page via Stumble Upon Share this page via Digg this Share this page via Facebook Share this page via Twitter

, , , ,

Oct
25

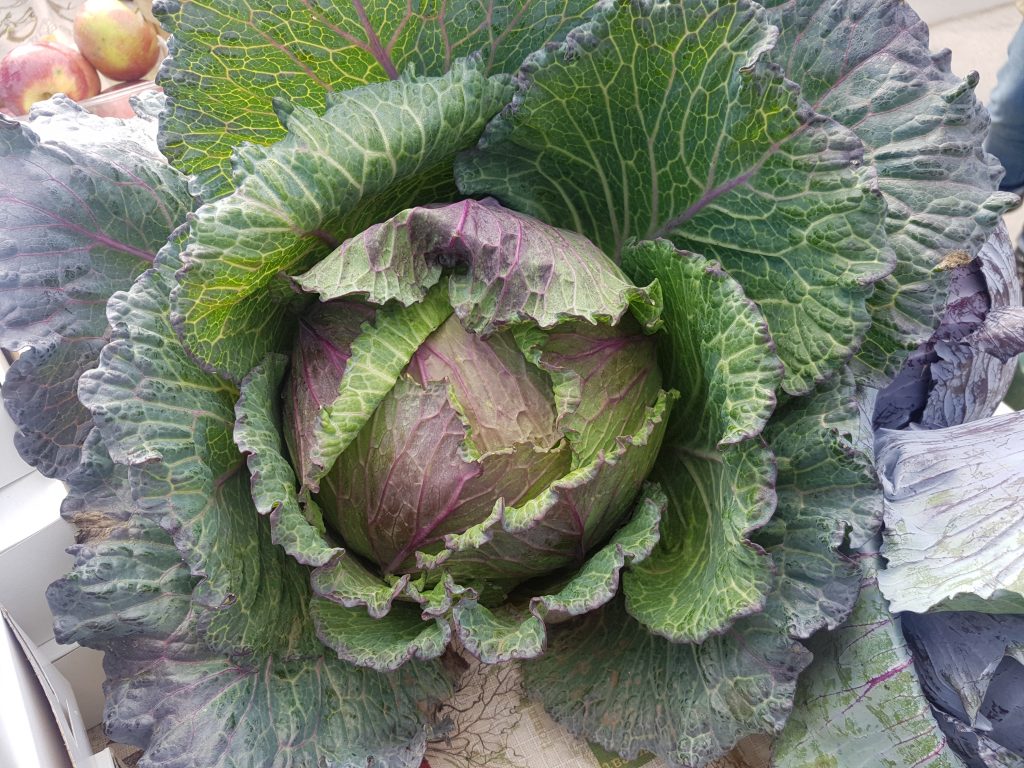
Lately, my favourite activity on a Saturday has been to visit Wychwood Farmers’ Market  (601 Christie St – Bathurst and St. Clair) and then head home to start cooking a storm.

Seriously, you are never going to find produce like this at your local grocery store.

cabbage

In between chopping, I will be honest – I spend some time on Pinterest. Click here to see my Food Board which has over 350 ideas!

I’m now going to share with you what I served for Saturday night. As much as I like going out to restaurants – I really do enjoy the simple pleasure of cooking and eating in!

Here’s what was served:

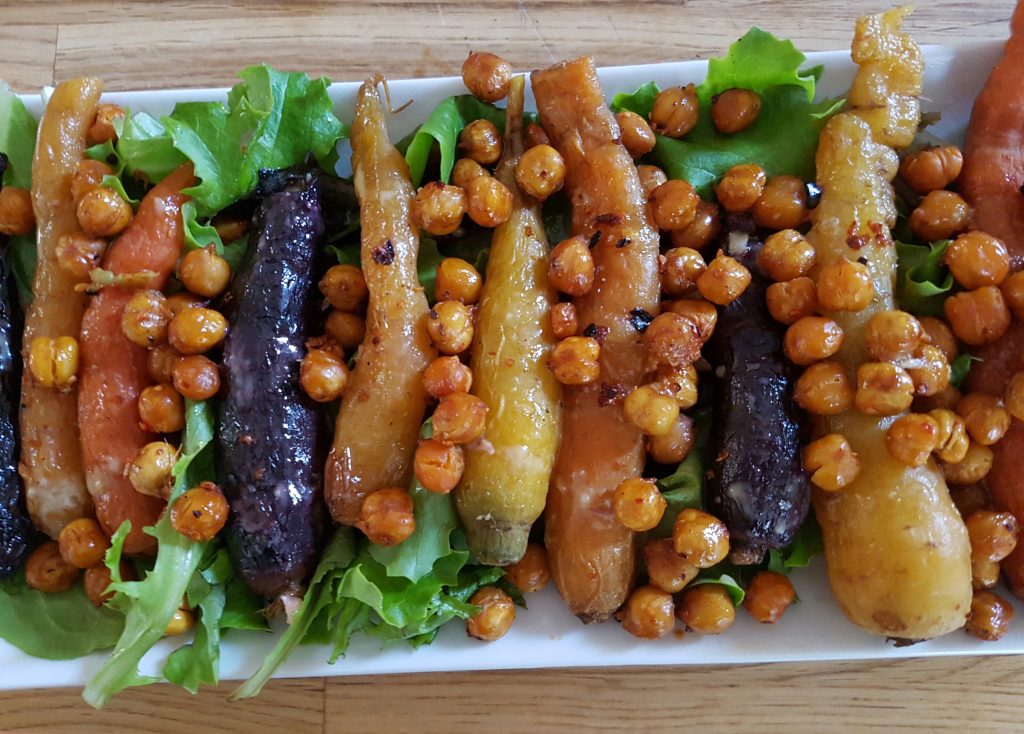
Roasted Carrots with Curried Chickpeas and Creamy Citrus Dressing (original recipe found here)

dinner-carrots

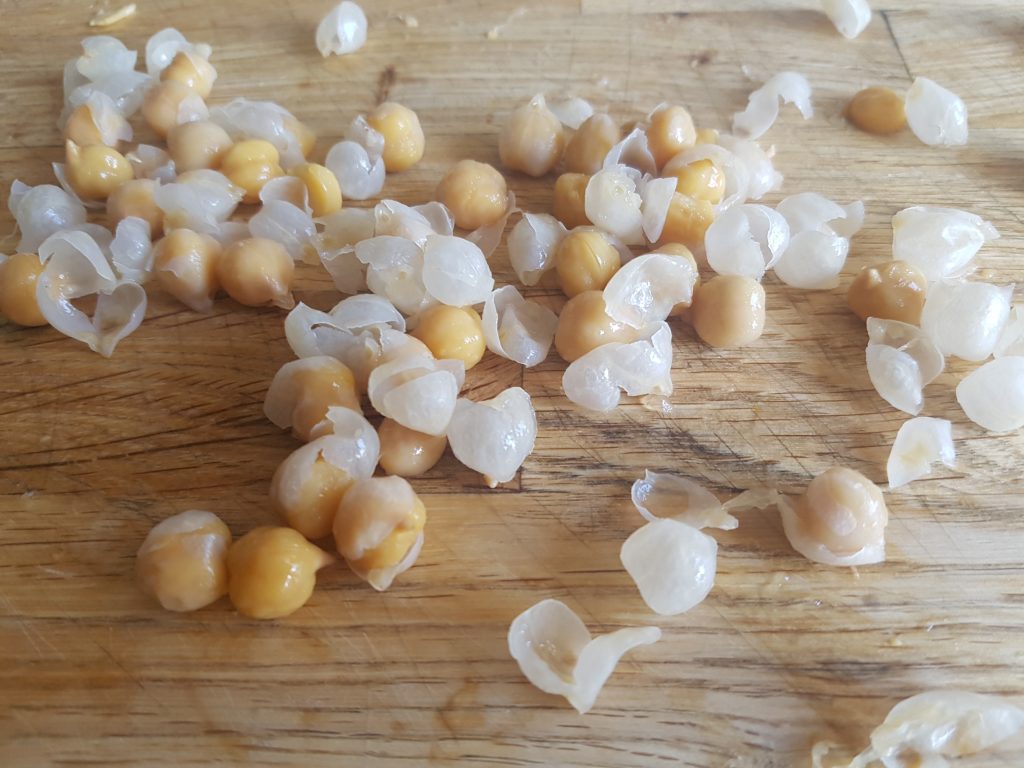
Side note: I’ve made roasted chickpeas before and they didn’t come out. I’m convinced this time the recipe turned out as I followed an important step to take them out out of their shells. Trust me, it wasn’t fun and it was time consuming but it was worth it.

dinner-chickpeas

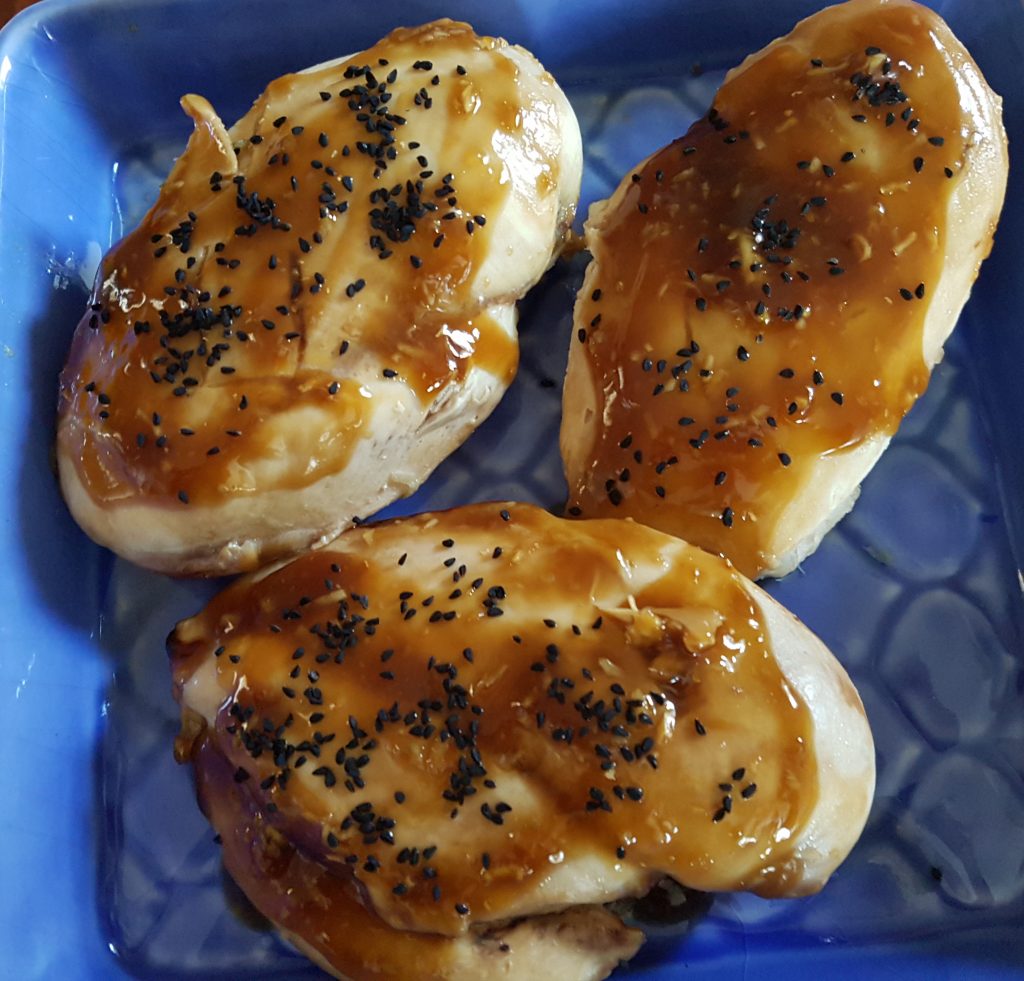
Chicken with Teriyaki Sauce (original recipe can be found here) ps bought the chicken at Sanagans and we think it was worth it.

dinner-chicken

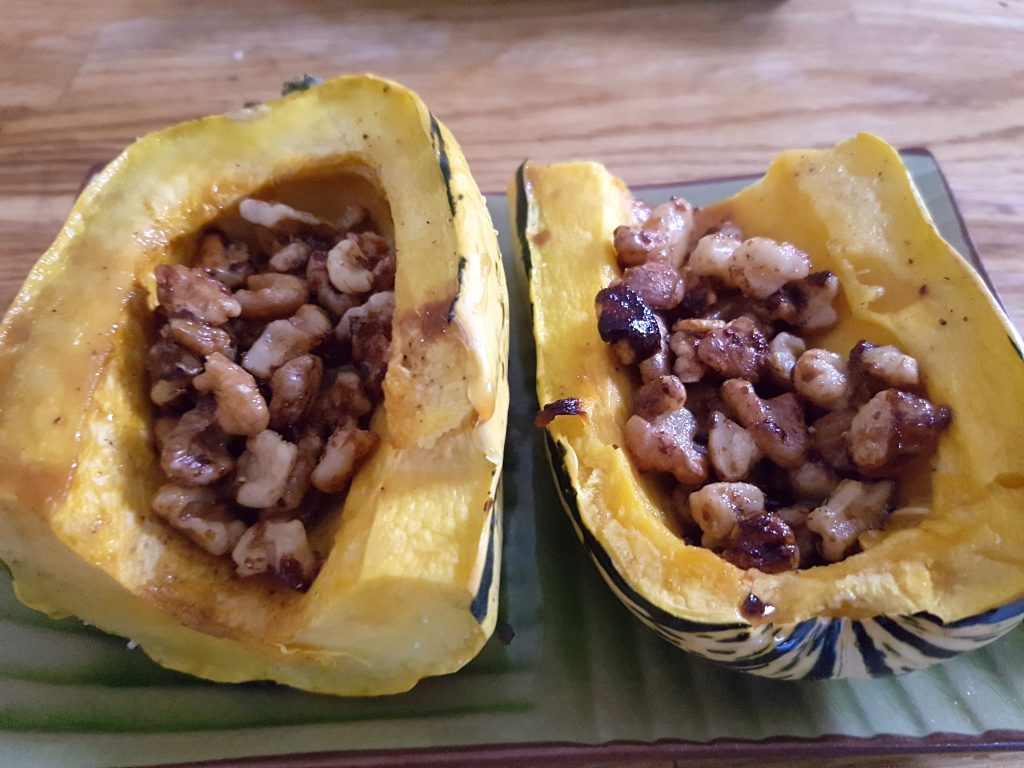
Squash Stuffed with Candied Walnuts (sorry, no recipe..just made it up).

dinner-squash

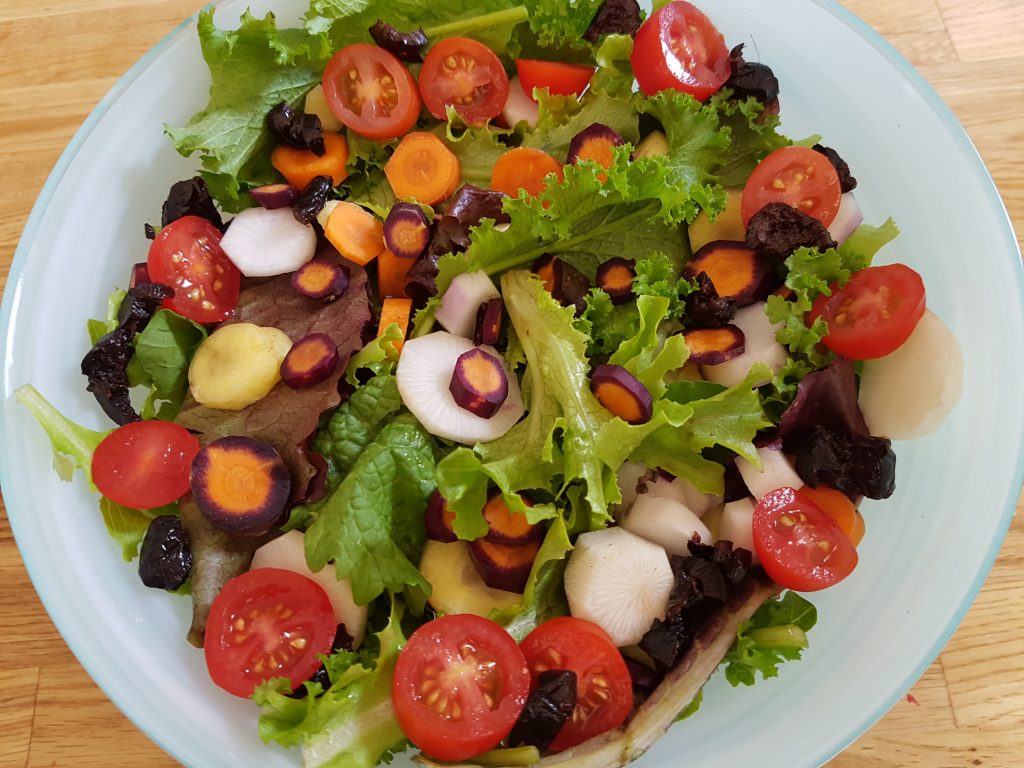
A Simple Salad made with veggies I bought at the Farmer’s Market.

dinner-salad

As you can see, dinner was delicious.

Happy Cooking!!

Share this:
Share this page via Email Share this page via Stumble Upon Share this page via Digg this Share this page via Facebook Share this page via Twitter

, , , , , , , ,

Oct
21

Honestly I don’t know why it’s taken me so long to make this dish. I swear I make salmon almost every Friday night and I regularly scour the internet for new recipes but for some reason, I’ve never made a Salmon Wellington before. Till now!!

I’m so glad I tried this recipe even though my “braiding” skills could use some improvement, however the results came out pretty decent. There’s no question that I will make this recipe again.

All you really need is a few ingredients and poof – you have a pretty elegant main course.

Recipe: Salmon Wellington (original recipe from www.simplyhomecooked.com)

Ingredients:

4 (7 oz) salmon fillets
salt and pepper to taste
2 tbsp butter
2 garlic cloves, divided
1 shallot, chopped
1/4 cup white wine (I didn’t use any and it still came out delicious)
3 oz cream cheese
5 oz fresh baby spinach
2 tbsp plain bread crumbs
1/4 cup shredded parmesan cheese
1 (1 lb.) package puff pastry
1 egg (for egg wash)

Instructions:

1. Season the salmon with salt and pepper to taste.

2. In a pan, heat butter, chopped shallots, and garlic over medium heat. Sauté until the shallots become translucent.

salmon-ready-to-go

3. Bring the heat to high and add the white wine. Let the liquid cook out for about 5 minute, then add the cream cheese and sauté for 1 minute. (note: I didn’t add any wine)

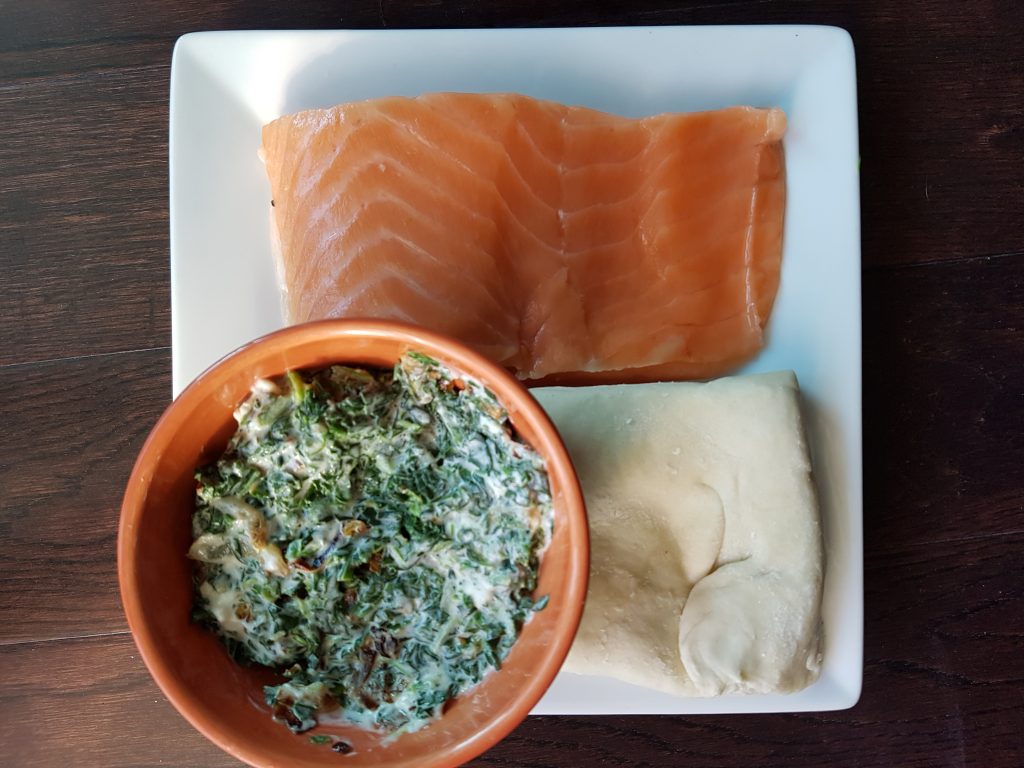
4. Lastly, add the spinach, bread crumbs, and Parmesan cheese. Sauté just until the the spinach softens.

5. Unfold the puff pastry onto a light floured surface and roll out the 2 sheets, then cut them in half. So you end up with 4 pieces.

6. Place each seasoned salmon fillet in the middle of each puff pastry sheet. Depending on the size of the fillet, you may need to roll out the puff pastry a little more or less. Leave about 2 inches around the edges.

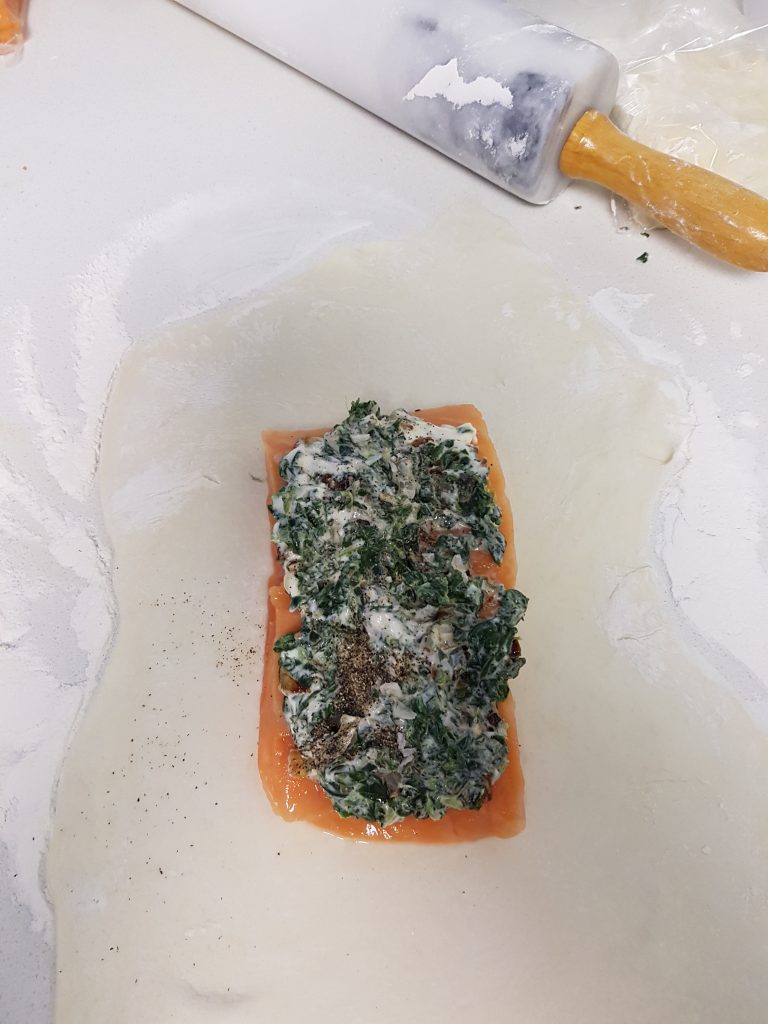
7. Divide the spinach mixture into 4 equal parts and evenly spread it on top of the 4 fillets. Then brush the edges of the puff pastry with egg wash (1 egg + 1 tsp water).

salmon-fishspinach

8. Begin folding the the puff pastry over starting with the longer side. When folding over the short edges, brush more of the egg wash before folding.

9. Line a baking sheet with parchment paper and place the salmon wellington seam side down.

10. Make crosshatch slits on top of the Wellington with a knife. Then brush with more egg wash. (ok I didn’t do this stop either – I did a braid).

11. Bake at 350 degrees Fahrenheit for 25-30 minutes or until the pastry is golden brown.

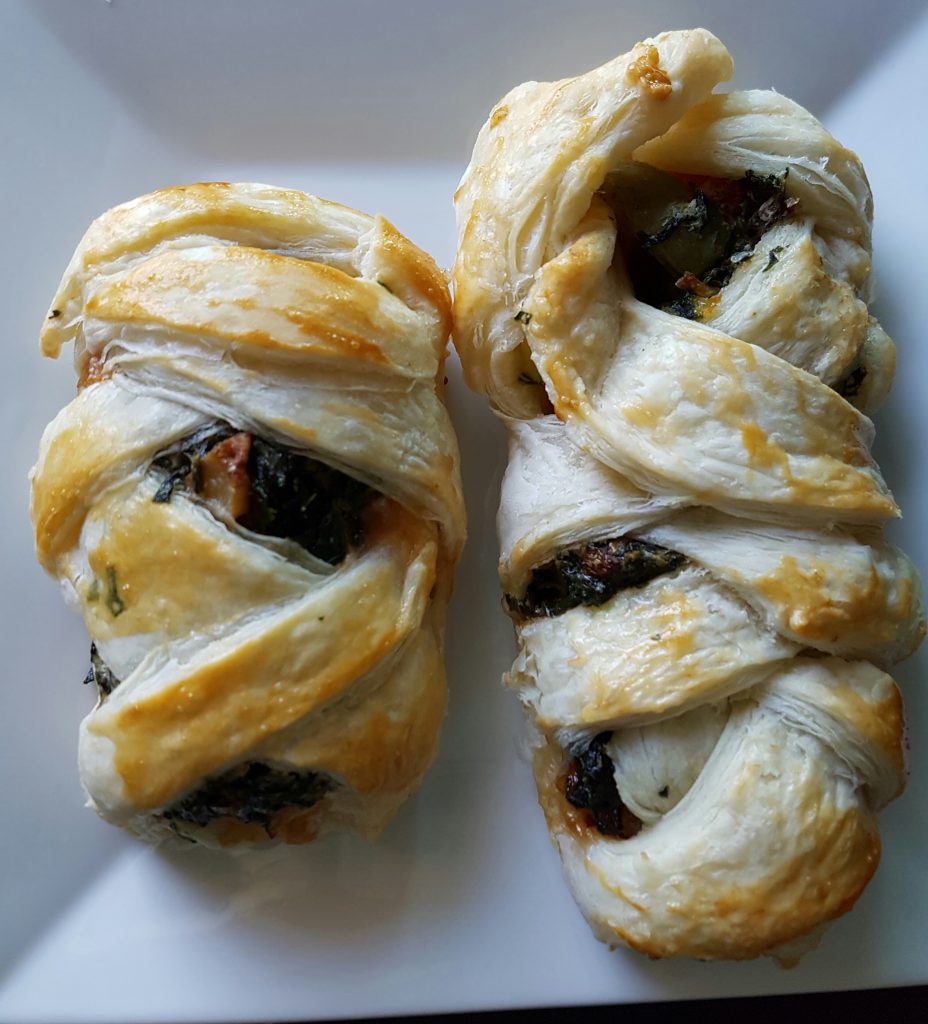
Final Result!! – As you can see, I braided it and didn’t make the crosshatch. I guess I was feeling creative. LOL

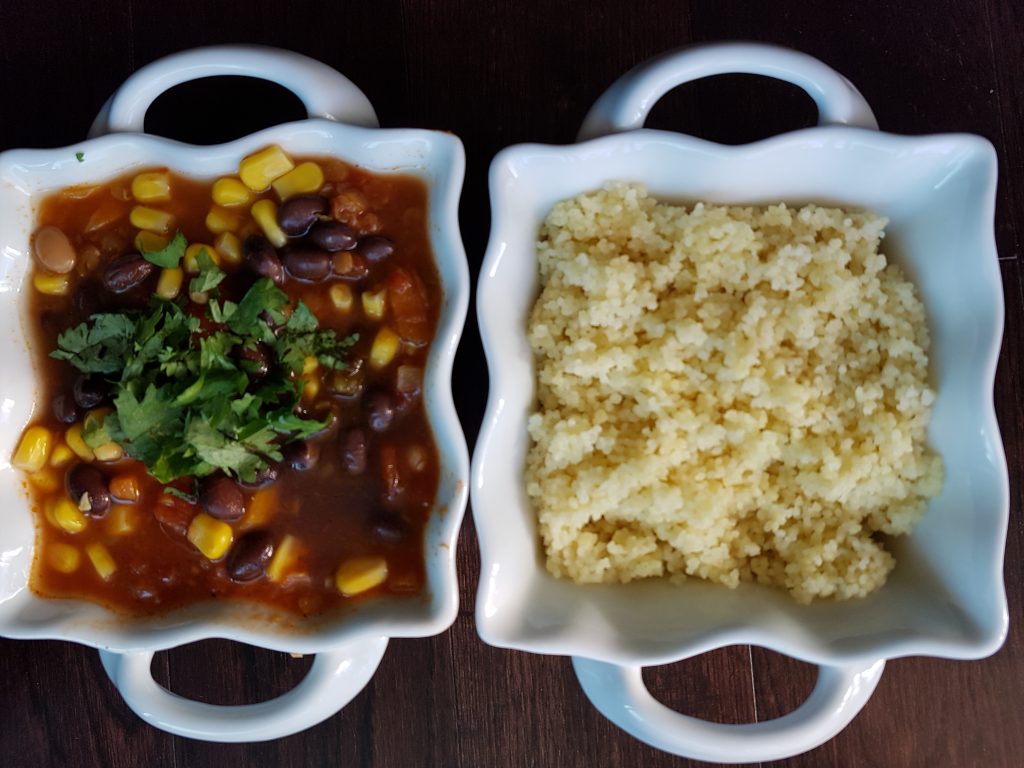
salmon-finalI served this along with a salad, vegetarian stew and couscous. The stew was prepared in the slow cooker while I was asleep. Oh how I love my Breville Rice Cooker which also has a function to “slow cook”.

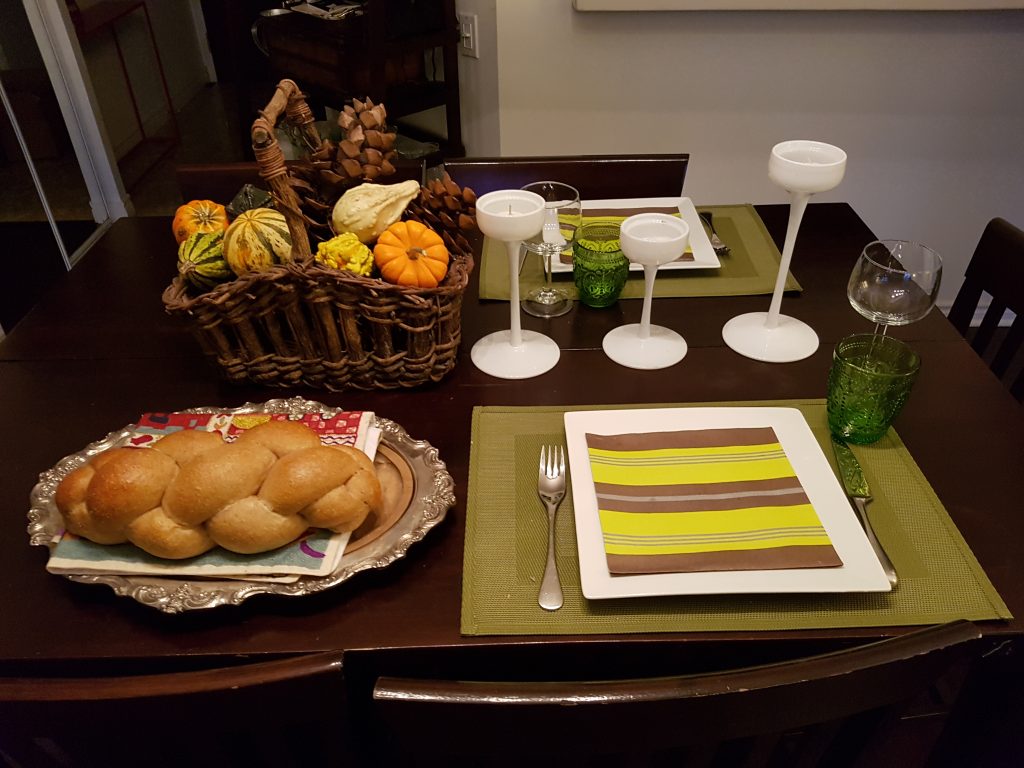
salmon-side-dishesNaturally I had fun setting a “fall inspired” table.

salmon-tableHappy Cooking!!

Share this:
Share this page via Email Share this page via Stumble Upon Share this page via Digg this Share this page via Facebook Share this page via Twitter

, , , , , ,

Oct
12

Often when I bake or cook, I find myself posting a photo of the “final result” on Facebook. I then receive comments like “Recipe, please!!”.

Then it occurs to me that I should blog about these recipes and not just post photos of the final result. Here’s two recipes that I tried recently that are definitely worth making!

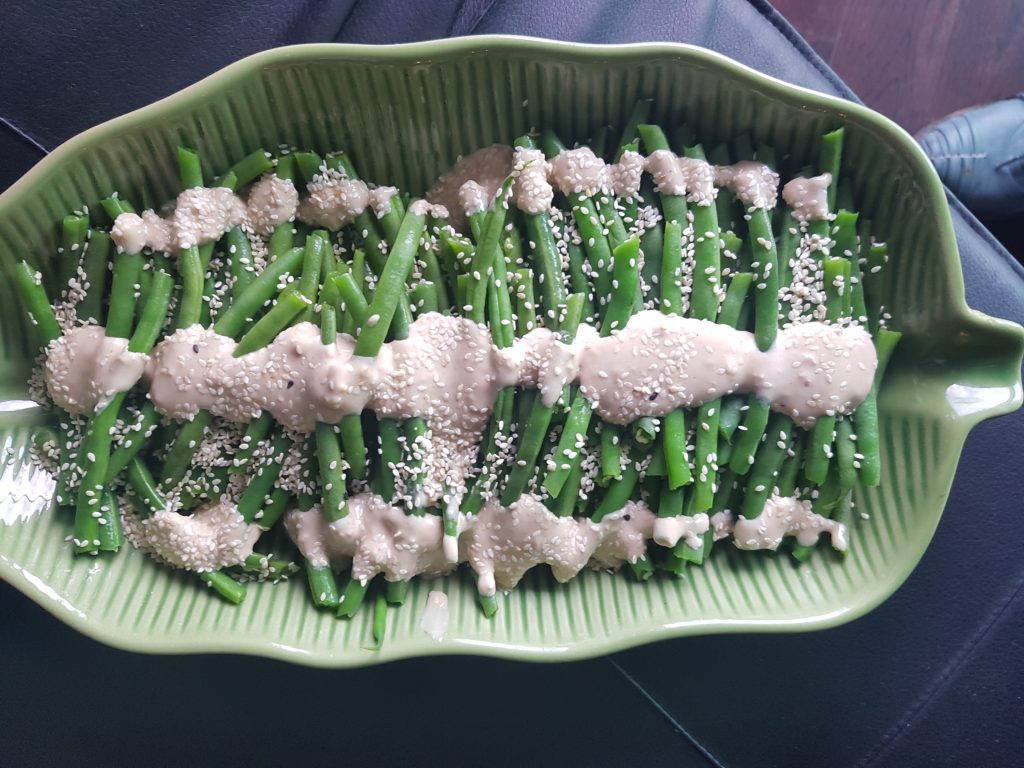
Recipe #1: I saw this recipe somewhere on the internet (for a change) and decided it would make a great vegetable side dish for a meat meal that was being served over the Jewish New Year. Several of my facebook friends also made it and we all had winning results

green-beans

Green Bean with Honey Tahini Glaze (recipe taken from www.MyJewishLearning.com by Leah Koenig)

Ingredients
1 Tablespoon Tamari or soy sauce
2 Tablespoons honey
2 Tablespoons tahini (sesame paste)
Kosher salt and freshly ground black pepper
1 Tablespoon olive oil
1 lb trimmed green beans
1 Tablespoon minced garlic
2 teaspoons orange juice
1 teaspoon finely grated ginger

Directions
Preheat oven to 425. Spread beans in a 9×13-inch baking dish; drizzle with olive oil and sprinkle with salt and pepper to taste. Toss to coat beans evenly. Roast for 10 minutes.

Meanwhile, whisk together the tahini, honey, tamari, garlic, orange juice, and ginger in a small bowl.

Remove beans from oven. Pour honey-tahini mixture over beans and toss to coat evenly. Return beans to oven and roast for 10-12 additional minutes, until brown and starting to shrivel. Transfer to serving plate and sprinkle with additional salt and pepper to taste.

PS I steamed the green beans and then poured the tahini glaze over them and it was still delicious.

Recipe #2: Apple Crisp Cookie Cups (original recipe on this video by www.delish.com). This video showed up so many times on my facebook feed that I just had to try it. Guess what? I will be making it again!!

recipes-oatmeal-cookie-cup

This week, I’m going to make something I’ve never made before. Once again, I found it on Pinterest.

So stay tuned for a more detailed blog post about my experience making Salmon Wellington!


Share this:
Share this page via Email Share this page via Stumble Upon Share this page via Digg this Share this page via Facebook Share this page via Twitter

, , , , , , , , ,

Oct
06

About a month ago, I attended a media dinner at the recently opened Captain’s Boil which is located at 671 College St. This is the 5th location for this restaurant chain, which I know will continue to grow as it’s such a fun concept. The location is uniquely design to resemble the hull of a ship and I must admit that the decor caught my attention.

captains - decor

The invitation to this event also caught my attention as I simply adore seafood. Plus I liked the idea of eating seafood in Little Italy!! I don’t know why …but I love all varieties of seafood – lobsters, oysters, mussels, shrimp, clams etc.

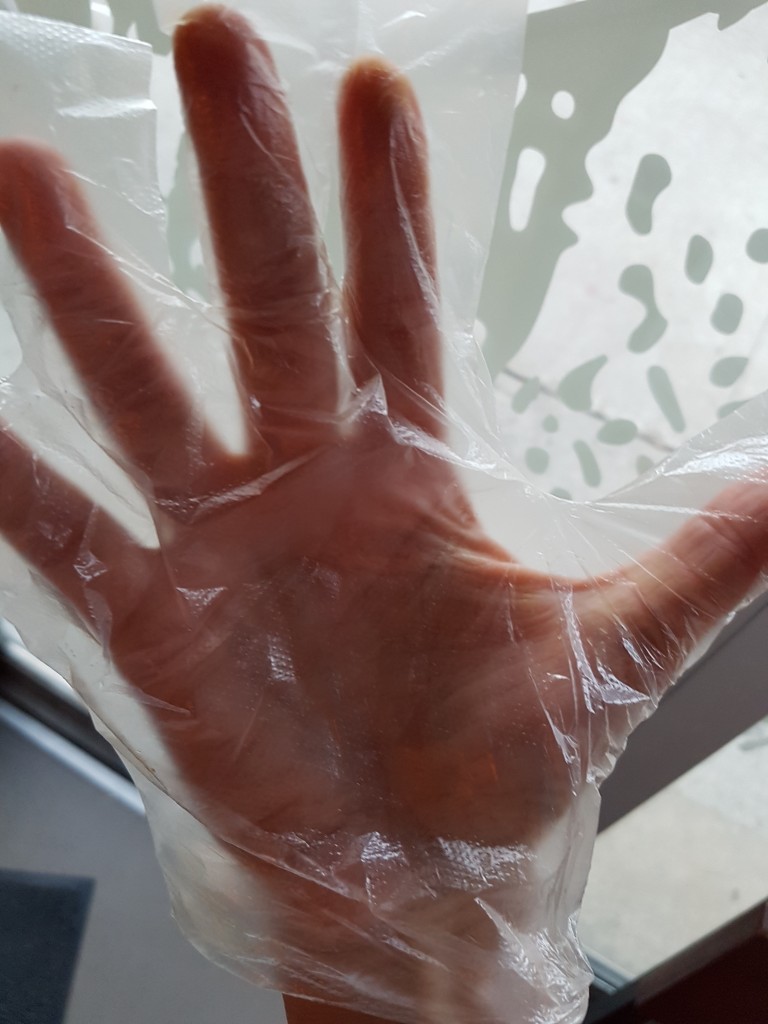
The concept at this restaurant is that you eat with your hands. Yes – gloves are provided.

captains - hand

Cute bibs are provided too and I’m proud to announce that I left the event with a white shirt and not a stained shirt!!

captains - bib

As for the food:

Step 1: You choose your catch: Snow Crab Legs, Lobster, Mussels,Clams, Chicken Slices, Shrimp, Crawfish, King Crab Leg or Dungeness Crab

Step 2: Choose Your Flavour: Cajun Cajun, Lemon Pepper, Captain’s Boil, Garlic Sauce

Step 3: Choose Your Heat: Non Spicy, Mild, Medium, Fire. (I chose the Medium and it certainly had heat to it).

There’s also  a huge list of side dishes to choose from: Okra, Lotus Root, Sausage, Corn, French Fries, Sausage etc.

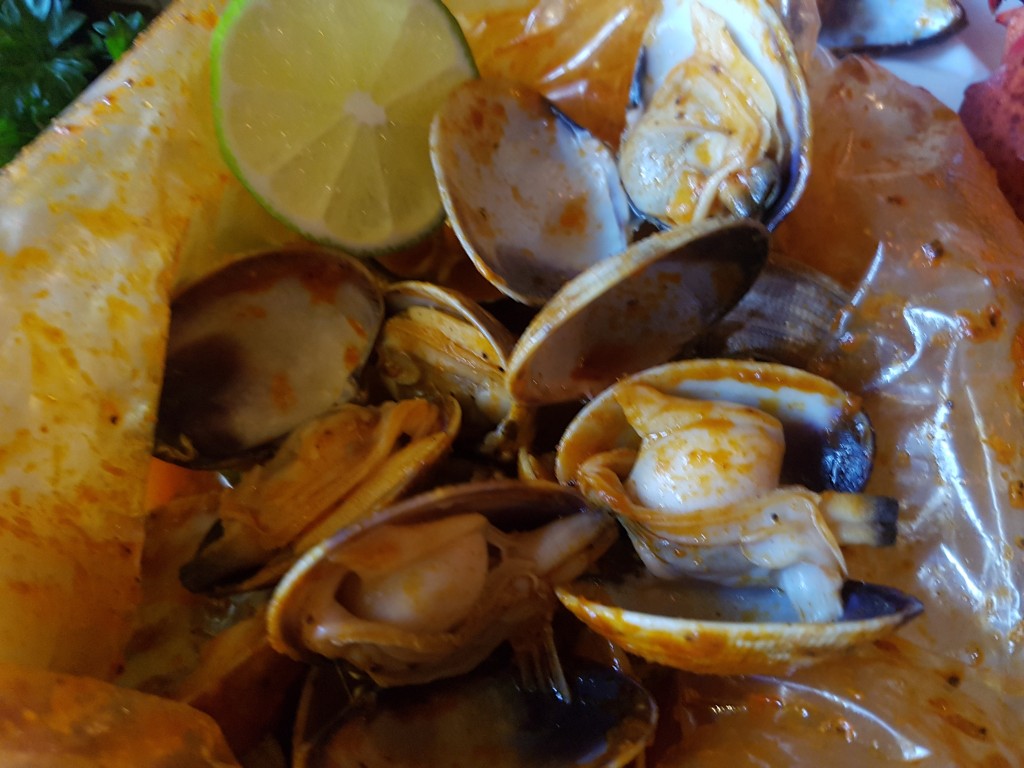
Before you know it, bags of hot seafood arrives at your table and you dig in with your hands (oh ya – there’s no plates). It’s messy but it’s fun!!

captains - bag

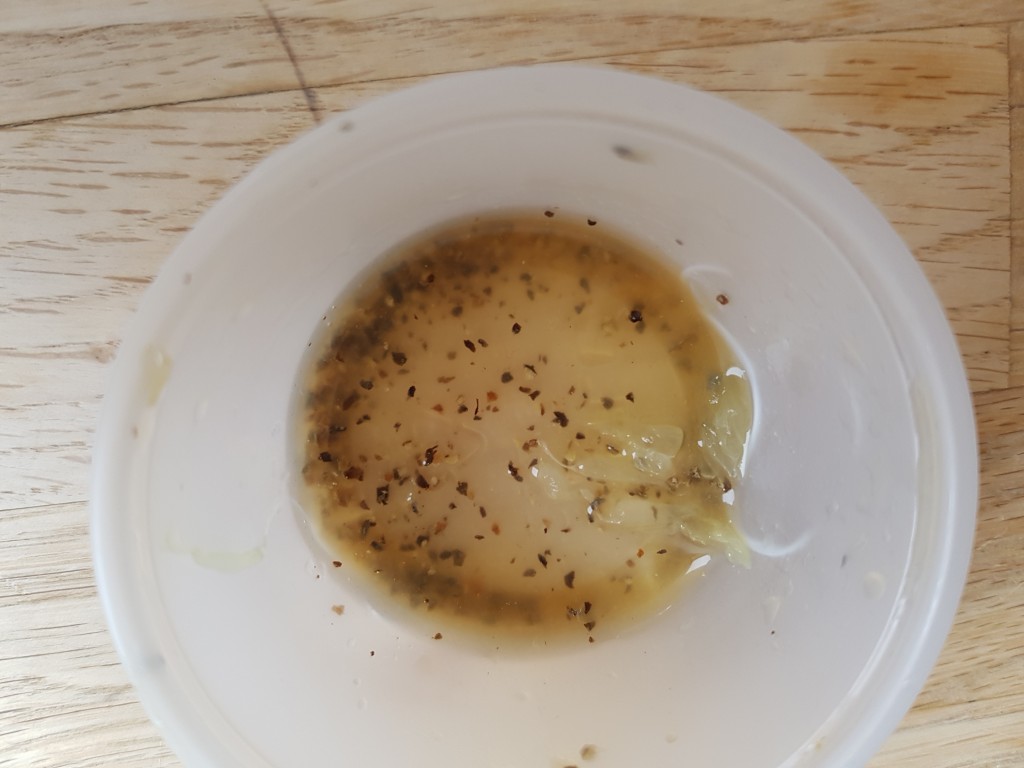
You are also provided with lime, salt and pepper in little containers. I’ve never seen this before and was eager to try it. I will now continue to eat seafood with this idea. Thanks Captain’s Boil!

captains - lime

For more information:

Website: www.TheCaptainsBoil.com

Address: Captain’s Boil – Little Italy – 671 College St.

Telephone: 416 538 8868

Twitter/Instagram: @thecaptainsboil

Facebook: www.facebook.com/thecaptainsboil

Disclosure: This meal was complimentary however all opinions are my own.

Share this:
Share this page via Email Share this page via Stumble Upon Share this page via Digg this Share this page via Facebook Share this page via Twitter

, , , , , , ,

Oct
05

A few weeks ago, I wrote a blog post about my first time making chicken soup. Now that Thanksgiving is coming up I’m thinking about making my first Turkey. Once again – I’ve never made a Turkey before but I think I’m ready!!

I’m also ready for the Turkey Challenge which is not about making turkey but more about doing something for a good cause.

turkey-logo

HERE’S IT HOW IT WORKS:

This Thanksgiving, really give thanks by doing the Fast Turkey Challenge. You agree to fast, by skipping lunch on Friday October 7th and donating your lunch money to the homeless who can’t afford to eat. You also agree to Challenge your friends to do the same, or they have to buy you lunch at your favourite restaurant instead.

THE CAUSE:

All funds raised will go to Good Shepherd Ministries to help feed the homeless. At Thanksgiving they work tirelessly to provide a full Thanksgiving meal to those who can’t afford to eat. In just the las few years, Good Shepherd Centre has seen more than a 50% increase in the number of meals and snacks served each day. Today they are Toronto’s largest meal program, serving more than 1300 meals a day.

SIGN UP NOW & FAST AT LUNCH ON OCT. 7TH! For more info and details please go to www.fastturkey.ca

Feel free to take a peek at this video too:

I will happily support this cause for several reasons:

a) My dad  (who sadly passed away last year) was a volunteer at the Good Shepherd in Ottawa and I know this would be meaningful to him if I supported this campaign

b) I’ve been trying to be more charitable and try to give donations on a regular basis. (every bit helps, right?)

c) I like the campaign!! It’s simple and effective.

Please take a peek at this link.

Happy Turkey Challenge everyone and have a wonderful Thanksgiving weekend too.

Disclosure: I was compensated for this blog post however all opinions are my own and I promise that I will be making a donation!

Share this:
Share this page via Email Share this page via Stumble Upon Share this page via Digg this Share this page via Facebook Share this page via Twitter

, , , , ,

Oct
04

Recently I learned about a franchise that is the best kept secret. Believe it or not, I’m still in shock that I’ve never heard of this franchise.

It’s called Queseda and they have over 60 locations throughout Canada!! Yes – 60. I’m still shaking my head that I had never heard of this franchise before!

The restaurant is bright and welcoming. Still shaking my head that I had never head of Quesada before. Don’t worry by the end of the blog post I will get-over-it. (I think)

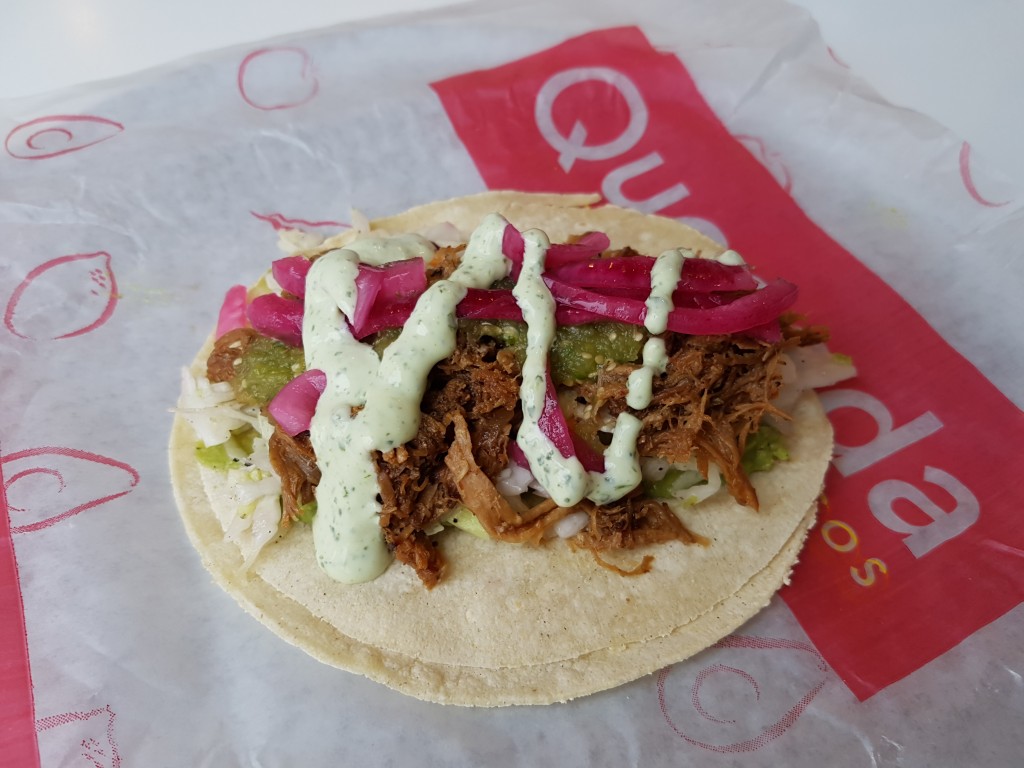
Also, what really sets Quesada apart is its approach to food. It’s always fresh and tasty with most items made from scratch. I absolutely adore restaurants who have this commitment. They make their salsas and sauces fresh daily. The Pulled Pork Carnitas is another example of their approach to food. It’s a slowcooked menu item that is made from scratch.

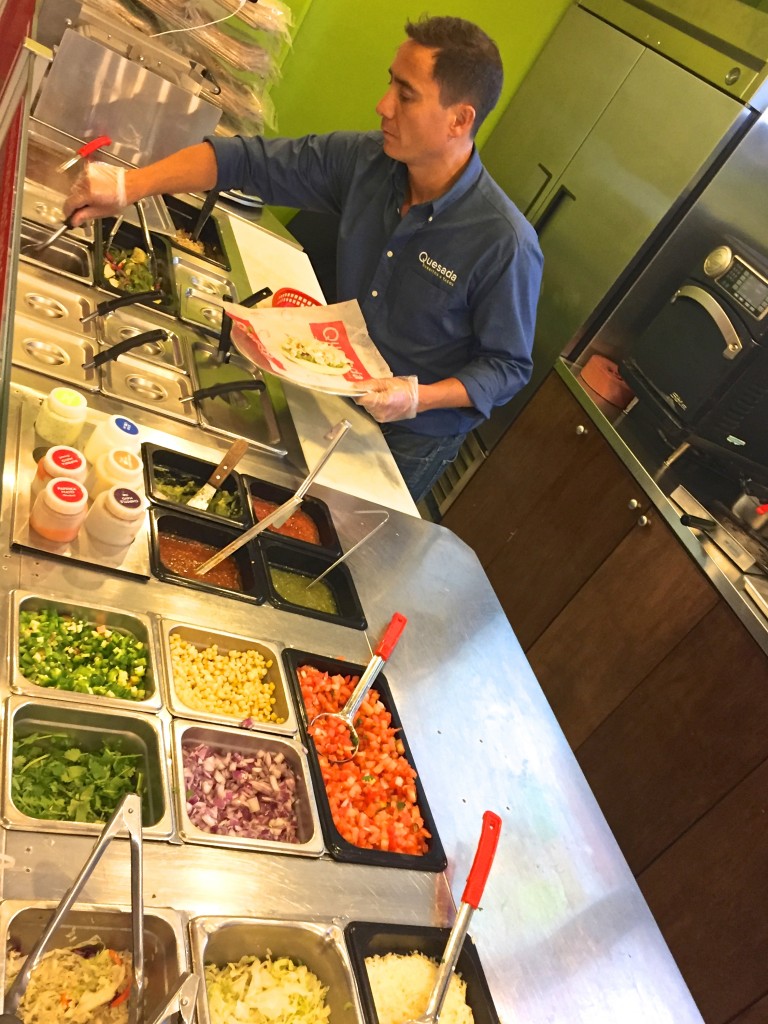
Last week, I was lucky enough to spend some time with Steve Gill who started this business.

quesada-steve

Here’s more info about this entrepreneur!

Prior to entering into the food business, Gill was a successful technology consultant. However, his desire to be more connected to two things he loved – people and cooking – inspired him to make a major career change.

By the way, I can really relate to these two passions! I also adore people and cooking!!

In 2004, Gill opened the first Quesada restaurant on Wellington Street in
Toronto. When lineups started stretching through the door and around the corner, he thought he may be onto something.

Every Quesada menu item starts with Gill. His recipes are inspired by Mexican cuisine, fresh ingredients, his travels and a desire to discover tasty new flavours.

He really is involved with every aspect of his business, which is demonstrated in this photo!!

steve-in-restuarant-loading-up-burrito

Steve has shared his famous recipe for Pulled Pork Carnitas with me and very very soon (early October) this item will be on the menu. I have no doubt it’s going to be a hit.

Recipe for Pulled Pork Carnitas

Ingredients:
3 lb boneless pork shoulder
1 medium onion, diced
2 cloves garlic, minced
2 tsp oregano
2 tsp ground cumin
1 tsp ground coriander
1 tsp smoked paprika
1 Tbsp minced canned chipotle in adobo sauce
1 ½ tsp salt
½ tsp pepper
½ cup orange juice
½ cup water


Directions:
Mix together all ingredients, except for the pork shoulder, in a slow cooker. Add pork shoulder and ladle some of the spice mixture over pork to cover.
Place lid on slow cooker, set on low and cook for 8 hours.
Once cooked, remove pork onto a rimmed baking sheet, and shred with 2 forks. Add some of the slow cooker liquid back into the shredded meat, if desired.

Diner that evening was delicious and I will certainly be returning to Quesada. Plus I look forward to watching this franchise grow too.

quesada-dinner

For more information:

Website: http://www.quesada.ca

Twitter and Instagram: @QuesadaBurritos

Facebook: https://www.facebook.com/QuesadaBurritos

Disclosure: I was compensated for this blog post however all opinions are my own

Share this:
Share this page via Email Share this page via Stumble Upon Share this page via Digg this Share this page via Facebook Share this page via Twitter

, , , , , ,

Sep
29

Yes – it’s true. I made chicken soup for my very first time.

How did this happen? The answer is simple: My kitchen has been dairy since 1990. Therefore I made the chicken soup in my boyfriends’ kitchen.

What inspired me? Several things: a) the Jewish New Year is around the corner b) the temperatures are cooling outside and c) there was a 3 day sale for fresh whole chickens at Longo’s!.

To be honest, it was my first time even buying a whole chicken.

As for the recipe: I did my research online and chatted with several friendly chefs. (um, I harassed at least 3 people). LOL

I decided to try two recipes:

Recipe #1 – How to Make Roasted Brown Chicken Stock, from www.simplebites.com

I chose this blog post as she is a respected food blogger (that I’m pretty sure I met many years ago) and I loved her 7 tips that she included in her blog post. Click here.

Here’s the recipe for Roasted Brown Chicken Stock – taken from Simple Bites.

Ingredients
10 chicken carcasses (I was nervous and only bought 3 and then reduced the recipe)
3 gallons cold water, approximately
2 large onions, peeled
1 large leek, washed (oops forgot this ingredient)
4 sticks of celery, washed
2 medium carrots, peeled
2 bay leaves
6-8 garlic cloves (00ps – forgot this ingredient too)
1/2 teaspoon whole black peppercorn
Handful of fresh parsley
2 springs of fresh thyme
2 tablespoons tomato paste (optional)

Instructions

Preheat oven to 350° F.
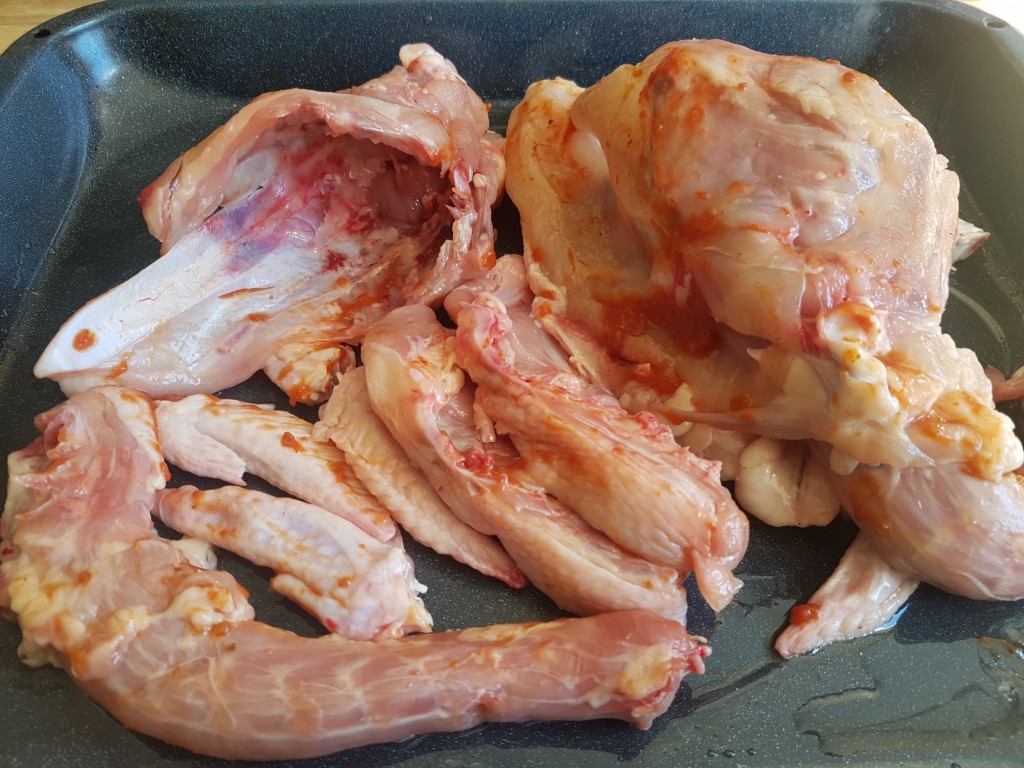
Do not rinse the bones, but place them directly in a large oiled roasting pan.  I brushed them with tomato sauce for more flavour and colour.
simple-bites-roasting
Roast the bones, turning once with a sturdy pair of tongs, until the bones caramelize, approximately 1 1/2 hours. Do not let them burn, or your stock will be bitter. (easy peasy)

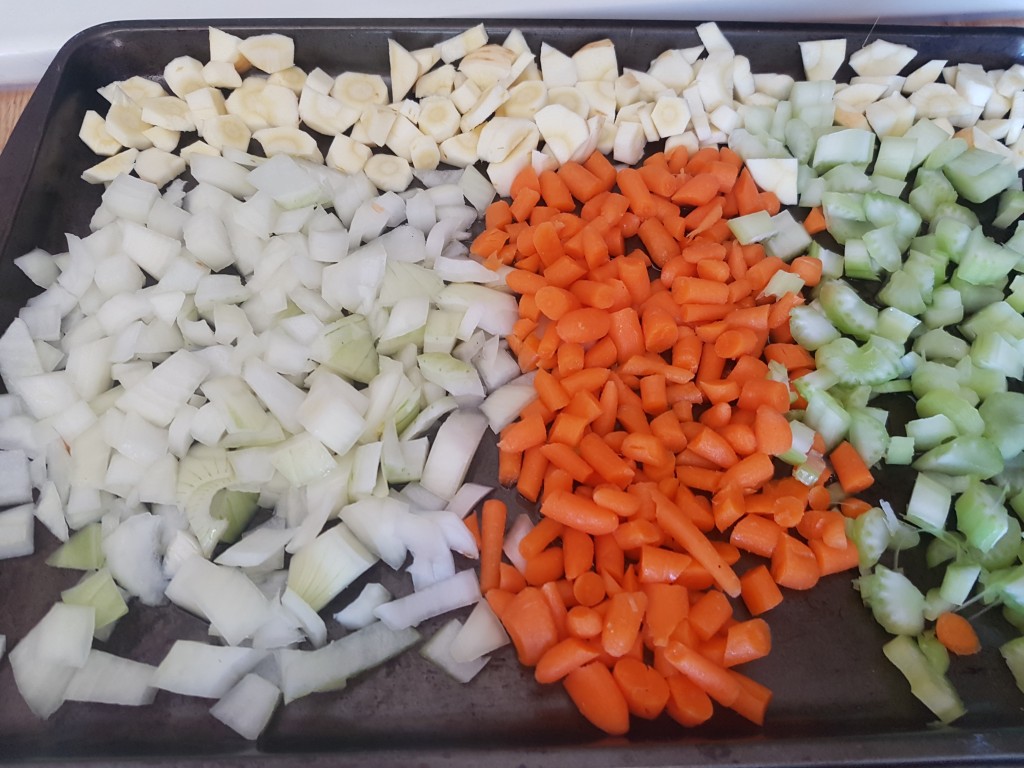
Roughly chop the onion, leek, celery and carrots and toss them with a little oil.
Place them in another oiled roasting pan or sheet, and roast alongside the bones until lightly caramelized, approximately 25 minutes.
simple-bites-veggies
Remove bones from oven and transfer to a large stock pot. There will be a pool of fat at the bottom of the pan which you can drain off before deglazing the pan, or you can add it to your stock. It will only add more flavor to the final product.

Add a few cups of cold water to the roasting pan to deglaze it, and use a solid spatula to lift off the remaining food particles on the bottom of the pan and all the flavor they bring. Add mixture to the pot with the bones.

Add roasted vegetables herbs, garlic, peppercorns and bay leaves to the pot of bones. Fill pot up with cold water until the ingredients are just barely submerged and place on stove burner.
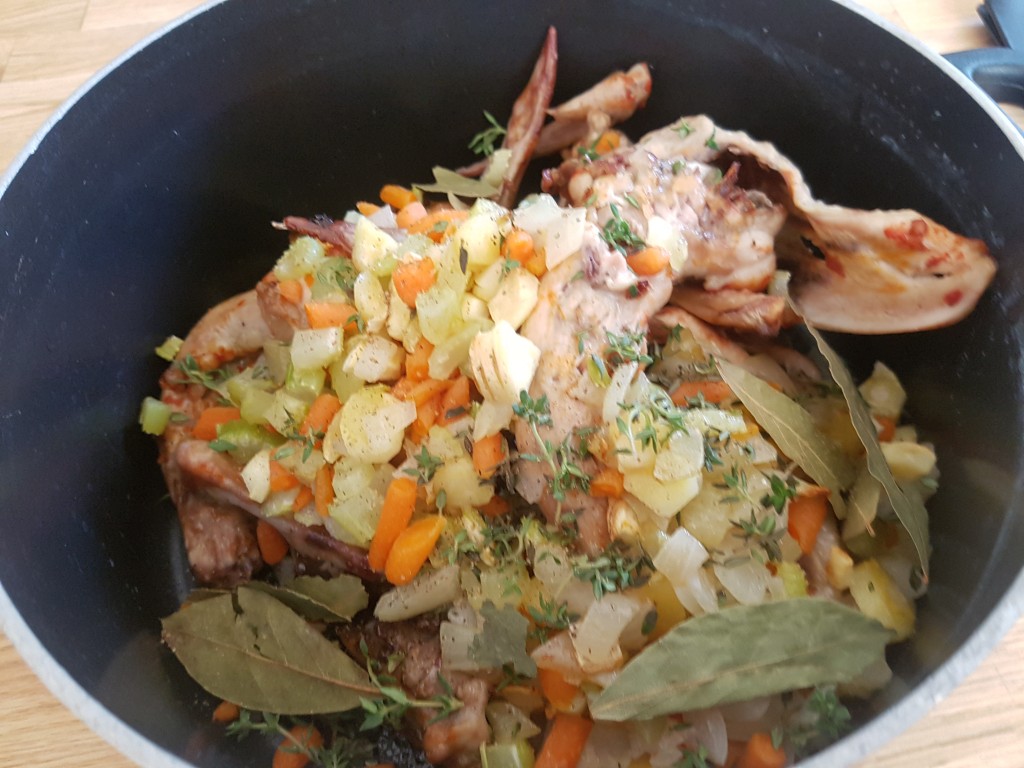
simple-bites-pot
Bring stock to a boil — and reduce heat immediately. Simmer slowly for 6-8 hours, occasionally skimming excess oil or scum off the top. You don’t need to babysit it much, just make sure it is at a temperature where it will will simmer, but not boil.
Using a sturdy Spider Skimmer, dip into the large pot and fish out the bones.

When you have fished out all the large ingredients, strain the broth through a fine sieve into a sturdy bucket or another pot. ( I chose to keep the veggies)

If you have the time and patience, strain the stock a second time through a cheesecloth to further remove impurities. (I didn’t do this)

Final Result…the bowl on the right!!

simple-bites-final

Next week, I will share Recipe #2 wth you to explain how I made the bowl on the left.

Stay tuned!!
Share this:
Share this page via Email Share this page via Stumble Upon Share this page via Digg this Share this page via Facebook Share this page via Twitter

, , , , ,