Posts Tagged ‘cooking’

Mar
29


Passover is soon approaching (April 10th to 18th to be exact) and I have no doubt that many of my facebook friends will be busy this Sunday cleaning and cooking (in that order).

It’s certainly not an easy holiday as it involves a lot of food and entertaining and a list of restrictions.  However I’m going to share a tip with you to make it easier. It’s called PINTEREST.

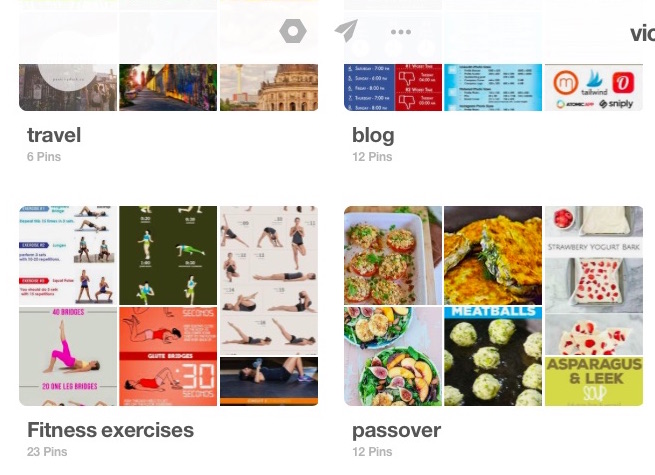
I actually created a Passover Board on Pinterest (see bottom left) to help me organize the recipes that I’m going to attempt to make for the Seder.  Why didn’t I think of this idea before?

passover - pinterst

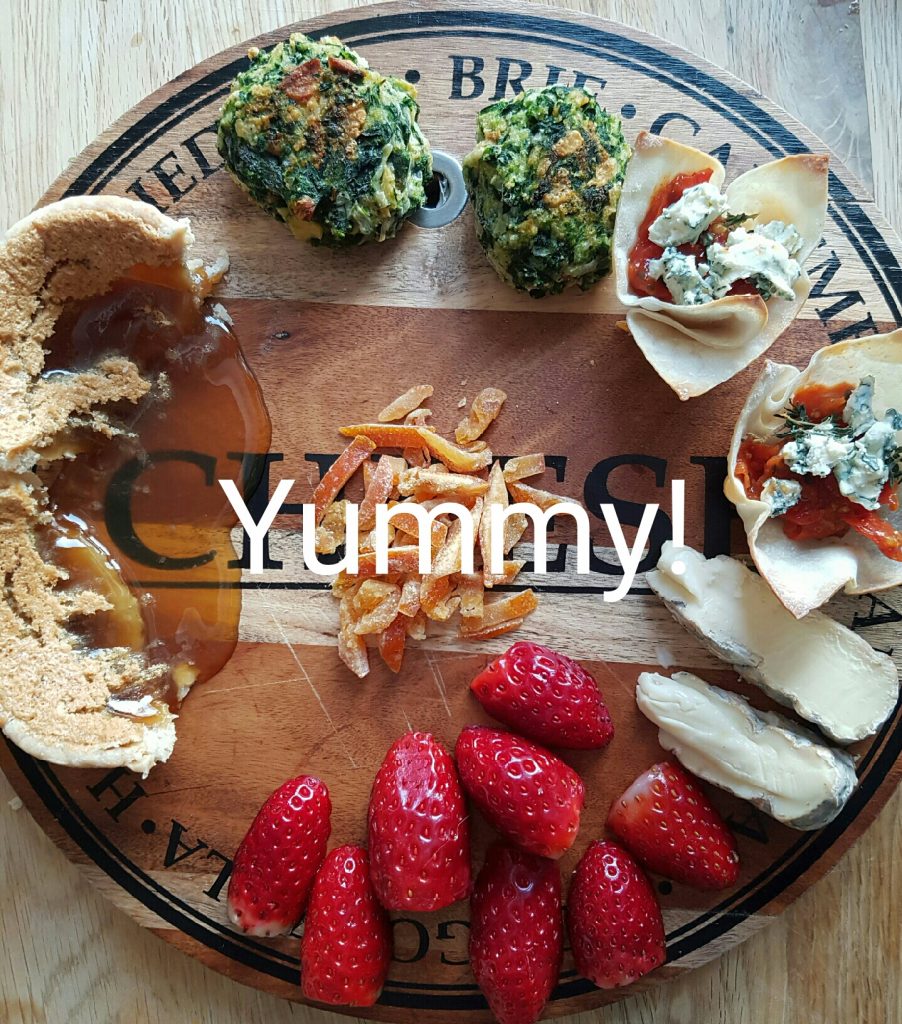
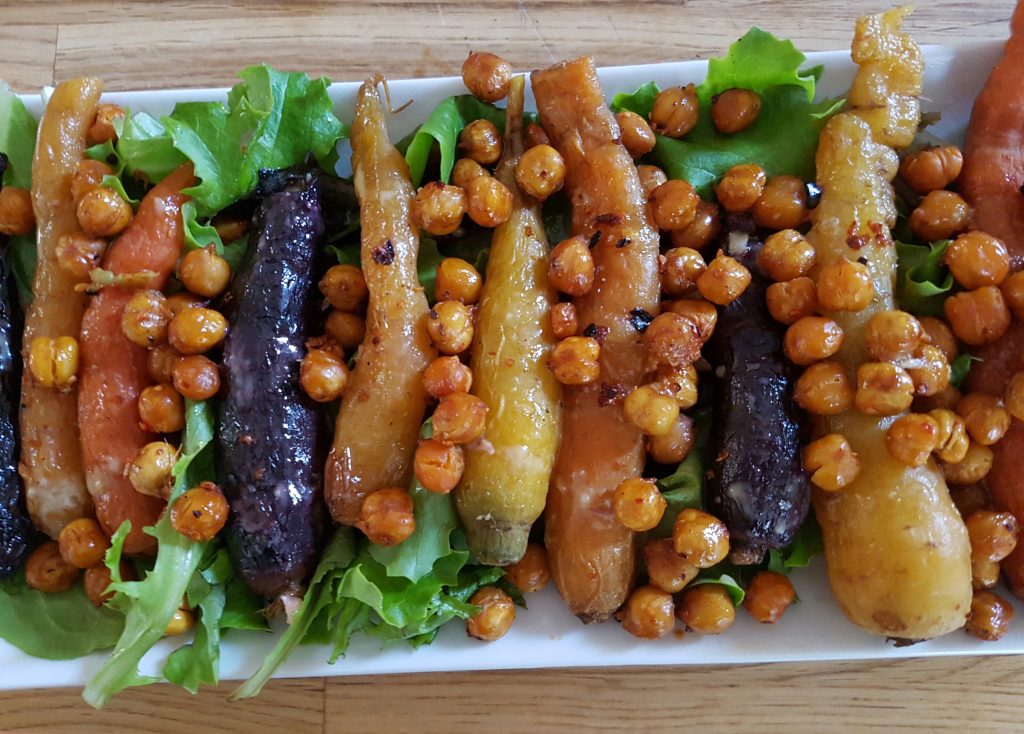
Here’s the menu for my Vegetarian Seder that I will be serving on the first night!  (thanks to my Pinterest Passover Board).

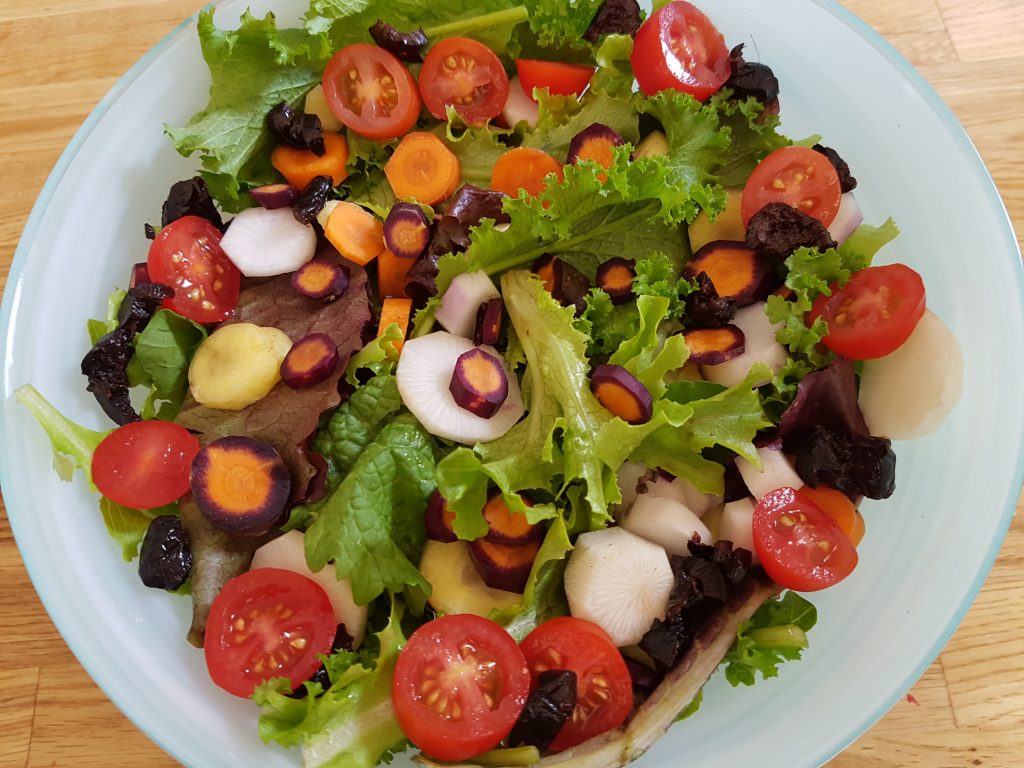
Arugula Orange Salad with Lemon Ginger Dressing

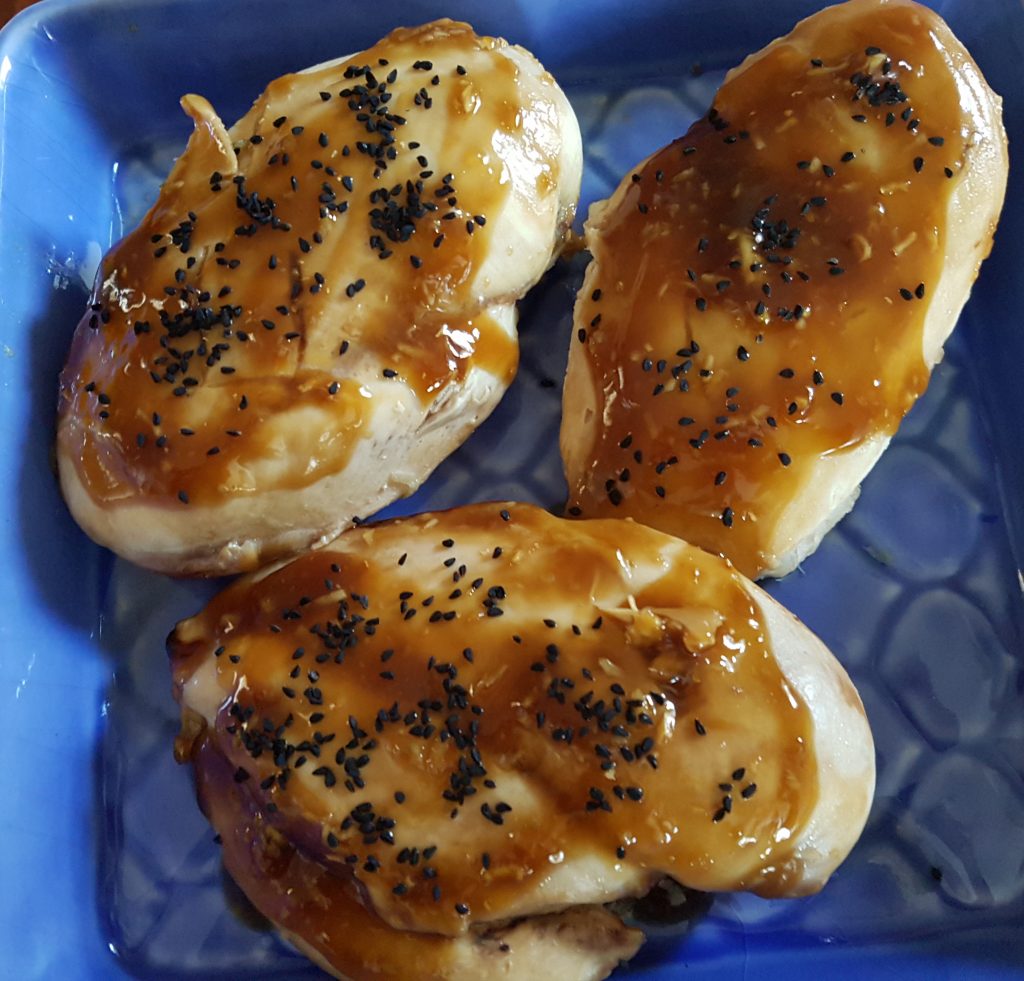
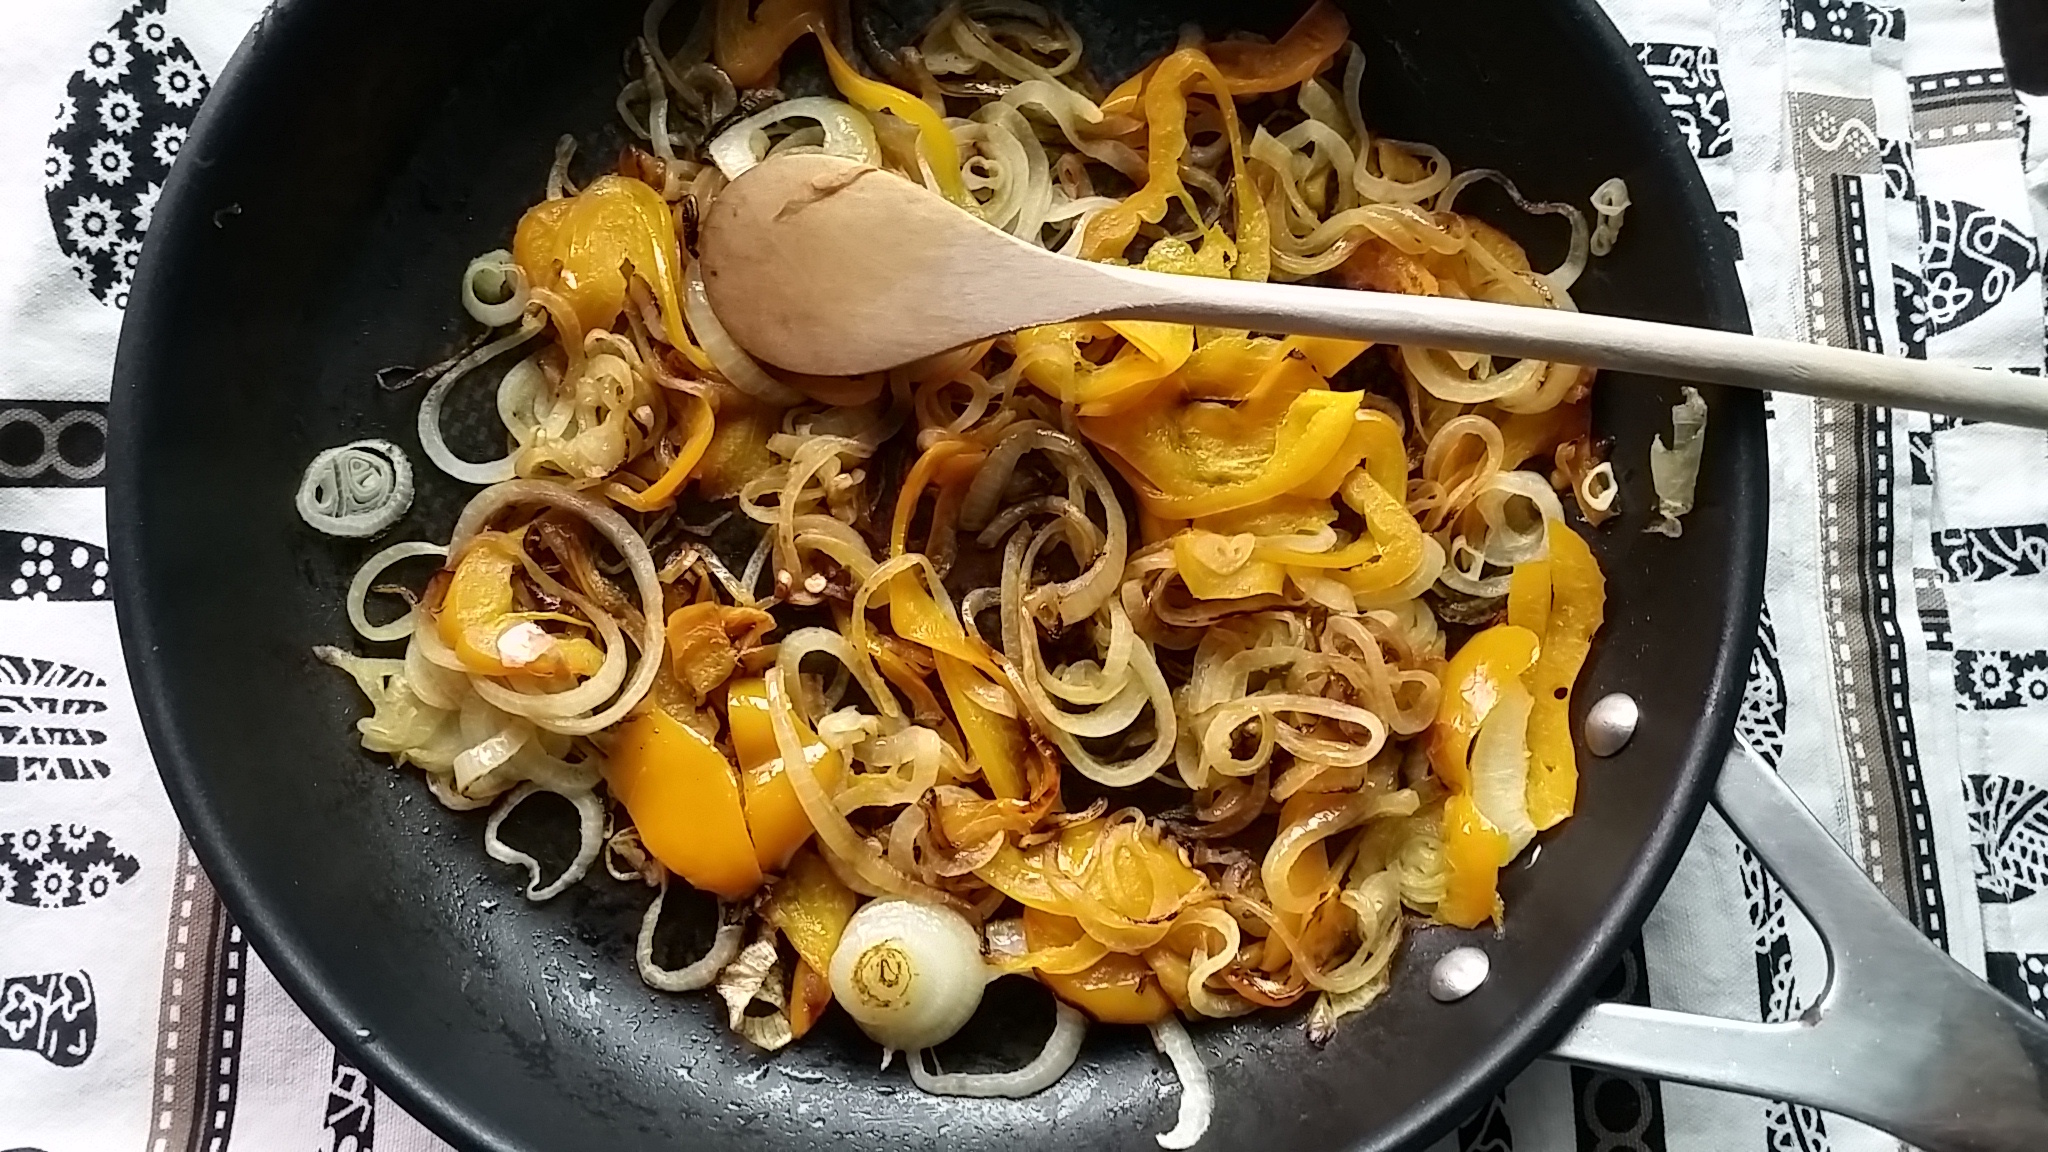
Salmon with Creamy Avocado Sauce

Matzo Stuffed Herbed Tomatoes

Garlic Herb Cauli-Rice

Spinach Potato Nests

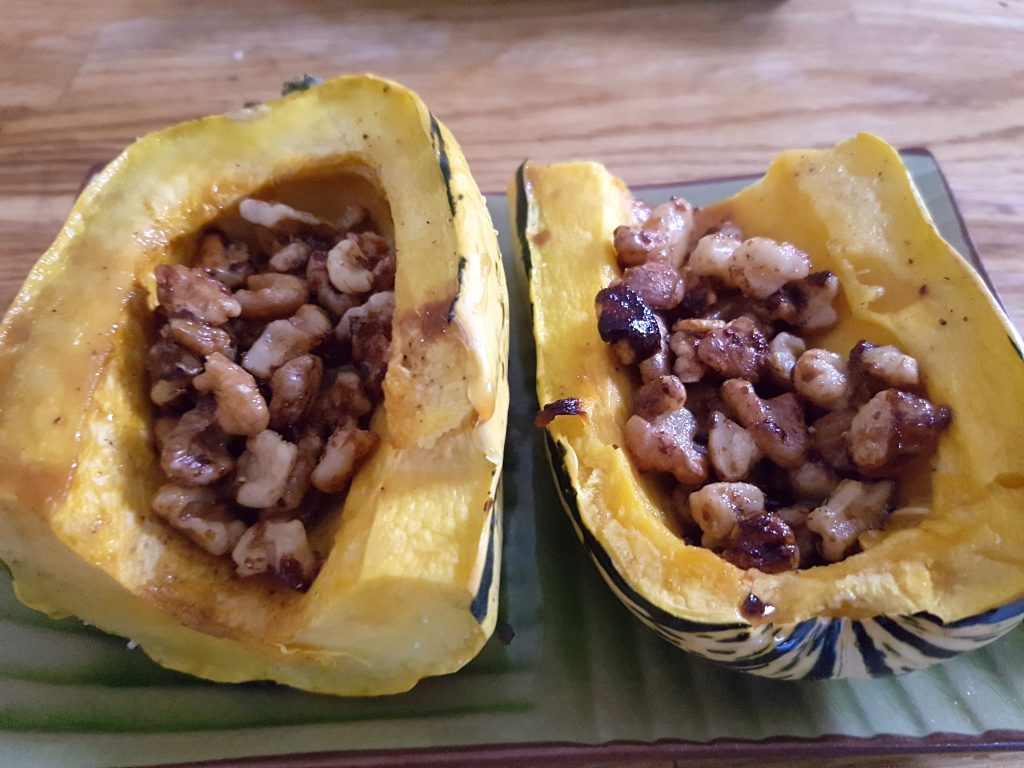
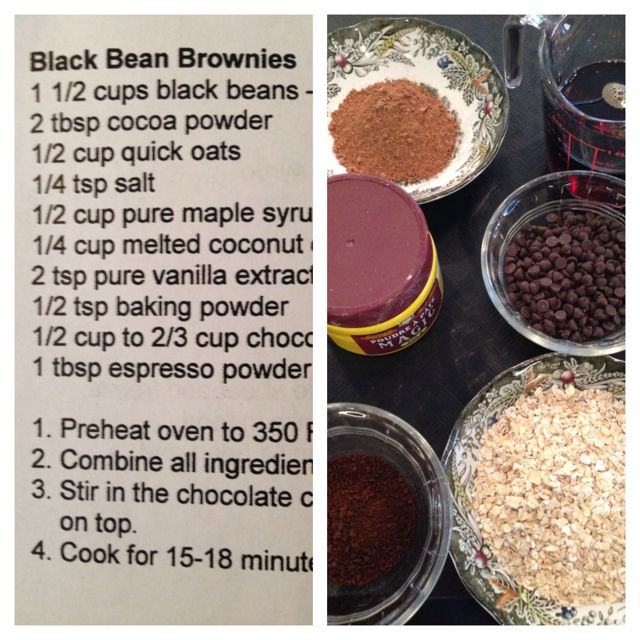
Dessert: Fruit (not making anything that involves a gazillion eggs or matzo meal)

As for my table – I’m naturally going to use my grandmothers china that I pull out every Passover. But I’m also going to attempt to make a few of these great “table decor ideas” that I found on Pinterest – not with purple but with burgundy to match the china (of course. LOL). I actually made the idea on the bottom right last year and it was a huge hit.

passover - table

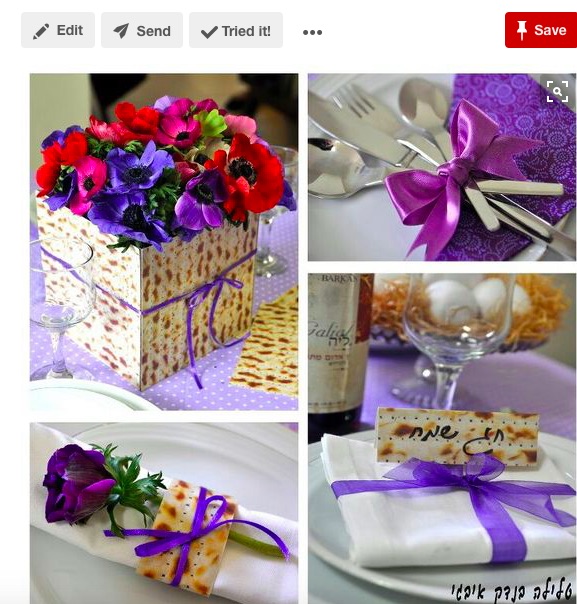
 Not sure if the matza vase is going to turn out but we will soon find out. Hoping its’ not going to be a #PinterestFail.

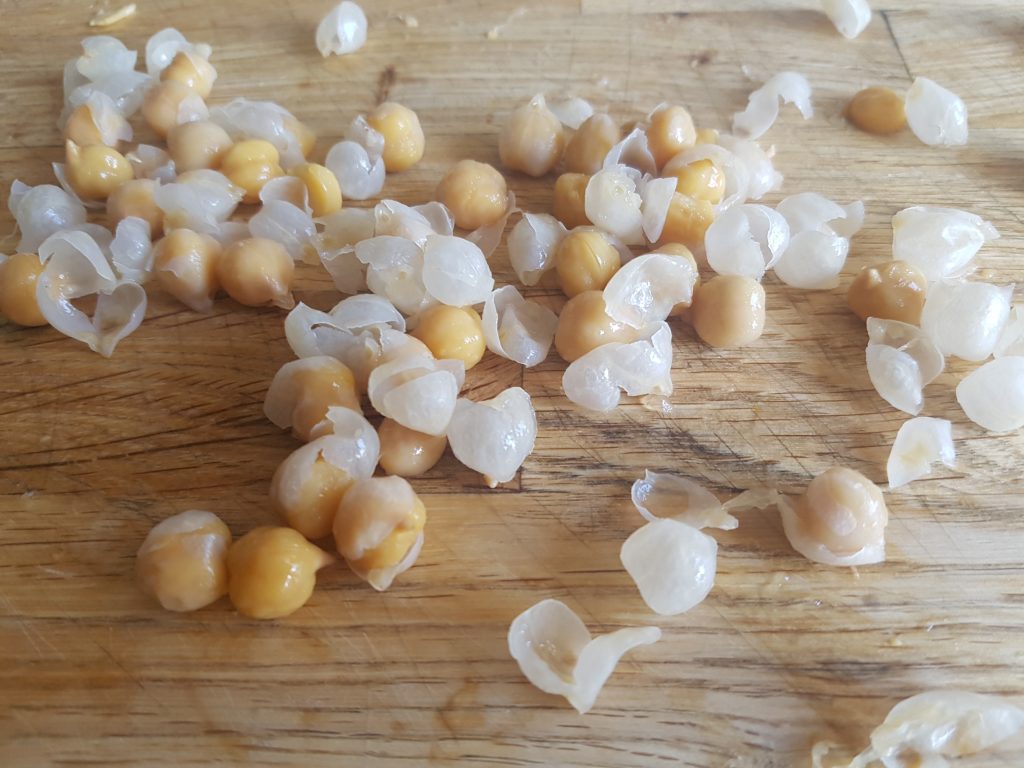
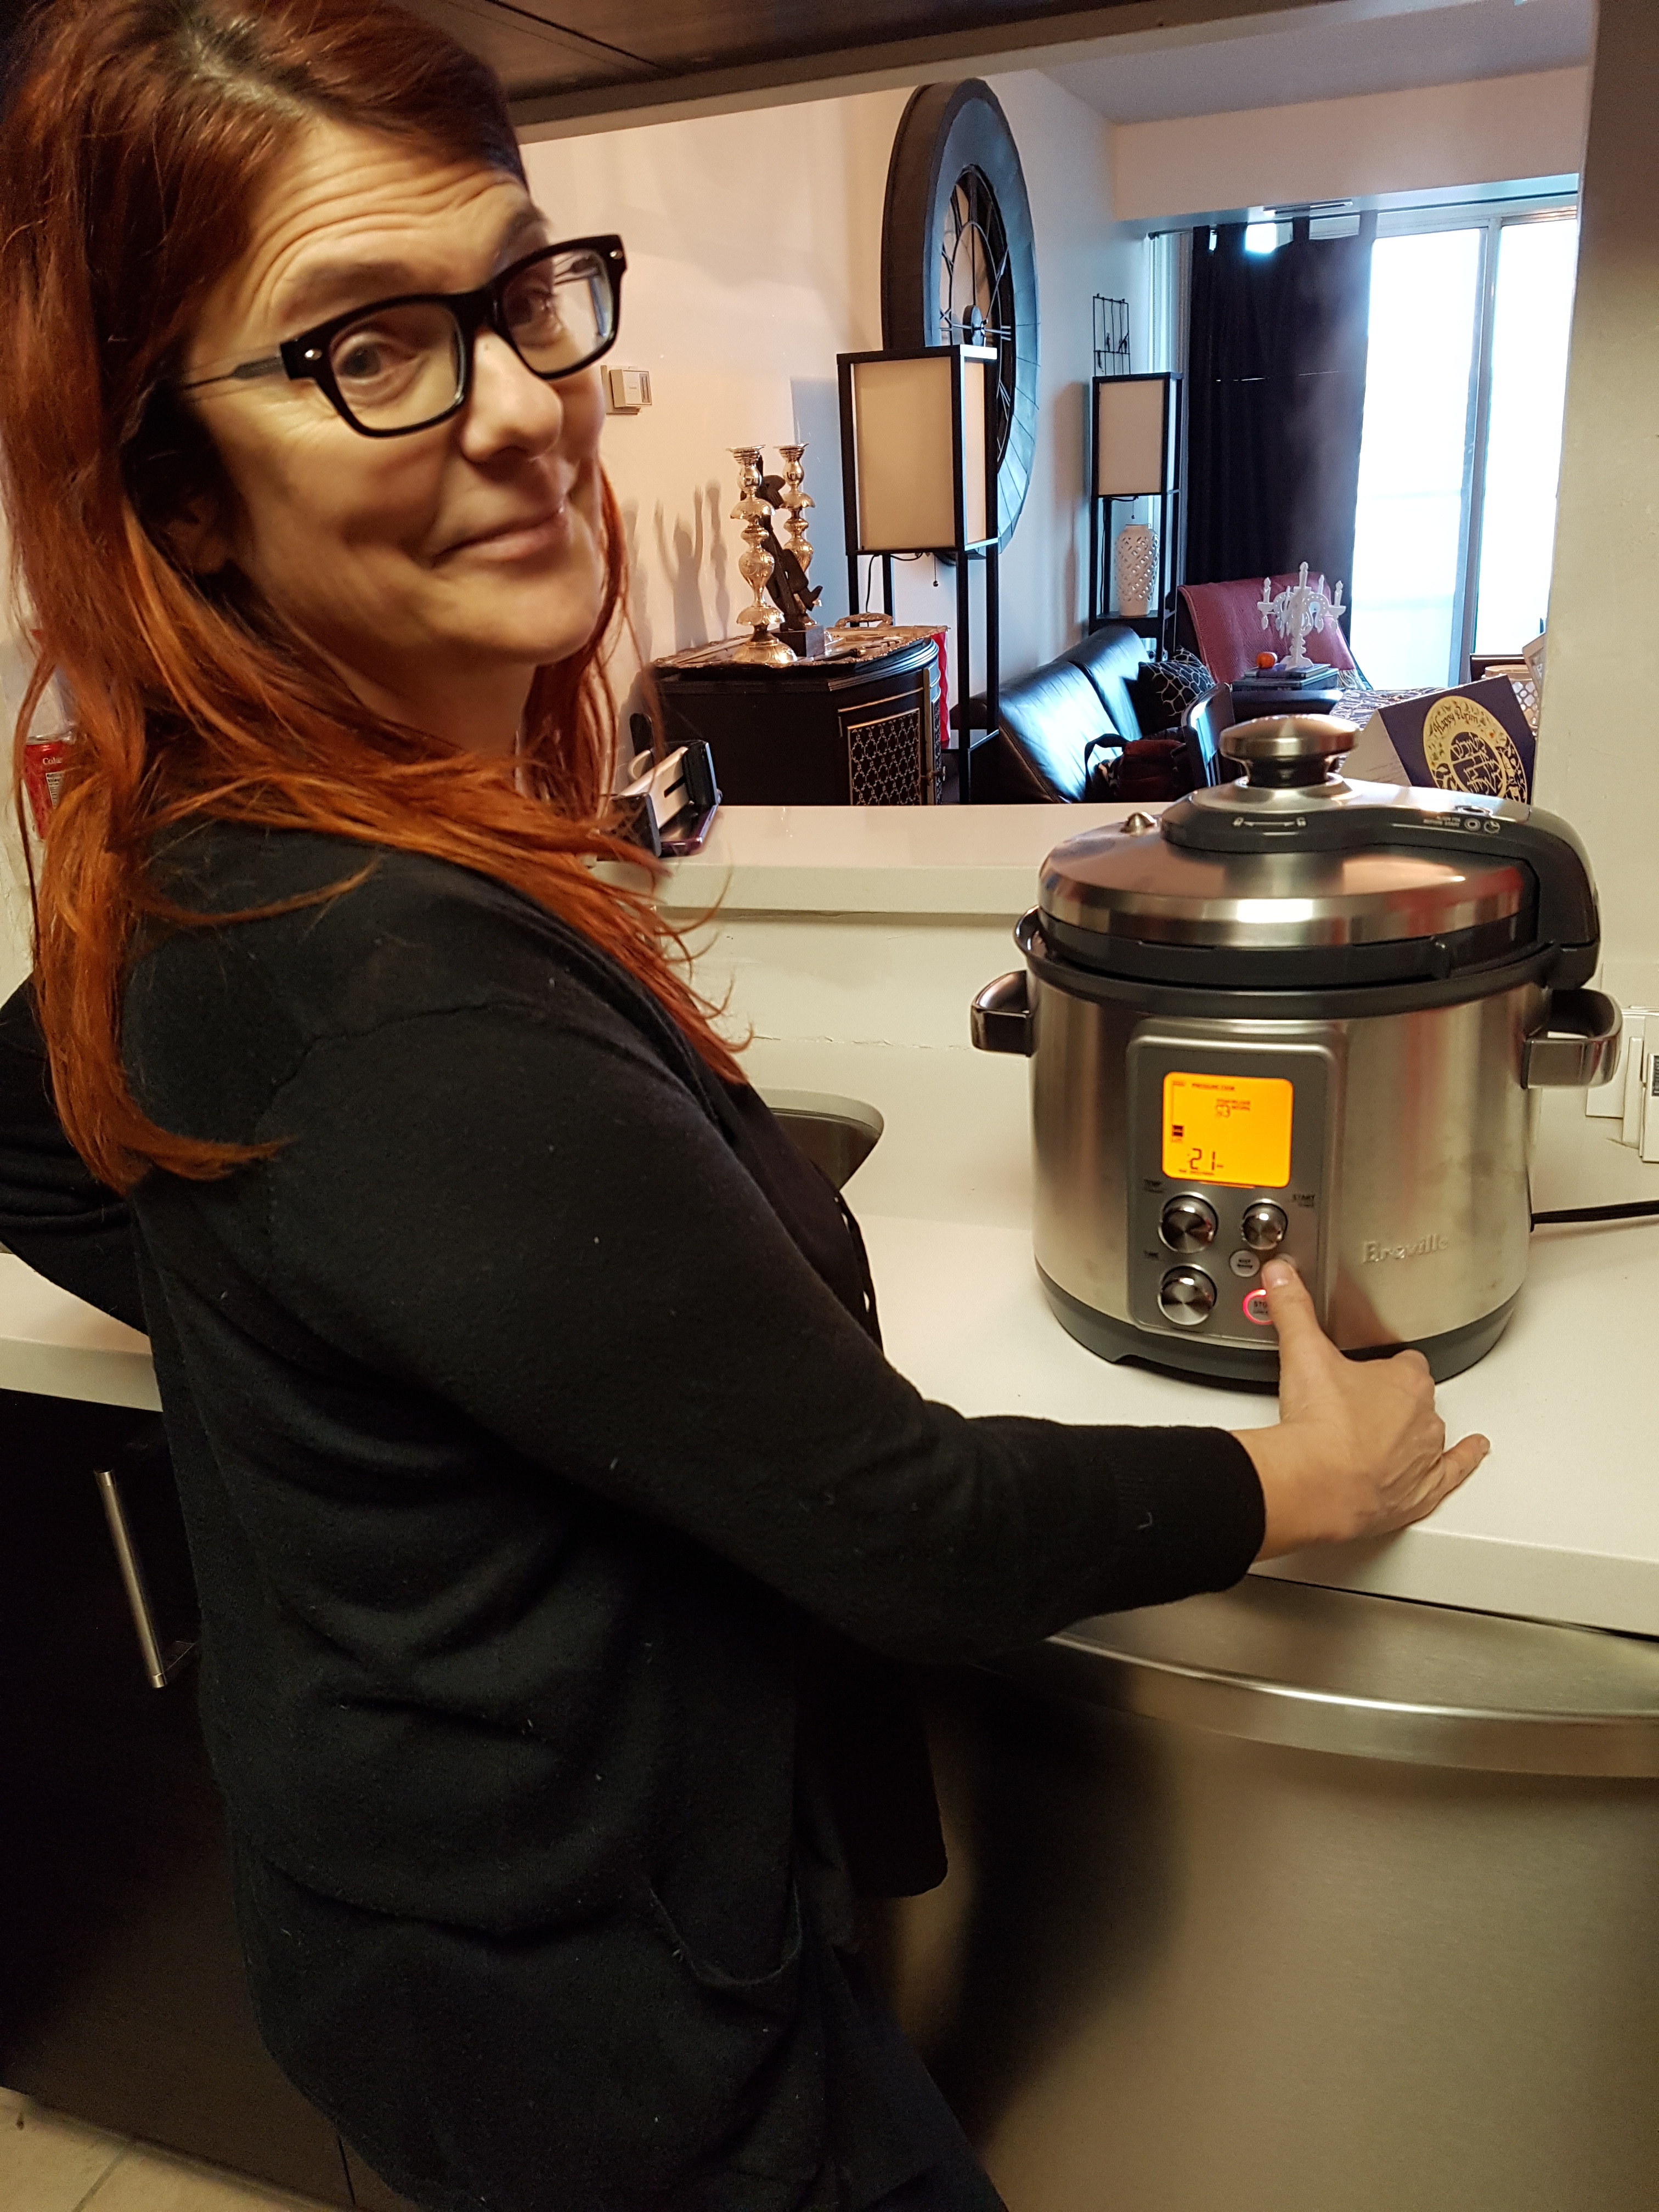
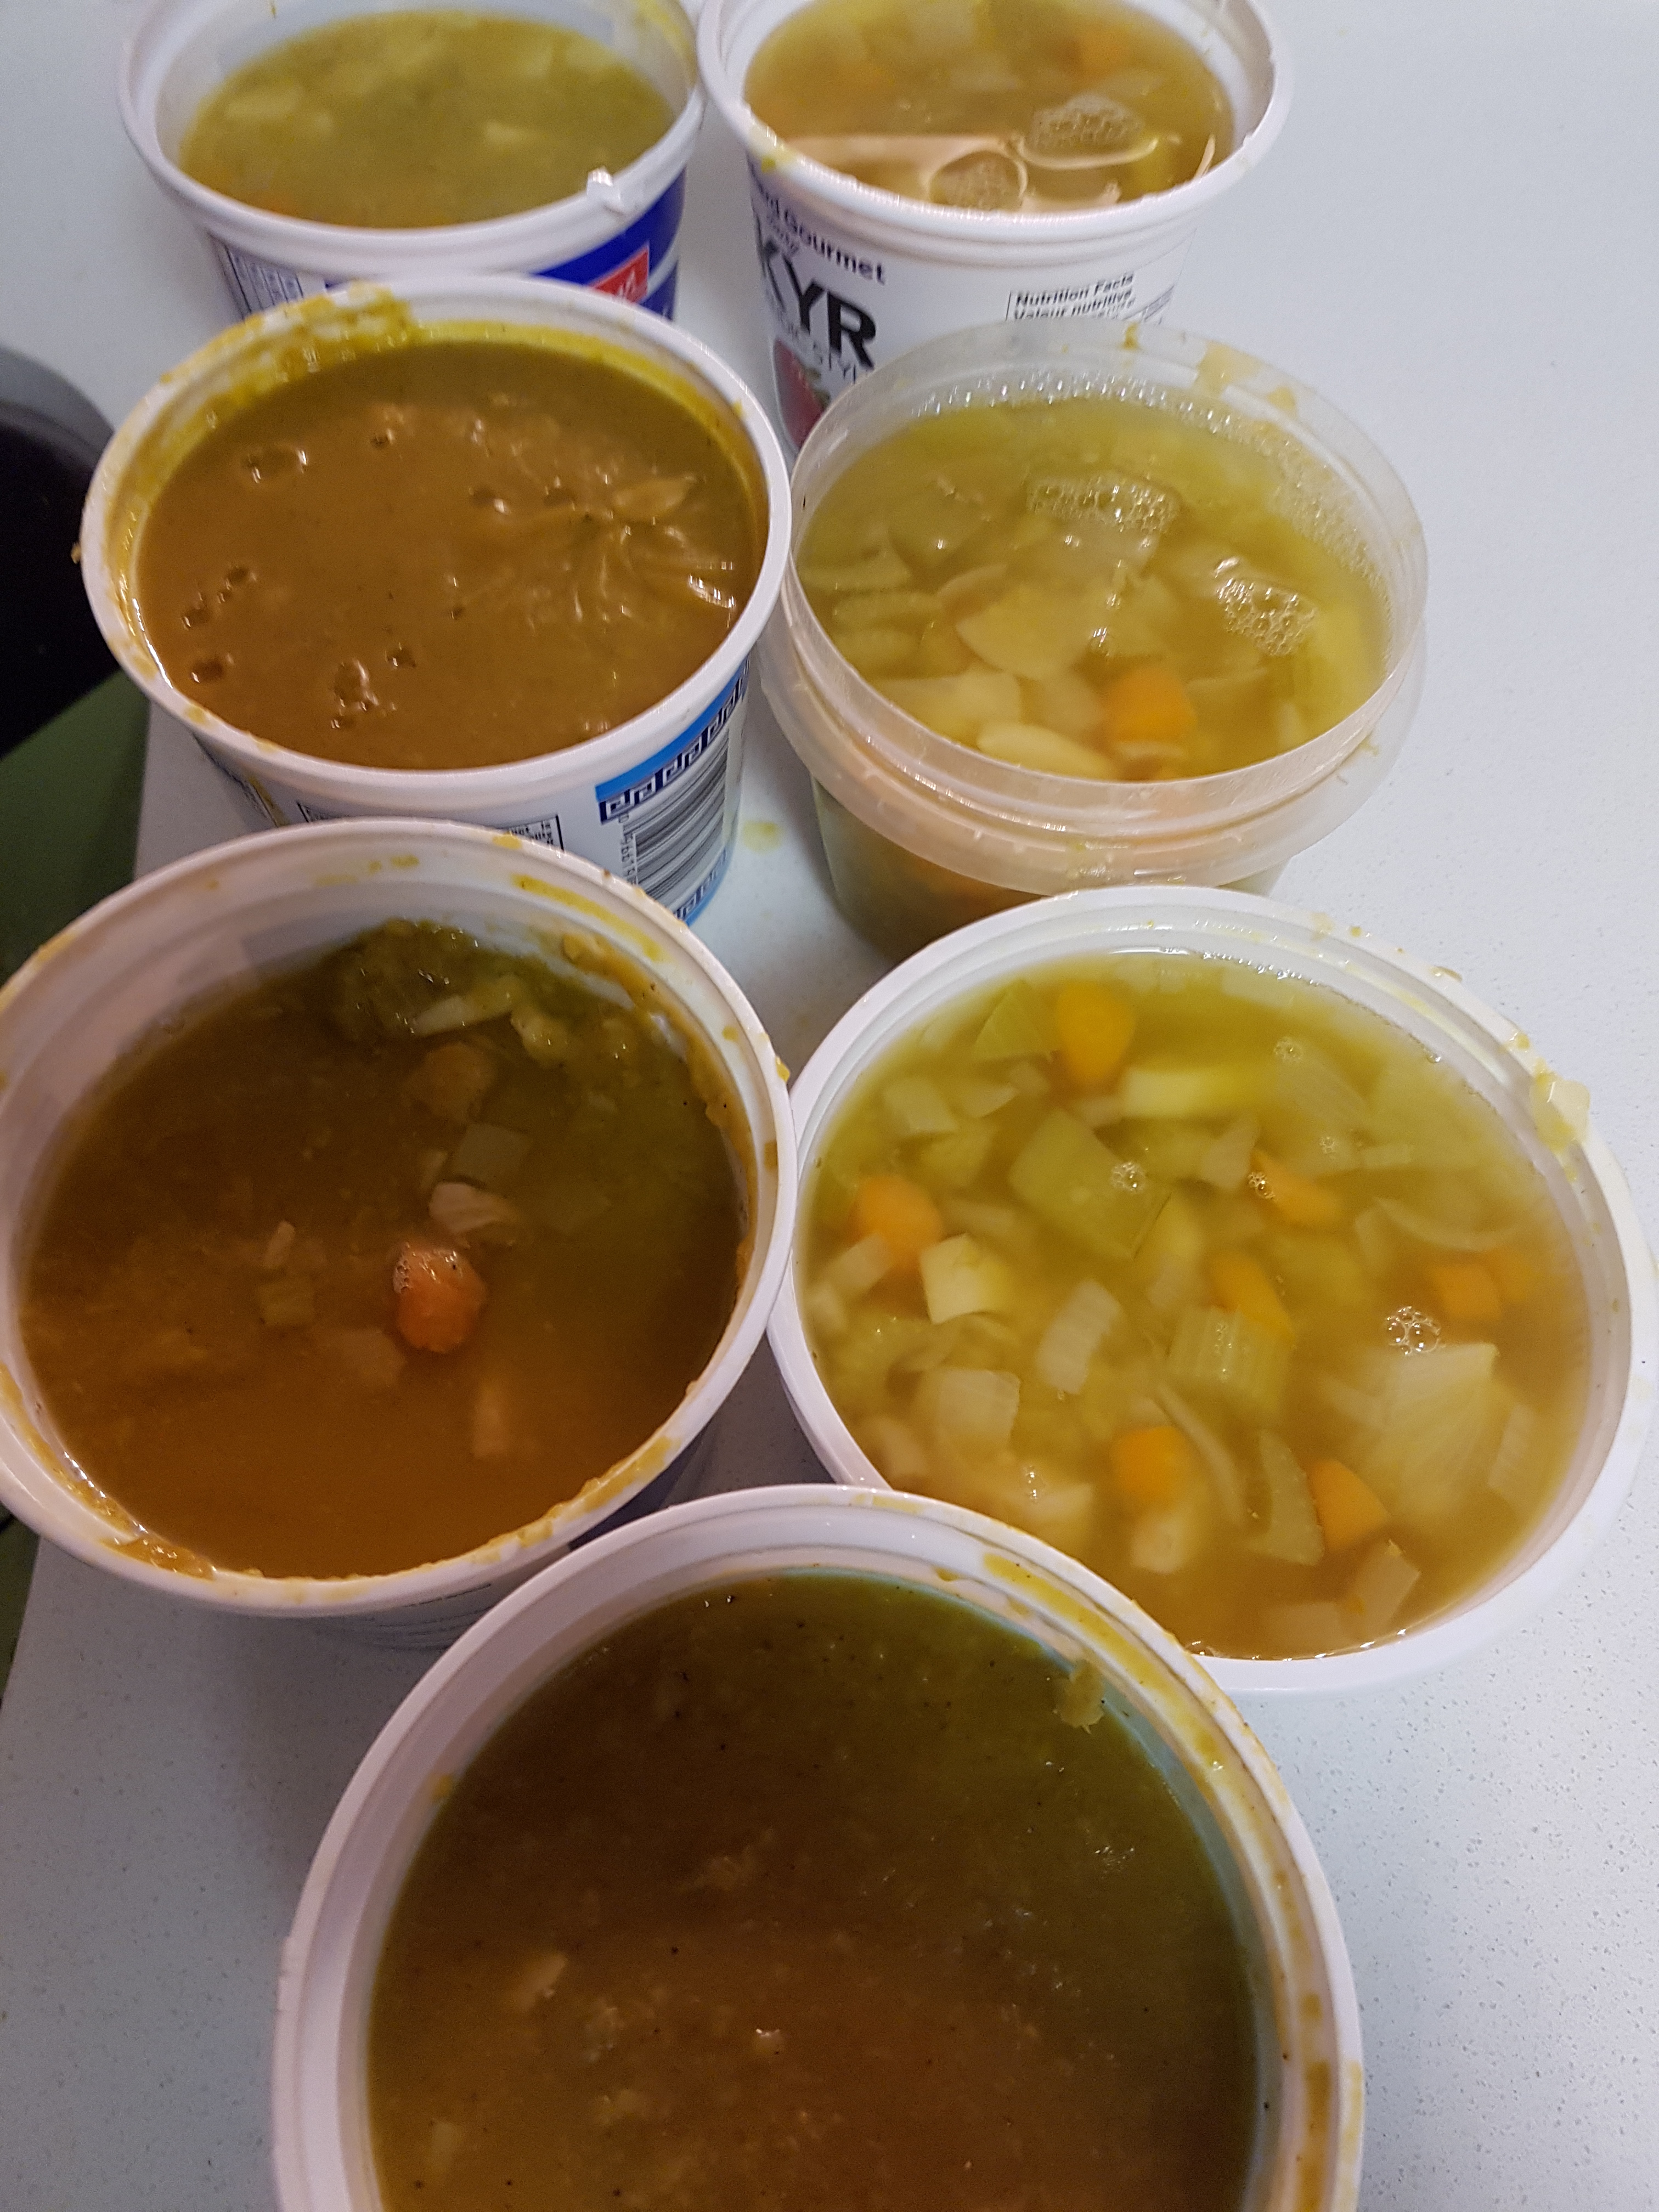
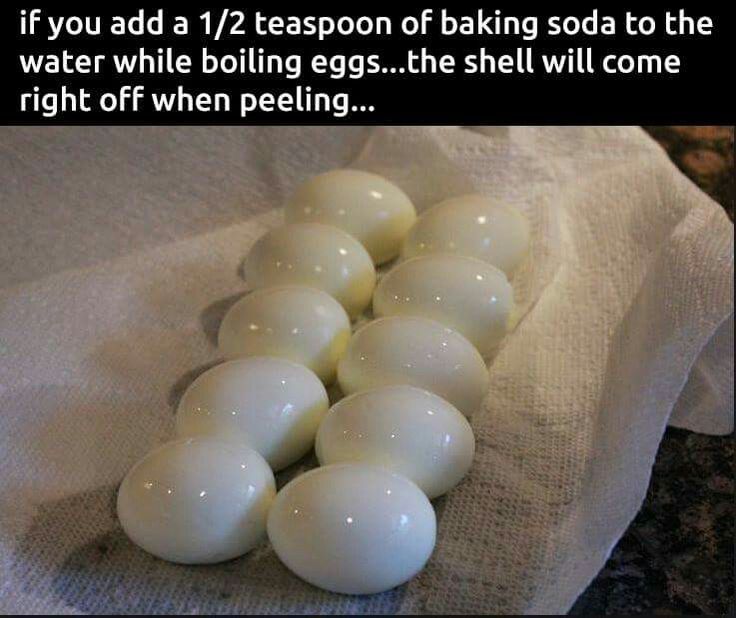
Here’s one more tip to make your Passover Seder easier! I saw this idea on Pinterest a few months ago, and IT WORKS.  Trust me.

passover eggs

Wishing all my friends who celebrate Passover, a very meaningful holiday.

Happy Cooking (and Cleaning).


Share this:
Share this page via Email Share this page via Stumble Upon Share this page via Digg this Share this page via Facebook Share this page via Twitter

, , , , , ,

Jan
08


Over the holidays I found myself with some serious spare time on my hands which meant there was this fantastic opportunity to spend some time in the kitchen. Nothing makes me happier than spending time in the kitchen (please don’t judge me. Lol)

It also makes me happy to discover recipes that only involves 4 ingredients. Yes  – that’s right – 4 ingredients.

spinach-ingredients

This recipe intrigued me as it included an unusual ingredient which I believe made all the difference. This ingredient is: HERBED STUFFING. Believe it or not I’ve never bought a box of stuffing before but wow did it ever provide flavour (and crunch too)

Also loved the fact that you can freeze these Spinach Balls. (original recipe can be found here)

Here’s what you will need: (note: I cut the recipe in half)

INGREDIENTS

2 (10 oz.) packages frozen spinach, thawed & well-drained (very well drained)

2 small onions, very finely chopped

2 1/4 c. stuffing with herbs

6 eggs, beaten

1/2 c. butter, melted

1/2 c. Parmesan cheese

2 tsp. garlic salt

1 tsp. black pepper

DIRECTIONS:

1. Preheat oven to 350 degrees F.
2. In a large bowl combine all the ingredients.

spinach-stir

3. Shape into golf-sized balls and place on a baking sheet.

spinach-tray

3. Bake in preheated oven for 20 minutes, or until heated through and browned

FINAL RESULTS

spinach-final

Serve these delicious Spinach Balls with salmon and a salad and bingo you will have a pretty delicious meal! (in my humble opinion).

OR

Put them on an appetizer plate along with other goodies!

appetizer-plate

Happy Cooking!

Share this:
Share this page via Email Share this page via Stumble Upon Share this page via Digg this Share this page via Facebook Share this page via Twitter

, , , , , ,

Dec
30


I’m ending 2016 with some serious splurging. Splurging is generally not a word in my vocabulary but for some reason I really needed to “splurge”.

It all started with a overnight get away to Millcroft Inn where I hung out in their heated outdoor hot tubs. What a treat. (ps there will be another blog post about my stay at the Millcroft Inn – don’t you worry!)

new-years-millcroft

When I returned to Toronto I still felt like relaxing, so I went to the Korean Family Spa. It doesn’t compare to being in Mexico but I welcomed the opportunity to enjoy their 8 different saunas and their wet steam room.

new-years-korean

Then I did some shopping at Fluevog. Can’t wait to wear these two pairs of shoes! It’s a good thing that I have a few events in January because I certainly want to wear them and not have to just look at them in my cupboard.

new-years-shoes

new-years-shoes-2

Oh ya – I treated myself to my very first Le Creuset. I have facebook to blame for this splurge as one of my facebook friends told me about a Le Creuset sale at the Bay!! Before you know it, I was doing some online shopping. I haven’t used it yet but I know I’m going to enjoy these dish. I just hope I don’t keep buying more!!

le-creuset

I didn’t splurge on a fancy dinner or fancy food because I’m perfectly content these days to cook at home plus I’m trying to eat “healthier”. Here’s my version of a healthy banana split. Basically it’s a banana, stuffed with Plain SKYR. topped with strawberries and chocolate covered quinoa puffs. If you haven’t tried SKYR yet, you should. It’s got 22 percent more protein than Greek Yogurt.

new-years-ingredients

My healthy banana split looked like this:

new-years-banana

I’m looking forward to 2017. …more travelling, more friendships, more fantastic food and more adventures. Naturally I will try to share this experiences with you via my blog, facebook and Instagram too!!

Wishing you a fabulous New Years too.


Share this:
Share this page via Email Share this page via Stumble Upon Share this page via Digg this Share this page via Facebook Share this page via Twitter

, , , , , , , , ,

Oct
25


Lately, my favourite activity on a Saturday has been to visit Wychwood Farmers’ Market  (601 Christie St – Bathurst and St. Clair) and then head home to start cooking a storm.

Seriously, you are never going to find produce like this at your local grocery store.

cabbage

In between chopping, I will be honest – I spend some time on Pinterest. Click here to see my Food Board which has over 350 ideas!

I’m now going to share with you what I served for Saturday night. As much as I like going out to restaurants – I really do enjoy the simple pleasure of cooking and eating in!

Here’s what was served:

Roasted Carrots with Curried Chickpeas and Creamy Citrus Dressing (original recipe found here)

dinner-carrots

Side note: I’ve made roasted chickpeas before and they didn’t come out. I’m convinced this time the recipe turned out as I followed an important step to take them out out of their shells. Trust me, it wasn’t fun and it was time consuming but it was worth it.

dinner-chickpeas

Chicken with Teriyaki Sauce (original recipe can be found here) ps bought the chicken at Sanagans and we think it was worth it.

dinner-chicken

Squash Stuffed with Candied Walnuts (sorry, no recipe..just made it up).

dinner-squash

A Simple Salad made with veggies I bought at the Farmer’s Market.

dinner-salad

As you can see, dinner was delicious.

Happy Cooking!!

Share this:
Share this page via Email Share this page via Stumble Upon Share this page via Digg this Share this page via Facebook Share this page via Twitter

, , , , , , , ,

Mar
22


The Breville Fast Slow Pro is simply a BRILLIANT appliance. It’s basically a pressure cooker but it knows the time, temperature and pressure that different foods need. See what I mean? Its BRILLIANT.

As you know I own quite a few appliances. You name it. I have it. But I’ve never ever owned a pressure cooker nor can I remember the last time I went to someones house who owned one.

However a food blogger friend of mine has been regularly posting about her pressure cooker recipes and I was intrigued, to say the least.

So when the Breville Fast Slow Pro™ arrived, I immediately invited Carole over to teach me a thing or two about using a pressure cooker. While she talked about the ins and outs of pressure cooking, I chopped a few ingredients for the soup.

breville - ingredients

Recipe for Split Pea Soup

1 carrot – diced

1 parsnip – diced

1 onion – chopped

2 celery stalks – chopped

2 cups of  rinsed dried split peas

6 cups of vegetable stocks (4 cups of stock and 2 cups of water – to be honest)

salt and pepper.

Directions: Put all these ingredients into the Breville Fast Slow Pro™, close the lid, press a few buttons and wait 25 minutes. Could cooking get any easier? I don’t think so.

In 25 minutes – Carole opened the lid and just like magic, dinner was served. Yes – Carole got to open the lid as I must admit I kept thinking the pot was going to explode. But Carole assured me that these days, pressure cookers are safe, safe, safe.

breville - carole

I had so much fun that I made a second batch of soup. Seriously.

breville - freezer

Here’s a few things that I learned from Carole:

Some Definitions:
QR – quick release
NPR – natural pressure release
PSI – pounds per square inch

Things I Can Look Forward to Making:

I can take a frozen chicken breast and have dinner ready in 45 minutes
I can make half an acorn squash in 15 minutes
I can make beets in 24 minutes.
I can make small potatoes in 5 minutes.
I can make a whole sweet potato in 15 minutes with natural release

Great Websites about Pressure Cooking:

www.pressurecookingtimecharts.com
www.pressurecookingtoday.com

Plus she says that it’s important to follow recipes and the instructions that go along with it. (note to self)

Happy Cooking!

Disclosure: Breville Canada provided me with this appliance, however all opinions are my own.


Share this:
Share this page via Email Share this page via Stumble Upon Share this page via Digg this Share this page via Facebook Share this page via Twitter

, , , , , , , ,

Jan
10


Fact: I serve fish for dinner every week.

Fact: I have a rotation of about 4 different fish recipes, which in my opinion isn’t enough.

Fact: I have a new recipe that will now be added to my fish “recipe collection”. (insert – applause).

This recipe provided me with a COLOURFUL and TASTY dish that involved a few interesting steps. For example – the recipe asks  you to marinate the fish in buttermilk, which is not something I’ve seen before in a fish recipe. But trust me, this step is worth it

Baked Tilapia and Vegetable Casserole (adapted from Natasha’s Kitchen)

Ingredients:

Tilapia Ingredients:
2 lbs (about 6-10 count) Tilapia fillets, thawed
Olive Oil to saute
1 Tbsp ketchup (I used Chili Sauce for an added kick)
1 Tbsp mayo

Marinade Ingredients:
2 large eggs
1 cup buttermilk
2 Tbsp soy sauce
1/2 tsp Salt and 1/8 tsp Pepper

Vegetable Ingredients:
2 medium bell peppers (red, orange, or yellow)
2 medium/large carrots, julienned or grated
1 medium onion

DIRECTIONS:

1. Whisk together the marinade ingredients. Place the tilapia in a large ziplock bag along with the marinade mixture and marinate in the fridge at least 1 1/2 hours. (simple enough, non?)

fish - buttermilk

2. Slice onions into thin half circles, slice bell pepper into thin strips and julienne or grate carrots. (I forgot the carrots. Oops). In a large skillet over medium/high, heat 2-3 Tbsp oil and saute onions for 3 minutes or until softened. Add sliced bell peppers and carrots and saute another 4-5 min or until softened. Remove from pan and set veggies aside.

fish - fry veggies

3. Whisk together the ingredients for the sauce.

fish - sauce

3. Once  the fish is done marinating, drain and discard the marinade. In the same empty skillet over medium/high, add 2-3 Tbsp oil and saute fish lightly on the skillet just until golden on the outside (about 2 min per side). Be careful not to over cook the fish in fact it’s probably best that the fish isn’t entirely cooked.

4.  Layer the casserole dish with 1/2 of the vegetables on the bottom. Place fish over the vegetables. Brush the mixture of the ketchup/mayo on top of fish. Then add another layer of vegetables on top. Sprinkle the top with salt and pepper to taste then cover tightly with foil or lid and bake at 375˚F for 15 min.

FINAL PRODUCT

fish - final

Just so you know, I only share recipes that I would make again!

Oh ya – served a few vegetables dishes along with this fish casserole. Specifically, a tomato soup, kale salad, tabouleh salad and a sweet potato dish. There were lots of satisfied tummies.

Happy Cooking!


Share this:
Share this page via Email Share this page via Stumble Upon Share this page via Digg this Share this page via Facebook Share this page via Twitter

, , , , ,

Jan
27


Back in November I was invited by the workshop leaders of Love Thy Carrot, to attend a Healthy Desserts Cooking Workshop. I should mention that it also said that “all workshops are dairy free, gluten free and sugar free.

I was intrigued seeing as my desserts are all about butter, sugar and flour. Repeat – all about butter, sugar and flour!! OK…throw in some chocolate too!!

How did I meet Love Thy Carrot? Well I was introduced to Love Thy Carrot by  The Bumpercrop a few years ago and have been following her blog for at least a year. I was delighted to hear that she branched out and was teaching workshops too! The workshops are taught by Marla – who is passionate about leading a healthier lifestyle and Karen, who is a graduate of the Canadian School of Natural Nutrition.

lovethycarrot

During the class we learned how to make an amazing Black Bean Brownie – which I will definitely be making again. That’s how good it was!
class - black bean brownies

We also learned how to make Chia Pudding with a Maple Glazed Coconut Crunch.

class - chiaPlus we learned how to make Buckwheat Pancakes with Caramelized Pears. These pancakes are way healthier than the pancakes that I make with regular flour!!

class - pancakeThe workshop was informal but informative and included a wonderful handout at the end of the class so that I could go home and recreate these amazing dishes. Not to mention that Marla took the time to talk to us about her favorite kitchen appliances and motivated me to go purchase a Vegetable Spiralizer. (which I’m loving). I also loved that she included the basic essentials regarding what a healthy pantry should include!! (note to self: pick up agave)

Upcoming workshops include: One Pot Winners to Warm  the Winter Soul (Wednesday, February 5, 6:30PM – 8:30PM and Thursday, February 27, 11am -1:30PM

and Vegan Comfort Food (Feb 13 from 11 to 1:30 pm). Note: Each workshop costs $80.

Please don’t forgot to check out Love Thy Carrots amazing blog as well. I’m a huge fan of her photography and her content!

For more information:

Love Thy Carrot,

Email: marla@simplexity.ca

Twitter: @LoveThyCarrot

Share this:
Share this page via Email Share this page via Stumble Upon Share this page via Digg this Share this page via Facebook Share this page via Twitter

, , , , , , , , ,

Dec
02


Many years ago, I was making pancakes and realized that I didn’t have any maple syrup in the fridge. I then had a “MacGyver Moment” and pulled out three ingredients that would replace the need for maple syrup: a banana, some brown sugar and butter.

Not only did it work, but I swear this sauce has totally replaced the need to have Maple Syrup in my fridge.

Ingredients:

one banana

1/4 cup brown sugar

2-3 tablespoons butter

cinnamon (optional)

Directions:

1. Melt the butter and the brown sugar.

melt 1

2. Add the sliced banana. *the hotter the pan…..the better, so take your time to ensure that everything will caramelize  (this is a good thing!!)melt - 2

FINAL PRODUCT

melt - final

Sprinkle with cinnamon if you want!!

I serve this sauce with french toast or pancakes and without fail it’s always a hit.

Happy Cooking.

Share this:
Share this page via Email Share this page via Stumble Upon Share this page via Digg this Share this page via Facebook Share this page via Twitter

, , , , , ,

Dec
13


A main course with only FOUR ingredients…Ya Gotta Love it!! Right?

The other day I wanted to make something with items I had in my fridge or freezer…without having to go the grocery store. (I’m sure you know what I mean)

The items I’m referring to are: Mushrooms, Puff Pastry, Onions, and Goat Cheese

This is what I did:

STEP ONE: I fried the onions

STEP TWO: I added  mushrooms into the frying pan to saute them. I also added some salt and pepper.

Not pretty but oh so tasty

STEP THREE: I rolled out the puff pastry.

STEP FOUR: I placed the mushrooms onto the puff pastry and then “dotted it” with chunks of goat cheese. I also sprinkled some dried rosemary for added flavor.

Easy Peazy

STEP FIVE: I rolled it up and egg washed it to make it look all pretty!!

Bake at in a 375 degree oven for 25 minutes.

FINAL PRODUCT:

Not bad eh?

I served this mushroom puff pastry along with a caesar salad, potato latkes, sour cream, home made apple sauce, phyllo cups with roasted garlic and olive tapenade.

Dinner looked like this:


Happy Cooking!!

Share this:
Share this page via Email Share this page via Stumble Upon Share this page via Digg this Share this page via Facebook Share this page via Twitter

, , , , ,