The other week, I tried TWO new side dishes and both were “blog-worthy”. So here I am on a Thursday night sharing these two recipes with you. Both these recipes were not only tasty but I could make them in advance, which comes in handy when you work full time and have guests coming over.
Israeli Couscous Stuffed Butternut Squash Bowls (original recipe from A Communal Table)
Ingredients
4 butternut squash (I bought one and cut it into quarters)
6 Tablespoons olive oil
2 cups Israeli couscous
2 teaspoons garam masala
2 cups vegetable stock (I used water)
1 cup shallots, sliced
4 cups fresh baby spinach, stemmed
1 Tablespoon sherry wine vinegar
1/2 teaspoon white pepper
1/2 cup shelled, toasted pistachios
Instructions
- Pre heat the oven to 375 degrees and line a sheet pan with foil.
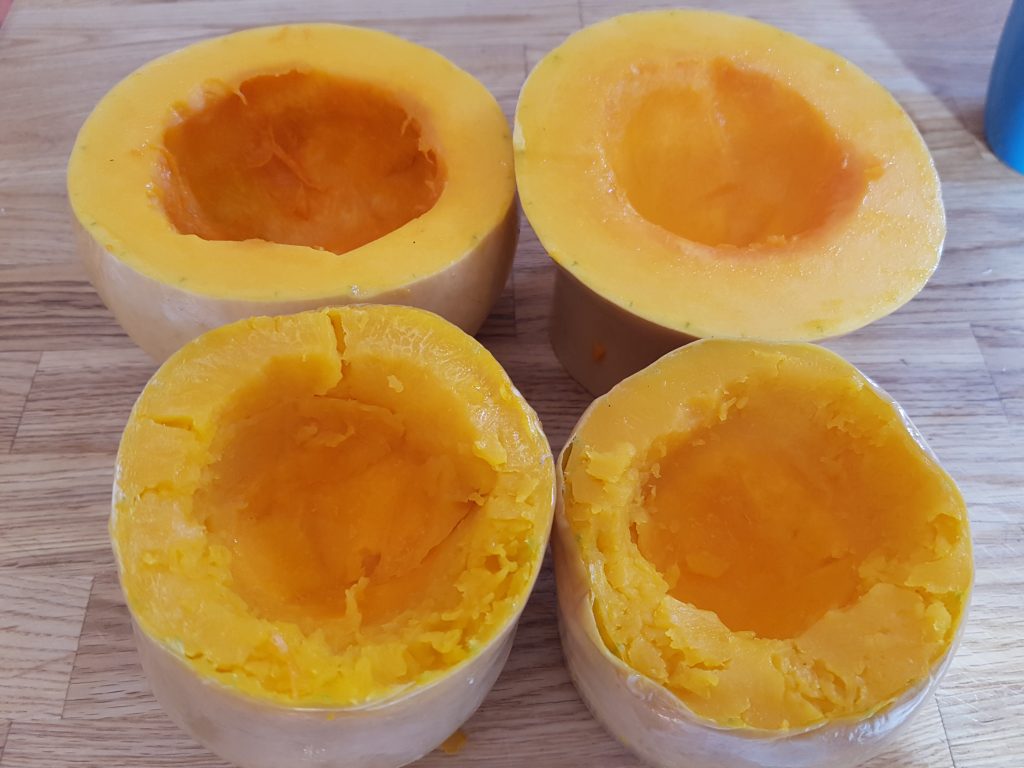
- Peel the butternut squash and cut the butternut squash just above where the squash begins to flare out. (as you can see from the photo – I didn’t peel the squash)
- Using a small spoon, scoop out the seeds and pulp as you would with a pumpkin. (NOTE: this was the hardest part of the recipe)
4. Using a pastry brush, brush 2 Tablespoons of the olive oil inside the squash and over the outside.
5. Roast the squash in the 375 degree oven for 25-30 minutes or until the squash is just fork tender but not mushy! Remove the squash from the oven and cool.
TO MAKE THE COUSCOUS FILLING
7. Place the dried cherries in a small bowl and cover with warm water. Set aside.
In a large saucepan, heat 2 tablespoons olive oil over medium high heat. Add the couscous and stir for 5 minutes to toast the couscous.
Add the garam masala and cook for another minute.
Add the vegetable stock and bring to a boil. Cover and reduce the heat to a simmer.
Simmer for 10 -15 minutes or until all the stock is absorbed and the couscous is all dente – tender but still firm.
8. In a medium skillet over medium high heat, add the remaining 2 tablespoons of oil. Add the shallots and cook for 5 minutes or until the shallots are tender and lightly browned. Add the spinach and cook for another 3 minutes or until the spinach is wilted.
9. Drain the cherries and add them to the spinach mixture.
10. Add the couscous and stir to combine.
11. Add the pepper and sherry vinegar and stir to combine.
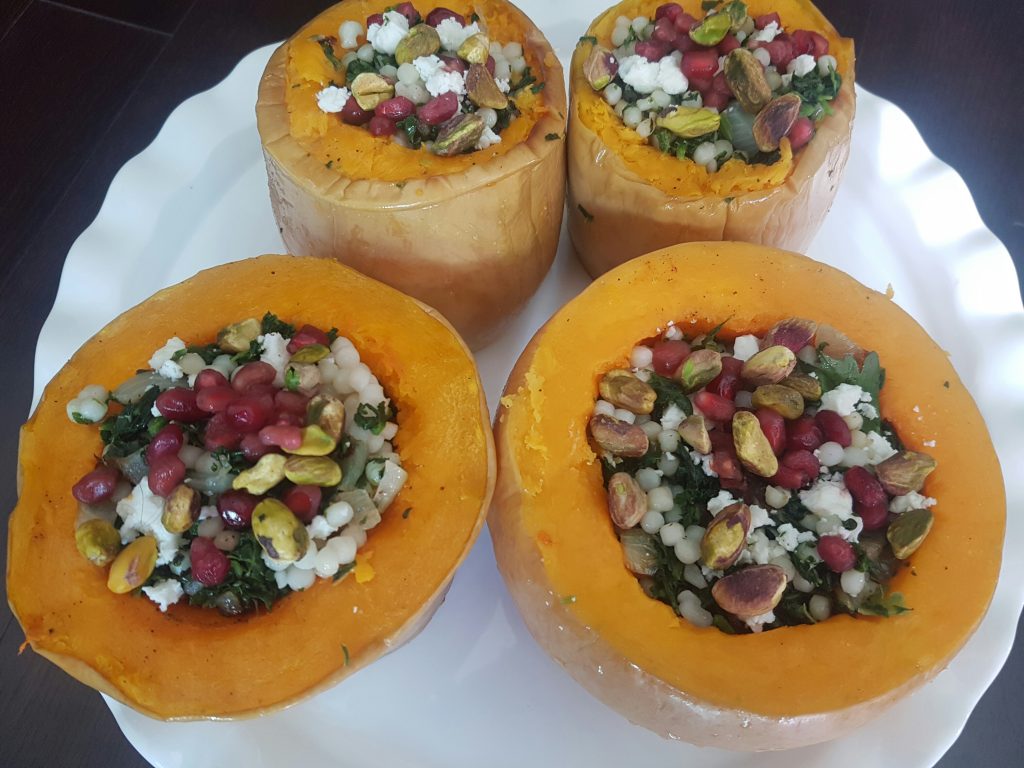
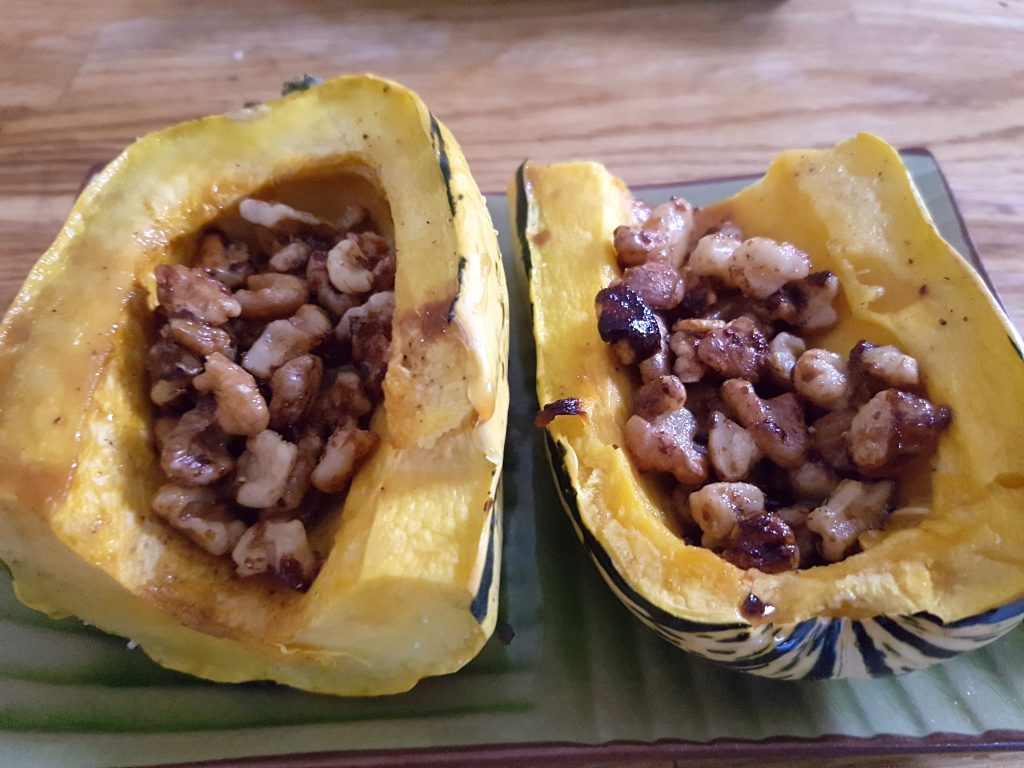
12. Fill each butternut squash with the couscous mixture.
Place on the foil lined sheet pan and re heat in a 375 degree oven until the squash is heated through. Serve.
FINAL RESULT..isn’t it gorgeous? I got fancy and added some crumbled feta and pomegranate seeds too!
Recipe #2: Cauliflower With Pumpkin Seeds, Brown Butter and Lime (original recipe from Bon Appetit)
Ingredients
2 tablespoons olive oil, divided
1 large head of cauliflower
Kosher salt, freshly ground pepper
2 tablespoons unsalted butter
¼ cup raw shelled pumpkin seeds
½ teaspoon crushed red pepper flakes
¼ cup chopped fresh cilantro, plus leaves with tender stems for serving
1 tablespoon fresh lime juice
DIRECTIONS
Preheat oven to 450°.
1. Coat a large rimmed baking sheet with 1 Tbsp. oil.
2. Slice cauliflower and arrange cauliflower slices in a single layer on prepared baking sheet. Drizzle with 1 Tbsp. oil and season with salt and pepper. Roast until underside is deeply browned, 20–25 minutes. Turn cauliflower over, season with salt and pepper, and continue to roast until other side is dark brown and crisp, 15–20 minutes longer.
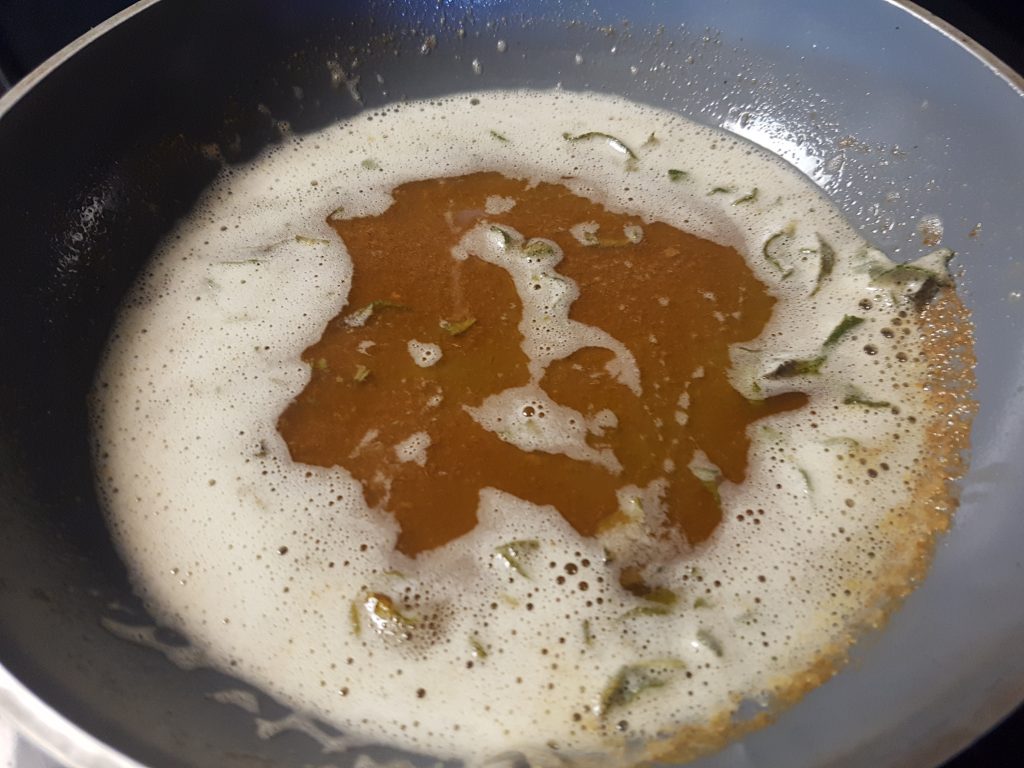
3. Melt butter in a small skillet over medium.
4. Add pumpkin seeds, bring to a simmer, and cook, swirling pan occasionally, until pumpkin seeds are toasted and butter is browned and smells nutty, 6–8 minutes. (it’s freakin’ delicious)
Remove from heat and add red pepper flakes; let cool 10 minutes. Add chopped cilantro and lime juice; season with salt and pepper.
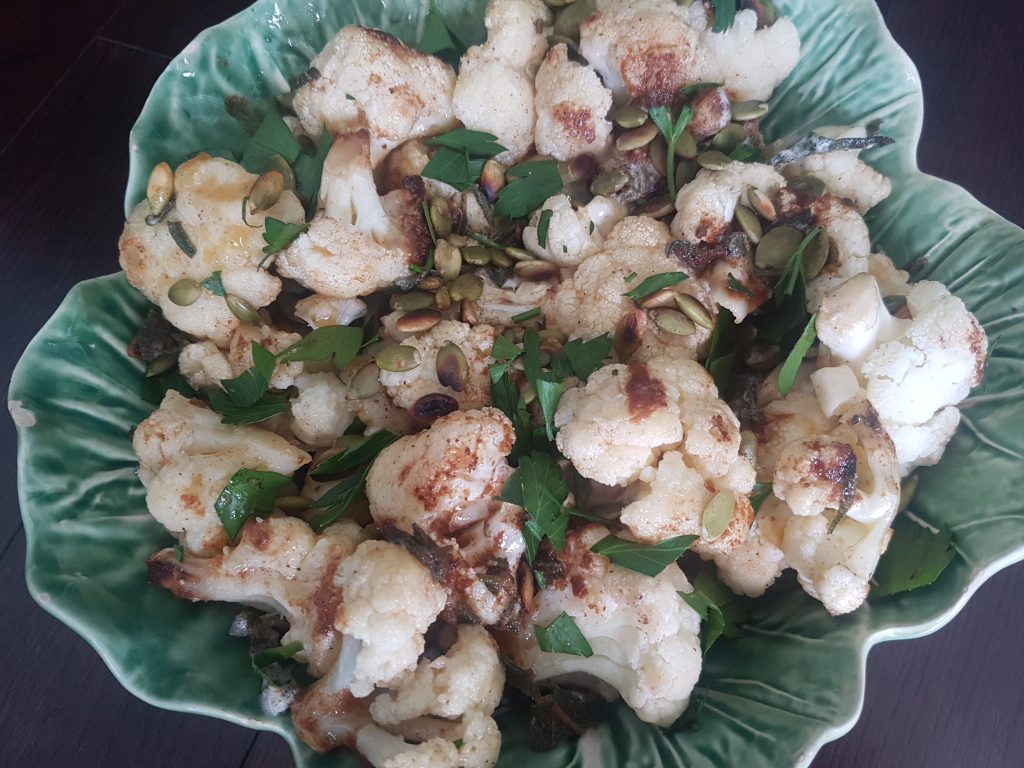
5. Arrange cauliflower on a serving platter and drizzle with dressing. Serve topped with cilantro leaves.
FINAL RESULT
I would make both of these recipes again but I know myself and will be scouring Pinterest for more recipes to try. What on earth is wrong with me? ARGHH.
In fact we have guests coming over next weekend and I’ve already started looking at Pinterest for new recipes. Please take a peek at my Pinterest Food Board and tell me what you think!
Happy Cooking!!


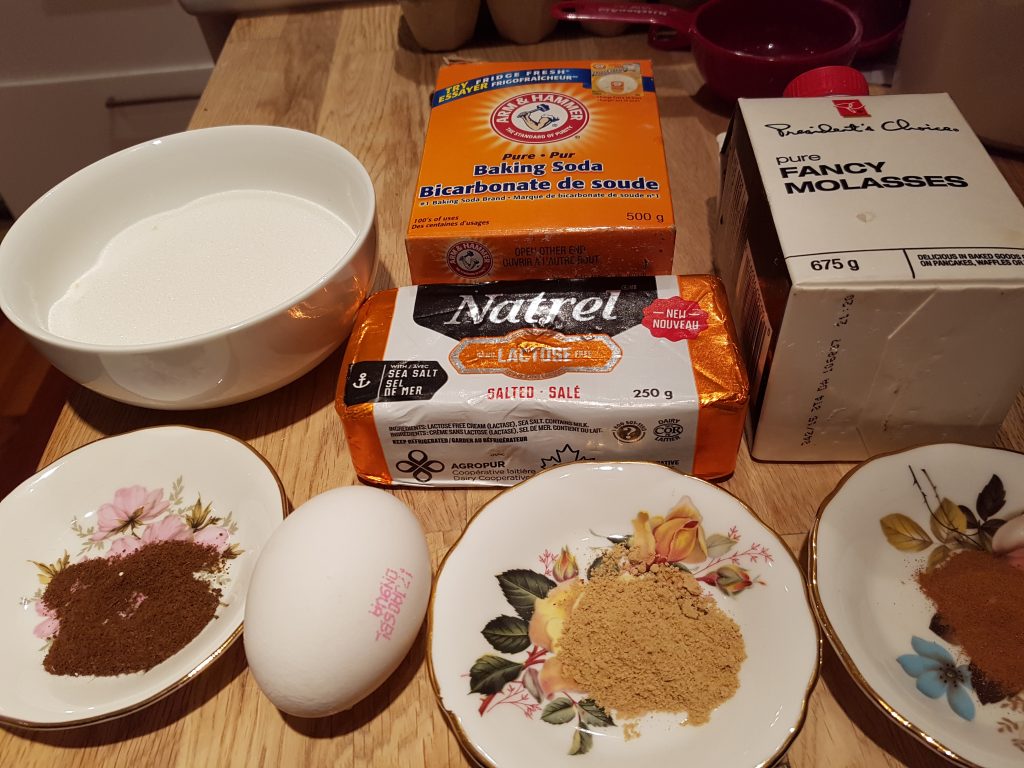
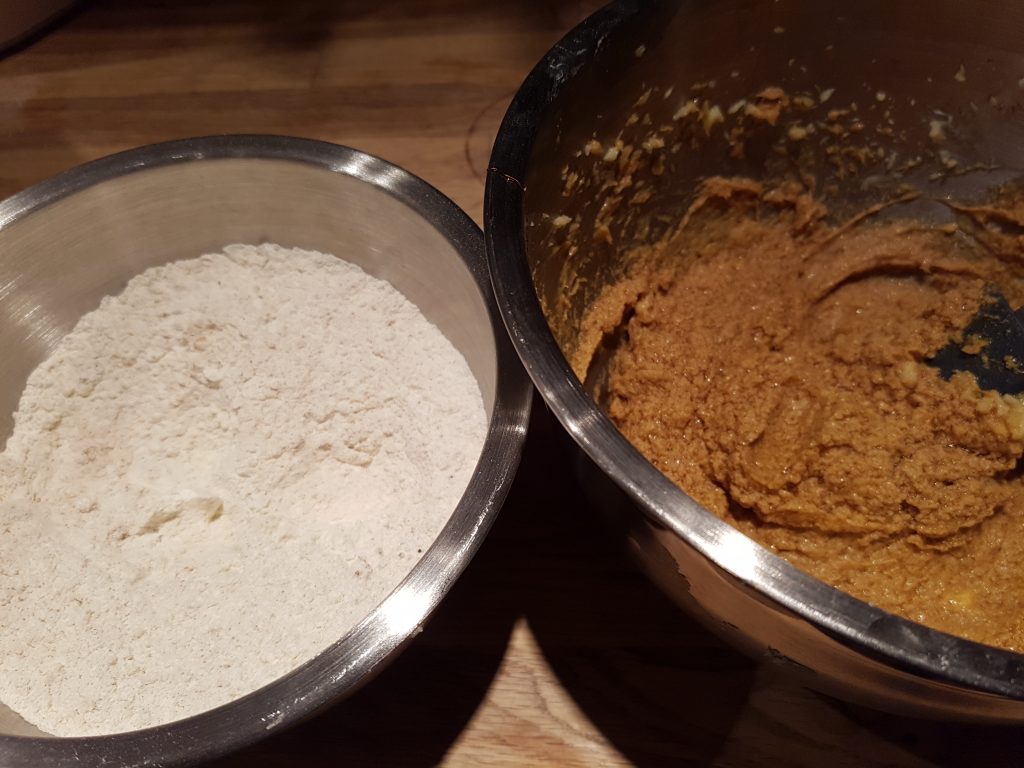
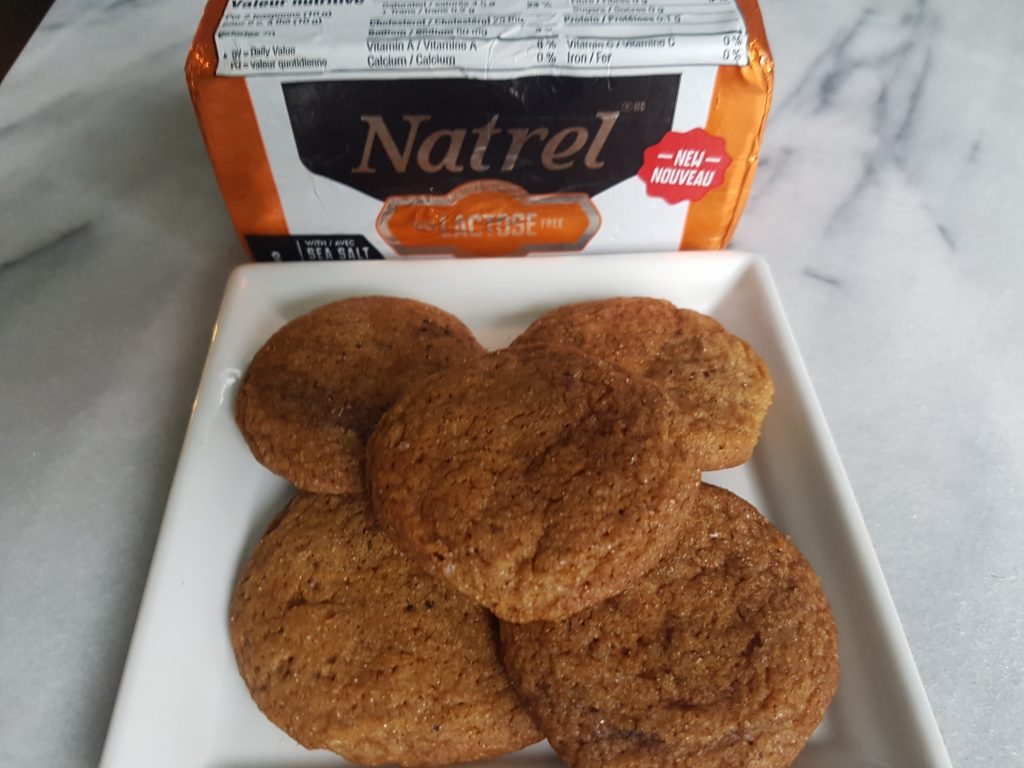
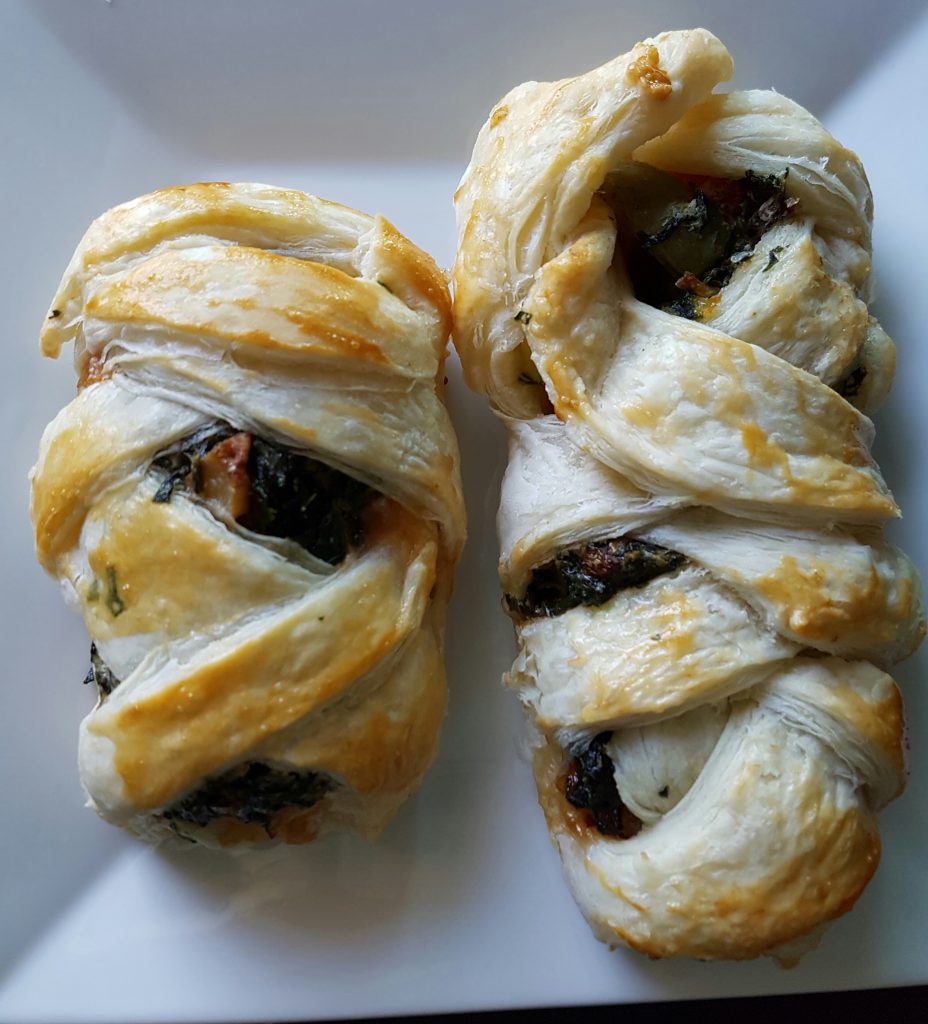
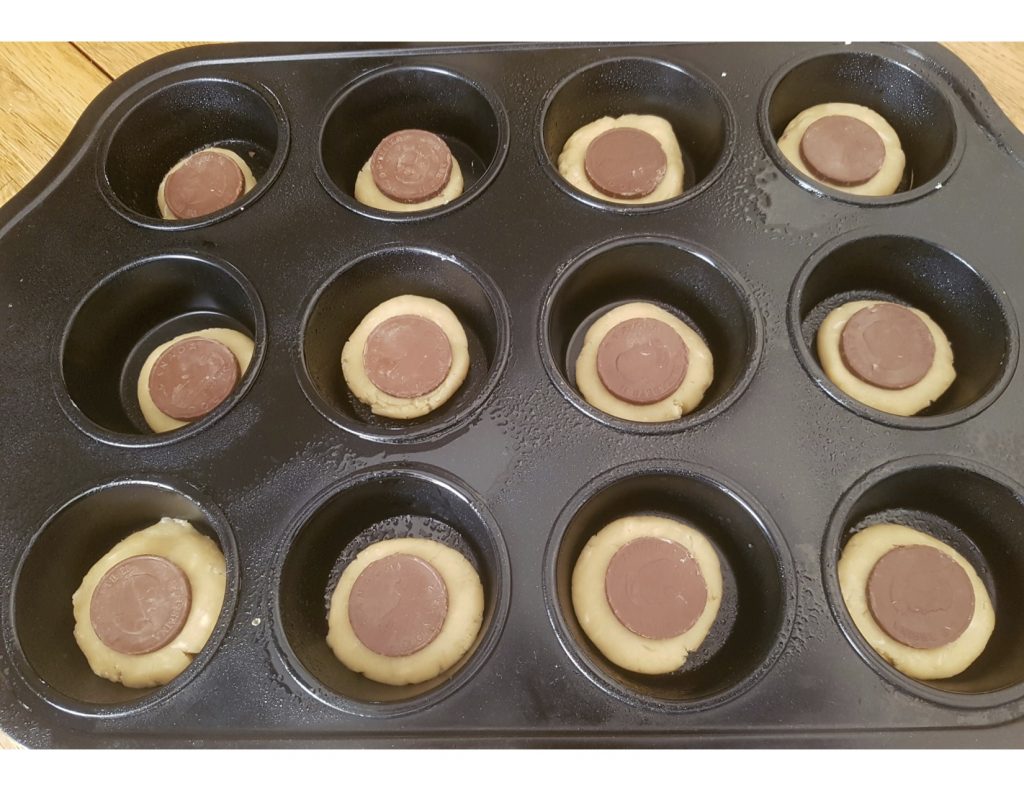 I then pressed the gelt (chocolate coin) into the centre of the cookie and placed it into the oven at 350 F for exactly 9 minutes. The edges were slightly brown but the centre was pale and puffy (and perfect)
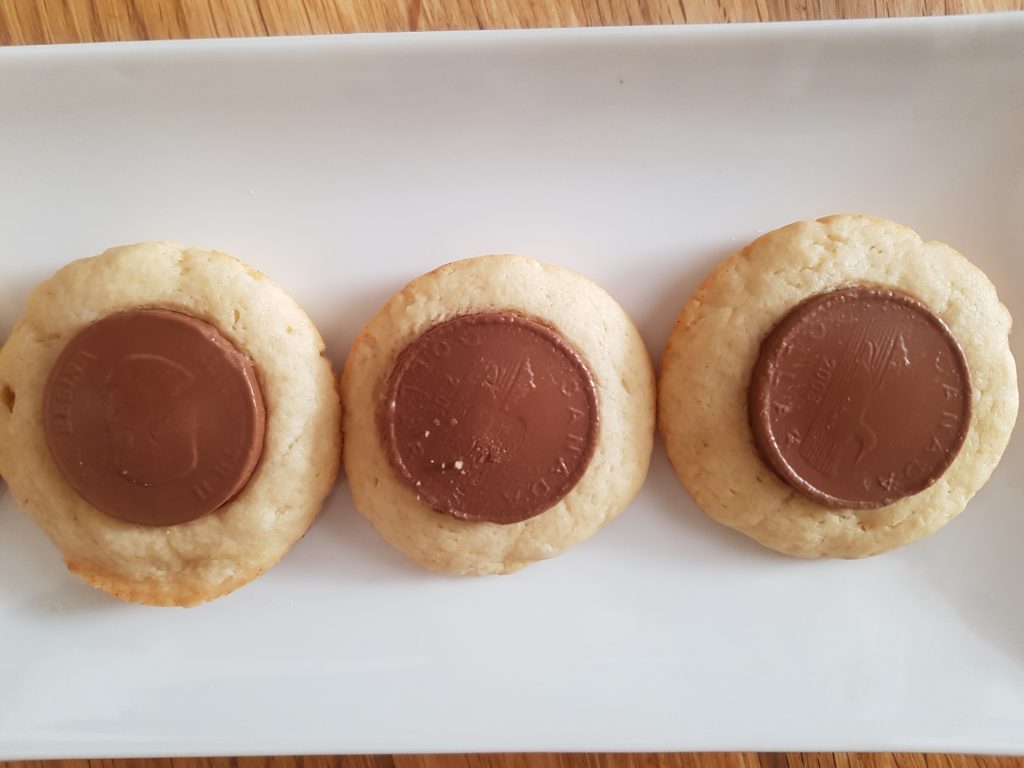

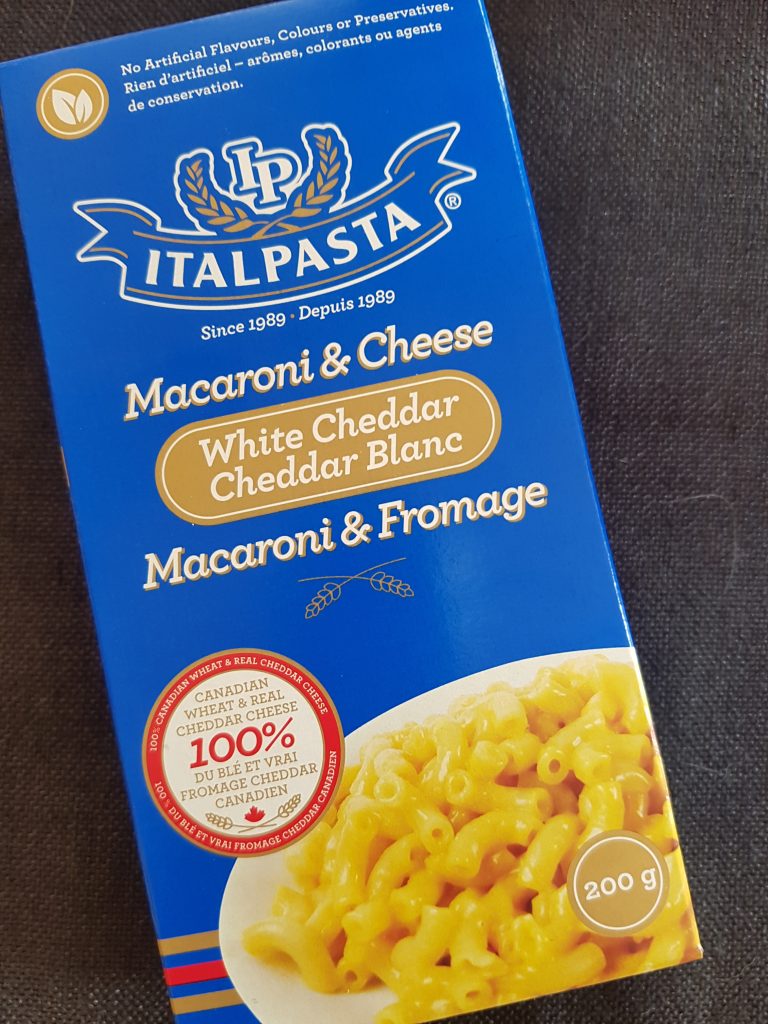

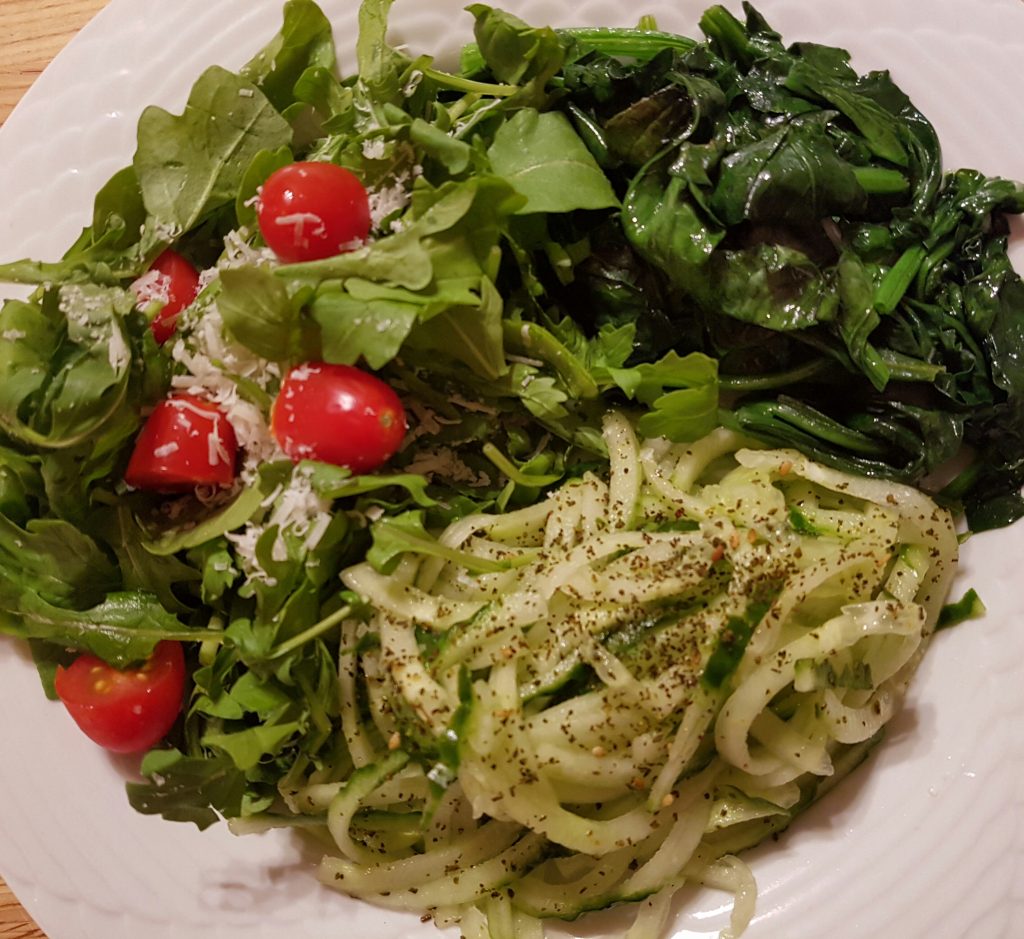
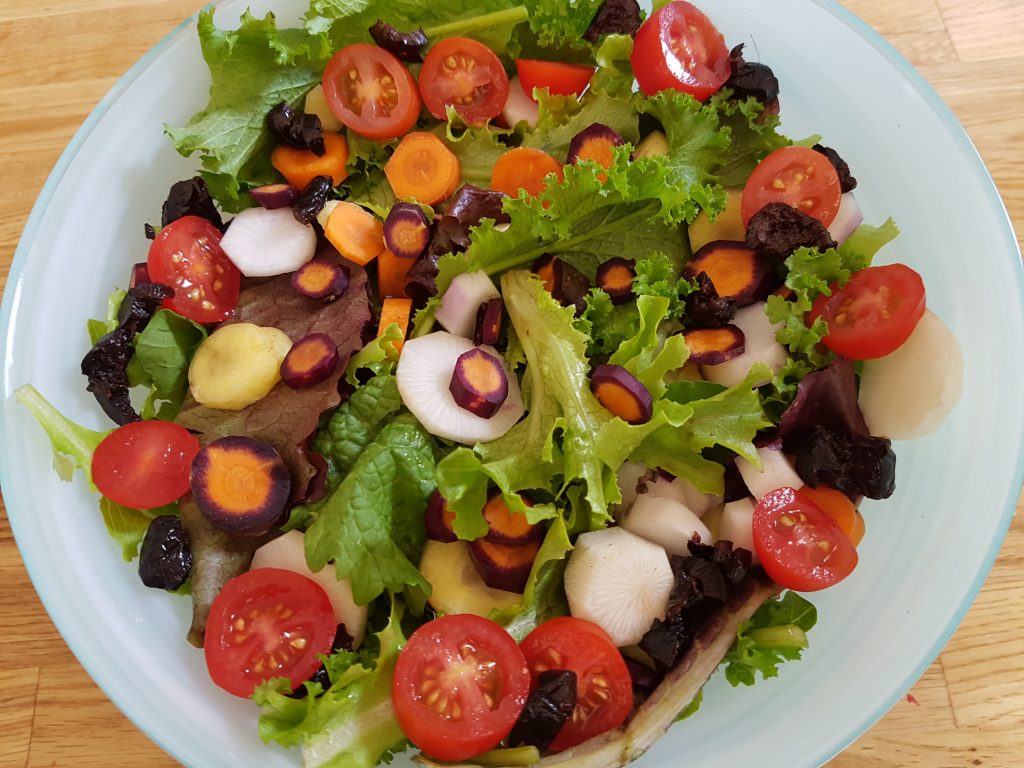
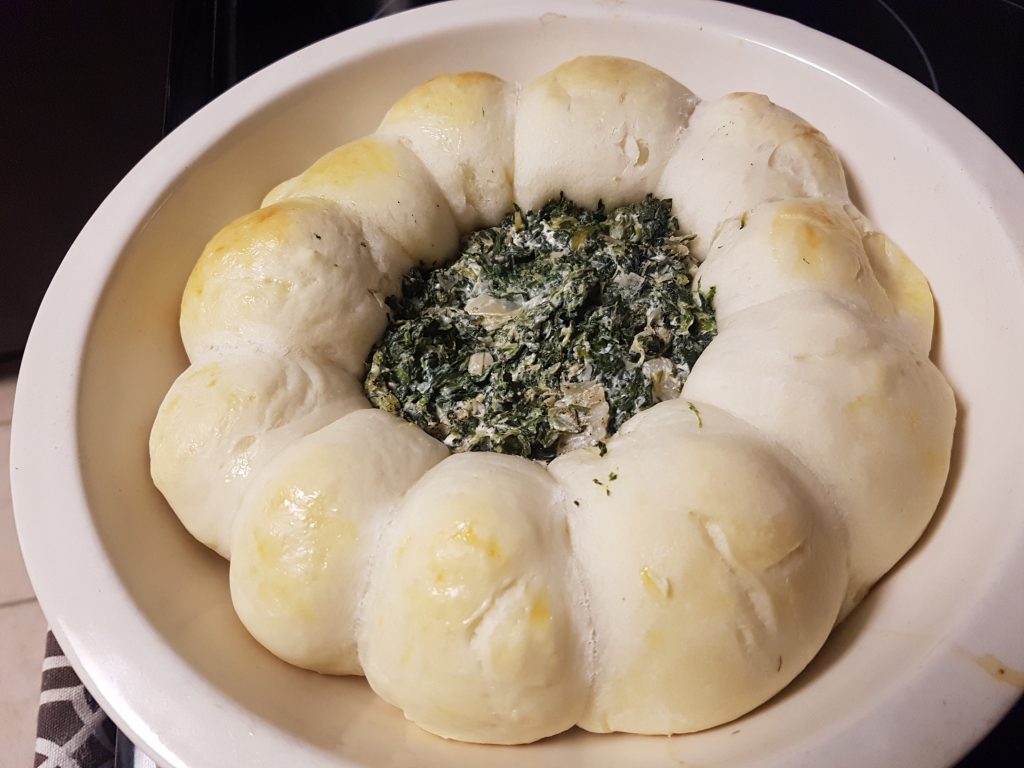
 I served this along with a salad, vegetarian stew and couscous. The stew was prepared in the slow cooker while I was asleep. Oh how I love my
 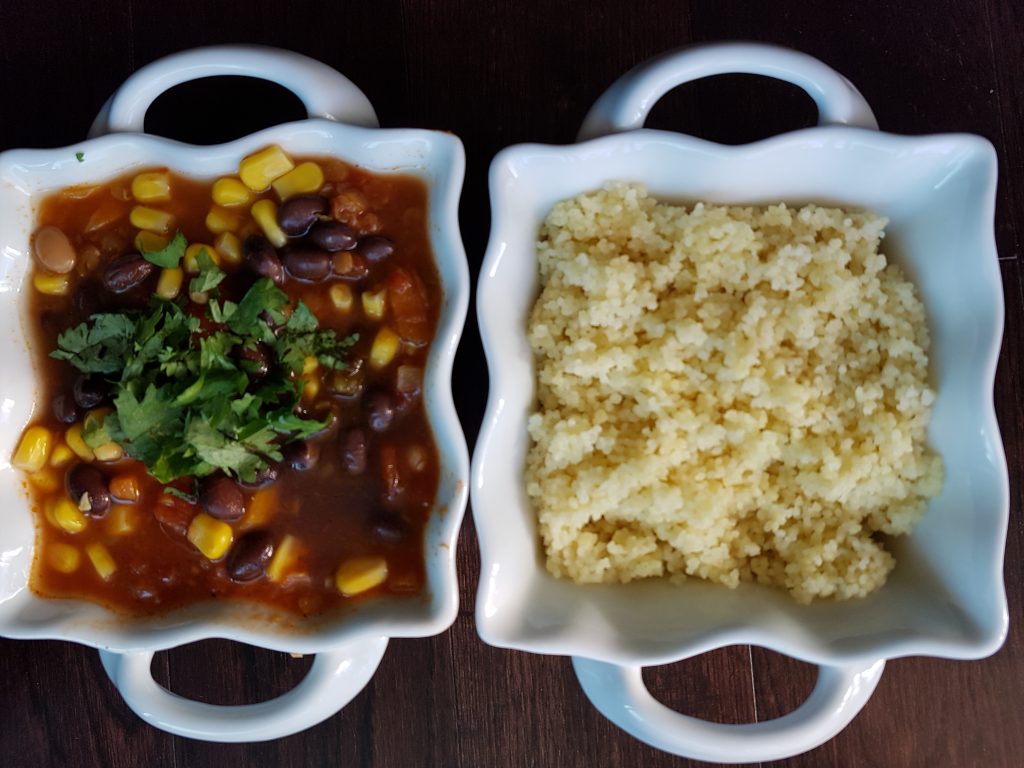 Naturally I had fun setting a “fall inspired” table.
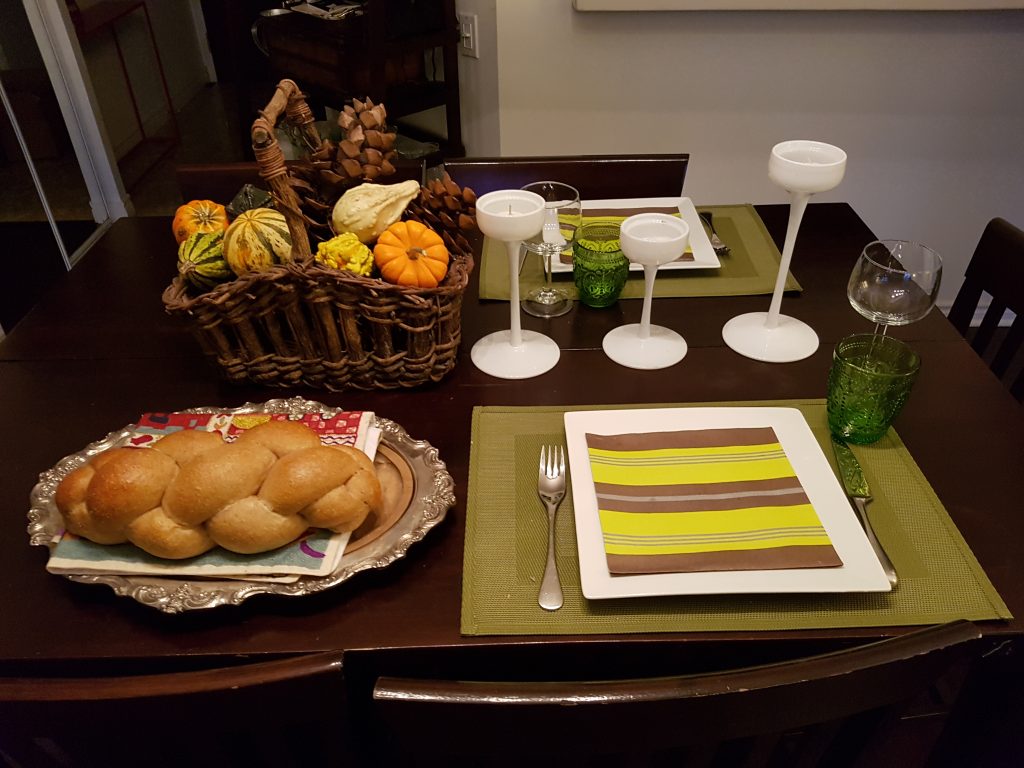 Happy Cooking!!